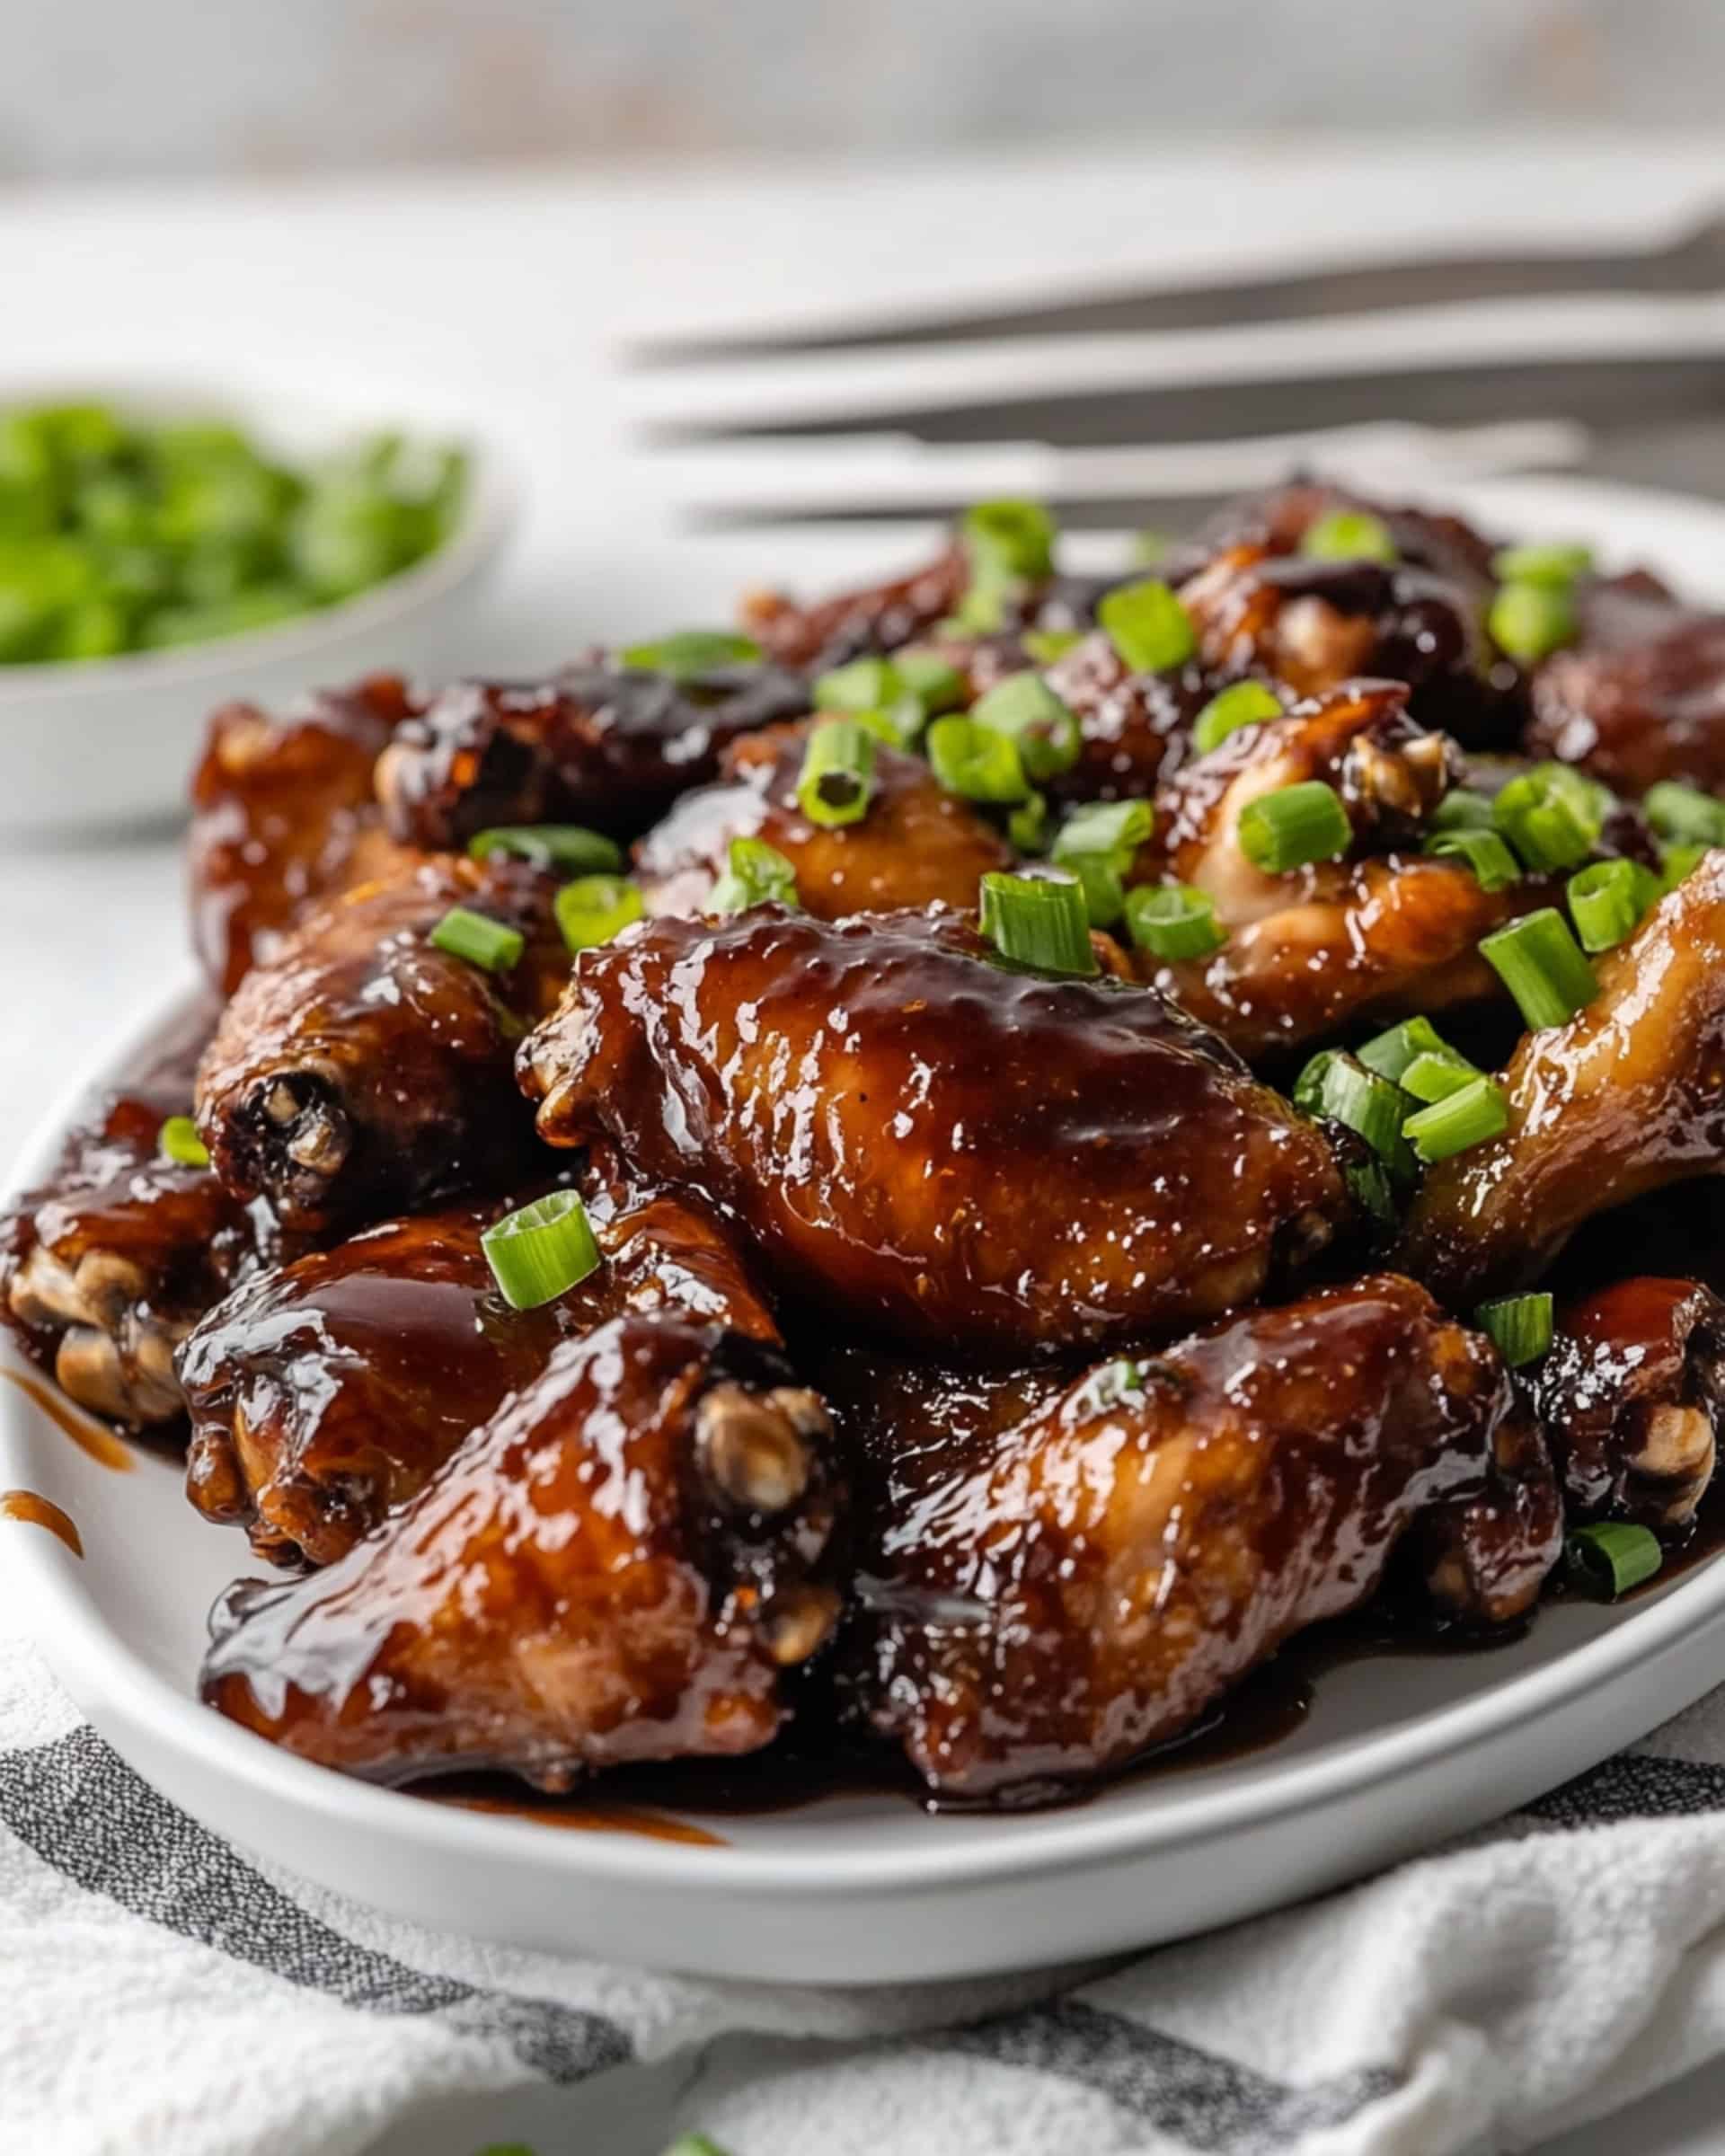
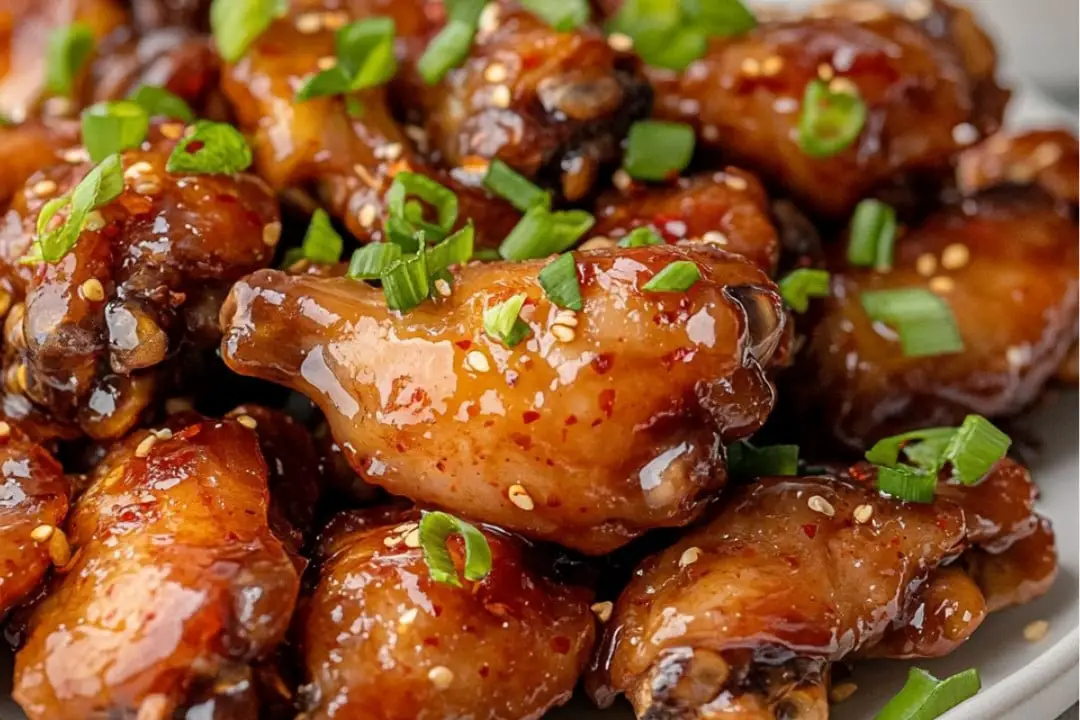
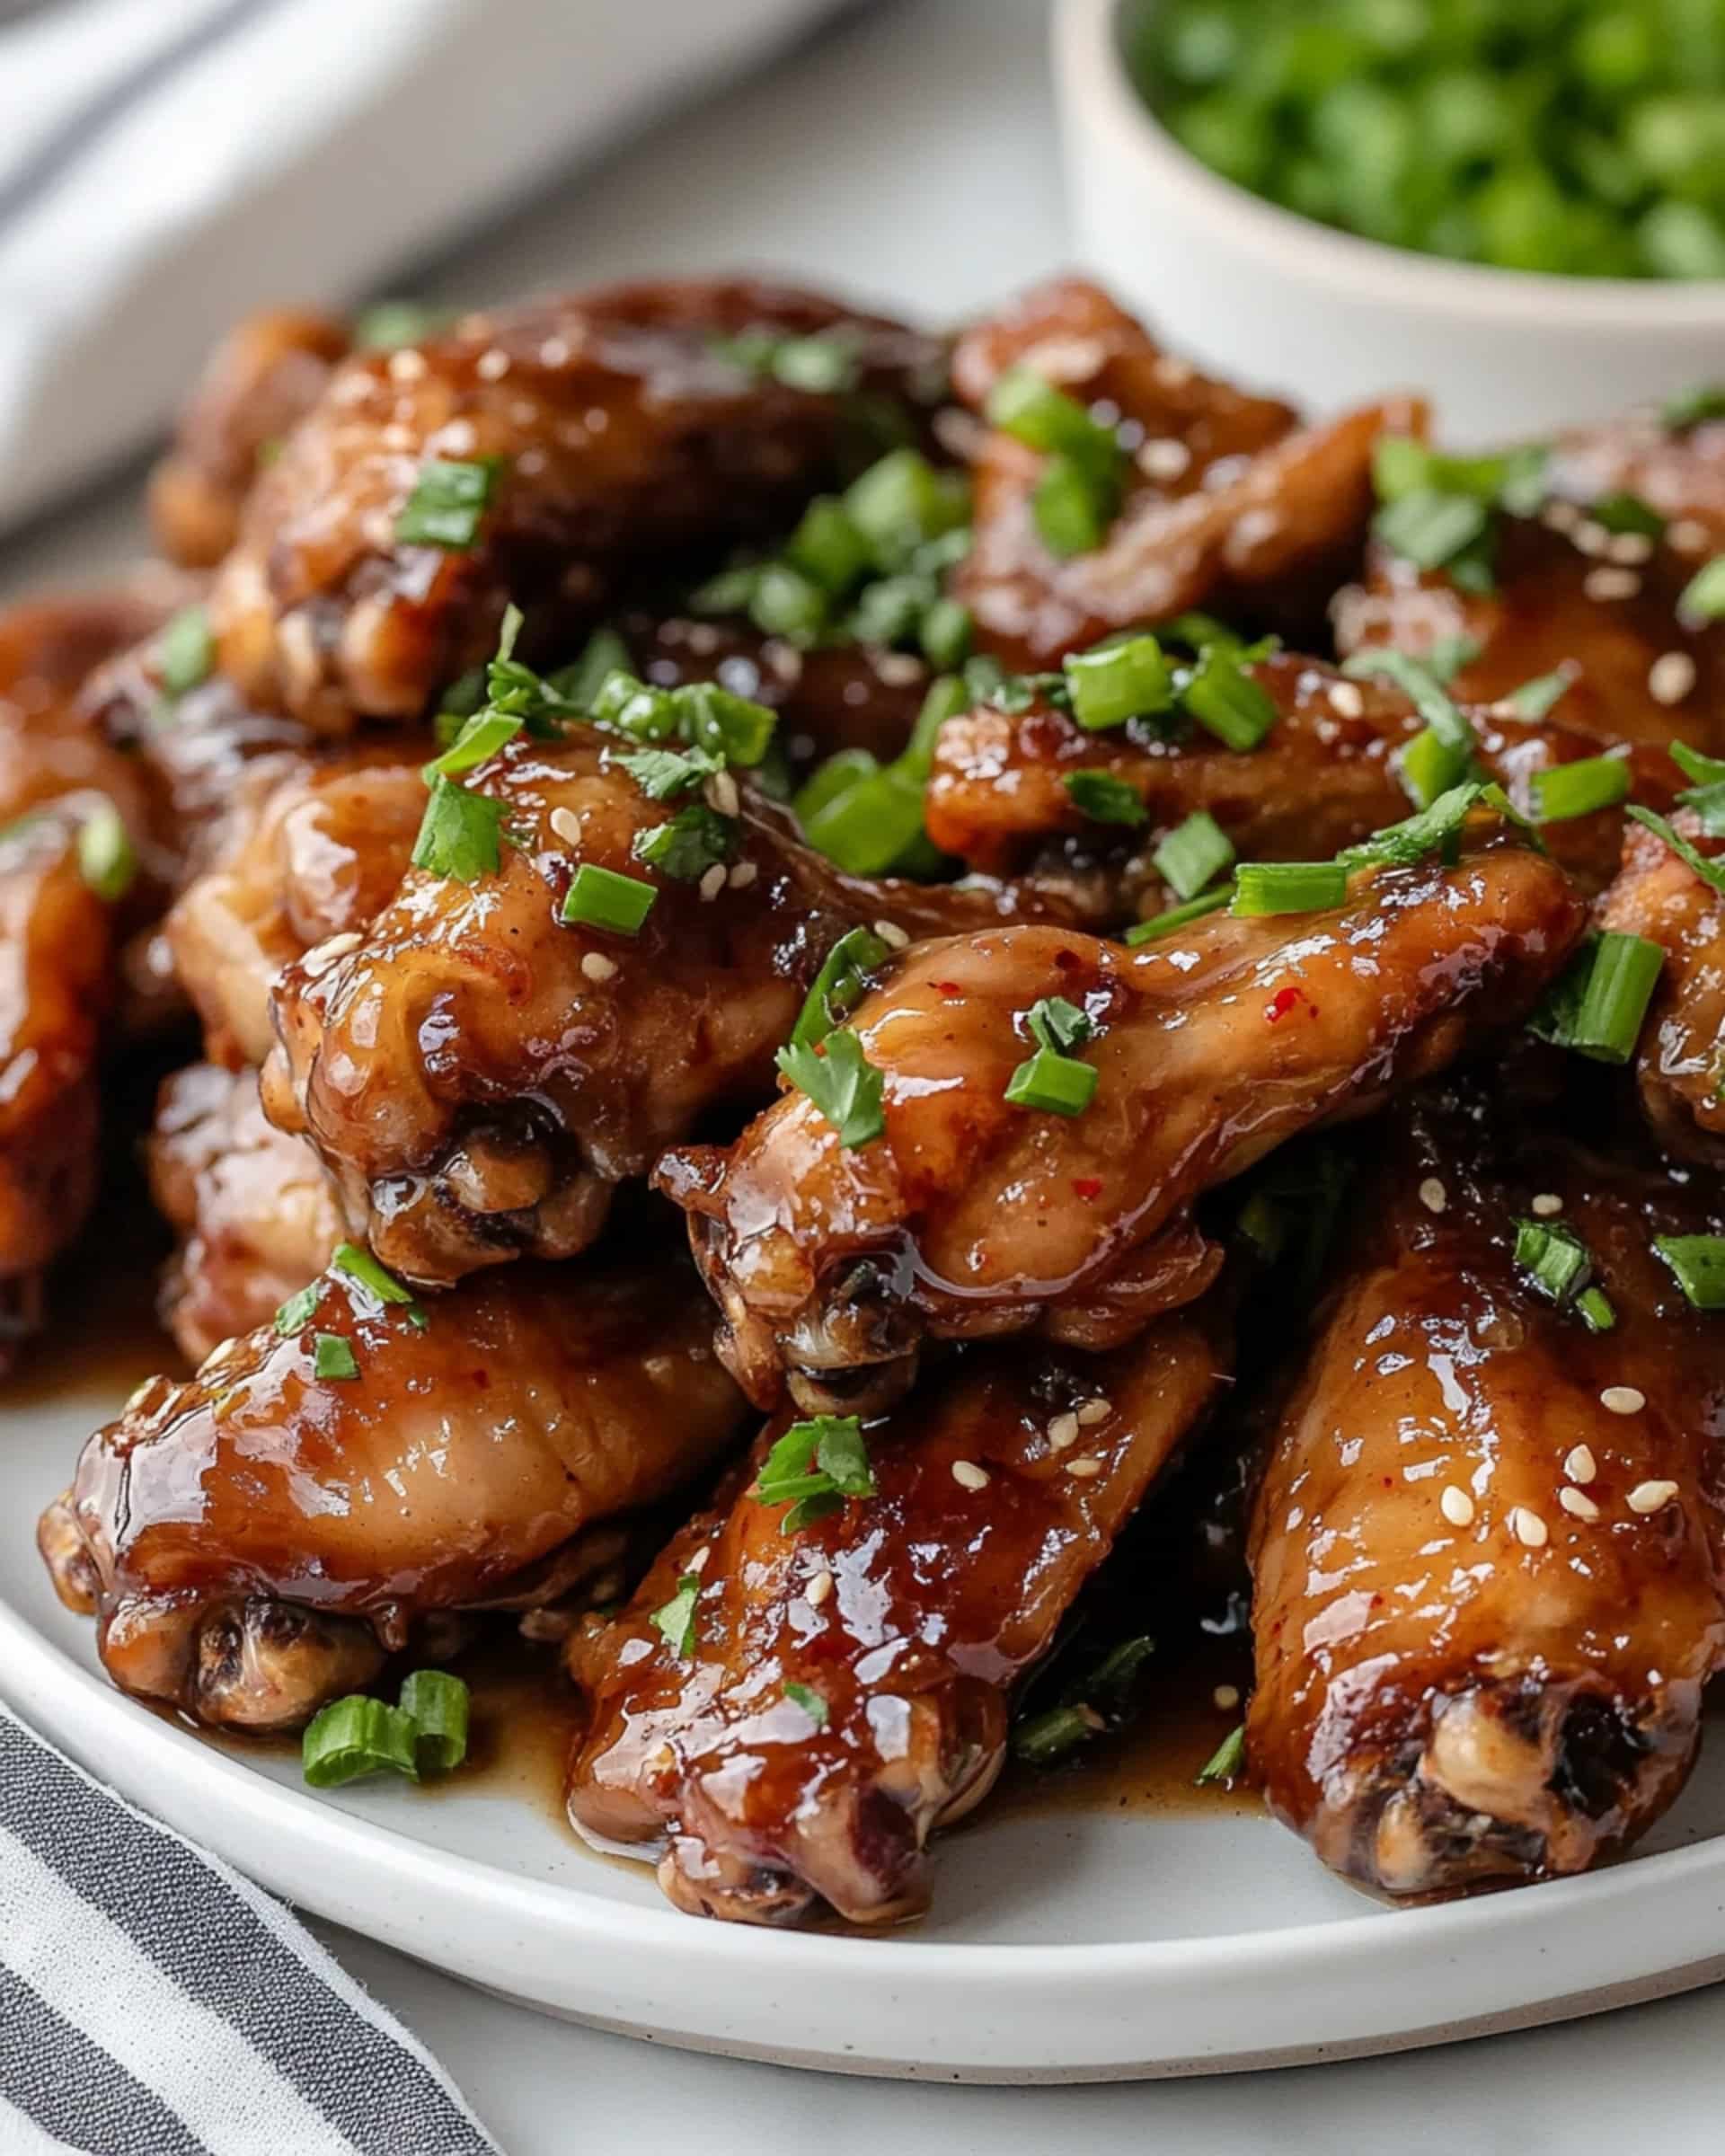
These mouthwatering Honey Garlic Wings strike the perfect balance between sticky sweetness and savory garlic flavor, with just the right hint of heat if you desire. Crispy on the outside, juicy on the inside, these wings are surprisingly simple to make but deliver restaurant-quality results right in your kitchen. They’re guaranteed to disappear fast at your next gathering – or make them for a special family dinner that everyone will rave about!
Why You’ll Love This Recipe
- Perfect Balance of Flavors: The combination of sweet honey, aromatic garlic, and umami-rich coconut aminos creates an irresistible sauce that caramelizes beautifully on the wings.
- Crispy Without Deep Frying: These wings get wonderfully crisp with just a quick stovetop browning and oven finish – no deep fryer required!
- Customizable Heat Level: Add as much or as little red pepper flakes as you like to tailor the spice level perfectly to your preference.
- Crowd Pleaser: Trust me, these wings vanish within minutes at parties – they’re that good! Make extra because everyone will want seconds.
Ingredients You’ll Need
- Chicken Wings: The star of the show! You can either purchase pre-cut wings or separate whole wings into drumettes and wingettes yourself for maximum value.
- Salt and Pepper: Simple seasonings that let the honey garlic sauce shine while ensuring the wings are flavorful all the way through.
- Olive Oil: Used for browning the wings before baking, creating that crucial first layer of crispy texture.
- Honey: Brings natural sweetness and creates that sticky, caramelized exterior we all love on wings.
- Garlic: Fresh minced garlic provides an aromatic punch that dried garlic powder simply can’t match.
- Coconut Aminos: A soy sauce alternative that adds rich umami flavor with slightly sweet undertones. Perfect for those avoiding soy or gluten.
- Apple Cider Vinegar: Adds brightness and balances the sweetness of the honey with a subtle tang.
- Red Pepper Flakes: Optional but recommended for a pleasant kick that complements the sweet and savory elements.
- Arrowroot Powder: A natural thickener that gives the sauce that perfect clingy consistency that coats each wing beautifully.
Variations
Want to switch things up? Here are some tasty twists:
- Spicy Honey Garlic: Double the red pepper flakes and add a tablespoon of sriracha to the sauce for serious heat lovers.
- Sesame Honey Garlic: Add a tablespoon of sesame oil to the sauce and sprinkle with toasted sesame seeds before serving.
- Lemon Honey Garlic: Add the zest and juice of one lemon to the sauce for a bright, citrusy kick.
- Ginger Honey Garlic: Mix in a tablespoon of freshly grated ginger for an aromatic Asian-inspired flavor profile.
How to Make Honey Garlic Wings
Step 1: Prepare the Wings
Preheat your oven to 400°F. If you’re starting with whole wings, separate them by finding the joint between sections and cutting through with a sharp knife. Pat all wing pieces thoroughly dry with paper towels – this is essential for crispy skin! Season generously with salt and pepper.
Step 2: Brown the Wings
Heat olive oil in a large oven-safe skillet over medium heat. Add the wings in a single layer (work in batches if needed) and cook for about 10 minutes, turning occasionally, until they’re nicely browned on all sides. This step renders some fat and starts the crisping process.
Step 3: Prepare the Sauce
While the wings are browning, whisk together honey, minced garlic, coconut aminos, apple cider vinegar, and red pepper flakes (if using) in a bowl until well combined. This sauce smells absolutely incredible!
Step 4: Bake with Sauce
Pour your honey garlic mixture over the browned wings in the skillet, tossing to coat evenly. Transfer the skillet to the preheated oven and bake for 15 minutes. Remove and toss the wings in the sauce again, then return to the oven for another 5 minutes until the wings are fully cooked and the sauce is bubbling.
Step 5: Thicken the Sauce
Here’s where magic happens! Remove the wings from the skillet and set aside. Place the skillet with all that flavorful sauce over medium-high heat and bring to a boil. Mix the arrowroot powder with water, then whisk this slurry into the bubbling sauce until it thickens to a beautiful glaze consistency.
Step 6: Final Coating and Serve
Return the wings to the skillet and toss them in the thickened sauce until every inch is gloriously coated. Transfer to a serving plate and pour any remaining sauce over the top for maximum flavor.
Pro Tips for Making the Recipe
- Dry Wings Thoroughly: The secret to crispy skin starts with removing as much moisture as possible before cooking.
- Don’t Skip the Browning: This initial step renders fat and creates the foundation for crispy wings.
- Watch the Sauce Carefully: When thickening with arrowroot, the sauce can go from perfect to too thick very quickly. Have everything ready and work fast.
- Let Wings Rest: Allow the wings to rest for 2-3 minutes after cooking so the sauce can set up slightly and cling better to the wings.
How to Serve

These Honey Garlic Wings make a showstopping centerpiece for various occasions:
Game Day Spread
Arrange on a platter surrounded by celery and carrot sticks with blue cheese or ranch dressing on the side. The cool, creamy dips provide a perfect contrast to the sweet and sticky wings.
Main Course
Turn these wings into dinner by serving alongside a crunchy Asian slaw or simple steamed rice to soak up the delicious sauce.
Party Appetizer
Serve with toothpicks or small forks for easy grabbing, and provide plenty of napkins – these are deliciously messy in the best possible way!
Make Ahead and Storage
Storing Leftovers
Let wings cool completely, then refrigerate in an airtight container for up to 3 days. The flavors actually develop beautifully overnight!
Freezing
These wings freeze surprisingly well. Arrange cooled wings on a parchment-lined baking sheet and freeze until solid, then transfer to a freezer bag. They’ll keep for up to 3 months.
Reheating
For best results, thaw frozen wings in the refrigerator overnight. Reheat wings in a 350°F oven for 15-20 minutes until heated through and crispy again. Avoid microwaving if possible as it makes the skin soggy.
FAQs
Can I use frozen wings for this recipe?
Absolutely! Thaw them completely and pat them very dry before proceeding with the recipe. You might need to brown them a bit longer to remove the extra moisture from previously frozen wings.
What can I substitute for coconut aminos?
Regular soy sauce works perfectly, though it has a slightly stronger flavor. If using soy sauce, you might want to add an extra teaspoon of honey to balance the saltiness. For a gluten-free option, tamari is another excellent choice.
Can I make these wings in an air fryer?
Definitely! Air fry the seasoned wings at 380°F for about 20 minutes, flipping halfway through. Then toss with the sauce (which you’ll need to cook and thicken separately on the stovetop) for the last 2-3 minutes of cooking.
How can I tell when the wings are fully cooked?
Wings are done when they reach an internal temperature of 165°F and the meat near the bone is no longer pink. The skin should be crispy and caramelized, and the sauce should be bubbling around them.
Final Thoughts
These Honey Garlic Wings perfectly balance sweet, savory, and (optionally) spicy flavors in one irresistible package. They’re deceptively simple to make but deliver such impressive results that your family and friends will think you spent hours in the kitchen. Whether for game day, a weekend treat, or just because you deserve something delicious, these wings never disappoint. Give them a try – your taste buds will thank you!
Print
Honey Garlic Wings Recipe
- Prep Time: 10 minutes
- Cook Time: 25 minutes
- Total Time: 35 minutes
- Yield: 24 wings
- Category: Appetizers
- Method: Baking
- Diet: Gluten Free
Description
Discover the perfect balance of sweet and savory with these honey garlic wings, a simple yet delicious appetizer that’s sure to impress.
Ingredients
Chicken Wings
-
-
- 3 lbs. chicken wings (drums and wingettes) – approximately 12 wings and 12 drums
- Salt and pepper, to taste
- 1 Tbsp. olive oil
-
Honey Garlic Sauce
-
- 1/2 cup honey (153g)
- 6 cloves garlic, minced
- 2 Tbsp. coconut aminos (30g)
- 1 Tbsp. apple cider vinegar
- 1/2 tsp. red pepper flakes (optional, but recommended)
- 1/4 Tbsp. arrowroot powder
- 1 Tbsp. water
Instructions
- Preheat oven: Preheat your oven to 400 degrees Fahrenheit.
- Prepare chicken wings: If your wings are pre-cut into wingettes and drumettes, move to the next step. Otherwise, pat the chicken wings dry with paper towels. Flip the wing over to see the joints, locate the ridge between the drumette and wingette portions, and use a sharp knife to separate them. Discard the tip.
- Season wings: Pat the chicken wings dry again and season generously with salt and pepper.
- Brown the chicken: Heat olive oil in a large oven-safe skillet or frying pan over medium heat. Add the chicken wings and cook until browned on all sides, about 10 minutes.
- Mix the sauce: While the chicken is cooking, mix honey, garlic, coconut aminos, apple cider vinegar, and optional red pepper flakes in a bowl until well Combined.
- Coat wings with sauce: Once browned, pour the honey garlic sauce over the chicken wings in the skillet. Toss them until coated. The sauce will be thin initially, but it will thicken after baking.
- Bake the chicken: Transfer the skillet or pan to the preheated oven. Bake for 15 minutes. Remove the skillet, mix the sauce with the wings again, and return to the oven for another 5 minutes or until the wings are fully cooked and the sauce is bubbling.
- Thicken the sauce: Remove the skillet from the oven. Set aside the chicken wings and heat the skillet with the remaining sauce over medium-high heat. Bring the sauce to a boil, then whisk in the arrowroot and water mixture until the sauce has thickened.
- Coat the wings with thickened sauce: Place the baked wings back into the skillet with the thickened sauce and toss to coat thoroughly. Remove the wings and pour any extra sauce from the skillet over them.
- Serve & enjoy: Serve the wings with red pepper flakes for garnish and enjoy!
Notes
- Nutrition information is always an estimate and may vary based on substitutions.
- You can use whole chicken wings if desired—cut them into drums and wingettes as described in the instructions.
- Add 1/2 tsp. red pepper flakes to the sauce for some added heat.
- Serve with celery, carrot sticks, and blue cheese or ranch dressing for a classic pairing.
Nutrition
- Serving Size: 1 wing
- Calories: 98
- Sugar: 4g
- Sodium: 140mg
- Fat: 6g
- Saturated Fat: 2g
- Unsaturated Fat: 4g
- Trans Fat: 0g
- Carbohydrates: 5g
- Fiber: 0g
- Protein: 7g
- Cholesterol: 26mg


Your email address will not be published. Required fields are marked *