Meet your new favorite no-bake treat: the Easy Ice Cream Sandwich Cake! If you’re searching for a show-stopping dessert without turning on the oven, this cool and creamy layered cake is a dream come true—just assemble, freeze, slice, and enjoy.
Why You’ll Love This Recipe
- No-Bake Wonder: You don’t have to heat the kitchen to wow your guests—just layer, freeze, and serve!
- Kid-Friendly & Crowd-Pleasing: Everyone, from little ones to adults, will adore these irresistible layers of ice cream sandwiches, caramel, hot fudge, and whipped topping.
- Ultra-Customizable: Swap in your favorite ice cream sandwich flavors or toppings for a personalized twist on the classic Easy Ice Cream Sandwich Cake.
- Perfect for Make-Ahead: Assemble it days before your event and keep it ready in the freezer—stress-free party planning at its best.
Ingredients You’ll Need
You’ll be amazed at how just a handful of simple, everyday ingredients come together to make the most decadent, layered frozen treat. Each ingredient in this Easy Ice Cream Sandwich Cake brings its own creamy, gooey, or crunchy magic to the party—don’t skip a single one!
- Ice Cream Sandwiches (24): The backbone of this cake—choose classic vanilla or get creative with fun flavors or homemade versions!
- Caramel Topping (12 ounces): Adds that dreamy, buttery sweetness and stays saucy even frozen.
- Hot Fudge Topping (12 ounces): For deep chocolate richness that perfectly contrasts the creamy layers.
- Cool Whip (8 ounces): Light, fluffy, and super easy to spread; you can use homemade whipped cream if you prefer.
- Chopped Peanuts: The finishing crunch that adds a salty-sweet pop (skip if you need nut-free, or try toffee bits instead).
- Maraschino Cherries: Classic garnish for a fun, retro sundae vibe (and a pop of color on every slice!).
Variations
This Easy Ice Cream Sandwich Cake is all about flexibility—swap sauces, toppings, or sandwich flavors based on what you’ve got on hand, your favorite tastes, or any special dietary needs. Let your imagination (and your pantry!) be your guide.
- Peanut Butter Lovers: Swap the caramel or hot fudge for peanut butter sauce, or drizzle both for a nutty, decadent twist.
- Fruity Fun: Use strawberry or raspberry sauce instead of fudge for a fresh and lively summer spin.
- Allergy-Friendly: Use gluten-free or dairy-free ice cream sandwiches and coconut whipped topping for a crowd with special needs.
- Cookie Crunch: Replace the peanuts with toffee bits, crushed Oreos, or mini chocolate chips for extra crunch in every bite.
How to Make Easy Ice Cream Sandwich Cake
Step 1: Layer the First Row of Ice Cream Sandwiches
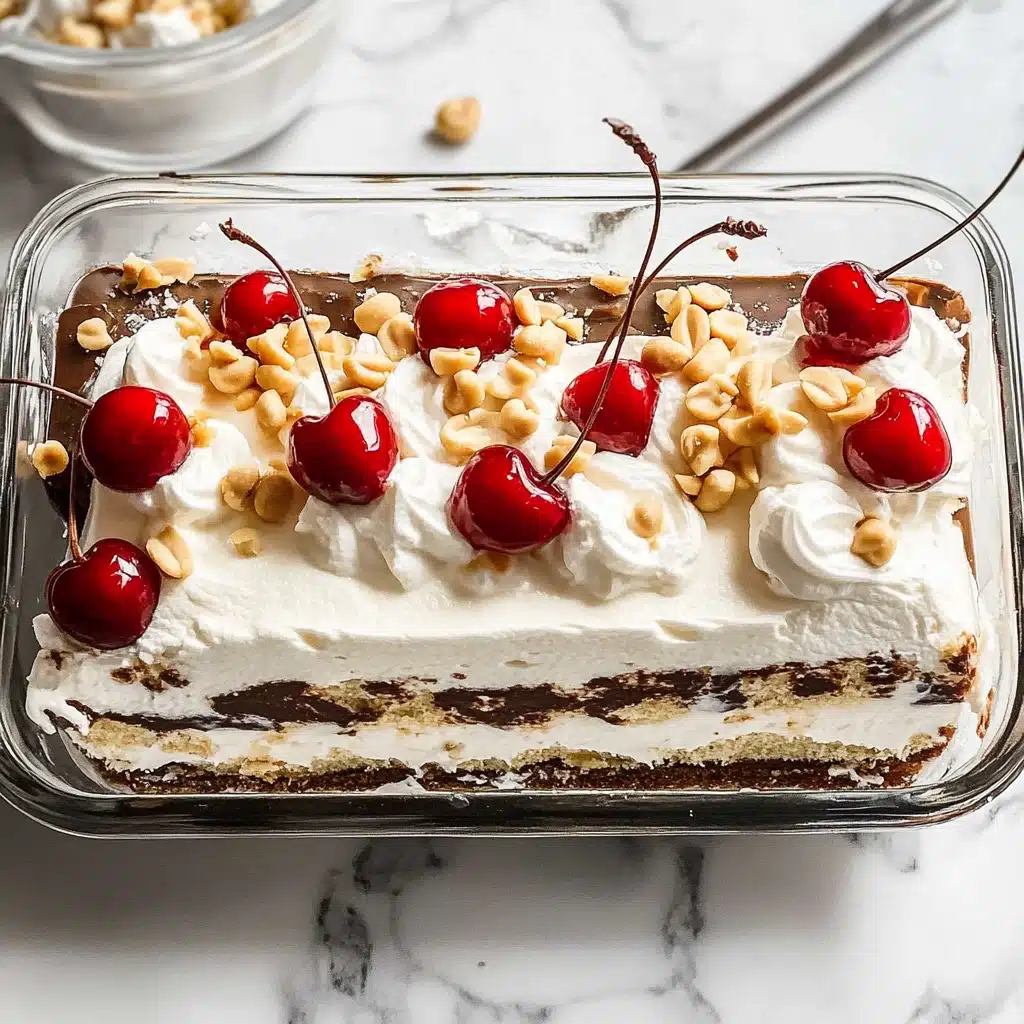
Quickly line the bottom of a 9×13-inch pan with half of your ice cream sandwiches. If some don’t fit perfectly, just trim them with a sharp knife—awkward corners are totally fine! Your only goal is a snug, delicious base for your cake.
Step 2: Add the Caramel Layer
Pour the jar of caramel topping right over your ice cream sandwiches, using a spatula to gently smooth and spread it from edge to edge. Pop the pan into the freezer for at least 10 minutes so this gooey layer firms up before stacking more layers.
Step 3: Repeat with More Sandwiches and Fudge
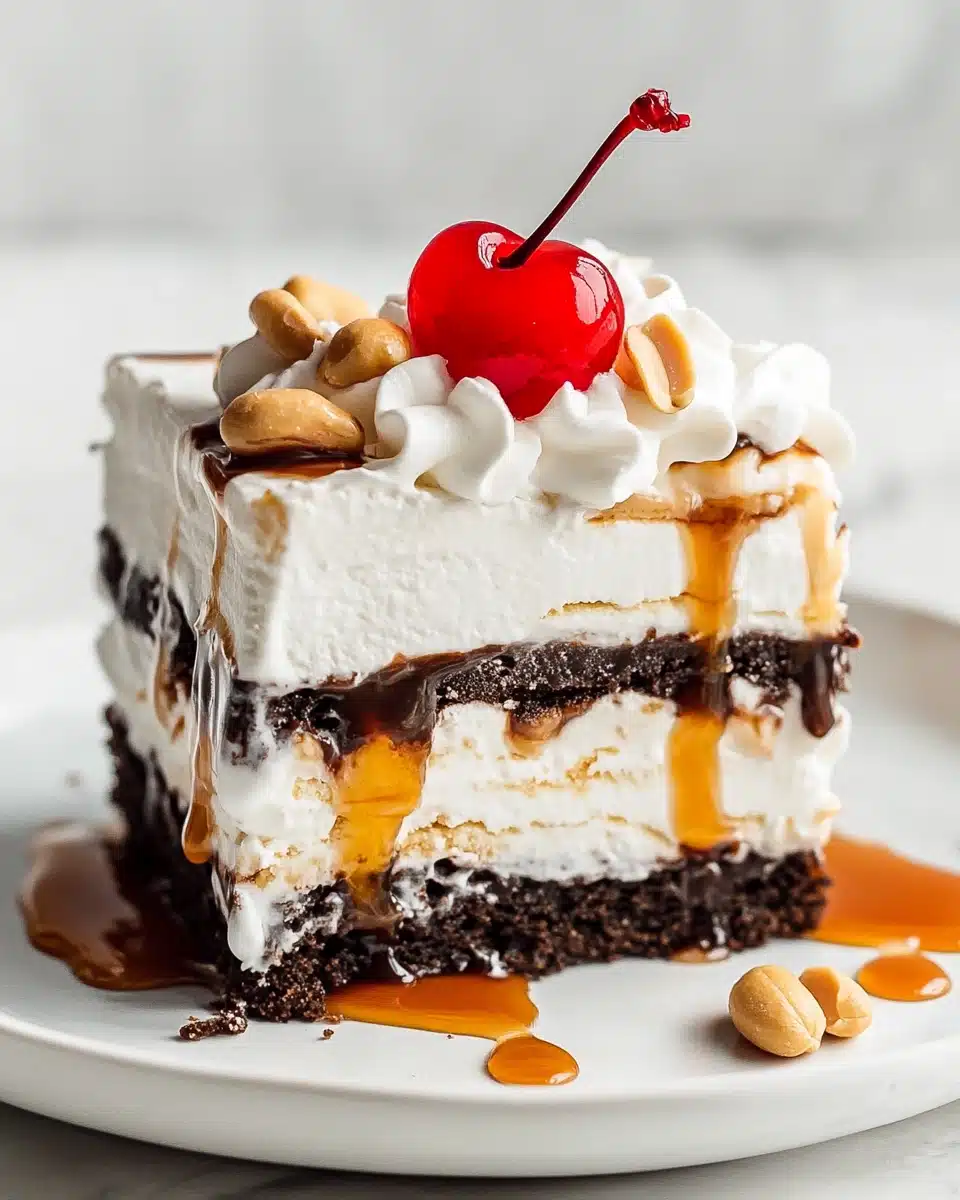
Arrange the rest of your ice cream sandwiches over the caramel, trimming as needed. Next, spread the hot fudge topping over this second layer, creating an ultra-chocolatey barrier between the creamy sandwich layers and the fluffy topping to come.
Step 4: Add Whipped Topping and Garnish
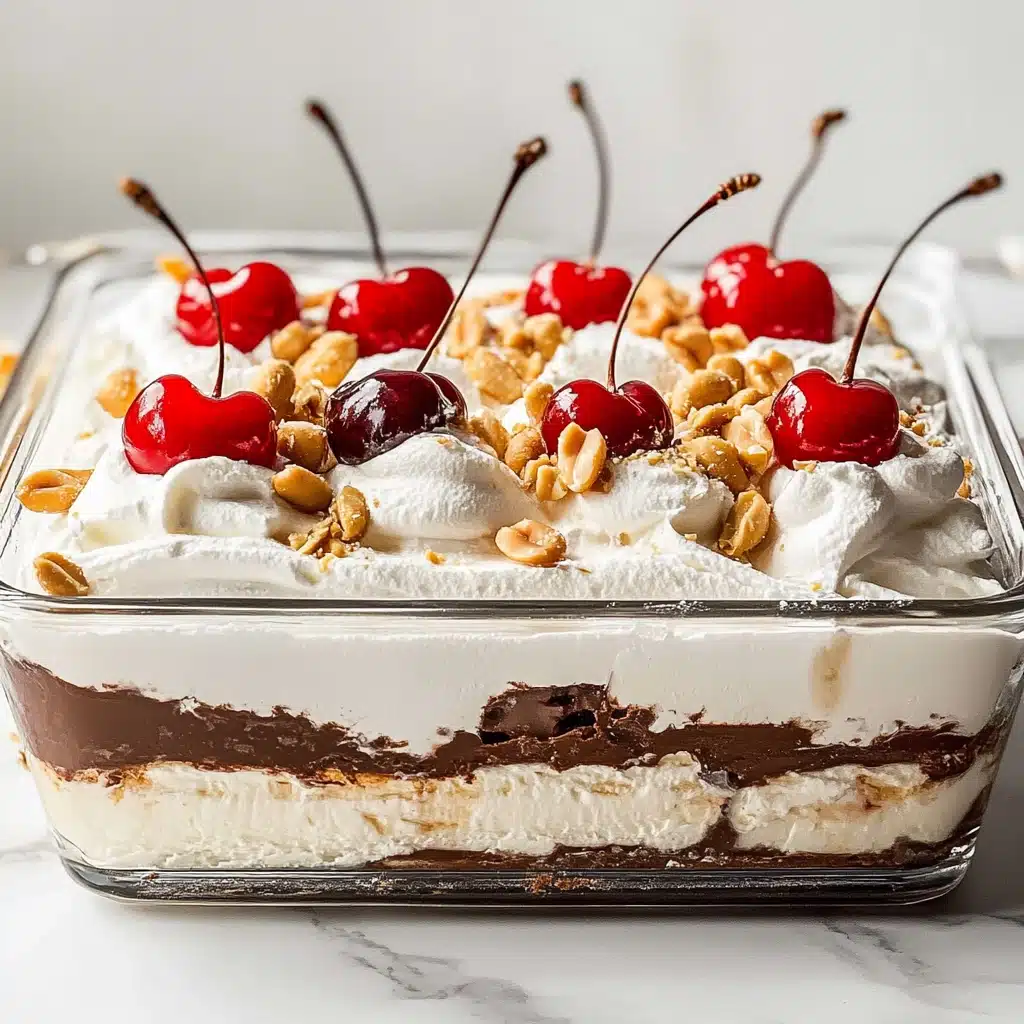
Dollop the Cool Whip (or your favorite whipped cream) over the fudge layer, smoothing it out gently. When you’re ready to serve, scatter chopped peanuts and maraschino cherries over the top for that perfect sundae look!
Step 5: Freeze Until Ready to Serve
Place your finished Easy Ice Cream Sandwich Cake back in the freezer and chill until it’s truly set—at least a few hours, but overnight is even better. When you’re ready to slice, let it sit out for about 15–20 minutes and use a sharp knife warmed under hot water for the neatest pieces.
Pro Tips for Making Easy Ice Cream Sandwich Cake
- Quick Assembly: Unwrap all your ice cream sandwiches first, then work quickly to prevent melting and mess during layering.
- Perfect Pan Choice: A deep 9×13-inch lasagna pan works wonders for stacking higher layers—don’t worry if it’s a little over the top, just pile on the whipped cream!
- For Clean Slices: Let the cake sit at room temperature for about 20 minutes before serving, then use a sharp knife heated under hot water for smooth, pretty pieces.
- Flavor Freedom: Don’t hesitate to swap out sauces or toppings; the cake is super forgiving and delicious with nearly any sweet twist.
How to Serve Easy Ice Cream Sandwich Cake

Garnishes
I absolutely love topping my Easy Ice Cream Sandwich Cake with extra chopped peanuts and a generous handful of maraschino cherries. For even more color and crunch, shaking on some sprinkles, mini chocolate chips, or a little sea salt can really make each slice pop and taste sensational!
Side Dishes
It’s tough to compete with such a dreamy frozen treat, but fresh fruit—like sliced strawberries or juicy watermelon—make a light, refreshing contrast. If you’re serving a crowd, offer some iced coffee, cold brew, or frosty lemonade for the perfect pairing.
Creative Ways to Present
Make this Easy Ice Cream Sandwich Cake the centerpiece at your next party by arranging it on a chilled platter, topping with sparkler candles, or slicing into mini squares for a bite-sized dessert bar. I also love serving individual slices in sundae dishes, loaded with extra sauce and toppings—it’s a fun, hands-on build-your-own sundae cake station!
Make Ahead and Storage
Storing Leftovers
Wrap leftover Easy Ice Cream Sandwich Cake tightly with plastic wrap or cover the pan with foil to keep it from absorbing freezer odors. As long as it stays frozen, it will keep its flavor and texture for up to a week (though it vanishes much faster in my house!).
Freezing
This cake is born for the freezer! Store it in the pan, covered, or wrap individual pieces for grab-and-go treats. Just keep it away from strong-smelling foods to avoid picking up any odd flavors while it chills.
Reheating
No reheating needed—just let your Easy Ice Cream Sandwich Cake sit for 15–20 minutes at room temperature before slicing and serving. If the layers feel extra hard, a little patience goes a long way to soft, scoopable slices.
FAQs
-
Can I use homemade ice cream sandwiches in this Easy Ice Cream Sandwich Cake?
Absolutely! Homemade ice cream sandwiches work beautifully—just make sure they’re fully frozen before layering to keep everything neat and easy to assemble.
-
What’s the best way to slice and serve this cake for parties?
Remove the cake from the freezer about 20 minutes early. Run a sharp knife under hot water and wipe clean between slices—this helps achieve those perfect, bakery-style squares everybody loves.
-
Can I make this cake a couple days in advance?
Yes—the Easy Ice Cream Sandwich Cake is ideal for making ahead! Assemble and freeze up to a week in advance, but for the absolute best taste and texture, serve it within 2 days of making.
-
Are there nut-free topping options for allergies?
Definitely. Omit the peanuts and try mini chocolate chips, crushed cookies, or sprinkles as fun, allergy-friendly alternatives for topping the cake.
Final Thoughts
Whether you’re hosting a celebration, a potluck, or just craving something sweet and effortless, give this Easy Ice Cream Sandwich Cake a try. It’s pure nostalgia, creamy joy, and summer fun all stacked into one show-stopping dessert—slice up a little happiness, and don’t forget the extra cherries on top!
Print
Ice Cream Sandwich Cake Recipe
- Prep Time: 30 minutes
- Cook Time: 0 minutes
- Total Time: 30 minutes
- Yield: 1 9×13-inch cake (about 16 servings)
- Category: Dessert
- Method: Freezing
- Cuisine: American
- Diet: Vegetarian
Description
This Easy Ice Cream Sandwich Cake is a simple yet indulgent dessert that requires no baking. Layers of ice cream sandwiches, caramel, hot fudge, and Cool Whip create a delightful frozen treat that is perfect for any occasion.
Ingredients
Ice Cream Sandwiches:
- 24 ice cream sandwiches, homemade or store-bought
Caramel Layer:
- 12-ounce jar caramel topping (store-bought or homemade)
Hot Fudge Layer:
- 12-ounce jar hot fudge topping (store-bought or homemade)
Cool Whip Layer:
- 8 ounces Cool Whip
Toppings:
- Chopped peanuts
- Maraschino cherries
Instructions
- Prepare the Base: Line the bottom of a 9×13-inch pan with half of the ice cream sandwiches, cutting them to fit as needed.
- Add Caramel Layer: Spread the caramel topping over the ice cream sandwiches. Freeze for 10 minutes.
- Layer Up: Arrange the remaining ice cream sandwiches on top, then spread the hot fudge over them. Add a layer of Cool Whip.
- Chill and Serve: Freeze the cake until ready to serve. Top with chopped peanuts and maraschino cherries before serving.
Notes
- Pan Recommendation: A deep 9×13-inch pan works best for layering.
- Ice Cream Sandwiches: Use any type that fits your pan for this versatile dessert.
- Flavor Variations: Customize with different ice cream flavors, toppings, and sauces.
- Whipped Cream Substitution: Homemade whipped cream can be used as an alternative to Cool Whip.
- Make-Ahead: Perfect for preparing in advance; store in the freezer for up to a week.
- Serving Tip: Allow the cake to soften slightly before slicing for easier serving.
Nutrition
- Serving Size: 1 slice
- Calories: 320
- Sugar: 25g
- Sodium: 180mg
- Fat: 14g
- Saturated Fat: 7g
- Unsaturated Fat: 5g
- Trans Fat: 0g
- Carbohydrates: 45g
- Fiber: 2g
- Protein: 4g
- Cholesterol: 20mg


This was a huge hit at 4th of July party. Many have asked for the receipt .
I made a smaller version in a 11×7 pan. Will make this again. Easy and delicious