Get ready to unleash your inner kid AND impress your favorite sweet-toothed friends with this playful, vibrant No-Bake Fruity Pebbles Cheesecake! Bursting with creamy, dreamy cheesecake filling and built on a genius Fruity Pebbles and marshmallow crust, this magically fun dessert delivers pure happiness in every slice—no oven required.
Why You’ll Love This Recipe
- Instant Nostalgia: Every bite is a throwback to Saturday morning cartoons and big, colorful bowls of cereal.
- Completely No-Bake: There’s zero need to even preheat your oven—perfect for hot days or last-minute desserts!
- Showstopping Looks: That rainbow cereal crust gives your cheesecake a joyful pop of color and crunch, making it a guaranteed crowd-pleaser at parties and potlucks.
- Creamy, Marshmallowy Filling: The cheesecake layer is extra smooth and fluffy thanks to marshmallow creme, with little bursts of Fruity Pebbles tucked inside.
Ingredients You’ll Need
This colorful recipe keeps things simple, but every single ingredient is essential for achieving that magical blend of crunchy, silky, sweet perfection. Each one brings its own bit of charm to the No-Bake Fruity Pebbles Cheesecake—let’s break down what makes them special!
- Fruity Pebbles Cereal: The star of the show! Not only do they form that iconic technicolor crust, but a handful go right into the filling for extra flavor and fun.
- Mini Marshmallows: These melt into gooey delight to bind the Fruity Pebbles together, just like your favorite childhood marshmallow treats.
- Unsalted Butter: A little melted butter brings rich, comforting flavor and helps the crust set up nicely.
- Cream Cheese (softened): The creamy heart of your cheesecake, delivering tang and structure for that classic filling.
- Powdered Sugar: Provides just the right touch of sweetness while keeping the filling smooth and lush.
- Vanilla Extract: Rounds out the filling with dreamy, aromatic warmth.
- Marshmallow Creme: The secret weapon! It lightens the cheesecake texture with sweetness and fluffy lift.
- Extra Fruity Pebbles (for filling & topping): Lightly chopped and folded into the filling (and sprinkled on top!), these give gleeful pops of crunch and color in every bite.
Variations
The best part about desserts like No-Bake Fruity Pebbles Cheesecake? You can make them your own! Here are a few fun twists—feel free to get creative and cater to special diets or flavor cravings.
- Chocolate Drizzle: Take this cheesecake totally over-the-top by drizzling the chilled top with melted white or semisweet chocolate for an extra decadent finish.
- Gluten-Free Version: Fruity Pebbles are naturally gluten-free—but always check your brand. Swap in gluten-free marshmallows and verify all other ingredients as needed.
- Mini Cheesecakes: Press the crust mixture into muffin tins lined with cupcake papers for adorable, grab-and-go individual servings.
- Swap the Cereal: This recipe is brilliant with Cocoa Pebbles, Lucky Charms, or even colorful Trix for a different twist!
How to Make No-Bake Fruity Pebbles Cheesecake
Step 1: Make the Fruity Pebbles Crust
Start by grabbing a microwave-safe mixing bowl and combine your Fruity Pebbles, mini marshmallows, and butter. Microwave everything for 2–3 minutes, just until the marshmallows puff up and the butter melts. Stir quickly (and thoroughly!) to coat every cereal bit, then press the mixture evenly into a greased pie plate, bringing it up the sides to create that gorgeous crust. Set the crust aside—it’ll set up a little as it cools while you make the cheesecake filling.
Step 2: Make the Filling
In a large bowl, beat together the softened cream cheese, powdered sugar, and vanilla until super smooth and creamy—no lumps or bumps! Add in the marshmallow creme and blend again. Finally, gently fold in the extra Fruity Pebbles (lightly chopped, if you want smaller bursts) with a spatula, mixing just until everything looks happy and colorful.
Step 3: Fill and Chill
Spoon the cheesecake filling over your prepared, cooled crust. Smooth the top with a spatula (or the back of a spoon) so it looks even and inviting. Now for the hardest part: cover and refrigerate for at least 1–2 hours! This helps the cheesecake firm up and makes slicing a breeze. If you’re in a rush, you can pop it in the freezer for about 30 minutes—but don’t forget it in there!
Step 4: Decorate and Serve
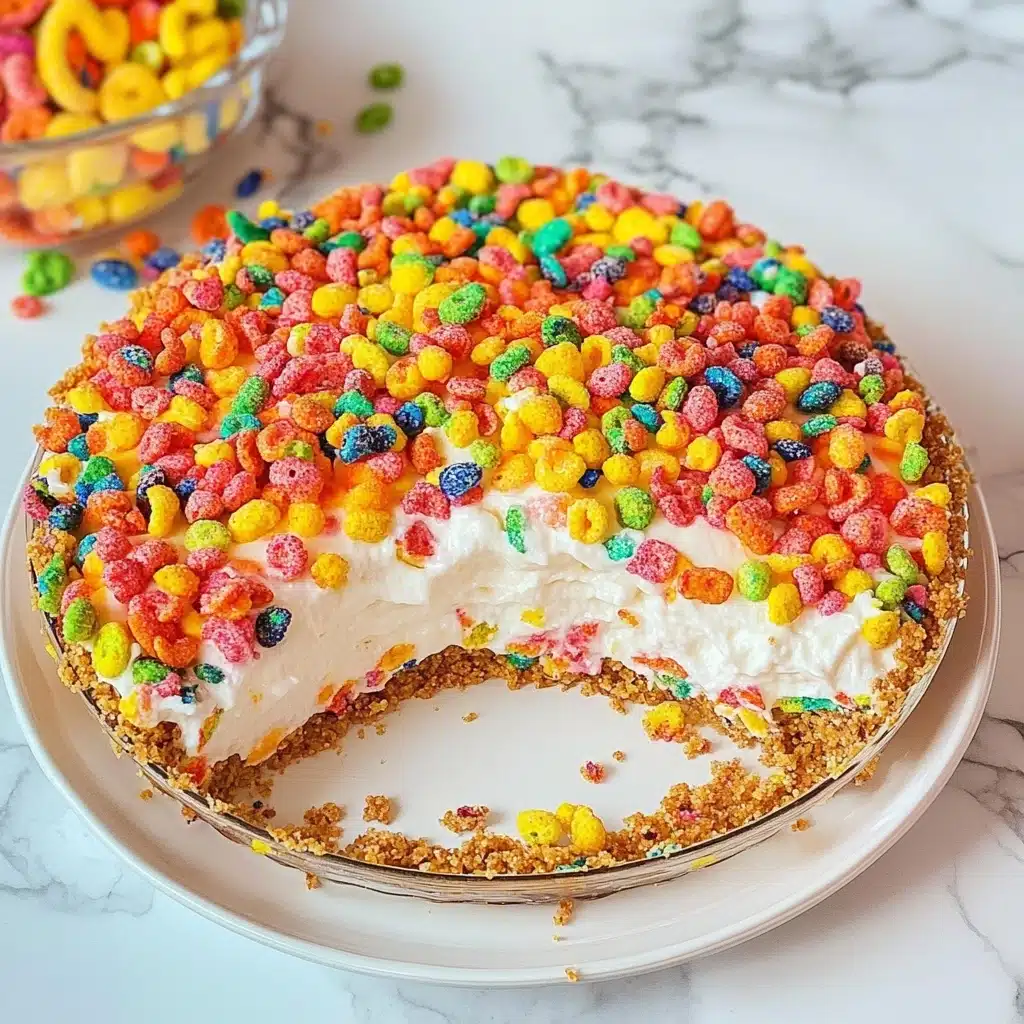
Once set, sprinkle a handful of Fruity Pebbles on top for that irresistible crunch and wow-factor. You can also add sprinkles or even piped whipped cream for an extra flourish. Slice, serve, and watch the smiles appear!
Pro Tips for Making No-Bake Fruity Pebbles Cheesecake
- Perfect Marshmallow Melt: Watch your marshmallows carefully in the microwave—they puff quickly and you want them melted but not browned to keep the crust chewy, not hard.
- Room Temperature Cream Cheese: Always let your cream cheese soften before mixing. This guarantees a super smooth filling, free of lumps!
- Gentle Cereal Folding: Fold the Fruity Pebbles into the cheesecake filling with a spatula, not a mixer, for step three to preserve their crunch and color.
- Speedy Chilling: If you’re pressed for time, pop the assembled cheesecake in the freezer for 30 minutes to set quickly—but transfer it to the fridge afterward for best texture.
How to Serve No-Bake Fruity Pebbles Cheesecake
Garnishes
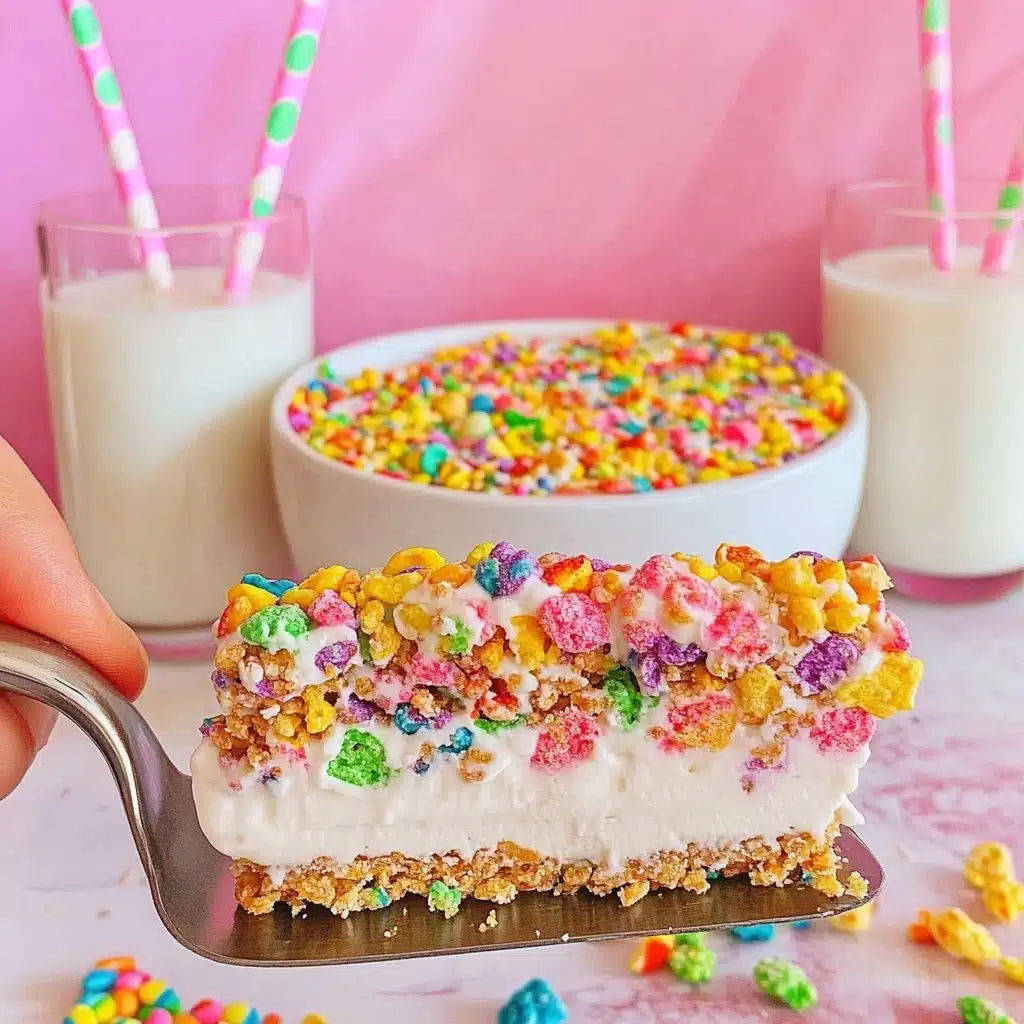
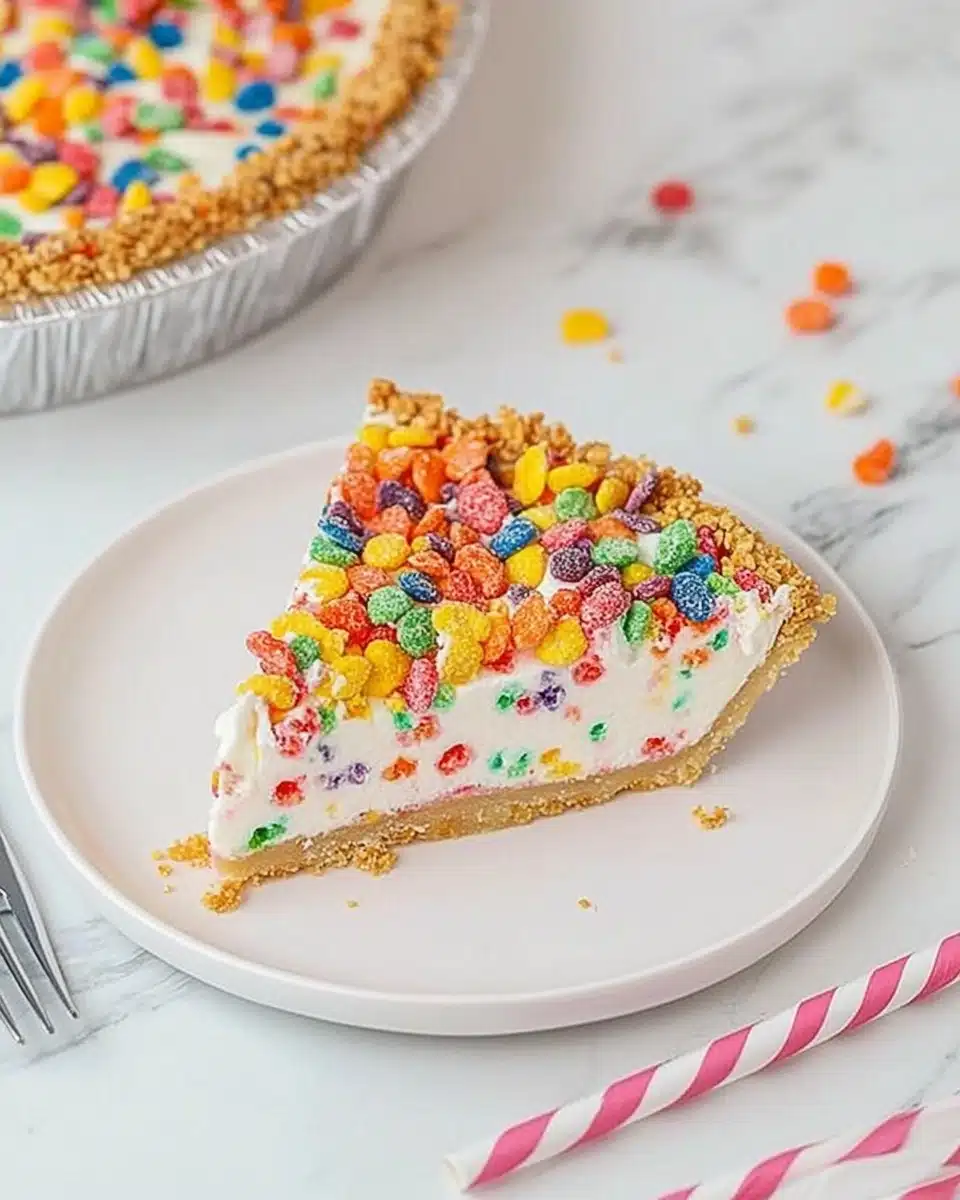
No-Bake Fruity Pebbles Cheesecake practically begs for extra flair! Shower the top with a handful of Fruity Pebbles just before serving—they’ll stay crispy and dazzling. Want to make it extra festive? Try a swirl of whipped cream, rainbow sprinkles, or a drizzle of white chocolate. Little edible decorations go a long way here!
Side Dishes
This cheesecake is a celebration all on its own, but it pairs wonderfully with a plate of fresh berries or a scoop of vanilla ice cream to balance the sweetness. For brunch parties, serve alongside coffee, milk, or fruity mocktails for an all-out treat.
Creative Ways to Present
Try slicing your No-Bake Fruity Pebbles Cheesecake into bars for parties, making mini cakes in jars for adorable gifts, or serving on a platter with extra cereal scattered around each slice. Want to wow a crowd? Stack slices or layer them with whipped cream in parfait glasses for rainbow dessert shooters!
Make Ahead and Storage
Storing Leftovers
To keep your No-Bake Fruity Pebbles Cheesecake fresh, store any leftovers tightly wrapped or in an airtight container in the refrigerator. It will stay deliciously creamy for up to 3 days—just know the cereal crust softens over time (but don’t worry, the flavors are still fabulous!).
Freezing
Need to make ahead for a big event? After chilling, tightly wrap your cheesecake and freeze it for up to one month. Thaw overnight in the fridge before serving. The texture remains creamy, though the crust may lose a bit of crunch—it’s still a fantastic make-ahead dessert for birthday parties or bake sales!
Reheating
No reheating needed—just slice and savor straight from the fridge! If yours has been frozen, let it thaw to fridge temperature for best results. For extra pizzazz and crunch, sprinkle on fresh Fruity Pebbles after thawing, just before serving.
FAQs
-
Can I use regular marshmallows instead of mini marshmallows for the crust?
Absolutely! If you’re using regular-size marshmallows, just chop them up a bit or measure by weight for best accuracy. They’ll melt just as well, though mini marshmallows are a little easier to mix thoroughly with the cereal.
-
How far ahead can I make this No-Bake Fruity Pebbles Cheesecake?
You can make it up to 2 days ahead! For the crunchiest cereal topping, wait to add the final sprinkle of Fruity Pebbles until just before serving.
-
Is No-Bake Fruity Pebbles Cheesecake gluten-free?
Fruity Pebbles are naturally gluten-free, but always check the packaging and your marshmallows to be sure. If necessary, use gluten-free alternatives for all ingredients to safely enjoy this recipe.
-
Can I use other cereals for the crust and filling?
Definitely! Cocoa Pebbles, Trix, even Lucky Charms make delightful swaps. The technique remains the same, so play with your favorites for a new twist every time.
Final Thoughts
Whether you make it for a birthday, a potluck, or as a surprise “just because” treat, this No-Bake Fruity Pebbles Cheesecake is guaranteed to bring smiles to faces of all ages. Let its color, crunch, and creaminess become a new favorite in your home—you won’t believe how simple and delightful homemade nostalgia can be! Enjoy every vibrant bite.
Print
No-Bake Fruity Pebbles Cheesecake Recipe
- Prep Time: 15 minutes
- Total Time: 2 hours 15 minutes
- Yield: 8 servings
- Category: Dessert
- Method: No-Bake
- Cuisine: American
- Diet: Vegetarian
Description
Indulge in the no-bake delight of this Fruity Pebbles Cheesecake that offers a delicious mix of crunchy cereal and creamy filling, making it a perfect treat for any occasion.
Ingredients
Crust Ingredients:
- 3 1/2 cups Fruity Pebbles Cereal
- 3 cups mini marshmallows
- 2 tablespoons unsalted butter
Cheesecake Filling Ingredients:
- 16 oz cream cheese, softened
- 1/4 cup powdered sugar
- 1 teaspoon vanilla
- 7 oz tub marshmallow creme
- 1 1/2 cup cereal, lightly chopped
Instructions
- Making the Crust: In a large microwave-safe bowl, combine the cereal, marshmallows, and butter. Microwave on high for 2-3 minutes until marshmallows puff up. Stir until well-coated. Press into a pie plate.
- Preparing the Filling: Mix cream cheese, powdered sugar, and vanilla until smooth. Add marshmallow creme and cereal. Spread over crust.
- Chilling the Cheesecake: Refrigerate for 1-2 hours or freeze for 30 minutes. Top with extra cereal or sprinkles before serving.
Nutrition
- Serving Size: 1 slice
- Calories: Approx. 380 kcal
- Sugar: Approx. 28g
- Sodium: Approx. 320mg
- Fat: Approx. 22g
- Saturated Fat: Approx. 13g
- Unsaturated Fat: Approx. 7g
- Trans Fat: 0g
- Carbohydrates: Approx. 39g
- Fiber: Approx. 0.5g
- Protein: Approx. 6g
- Cholesterol: Approx. 60mg


Your email address will not be published. Required fields are marked *