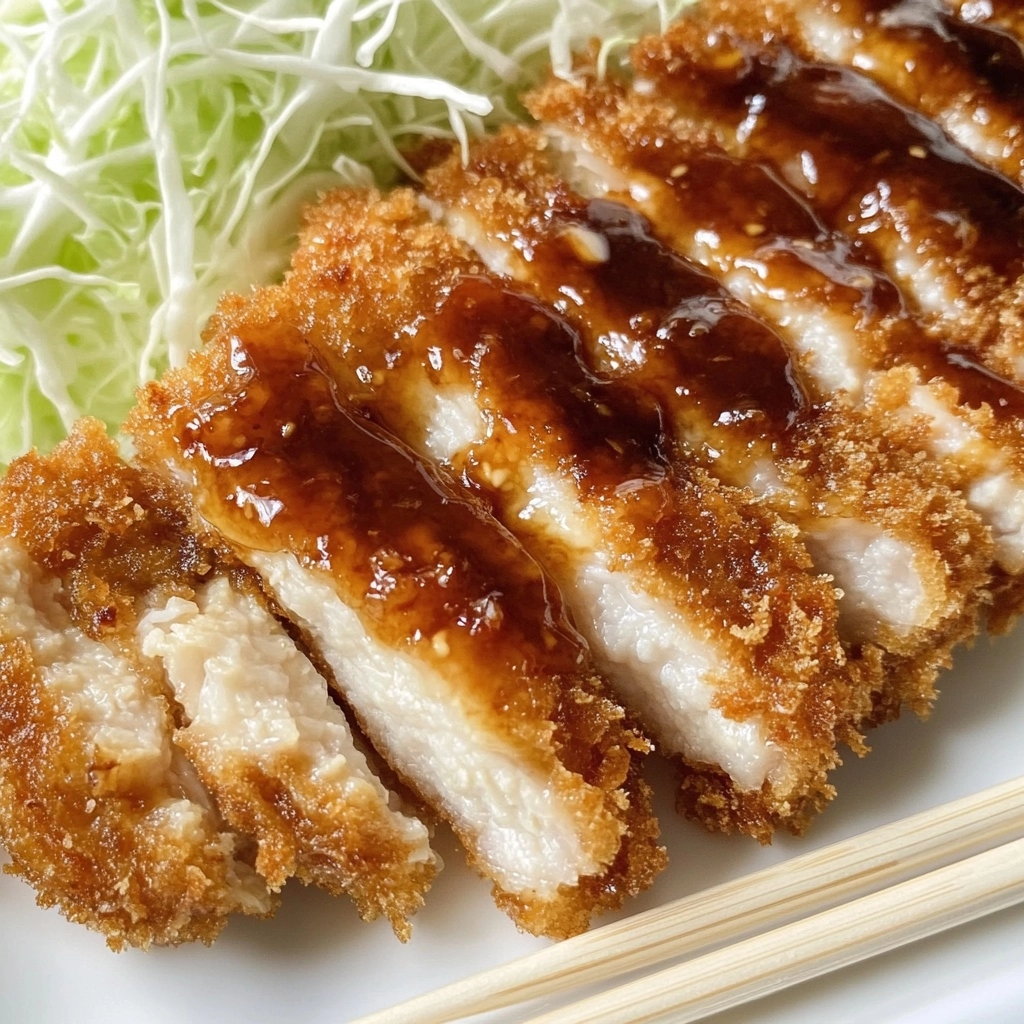
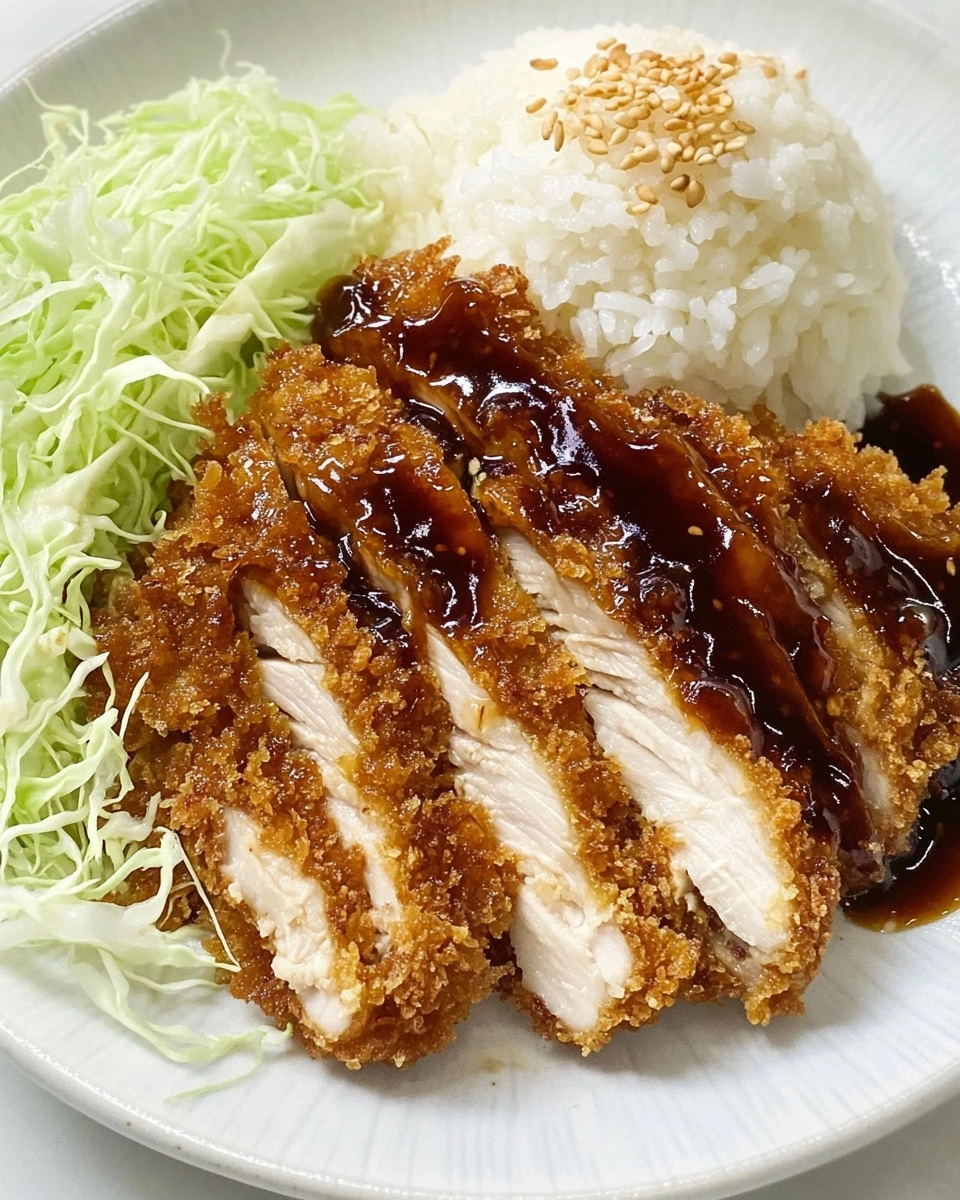
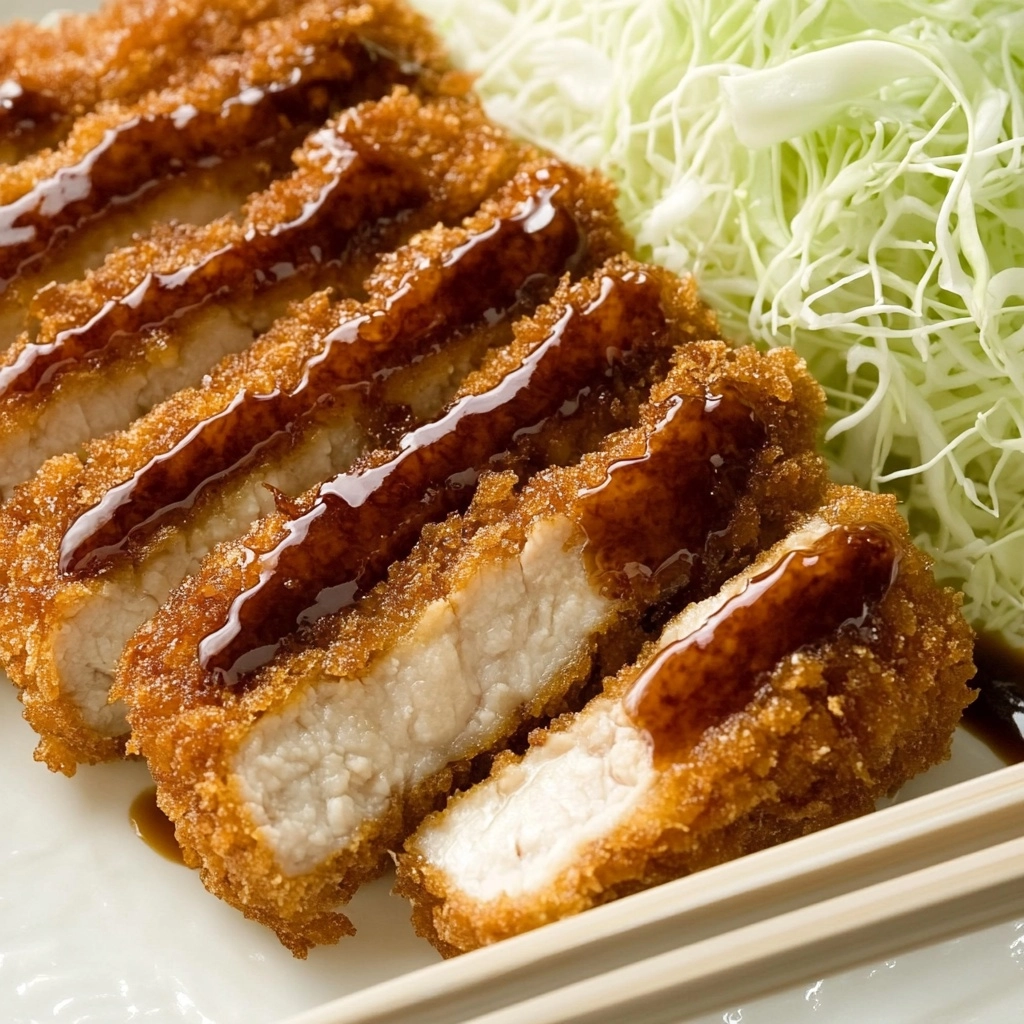
If you’re craving that perfect mix of super-crispy breading and juicy chicken, Chicken Katsu is about to become your new best friend. This Japanese comfort classic is all about panko-coated chicken fried to a shatteringly crisp golden brown and served with tangy tonkatsu sauce, fluffy rice, and crunchy cabbage. Let me show you just how easy (and ridiculously delicious) homemade Chicken Katsu can be!
Why You’ll Love This Recipe
- Crispy Perfection: The panko coating turns feather-light and extra crunchy, delivering a satisfying bite with every forkful.
- Family-Friendly & Fun: Everyone—kids and grownups alike—goes wild for Chicken Katsu dipped in sweet-savory tonkatsu sauce.
- Simple Ingredients: Just a handful of pantry basics transforms plain chicken thighs into something totally crave-worthy.
- Versatile Meal: Dress it up as a bento box, stack it over rice, or tuck it into a sandwich—Katsu is never boring!
Ingredients You’ll Need
Chicken Katsu shines because its ingredients are straightforward but thoughtfully chosen. Each element has a special job—from the juicy chicken to the shatteringly crisp panko—and you’ll taste the difference in every bite.
- Boneless, skinless chicken thighs: Thighs are the secret to the juiciest, most flavorful katsu. Don’t skip pounding them so they cook evenly and stay tender.
- Kosher salt and coarsely ground black pepper: Seasoning the chicken itself locks in flavor and guarantees the breading pops.
- All-purpose flour: This creates a tacky base that helps the egg mixture stick and keeps the breadcrumbs crisp.
- Eggs: They act as the glue for the breadcrumbs and add a touch of richness.
- Sour cream: Adds moisture and a hint of tang to the egg wash, leading to extra tender chicken and super-adherent breading—trust me, it’s a little twist that makes a big difference!
- Panko breadcrumbs: Japanese panko is the signature of true Chicken Katsu—airy, extra crunchy, and never greasy.
- Neutral oil: Vegetable or canola oils are perfect for frying and help that coating get perfectly golden brown.
Variations
The beauty of Chicken Katsu is how easily you can tweak it to fit your mood, pantry, or dietary needs. Here are some delicious ideas to make this dish truly your own or adapt based on what you have at home!
- Chicken Breast Katsu: Swap thighs for boneless, skinless breasts—just pound to a thin, even layer for the best texture.
- Gluten-Free Katsu: Use your favorite gluten-free flour and panko for a crisp, allergen-friendly version.
- Pork Katsu (Tonkatsu): Use boneless pork chops in place of chicken for a classic Japanese take.
- Bake Instead of Fry: Lay breaded chicken on a wire rack over a baking sheet and bake at 425°F, spritzing generously with oil, for a lighter version that’s still crisp.
- Spicy Katsu: Add a little chili powder or cayenne to your flour dredge if you want things to heat up!
How to Make Chicken Katsu
Step 1: Pound and Season the Chicken
Lay your chicken thighs between sheets of plastic wrap or tuck them into a zip-top bag. Using a rolling pin or the flat side of a meat mallet, gently pound them to about 1/4-inch thickness. This ensures every bite is juicy, tender, and cooks at the same rate. Pat them dry and generously season all sides with salt and black pepper—you want that seasoning in every layer.
Step 2: Set Up Your Breading Stations
Grab three shallow bowls: one for flour, one with eggs whisked together with sour cream (the secret to luscious breading!), and the third for your lovely mountain of panko breadcrumbs. This “dredge-dip-coat” lineup is key for getting that signature katsu crunch.
Step 3: Dredge, Dip, and Bread
Working one piece at a time, dredge each chicken thigh in flour, shaking off the excess. Dip it fully into the egg-sour cream mix, letting any drips fall away, then press it into the panko, ensuring a thick, even layer that’s gently packed on. Arrange on a tray in a single layer—that way, nothing gets soggy.
Step 4: Fry to Crispy, Golden Perfection
In your Dutch oven or deep skillet, bring the oil to 350°F—hot enough to get that signature shatter-crisp texture, but not so hot that it burns. Fry the chicken in batches (don’t crowd the pot!), about 1½ to 3 minutes per side. They should come out deeply golden and impossibly crisp. Lay each batch on a paper towel-lined plate or a wire rack as you work, and skim out stray crumbs to keep things neat.
Pro Tips for Making Chicken Katsu
- Even Thickness Matters: Take the time to pound your chicken uniformly—uneven pieces can under- or overcook.
- Sour Cream Magic: Don’t skip the sour cream in your egg dip—it’s the secret to a tender, never-dry interior and helps the breading cling beautifully.
- Oil Temperature Control: Use a thermometer to keep your oil around 350°F. If it drops, your katsu gets greasy; too hot, and the breading burns before the chicken is cooked through.
- Batch Fry & Rest: Fried pieces stay crisp if you rest them on a wire rack instead of piling them on a plate. Good air flow = good crunch!
How to Serve Chicken Katsu

Garnishes
For true Chicken Katsu flair, don’t forget a generous drizzle of tonkatsu sauce. Add a sprinkle of sliced green onions or toasted sesame seeds for pop, or keep it classic with plenty of finely shredded green cabbage for a fresh crunch alongside the rich chicken.
Side Dishes
This dish is happiest next to a steaming bowl of Japanese rice and a heap of crisp cabbage. For a cozy dinner, I love adding quick-pickled cucumbers or a scoop of tangy potato salad, and a bowl of miso soup wouldn’t go amiss either.
Creative Ways to Present
Slice your Chicken Katsu into strips and pack it into a bento box with rice, pickles, and fruit for a fun lunch. Layer it over a Japanese curry, tuck it into a soft sandwich roll for a katsu sando, or pile it high atop a big salad for a playful twist.
Make Ahead and Storage
Storing Leftovers
Leftover Chicken Katsu will keep beautifully when stored in an airtight container in the fridge for up to 3 days. Let the chicken cool completely before transferring to help preserve that excellent crunch.
Freezing
You can freeze breaded (uncooked) chicken katsu in a single layer on a sheet tray, then transfer to a zip-top bag for up to 2 months. You can also freeze cooked katsu—just let it cool, then wrap well. For best results, reheat from frozen in the oven or air fryer to bring back the crispiness.
Reheating
To re-crisp leftover Chicken Katsu, place pieces on a wire rack over a baking sheet and warm in a 375°F oven for 8-10 minutes. The air fryer also works wonders! Avoid microwaving if you want to maintain that irresistible crunchy coating.
FAQs
-
Can I use chicken breast instead of thighs for Chicken Katsu?
Absolutely! Chicken breast works wonderfully. Just be sure to pound the breast thin and evenly, which ensures tenderness and even cooking. Keep in mind that thighs offer a bit more flavor and juiciness, but both cuts are delicious.
-
What dipping sauces go best with Chicken Katsu?
Tonkatsu sauce is the classic accompaniment—it’s sweet, tangy, and savory. You can also offer Japanese mayo, spicy sriracha-mayo blends, or even a squeeze of lemon for extra brightness.
-
Can I make Chicken Katsu ahead of time?
Yes! You can bread the chicken in advance and refrigerate (uncooked) for up to a day. Fried pieces can be cooled, refrigerated, and re-crisped in the oven the next day for a quick and easy meal.
-
What’s the difference between Chicken Katsu and Tonkatsu?
Both are panko-breaded and fried to perfection, but Chicken Katsu uses chicken (usually thighs or breast) while Tonkatsu is made with pork cutlets. The seasoning and sauces are much the same, so you can swap proteins to suit your cravings!
Final Thoughts
Chicken Katsu is pure comfort food that’s unbelievably satisfying and easy enough for any night of the week. Once you try it, you’ll be hooked on its craveable crunch and juicy bite. Don’t be surprised if this becomes a repeat request—give it a go, and let your kitchen fill with the happiest kind of sizzle!
Print
Chicken Katsu Recipe
- Prep Time: 25 minutes
- Cook Time: 30 minutes
- Total Time: 55 minutes
- Yield: 4 servings
- Category: Main Course
- Method: Frying
- Cuisine: Japanese
- Diet: Gluten Free
Description
This Chicken Katsu recipe is a delightful Japanese dish featuring crispy breaded chicken served with tonkatsu sauce, thinly sliced green cabbage, and rice. Perfect for a satisfying meal!
Ingredients
For the Chicken Katsu:
- 2 pounds medium boneless, skinless chicken thighs
- 1 teaspoon kosher salt
- 1/2 teaspoon coarsely ground black pepper
- 1/2 cup all-purpose flour
- 2 large eggs
- 1/4 cup sour cream
- 2 cups panko breadcrumbs
- 1 cup neutral oil, such as vegetable or canola
Serving options:
- Tonkatsu sauce
- Thinly sliced green cabbage
- Cooked white rice
Instructions
- Pound the chicken: Place chicken thighs in a zip-top bag and pound until thin. Season with salt and pepper.
- Prepare breading stations: Set up bowls with flour, eggs mixed with sour cream, and panko breadcrumbs.
- Bread the chicken: Coat chicken in flour, egg mixture, then breadcrumbs.
- Fry the chicken: Fry breaded chicken in hot oil until golden-brown and cooked through.
- Serve: Enjoy Chicken Katsu with tonkatsu sauce, cabbage, and rice.
Nutrition
- Serving Size: 1 serving
- Calories: Approximately 450 kcal
- Sugar: 2g
- Sodium: 800mg
- Fat: 20g
- Saturated Fat: 4g
- Unsaturated Fat: 14g
- Trans Fat: 0g
- Carbohydrates: 30g
- Fiber: 2g
- Protein: 35g
- Cholesterol: 180mg


Your email address will not be published. Required fields are marked *