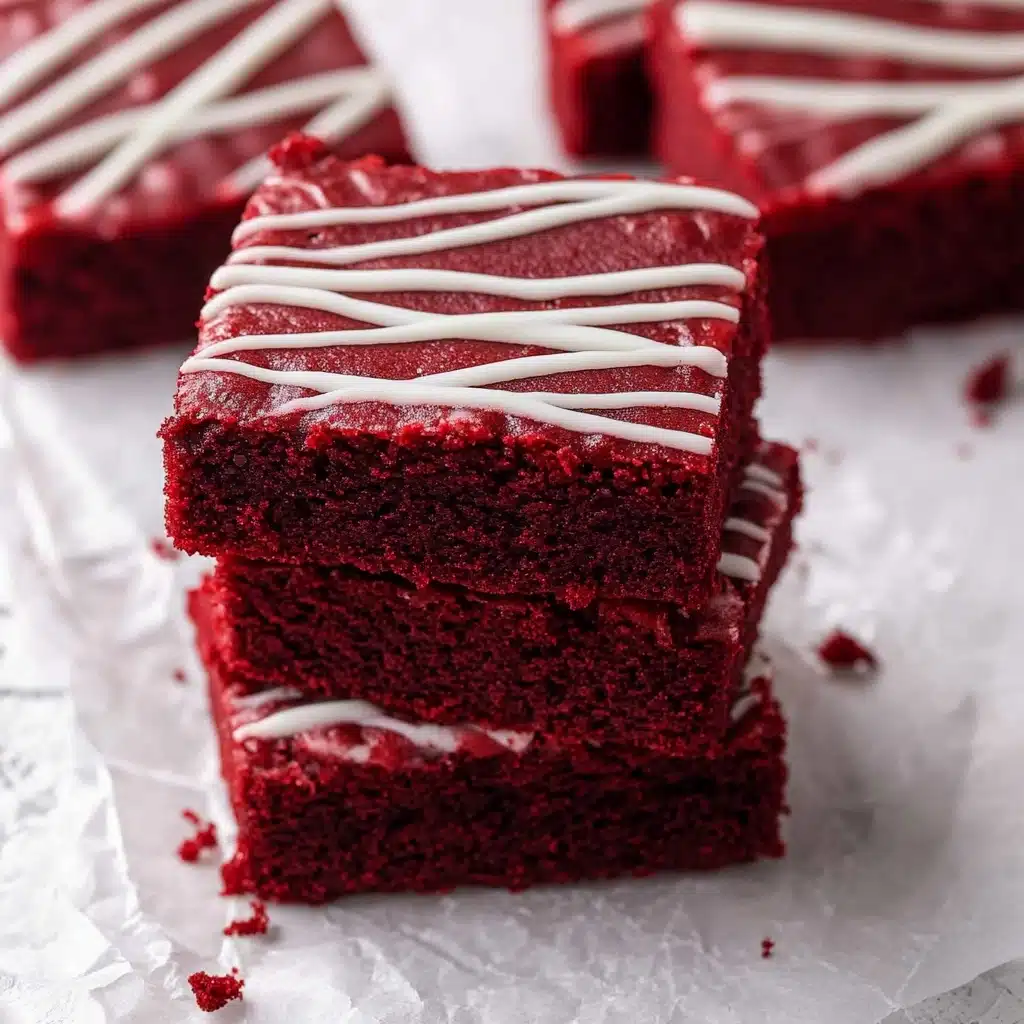
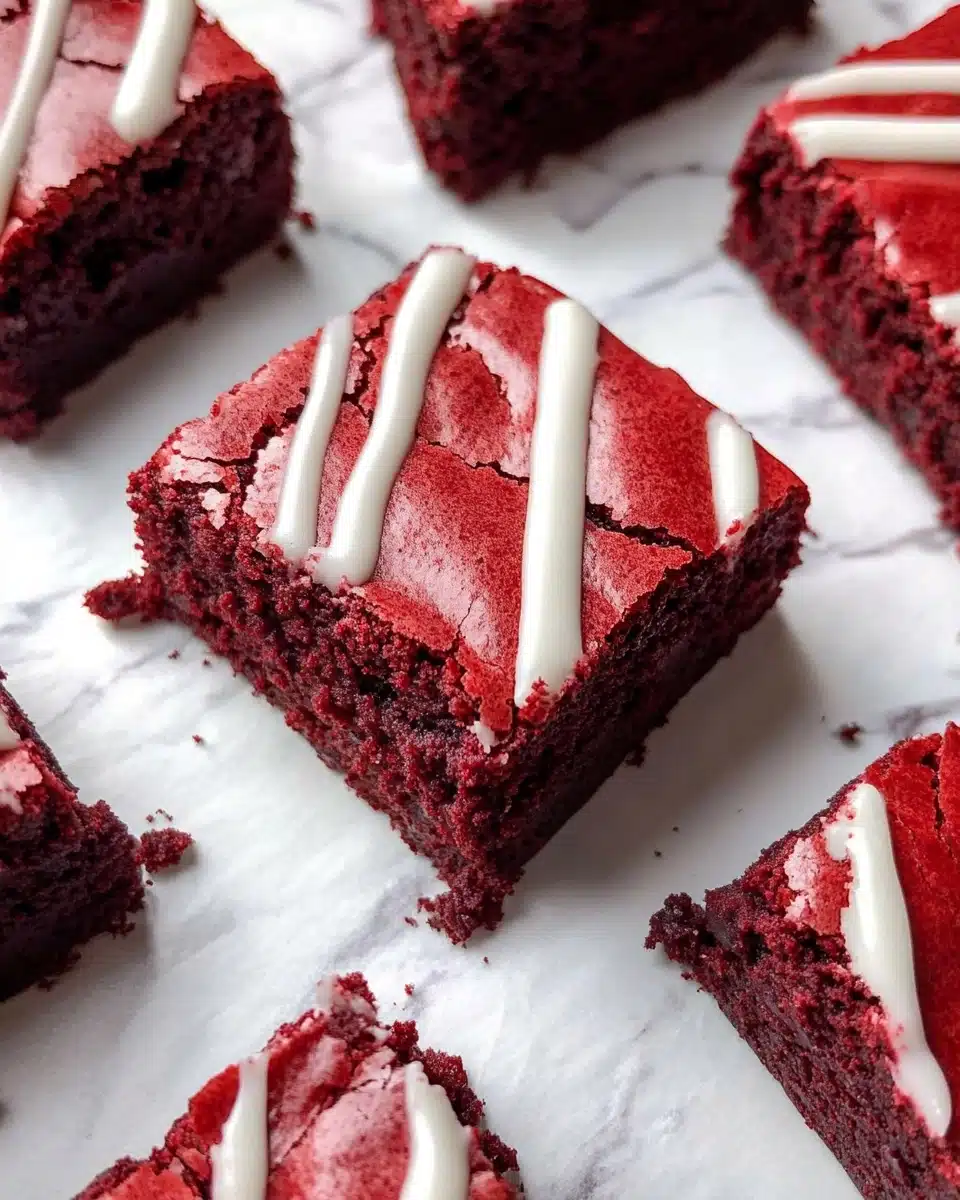
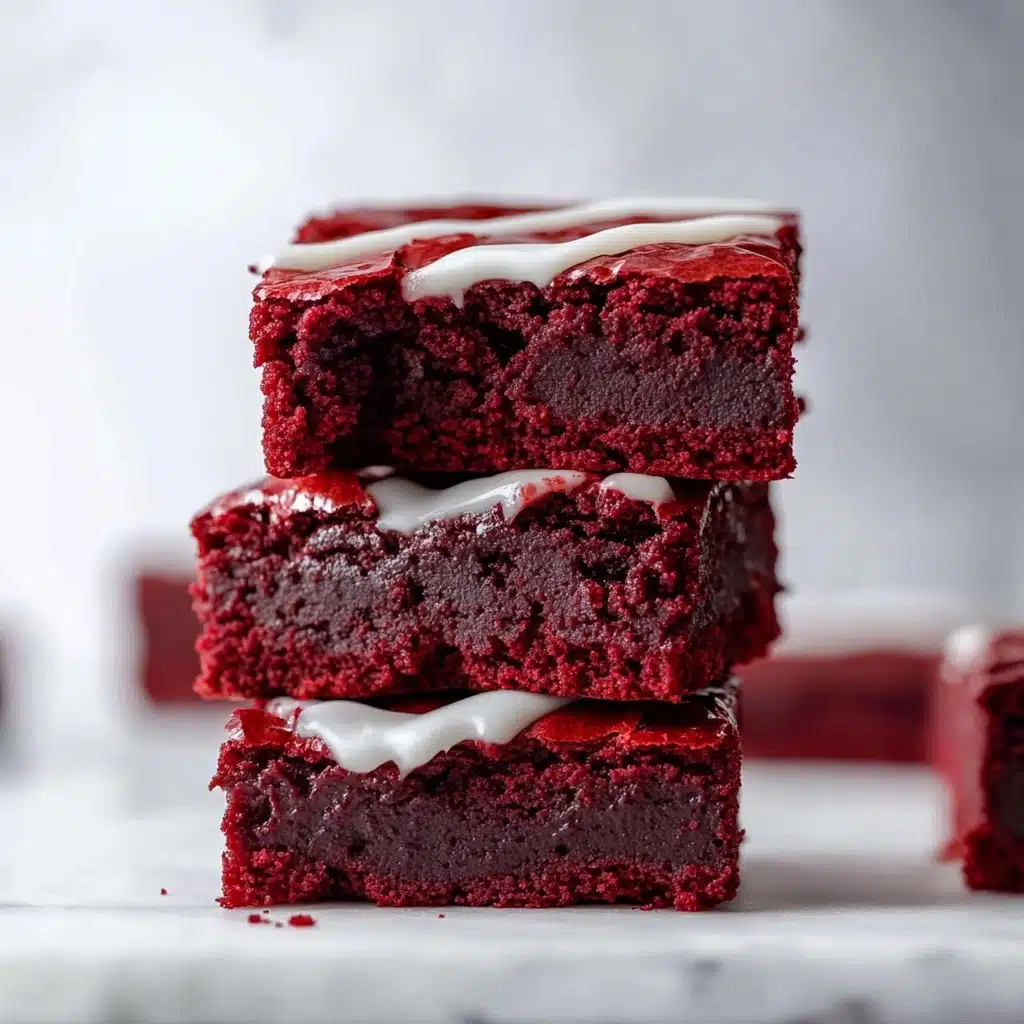
These Red Velvet Brownies are an irresistibly decadent treat, bursting with the classic cocoa-kissed flavor and a gorgeous scarlet hue! Each bite is fudgy, chewy, and swirled with a hint of vanilla—all the best parts of red velvet cake, now in brownie form.
Why You’ll Love This Recipe
- Intensely Fudgy Texture: These Red Velvet Brownies are dense and chewy, delivering the perfect gooey bite every time.
- Classic Red Velvet Flavor: Hints of cocoa, a whisper of vanilla, and that signature tang come together in every vibrant square.
- Easy, No-Fuss Prep: You don’t need any fancy mixers—just a bowl and whisk turn pantry staples into a show-stopping dessert.
- Stunning for Any Occasion: Their iconic ruby red color means these brownies turn heads, whether for Valentine’s Day, birthdays, or just because.
Ingredients You’ll Need
One of the best things about Red Velvet Brownies is that you probably have most of these ingredients on hand already. Each item is carefully chosen to create that perfect balance of moist crumb, deep chocolate flavor, and eye-catching color.
- Unsalted butter, melted: Adds rich flavor and creates that unmistakable fudgy texture; melting it gives you a glossy, dense brownie base.
- Semi-sweet chocolate bar (chopped): Deepens the cocoa notes without overpowering the red velvet signature taste—use a bar for ultra-smooth results.
- Granulated sugar: Not just for sweetness! Sugar also helps create those shiny, crackly brownie tops we all love.
- Large eggs: Eggs bind your brownies and give them body; be sure they’re at room temperature for best results.
- Vanilla extract: Adds warmth and that classic bakery aroma you expect from red velvet anything.
- White vinegar: A tiny splash, but it’s essential! Vinegar reacts with baking cocoa to intensify the red color and add a subtle tang.
- Red gel food coloring: For that bold, deeply saturated red—gel works best and won’t water down your batter.
- Unsweetened cocoa powder: The backbone of red velvet flavor, adding chocolate depth without overpowering.
- All-purpose flour: The structure-building powerhouse that keeps your brownies cohesive but still chewy.
- Salt: Just a bit brings all the sweet and chocolatey flavors to life.
- White chocolate chips (optional): These can be mixed into the batter or melted and drizzled on top for a beautiful, sweet finish.
Variations
Want to put your own spin on these Red Velvet Brownies? Feel free! This recipe is wonderfully flexible—perfect for adding personal touches, swapping ingredients to fit dietary needs, or just getting a little creative.
- Gluten-Free Brownies: Substitute a high-quality 1:1 gluten-free flour blend for the all-purpose flour; you’ll still get chewy, vibrant results.
- Vegan Red Velvet Brownies: Use plant-based butter, flax eggs, and dairy-free chocolate to make these brownies fully vegan without sacrificing taste.
- Cream Cheese Swirl: Drop spoonfuls of sweetened cream cheese onto the batter and swirl with a knife before baking for a true red velvet vibe.
- Extra Chocolatey: Amp up the decadence by adding dark or milk chocolate chips in addition to (or instead of) white chocolate chips.
How to Make Red Velvet Brownies
Step 1: Prep the Pan and Oven
Begin by preheating your oven to 350°F. Line an 8×8-inch baking pan with parchment paper, leaving some overhang for easy lifting later. Parchment not only guarantees a mess-free release, but it also helps your brownies cook and cool evenly—no more sticky corners!
Step 2: Melt the Butter & Chocolate
In a large microwave-safe mixing bowl, combine your melted butter and chopped semi-sweet chocolate. Microwave in 30-second bursts, stirring after each, until both are silky-smooth and fully melted. This step sets the stage for those rich, glossy, fudgy Red Velvet Brownies.
Step 3: Mix In Sugar and Wet Ingredients
Add the granulated sugar to the warm chocolate-butter mixture and stir until well-combined. Then, add eggs one at a time, mixing thoroughly after each addition to ensure that glossy, crackly crust. Finally, stir in the vanilla extract, white vinegar, and that bold red food coloring until the batter is vibrantly red and glossy.
Step 4: Sift and Incorporate Dry Ingredients
In a separate bowl, sift together the unsweetened cocoa powder, flour, and salt. Gradually add the dry mixture to your wet ingredients, folding gently just until combined. Be careful not to overmix—this is the secret to chewy, tender brownies! If you’re using white chocolate chips, fold them in now.
Step 5: Pour and Bake
Spread the batter evenly into your prepared pan and smooth the top with a spatula. Bake in the preheated oven for 30-35 minutes, or until a toothpick inserted in the center comes out with just a few moist crumbs attached (not raw batter). Resist slicing until completely cool for the cleanest cuts and best texture!
Step 6: Cool, Slice, and Garnish
Allow your brownies to cool fully in the pan—this helps the fudgy texture set. Once cool, lift them out using the parchment overhang and cut into 16 squares. For a finishing touch, drizzle with melted white chocolate and let it set for a gorgeous, bakery-style flourish!
Pro Tips for Making Red Velvet Brownies
- Bring Eggs to Room Temperature: Cold eggs can make your mixture seize or curdle—let them sit out for smooth, glossy batter and even baking.
- Don’t Overmix the Batter: Gently fold in the dry ingredients just until you no longer see streaks of flour. Overmixing leads to cakey (not fudgy!) brownies.
- Get Vibrant Red: Gel food coloring is your best friend for a bold, bakery-style red that shines through the cocoa; avoid liquid food coloring for richer color.
- Check Early for Doneness: Every oven is a little different, so start checking your Red Velvet Brownies at the 28-minute mark for that perfect moist crumb.
How to Serve Red Velvet Brownies

Garnishes
A classic garnish for Red Velvet Brownies is a generous drizzle of melted white chocolate—it pops beautifully against the red and adds a lovely creamy sweetness. Alternatively, try a dusting of powdered sugar or a scattering of festive sprinkles for a playful touch.
Side Dishes
Pair these brownies with a scoop of vanilla ice cream, a handful of fresh berries, or even a dollop of whipped cream. They’re rich enough to shine solo, but these simple sides add brightness and contrast for a truly swoon-worthy dessert plate.
Creative Ways to Present
CUT brownies with a heart-shaped cookie cutter for Valentine’s Day or arrange them in a checkerboard pattern on a dessert platter. Stack squares between layers of cream cheese frosting to make mini brownie cakes—guaranteed to wow at parties!
Make Ahead and Storage
Storing Leftovers
Keep any leftover Red Velvet Brownies in an airtight container at room temperature for up to 3 days. If your kitchen is especially warm, they’ll last even longer stored in the refrigerator—just be sure to separate layers with parchment to keep them from sticking.
Freezing
These brownies freeze beautifully! Wrap individual squares tightly in plastic wrap and place in a freezer bag—they’ll stay delicious for up to 2 months. Thaw at room temperature or gently warm before serving for a bakery-fresh bite.
Reheating
For warm, gooey Red Velvet Brownies, microwave a serving for 8–10 seconds—that’s all it takes to revive the fudgy texture and melt any chocolate chips hiding inside. Don’t overheat or they may dry out.
FAQs
-
Why do you add vinegar to Red Velvet Brownies?
Vinegar is a signature ingredient in red velvet desserts! It reacts with the baking cocoa to enhance the vivid red color and brings a subtle tang that balances the sweetness for authentic red velvet flavor.
-
Can I use regular food coloring instead of gel?
Gel food coloring is ideal because it delivers bold color without watering down your batter. If you only have liquid food coloring, you may need to use quite a bit more, but the color will be less intense—so use gel if possible for that true bakery look!
-
How do I know when my brownies are done baking?
Test for doneness at 30 minutes by inserting a toothpick into the center. You want a few moist crumbs to cling—no streaks of raw batter. Start checking early; overbaking results in dry brownies!
-
What’s the best way to get clean, sharp edges when cutting brownies?
Wait until the Red Velvet Brownies are completely cool, then use a sharp knife wiped clean between each cut. For extra-neat slices, you can even chill the brownies in the fridge for 30 minutes before cutting.
Final Thoughts
I truly hope you treat yourself to a batch of these Red Velvet Brownies soon—they’re the kind of cozy, impressive treat that makes any day a little more special. Don’t be surprised when they disappear fast (you might want to stash a few for yourself!). Enjoy every fudgy, beautiful bite!
Print
Red Velvet Brownies Recipe
- Prep Time: 15 minutes
- Cook Time: 30 minutes
- Total Time: 45 minutes
- Yield: 16 servings
- Category: Baking
- Method: Oven
Description
Indulge in these decadent Red Velvet Brownies that are a delightful twist on traditional brownies, with a rich chocolate flavor and a vibrant red hue. Topped with a luscious white chocolate drizzle, these brownies are perfect for any occasion.
Ingredients
For the Brownies:
- 3/4 cup unsalted butter, melted
- 2 oz chopped semi-sweet chocolate bar
- 1 & 1/4 cup granulated sugar
- 2 large eggs
- 2 teaspoons vanilla extract
- 1 teaspoon white vinegar
- 1/2 tablespoon red gel food coloring
- 2 tablespoons unsweetened cocoa powder
- 1 & 1/4 cup all-purpose flour
- 1/4 teaspoon salt
- 1/2 cup white chocolate chips (optional, for mixing into the batter or drizzling on top)
Instructions
- Preheat the Oven: Preheat your oven to 350°F and line an 8×8 inch baking pan with parchment paper.
- Melt Butter and Chocolate: In a large microwave-safe mixing bowl, melt the butter and chopped chocolate in the microwave in 30-second increments. Stir until fully melted.
- Mix Wet Ingredients: Add sugar to the butter-chocolate mixture, then mix in the eggs one at a time. Stir in vanilla extract, white vinegar, and red food coloring.
- Combine Dry Ingredients: In a separate bowl, sift together cocoa powder, flour, and salt.
- Combine Wet and Dry Ingredients: Gradually add the dry ingredients to the wet mixture, folding until just combined. Optionally, fold in white chocolate chips.
- Bake: Pour the batter into the prepared pan and bake for 30-35 minutes until a toothpick comes out with a few moist crumbs.
- Cool and Serve: Allow the brownies to cool completely in the pan before cutting into squares. Drizzle with melted white chocolate if desired.
Nutrition
- Serving Size: 1 brownie
- Calories: 245 kcal
- Sugar: 18g
- Sodium: 105mg
- Fat: 13g
- Saturated Fat: 8g
- Unsaturated Fat: 4g
- Trans Fat: 0g
- Carbohydrates: 30g
- Fiber: 1g
- Protein: 3g
- Cholesterol: 55mg


Your email address will not be published. Required fields are marked *