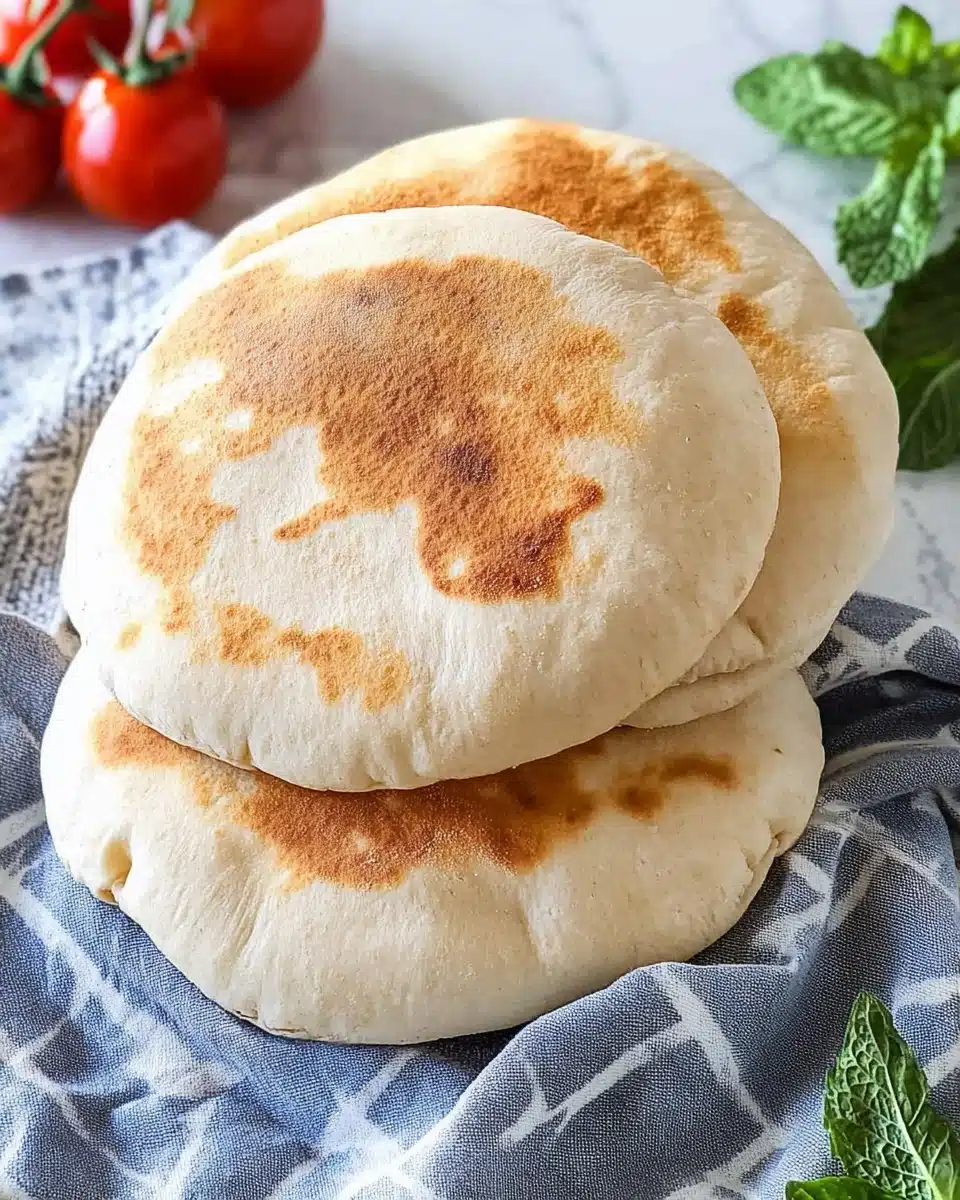
There’s just something magical about Homemade Pita Bread—soft, chewy rounds that puff up beautifully in the oven and are ready to scoop up your favorite dips, wrap around fillings, or simply enjoy warm with a swipe of olive oil. Once you make pita from scratch, you’ll see just how much better and fresher it tastes than anything from a package. Let’s walk through the process together and turn your kitchen into a bakery!
Why You’ll Love This Recipe
- Incredible Freshness: Nothing compares to the warm, pillowy texture of pita straight from your own oven.
- Easy, Accessible Ingredients: You likely already have everything in your pantry to make Homemade Pita Bread tonight.
- Fun to Watch Puff: Each piece puffs up with a pocket in mere minutes—satisfying and a bit magical to see!
- Versatile for Meals: From dips and wraps to pizzas and sandwiches, these pitas are the ultimate blank canvas for any meal.
Ingredients You’ll Need
Homemade Pita Bread couldn’t be simpler—just a few staple ingredients combine to produce those signature soft, chewy rounds. Every ingredient here plays an important role, so let’s break down the shortlist and why it matters.
- All-purpose flour: This is the backbone for your pita’s tender crumb. Use unbleached for the best flavor and chew.
- Water: Lukewarm water helps to activate the yeast and gently brings the dough together.
- Active dry yeast: The secret to getting that signature pita puff—your bread rises like a dream.
- Sugar: A little sugar wakes up the yeast and encourages a good rise and golden color.
- Salt: Don’t forget this! Salt seasons the dough, ensuring your pita bread never tastes bland.
- Olive oil: A touch of richness that keeps your pita moist, flavorful, and perfectly chewy.
Variations
The real joy of making Homemade Pita Bread is how effortlessly adaptable it is. Tweak the flavors, swap out ingredients, or adjust for dietary needs—personalize your recipe experience in so many delicious ways!
- Whole Wheat Pita: Replace half the all-purpose flour with whole wheat for a heartier, nuttier flavor and a boost of fiber.
- Herbed Pita: Add a teaspoon of dried oregano, thyme, or za’atar into the flour for a wonderfully aromatic twist.
- Gluten-Free Variation: Use your favorite all-purpose gluten-free flour blend (with xanthan gum) for a gluten-free version—just keep an eye on the dough’s consistency.
- Garlic-Infused Pita: Mix in a clove of freshly minced garlic or a dash of garlic powder for added zest and warmth.
How to Make Homemade Pita Bread
Step 1: Activate the Yeast
Begin by combining lukewarm water, sugar, and active dry yeast in a small container. Whisk until the yeast dissolves, then set this mixture aside for a few minutes. You’ll notice it turn foamy—proof that your yeast is alive and ready to puff up your pita!
Step 2: Mix the Dough
In a large mixing bowl, stir together your flour and salt. Add the bubbly yeast mixture and mix with a wooden spoon until a sticky dough forms. Pour in the olive oil and mix until the dough drinks it up, getting silkier by the second.
Step 3: Knead and First Proof
On a floured work surface, knead the dough for about 5 minutes until it turns smooth and soft (if you’re using a mixer, let the dough hook do the work for about 6 minutes). Don’t stress if it’s a little sticky—just dust with flour as needed. Set your dough ball in an oiled bowl, brush the top lightly with oil, cover, and let it proof somewhere warm for 1 to 1.5 hours, until doubled in size.
Step 4: Preheat and Shape
While your dough is proofing, preheat a pizza stone or inverted baking tray in your oven to 480°F (250°C)—or crank up your pizza oven to 750°F (400°C). Punch down the risen dough, gently scrape it onto your work surface, and divide it into 10 equal pieces. Shape each into a smooth ball, cover with a damp towel, and let them rest for 10 minutes so they relax before rolling.
Step 5: Roll and Rest
Dust your workspace and rolling pin with flour. Roll each dough ball into a 6-inch (15 cm) round, aiming for about ¼ inch (5 mm) thick. Arrange the rounds on a floured baking sheet, cover with a damp towel, and let rest for 20 more minutes—this gives your pitas extra puff power in the oven.
Step 6: Bake and Puff!
Time for the fun part! Carefully transfer 1 or 2 pitas (upside down) onto your hot pizza stone or tray (a pizza peel helps here). Bake for just 2–3 minutes, flipping halfway, until gorgeously puffed and barely golden. Stack finished pitas in a clean towel to keep them soft and warm as you finish the batch.
Pro Tips for Making Homemade Pita Bread
- High Heat, Big Puff: The hotter your oven or pizza stone, the more dramatic your pita pocket—don’t skimp on preheating time!
- Resting is Essential: Letting your dough rounds rest before baking relaxes the gluten for an even, perfect puff.
- Keep Them Covered: Always wrap baked pitas in a kitchen towel as they cool—this guarantees they stay tender and pliable, never dry.
- Flour for Rolling, Not Too Much: Lightly flour your surface and rolling pin, but brush off excess so the pitas bake up soft (not dusty).
How to Serve Homemade Pita Bread

Garnishes
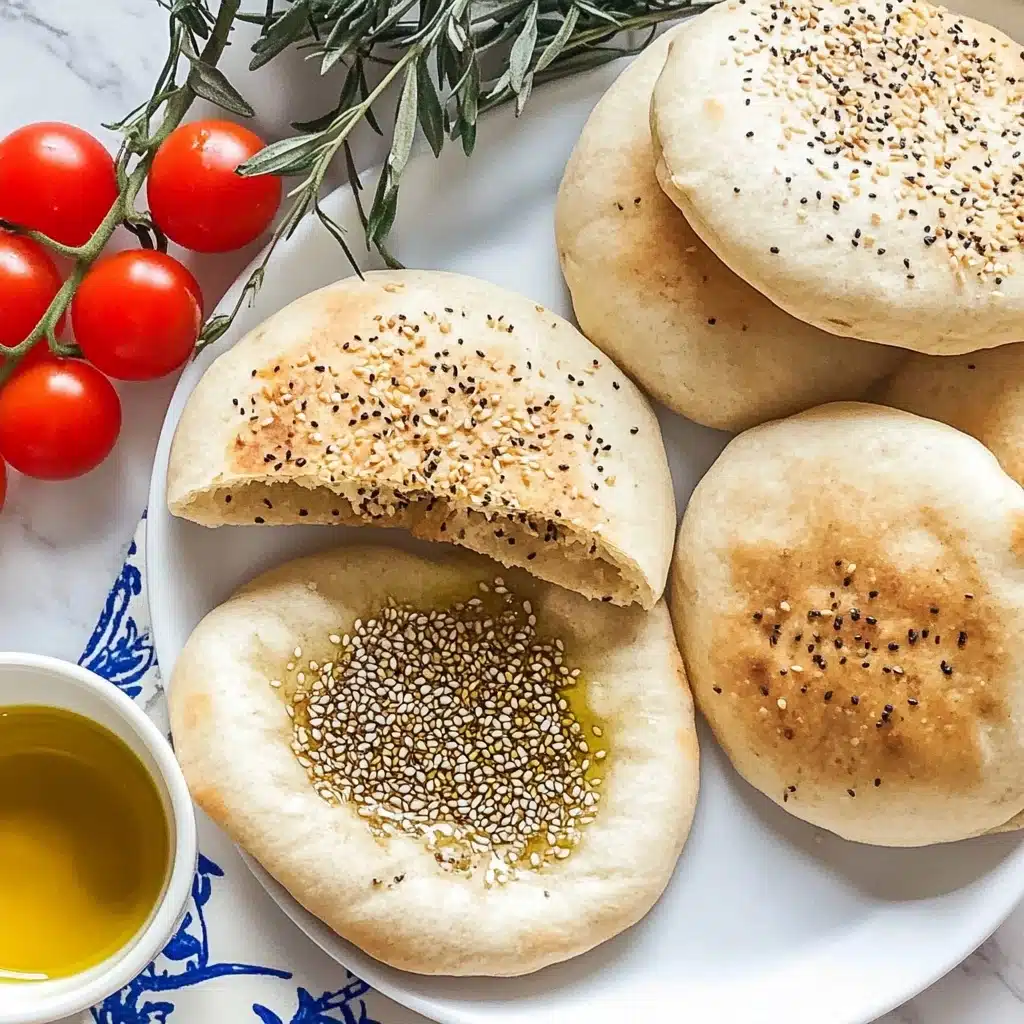
When it comes to serving Homemade Pita Bread, a sprinkle of sesame seeds or a pinch of flaky sea salt on top just after baking adds a lovely crunch and brings out those toasty flavors. Or brush the warm pitas with a little extra olive oil and your favorite herbs for a colorful, aromatic finish.
Side Dishes
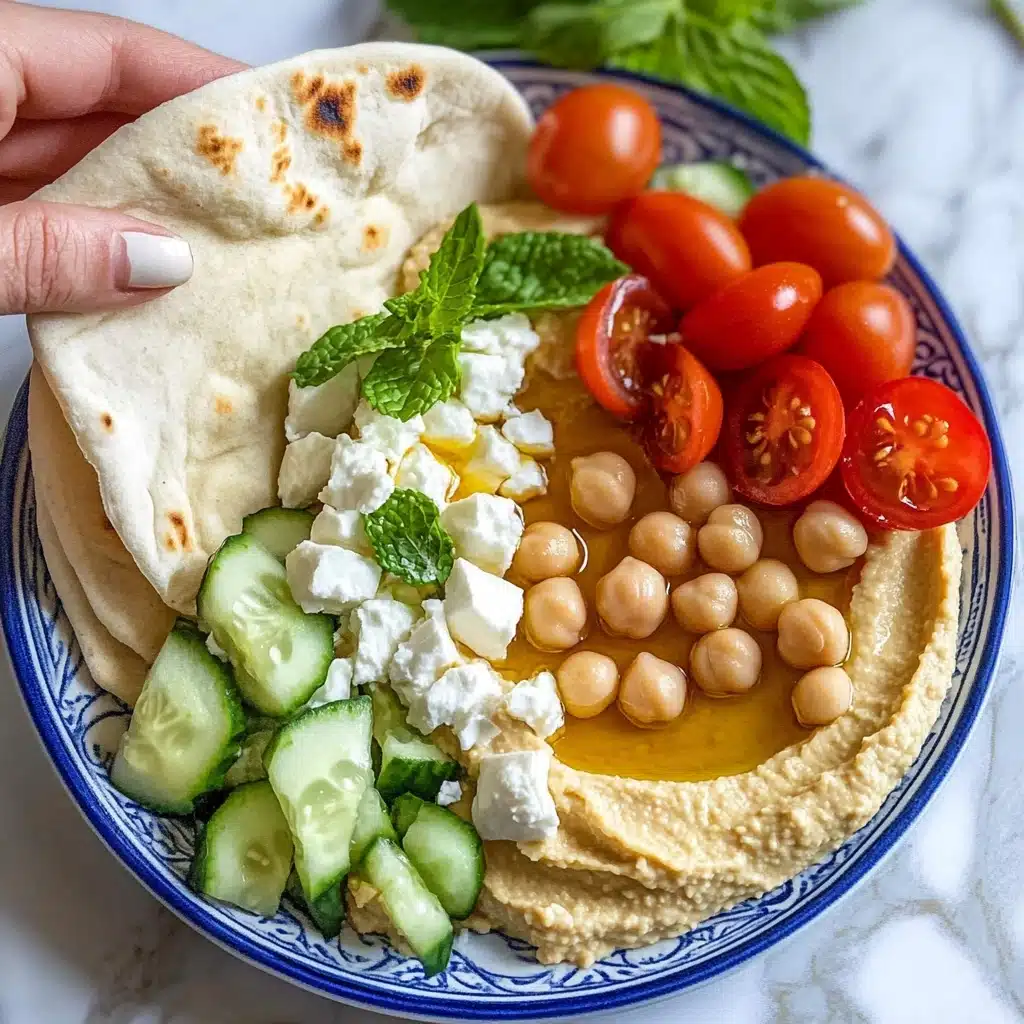
Your freshly baked pitas pair seamlessly with classic dips like hummus, baba ganoush, or tzatziki. They’re equally wonderful alongside a colorful mezze platter, warm bowls of lentil soup, or vibrant salads—think fattoush or tabbouleh.
Creative Ways to Present
Try slicing homemade pitas into wedges for dipping, splitting them to stuff with falafel, roasted veggies, or grilled chicken, or even turning them into mini pita pizzas topped with sauce and cheese. For parties, set up a DIY pita sandwich bar—guaranteed to delight kids and adults alike!
Make Ahead and Storage
Storing Leftovers
To keep your Homemade Pita Bread deliciously soft, store any leftovers in an airtight bag or container at room temperature for up to 2 days. Layering parchment between each pita helps avoid sticking and keeps them fresh.
Freezing
Want to keep pitas on hand for later? Absolutely! Stack cooled pitas with parchment paper in between, seal in a zip-top freezer bag, and freeze for up to 2 months. They thaw beautifully and are just as wonderful as the day they were baked.
Reheating
Revive your Homemade Pita Bread by wrapping a few pitas in foil and warming them in a 350°F oven for 5-10 minutes. For a quicker option, microwave for 10–15 seconds wrapped in a damp paper towel to restore softness and warmth.
FAQs
-
Why didn’t my Homemade Pita Bread puff up in the oven?
The most common culprit is either the oven isn’t hot enough or the rounds weren’t rolled out evenly. Make sure your oven (and stone/tray) is thoroughly preheated, and roll the dough to an even thickness—this helps steam form a beautiful pocket.
-
Can I make the dough for Homemade Pita Bread ahead of time?
Absolutely! After the first rise, you can refrigerate the dough overnight. Let it come to room temperature before shaping and baking for the best results.
-
Is it possible to make pita bread without a pizza stone?
Yes—a heavy baking sheet turned upside down works remarkably well! Just be sure it preheats in the oven so the pitas land on a hot surface and get that signature pocket.
-
How do I know when my pita bread is done baking?
Pitas are ready when fully puffed and just golden on the bottom—usually 2 to 3 minutes is perfect. They should be soft and bendy, not crisp or too browned.
Final Thoughts
If you’re craving comfort and culinary adventure, make Homemade Pita Bread your next kitchen project. These fluffy, golden disks are sure to become a beloved staple—warm from the oven, they’re just irresistible. Go ahead, give them a try and enjoy every soft, steamy bite!
Print
Homemade Pita Bread Recipe
- Prep Time: 15 minutes
- Cook Time: 15 minutes
- Total Time: 2 hours
- Yield: 10 small pitas
- Category: Baking
- Method: Baking
- Cuisine: Middle Eastern
Description
Learn how to make delicious homemade Pita Bread with this easy recipe. These soft and fluffy pitas are perfect for sandwiches, dips, or just enjoying on their own!
Ingredients
For the Dough:
- 1 1/4 cups lukewarm water
- 2 teaspoons sugar
- 2 teaspoons active dry yeast
- 3 1/3 cups all-purpose flour
- 2 teaspoons salt
- 2 tablespoons olive oil
Instructions
- Making the Dough: To a small container, add lukewarm water, sugar, and active dry yeast. Whisk well. In a large mixing bowl combine flour and salt. Add the yeast mixture and olive oil. Knead the dough for 5 minutes. Proofing the dough by shaping it into a ball, letting it proof for 1-1.5 hours until doubled.
- Shaping the Dough: Preheat the oven, cut the dough into pieces, shape into balls, and roll out into circles. Let rest. Baking the pita by cooking on a pizza stone until puffed and golden.
Notes
- Nutrition information is an estimate for 1 pita out of 10.
Nutrition
- Serving Size: 1 pita
- Calories: 180
- Sugar: 1g
- Sodium: 200mg
- Fat: 2g
- Saturated Fat: 0.5g
- Unsaturated Fat: 1.5g
- Trans Fat: 0g
- Carbohydrates: 35g
- Fiber: 2g
- Protein: 5g
- Cholesterol: 0mg


Your email address will not be published. Required fields are marked *