I absolutely love this No-Bake Biscoff Cheesecake recipe because it’s one of those desserts that feels fancy but is surprisingly simple to pull off. You get that impossibly smooth, creamy filling bursting with that signature Biscoff flavor, all resting on a perfectly crunchy biscuit base—no baking required! It’s ideal for when you want something impressive but don’t want to heat up the kitchen or fuss with complex steps.
When I first tried this recipe, it quickly became my go-to for special occasions and weekend treats alike. You’ll find that the rich, caramelized tones of Biscoff really elevate the cheesecake without needing any extra bells and whistles. Whether you’re serving guests or just craving something sweet, this No-Bake Biscoff Cheesecake is definitely worth trying—you’ll be hooked just like me!
Why You’ll Love This Recipe
- No Baking Required: Makes dessert prep super simple and perfect for keep-cool days or last-minute plans.
- Rich Biscoff Flavor: Using lots of Biscoff spread and biscuits gives an indulgent, caramelized sweetness you won’t forget.
- Great Crowd-Pleaser: This cheesecake slices beautifully and always disappears fast when I bring it to parties.
- Flexible and Customizable: You can easily switch up toppings or base biscuits to suit your taste or what you have on hand.
Ingredients You’ll Need
The ingredients here are straightforward, but each plays a critical role in delivering that iconic No-Bake Biscoff Cheesecake flavor and texture. I love using full-fat cream cheese because it gives the filling the perfect creamy body, while the Lotus Biscoff biscuits make an unbeatable base.
- Lotus/Biscoff biscuits: The star of the show for that signature caramelized crunch; blitz them finely for the base.
- Unsalted butter: Melting it helps bind the biscuit crumbs together to form a sturdy crust.
- Cream cheese (full fat): Provides creaminess and richness; avoid reduced fat for the best results.
- Icing sugar: Sweetens gently without graininess; it dissolves smoothly into the filling.
- Biscoff spread: The secret weapon adding intense flavor; smooth or crunchy works depending on your preference.
- Vanilla extract: A subtle undertone that amplifies the dessert’s depth and sweetness.
- Double cream: Whipped to thicken the filling and create that luscious, airy texture.
- Optional Decorations: More double cream and icing sugar for piping, extra Biscoff spread melted for drizzling, and some whole biscuits to finish things off.
Variations
I love to play around with this No-Bake Biscoff Cheesecake recipe depending on what I have or the occasion. Tweak the toppings or try swapping the biscuit base to keep things interesting—you’ll find it’s a very forgiving recipe that welcomes creativity.
- Vegan Variation: I once experimented with vegan cream cheese and coconut cream, and while it’s a bit different, adding a touch of maple syrup helps mimic the sweetness beautifully.
- Crunchy Twist: Adding crushed chopped nuts into the base or folding some crunchy Biscoff spread into the filling gives it a great texture contrast.
- Chocolate Biscoff: Swirl a bit of melted dark chocolate over the top once chilled for a stunning flavor combo that my family adores.
- Mini Cheesecakes: I’ve made this recipe in muffin tins to create individual servings that are perfect party bites and freeze really well.
How to Make No-Bake Biscoff Cheesecake Recipe
Step 1: Perfect Your Biscuit Base
Start by blitzing your Lotus or Biscoff biscuits in a food processor until they’re finely ground crumbs—that crumbly texture is key for the base. Mix those crumbs with melted unsalted butter until everything holds together when pressed. Pack the mixture firmly and evenly into an 8-inch springform tin; you really want it compressed so that your crust won’t crumble later. I usually press it down with the back of a spoon or the base of a glass to get a nice even layer.
Step 2: Whisk Up the Creamy Filling
Using an electric mixer, blend together the cream cheese, vanilla extract, icing sugar, and Biscoff spread until the mixture is silky smooth—this is where your cheesecake really comes to life flavor-wise. Then, gently mix in the double cream and whisk until the filling thickens and holds its shape. I’ve learned that whipping the cream slowly and steadily gets a better consistency, so be patient! Alternatively, whip your double cream separately until stiff peaks form and fold it through the cream cheese mixture for an extra fluffy texture.
Step 3: Assemble and Chill
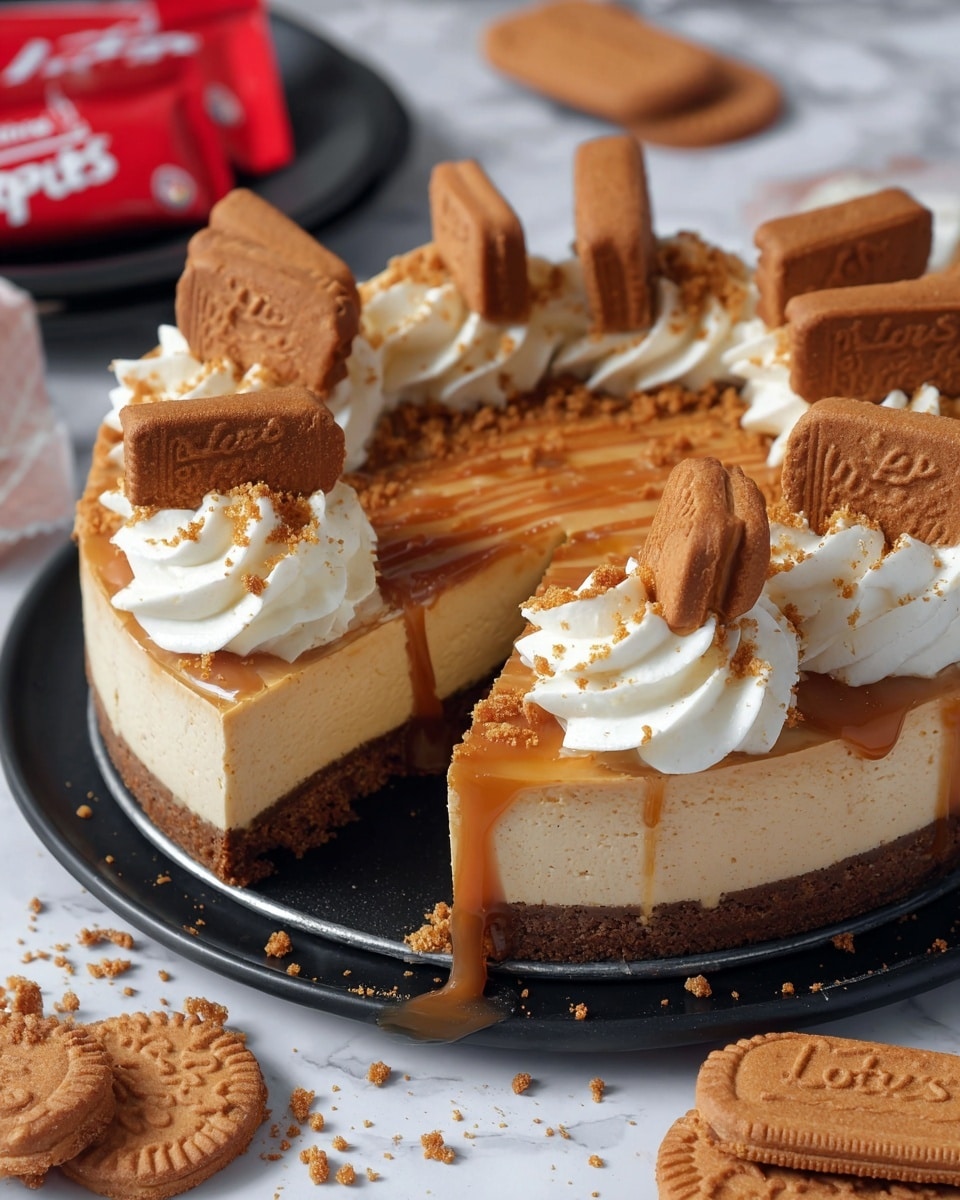
Spread the luscious filling over your biscuit base, smooth it out evenly with a spatula, then pop it into the fridge. The cheesecake needs to set for at least 5 to 6 hours—overnight is even better if you’ve got time. This chilling step is what firms everything up so your slices come out neat and hold their shape beautifully.
Step 4: Decorate with Love
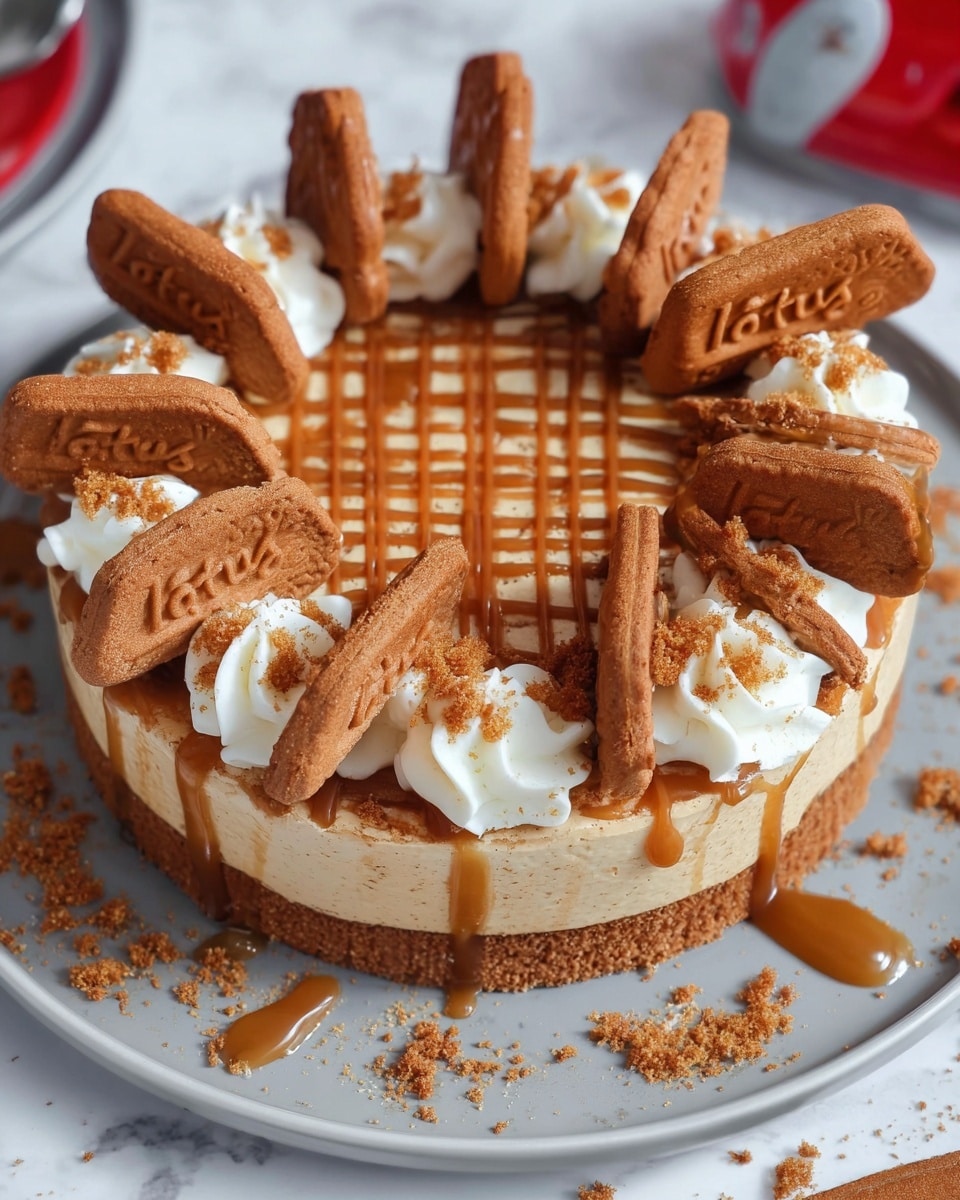
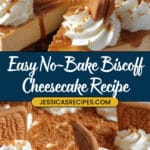
Remove the cake from the tin carefully once set, and have fun decorating! I like whipping some double cream with icing sugar to pipe little swirls on top and adding a Biscoff biscuit on each slice for the classic look. Drizzling a bit of melted Biscoff spread over everything gives it a gorgeous glossy finish and boosts the flavor—just melt it for about 10 seconds in the microwave to make it drizzle-able.
Pro Tips for Making No-Bake Biscoff Cheesecake Recipe
- Use Full Fat Cream Cheese: I once tried reduced fat and the texture wasn’t as creamy or stable—full fat is the way to go for that smooth finish.
- Press Your Base Firmly: Don’t rush this step; a densely packed base means cleaner slices and less crumbly mess.
- Whip the Cream Slowly: I’ve found that starting at low speed and gradually increasing helps avoid over-whipping and keeps a perfect texture.
- Chill Overnight If Possible: It really improves the set and flavor melding—try not to skip this for best results.
How to Serve No-Bake Biscoff Cheesecake Recipe
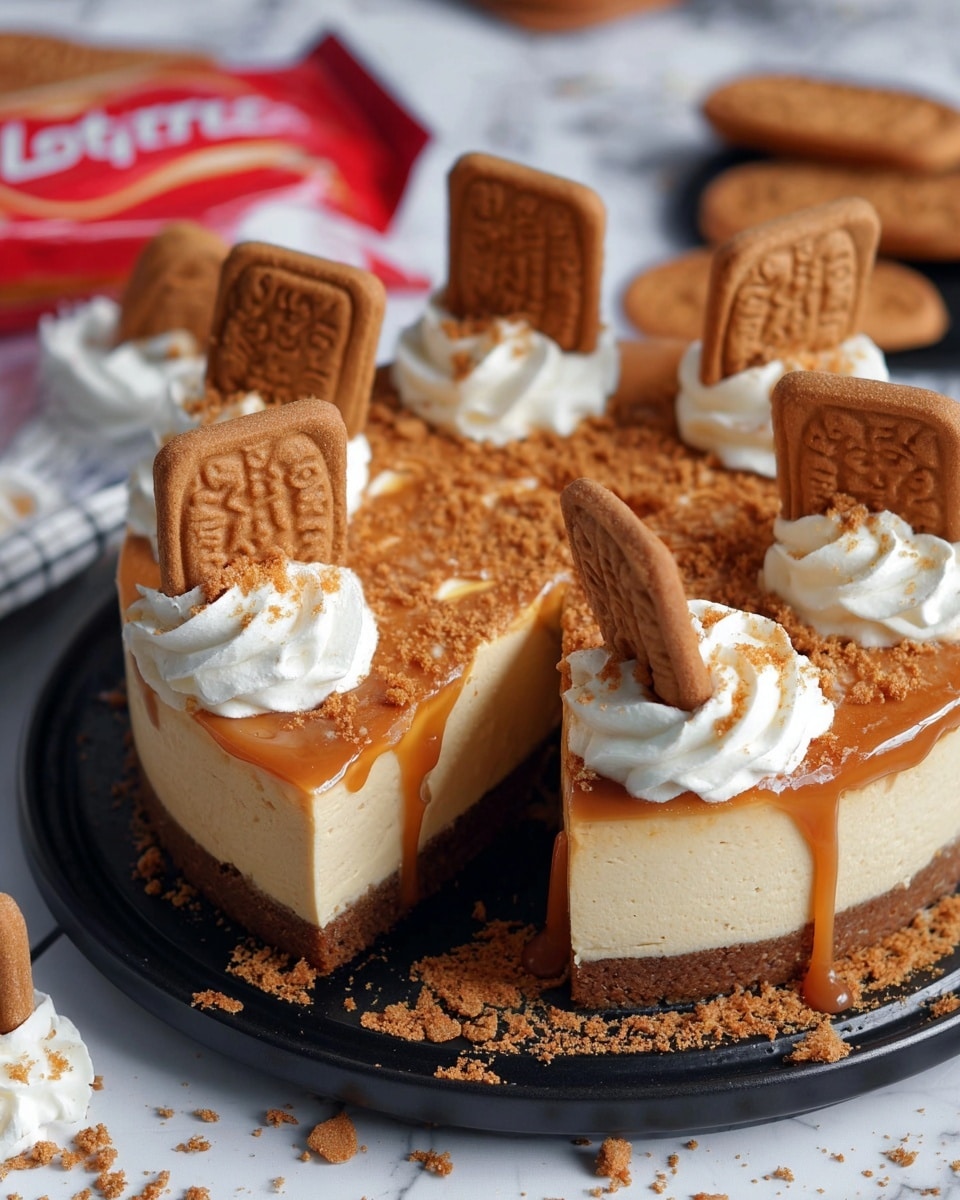
Garnishes
I like to keep it classic by piping some lightly sweetened whipped cream on top and adding a crumbly Biscoff biscuit for texture and look. Sometimes, I drizzle a thin stream of warmed Biscoff spread for that shiny, irresistible glaze. If I’m feeling playful, a sprinkle of chopped nuts or a little sea salt really balances the sweetness beautifully.
Side Dishes
This cheesecake is so rich and flavorful that I usually serve it with simple sides like fresh berries or a tart raspberry coulis to cut through the sweetness. A hot cup of coffee or spiced chai tea pairs perfectly, too—my family always reaches for seconds when that combo’s on the table!
Creative Ways to Present
For holidays or celebrations, I’ve made this cheesecake in mini jars or clear glasses layered with extra biscuit crumbs and cream for a chic dessert parfait look. I also love topping it with edible gold leaf or adding fresh edible flowers to surprise my guests. Presentation really turns this simple recipe into something special and memorable.
Make Ahead and Storage
Storing Leftovers
I store leftovers covered tightly with cling film or in an airtight container in the fridge, where the cheesecake keeps perfectly fresh for up to 3 days. Slices maintain their texture well if you slice carefully and keep the cake chilled until serving.
Freezing
Freezing works great if you want to prep in advance. I freeze the whole cake in the springform tin, well wrapped with foil and plastic wrap, or freeze individual slices. When thawed slowly in the fridge overnight, the texture returns nicely, though some prefer it just slightly chilled.
Reheating
Since this is a no-bake cheesecake, I don’t recommend reheating it, as it’s best enjoyed cold and creamy. Just take it out of the fridge about 15 minutes before serving to take the chill off for better flavor release.
FAQs
-
Can I use a different type of biscuit for the base?
Absolutely! While Lotus or Biscoff biscuits give the authentic caramel flavor, you can substitute digestives, graham crackers, or even ginger biscuits if you prefer. Just make sure to crush them finely and adjust the butter amount slightly to get the right crust consistency.
-
Is it necessary to chill the cheesecake overnight?
Chilling overnight isn’t essential, but it really helps the cheesecake set firmly and the flavors to meld beautifully. If short on time, make sure to chill at least 5-6 hours before serving for best texture.
-
Can I make this No-Bake Biscoff Cheesecake Recipe vegan?
You can try using vegan cream cheese and coconut-based cream alternatives, along with vegan butter for the crust. The texture and flavor might differ slightly, but it’s a great way to enjoy a plant-based version!
-
How do I prevent the cheesecake filling from being too runny?
Make sure to use full-fat cream cheese and double cream, and whip the cream until it holds stiff peaks. Also, don’t rush mixing the cream into the cheese mixture—fold gently rather than beating too hard to keep that perfect firmness.
Final Thoughts
This No-Bake Biscoff Cheesecake recipe holds a special place in my heart because it’s become such a reliable crowd-pleaser with minimal effort. It’s a dessert I can pull out for unexpected guests or a cozy family night, and it never disappoints. Give it a try—you’ll love how it turns out every time, and honestly, sharing this recipe feels like sharing a little slice of happiness.
Print
No-Bake Biscoff Cheesecake Recipe
- Prep Time: 10 minutes
- Cook Time: 10 minutes
- Total Time: 5 hours 20 minutes
- Yield: 12 slices
- Category: Dessert
- Method: No-Cook
- Cuisine: British
Description
A luscious, no-bake Biscoff cheesecake with a crunchy biscuit base and a creamy, rich Biscoff spread-infused filling. This easy-to-make dessert is perfect for any occasion and requires no oven, making it a delightful treat that sets in the fridge overnight for the perfect texture.
Ingredients
Biscuit Base
- 300 g Lotus/Biscoff biscuits
- 125 g unsalted butter, melted
Cheesecake Filling
- 500 g full-fat cream cheese
- 100 g icing sugar
- 250 g Biscoff spread (smooth or crunchy)
- 1 tsp vanilla extract
- 300 ml double cream
Optional Decorations
- 150 ml double cream
- 2 tbsp icing sugar
- 75 g Biscoff spread, melted
- Biscoff biscuits for garnish
Instructions
- Prepare the biscuit base: Blitz the Lotus/Biscoff biscuits in a food processor until they become fine crumbs. Combine with the melted unsalted butter and press the mixture firmly into the base of an 8″/20 cm deep springform tin to create an even, compact crust.
- Make the cheesecake filling: Using an electric mixer, blend the full-fat cream cheese, vanilla extract, icing sugar, and Biscoff spread until the mixture is completely smooth and homogenous.
- Incorporate the double cream: Gradually mix in the double cream and whisk gently until the mixture thickens and holds its shape. Be careful not to whip too fast; a slow, steady whisking is ideal. Alternatively, you can whip the double cream separately to stiff peaks and then fold it into the cream cheese mixture for a lighter texture.
- Assemble and chill: Spread the creamy filling evenly over the biscuit base in the springform tin. Place in the fridge and chill for at least 5-6 hours, but preferably overnight for best results and a firmer set.
- Decorate and serve: Remove the set cheesecake from the tin. Whip together the optional double cream and icing sugar, then pipe it atop the cheesecake. Garnish each slice with a Biscoff biscuit and drizzle with the melted Biscoff spread for a beautiful finish.
Notes
- The original recipe used a combination of 150g digestives, 150g Lotus biscuits, and 150g unsalted butter, along with two 280g packs of Philadelphia cream cheese.
- Either mascarpone or Philadelphia cream cheese can be used, but it must be full fat for the best texture and taste.
- Melting the Biscoff spread for about 10 seconds before decorating makes it easier to drizzle.
- This cheesecake will keep well in the fridge for up to 3 days after setting.
Nutrition
- Serving Size: 1 slice (1/12 of cheesecake)
- Calories: 450 kcal
- Sugar: 27 g
- Sodium: 180 mg
- Fat: 32 g
- Saturated Fat: 19 g
- Unsaturated Fat: 11 g
- Trans Fat: 0.5 g
- Carbohydrates: 33 g
- Fiber: 1.2 g
- Protein: 6 g
- Cholesterol: 95 mg

Your email address will not be published. Required fields are marked *