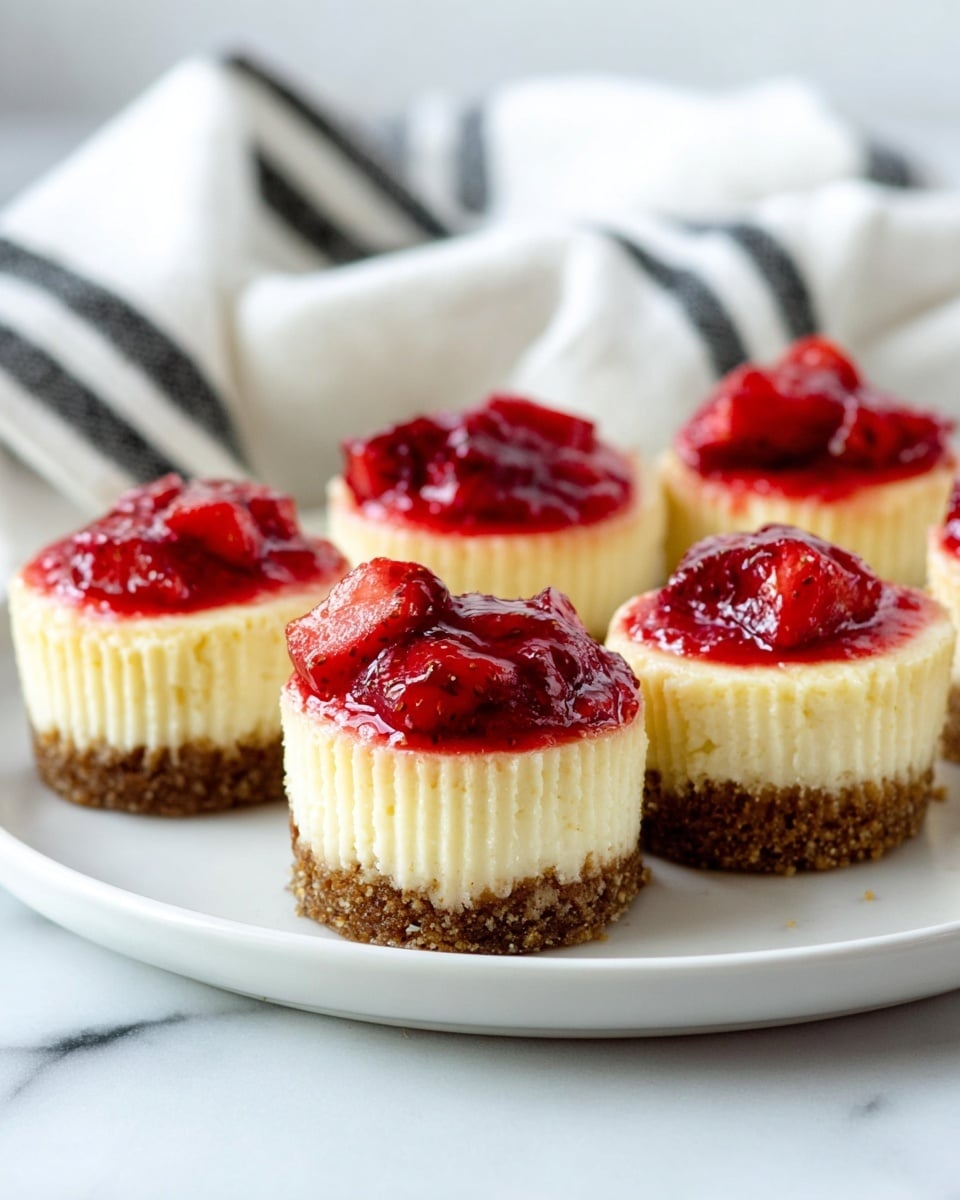
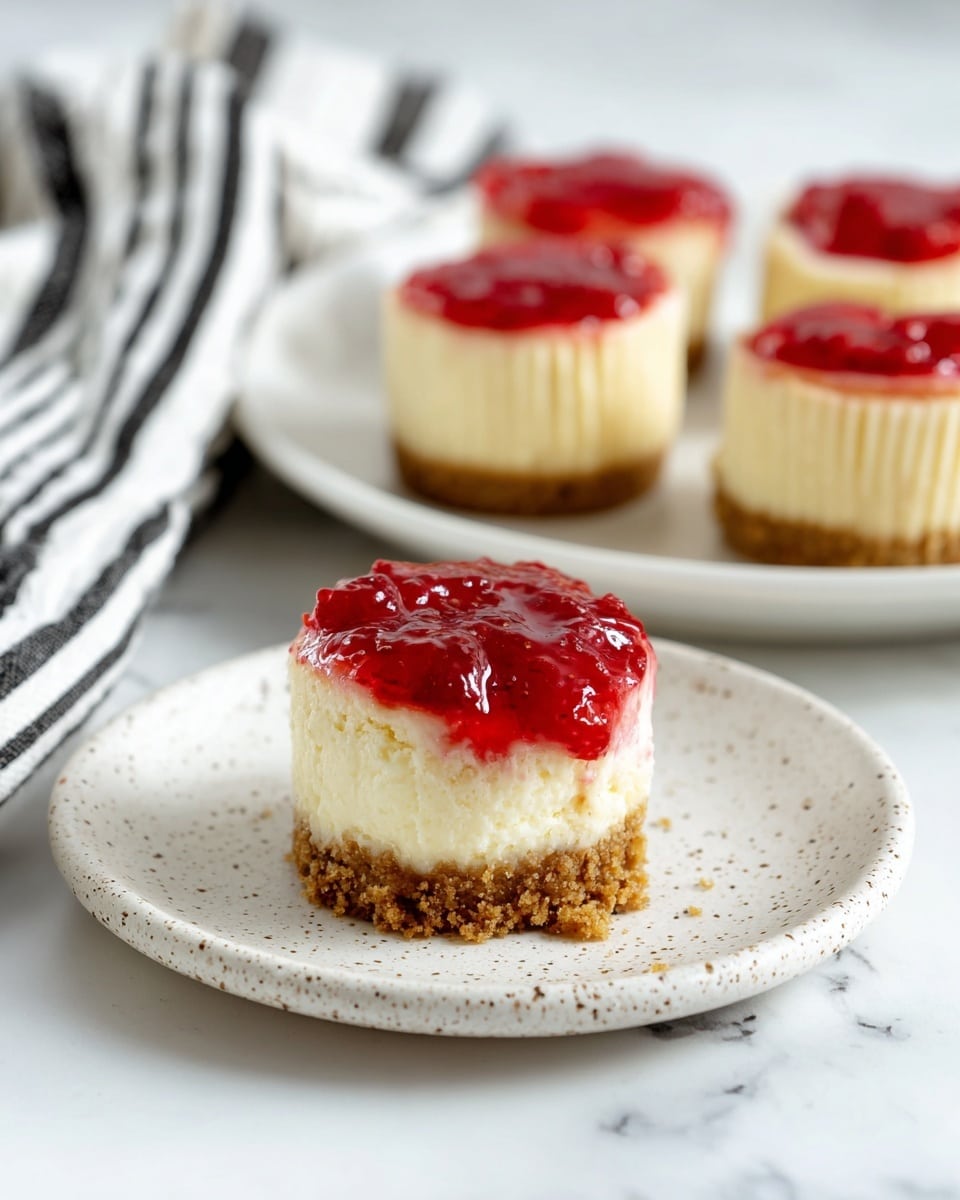
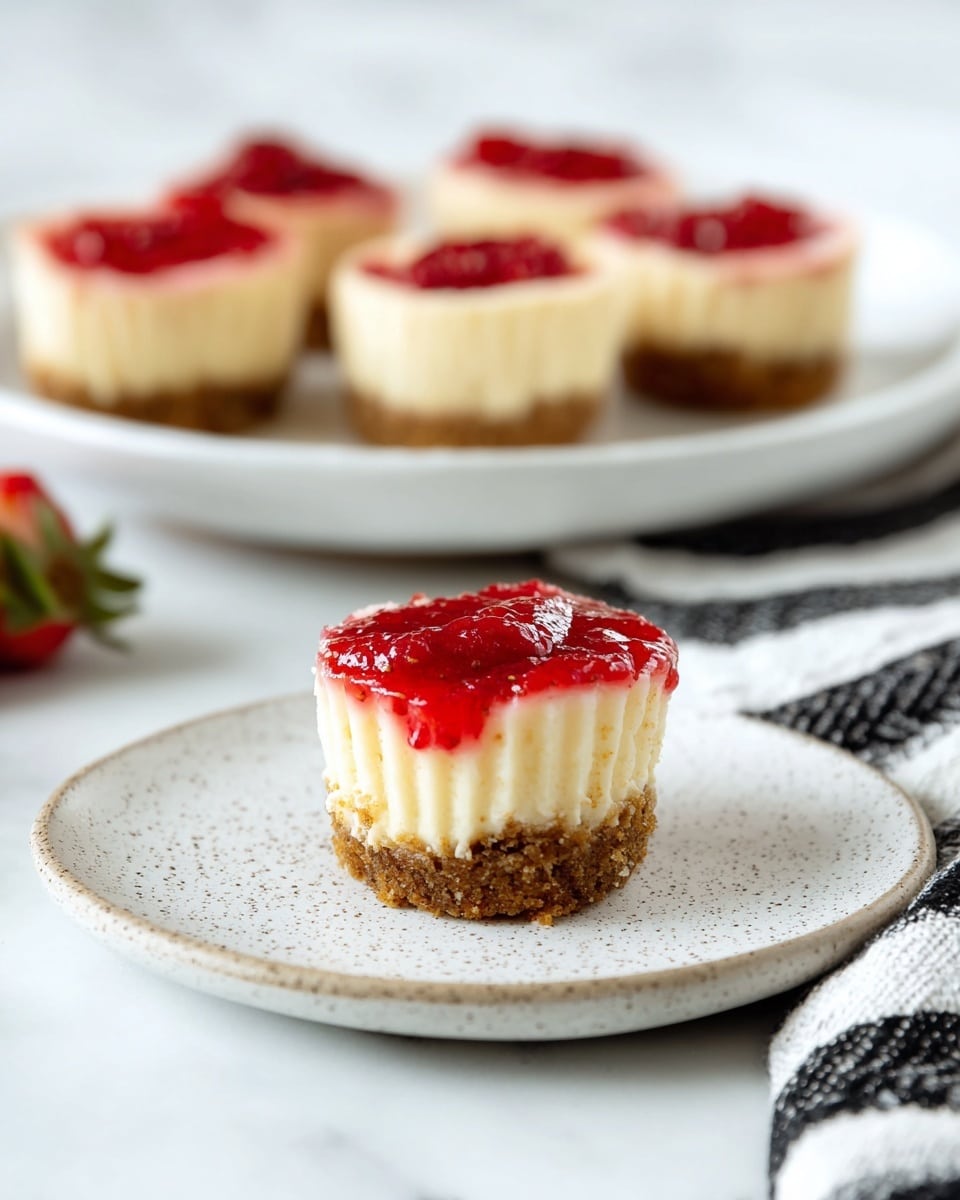
I absolutely love how this Mini New York Cheesecakes Recipe turns out — each little cheesecake is perfectly creamy with a buttery graham cracker crust that’s just the right balance of sweet and tangy. If you’ve ever wanted the classic New York cheesecake experience but in a cute, individual serving, this recipe is exactly what you need. It’s perfect for parties, special occasions, or just a creative weekend treat.
When I first tried making mini cheesecakes, I struggled a bit with cracked tops and dense textures, but this Mini New York Cheesecakes Recipe has a little secret (spoiler: a water bath!) that makes them super smooth and crack-free. Plus, you’ll find that these mini treats are easier to serve and share than a big cheesecake — and the recipe is simple enough to make with just a few pantry staples!
Why You’ll Love This Recipe
- Perfectly Creamy Texture: The water bath technique gives each mini cheesecake a velvety smooth finish that’s hard to beat.
- Portion-Friendly: Individual cheesecakes mean no slicing battles and each guest gets their own perfectly sized dessert.
- Simple Ingredients: You probably have everything you need already in your kitchen — no need for fancy items.
- Versatile for Toppings: Whether you prefer fresh fruit, caramel, or whipped cream, this recipe is a great base for your favorite flavors.
Ingredients You’ll Need
Each ingredient has a special role in this Mini New York Cheesecakes Recipe — the graham cracker crust adds a subtle crunch, and the full-fat cream cheese ensures richness and a classic tang. Remember, using room temperature ingredients here will help your batter come together smoothly, giving you that flawless cheesecake texture.
- Graham Cracker Crumbs: This is the base of your crust. I recommend fresh crumbs (either store-bought or homemade by crushing crackers) for the best texture.
- Granulated Sugar: Sweetens both the crust and the cheesecake batter to balance the tanginess of the cream cheese.
- Salted Butter: Melted and mixed into the crumbs to hold the crust together with a rich buttery flavor.
- Full Fat Cream Cheese: The star of the cheesecake! Using full fat is key for that creamy, rich texture I love.
- Vanilla Extract: Adds warmth and depth of flavor to the batter without overpowering.
- Eggs: Helps set the cheesecake while keeping it light — make sure they’re room temperature for even mixing.
- Pinch of Salt: Enhances the overall flavor and balances the sweetness.
- Toppings (Whipped Cream, Caramel Sauce, Berry Sauces): Optional but highly recommended for adding extra flavor and flair.
Variations
I love that the Mini New York Cheesecakes Recipe is such a great canvas for creativity. You can easily swap crust flavors or experiment with toppings — making it a fun way to customize your dessert to any occasion or dietary need.
- Gluten-Free Crust: I swapped the graham cracker crumbs for gluten-free cookie crumbs and honestly, no one could tell the difference!
- Chocolate Swirl: I once folded in some melted dark chocolate into half the batter to make a marbled cheesecake — a huge hit with my chocoholic friends.
- Fruit Toppings: Seasonal berries or even a homemade compote are fantastic for brightening up the rich cheesecake.
- Sugar Substitution: Using coconut sugar or monk fruit sweetener can lighten the sugar content if you want a less sweet version.
How to Make Mini New York Cheesecakes Recipe
Step 1: Prep Your Crust Like a Pro
Start by preheating your oven to 350℉ and lining a 12-count muffin tin with parchment or cupcake liners. In a bowl, mix graham cracker crumbs, sugar, and melted butter until well combined — it should look like damp sand. Press the mixture firmly into the bottoms of each liner; this is the base of your cheesecake, so take care to compact it well. Pop the crusts in the oven for 5 minutes to set them — this step helps avoid a soggy bottom later on.
Step 2: Whip Up the Creamy Batter
Next, beat the softened cream cheese and sugar on high for a good 2 minutes until you get that fluffy, billowy texture — this took me a couple of tries to get right! Scrape the bowl down as you go to avoid lumps. Then, add the vanilla, eggs, and salt, mixing on medium speed just until everything blends smoothly. Don’t overmix here; overworking the batter can cause cracks during baking, and I learned this the hard way!
Step 3: Pour, Tap, and Prepare for Baking
Pour the batter evenly over the pre-baked crusts in your muffin tin. Tap the tin firmly on the counter a few times to release any trapped air bubbles — this step really helps get rid of tiny holes in the finished cheesecake. If you see any bubbles on the surface, gently swirl a toothpick through the batter to break them up.
Step 4: Baking with a Water Bath for Creamy Perfection
This is the magic step — carefully place your muffin tin inside a large baking pan. Pour boiling water into the pan so it comes about halfway up the sides of your mini cheesecake tin (be careful not to splash water into the batter!). The steam from the water bath keeps the oven moist, allowing the cheesecakes to bake gently and avoid cracking. Bake for about 25-30 minutes until the tops look set and have a slight jiggle. I found the water bath makes all the difference between a smooth cheesecake and one with cracks.
Step 5: Cooling and Chilling Before Serving
Remove the muffin tin from the water bath and let the mini cheesecakes cool in the pan for about 30 minutes. Then, pop them into the fridge to chill for at least 3 hours — this resting time helps the texture set beautifully. Trust me, the wait is worth it! Serve with your favorite toppings and watch everyone fall in love.
Pro Tips for Making Mini New York Cheesecakes Recipe
- Softened Cream Cheese: I always let cream cheese sit out for at least an hour before using — it seriously makes mixing easier and smoother.
- Don’t Overmix Eggs: Mixing eggs in too vigorously can incorporate excess air, leading to cracks, so I gently fold them in last.
- Use a Water Bath: This creates steam in the oven to help the cheesecakes bake evenly and stay creamy without cracking.
- Cool Completely Before Chilling: Let cheesecakes cool before refrigerating to avoid condensation that can make them soggy.
How to Serve Mini New York Cheesecakes Recipe

Garnishes
I’m a big fan of topping these mini cheesecakes with a dollop of freshly whipped cream and a drizzle of either caramel or berry sauce — it makes them feel so special without overwhelming the classic flavor. Sometimes I sprinkle a little zest of lemon or orange on top for a fresh twist that perks up the palate.
Side Dishes
Though these mini cheesecakes can stand alone, I love pairing them with a cup of rich coffee or a light dessert wine when serving at gatherings. Fresh berries on the side add a pop of color and freshness that complements the richness perfectly.
Creative Ways to Present
For celebrations, I’ve served these mini cheesecakes on a tiered dessert stand alongside small spoons for easy grabbing. Another time, I wrapped each one with a pretty ribbon and placed them on individual plates as party favors — everyone was so delighted! You can also pop a fresh mint leaf on top for a bright garnish that looks gorgeous.
Make Ahead and Storage
Storing Leftovers
I store leftover mini cheesecakes in an airtight container in the fridge, and they keep perfectly for up to 4 days. I recommend placing parchment paper between layers if you stack them to avoid sticking or damage.
Freezing
Freezing works well for this Mini New York Cheesecakes Recipe! I usually freeze them on a tray first to keep their shape, then transfer to a freezer-safe container. When you’re ready to enjoy, let them thaw overnight in the fridge for the best texture.
Reheating
I don’t typically reheat cheesecakes since they’re best served chilled, but if you prefer, bring them to room temperature by leaving them out for about 20 minutes. This softens them slightly without compromising their creamy texture.
FAQs
-
Can I make Mini New York Cheesecakes Recipe without a water bath?
Yes! You can skip the water bath if you don’t want to bother with it, but be aware that your cheesecakes might crack on top and have a slightly less creamy texture. If you plan to top them with whipped cream or sauce, the cracks won’t be very noticeable. The water bath just helps create that smooth, iconic cheesecake finish.
-
Can I use low-fat cream cheese instead of full-fat?
Using full-fat cream cheese gives the best flavor and texture for this recipe. Low-fat versions can make the cheesecake less creamy and more dense, but if that’s what you have on hand, it can still work — just expect a slightly different texture.
-
How do I prevent cracks in my mini cheesecakes?
The key is gentle mixing — avoid overmixing eggs — and baking with a water bath to add moisture in the oven. Also, letting the cheesecakes cool gradually before chilling helps reduce cracking. These steps worked wonders for me!
-
Can I prepare these ahead of time for a party?
Absolutely! Mini New York Cheesecakes keep well in the fridge for a couple of days, so you can make them the day before your event. Just add fresh toppings right before serving for the best presentation.
Final Thoughts
This Mini New York Cheesecakes Recipe has truly become one of my go-to desserts because it’s just as classic and delicious as its larger counterpart but way more fun to make and serve. I love passing around these little cheesecakes at family gatherings and seeing the smiles when everyone gets their own perfectly sized treat. Give it a try — I promise you won’t regret having a batch of these in your fridge for any occasion!
Print
Mini New York Cheesecakes Recipe
- Prep Time: 30 minutes
- Cook Time: 30 minutes
- Total Time: 4 hours
- Yield: 12 mini cheesecakes
- Category: Dessert
- Method: Baking
- Cuisine: American
Description
These Mini New York Cheesecakes deliver a classic creamy and smooth dessert experience in perfectly portioned 12-count muffin tin servings. Featuring a buttery graham cracker crust and rich cream cheese batter, baked gently in a water bath for crack-free tops and velvety texture, they can be topped with whipped cream or your favorite berry or caramel sauces for an elegant, delicious treat.
Ingredients
For the Crust:
- ¾ cup graham cracker crumbs
- 1 tablespoon granulated white sugar
- 2 tablespoons salted butter, melted
For the Cheesecake Batter:
- 16 ounces full fat cream cheese, softened to room temperature
- ½ cup granulated white sugar
- 1 teaspoon vanilla extract
- 2 eggs, room temperature
- pinch of salt
For the Topping:
- Whipped Cream
- Caramel Sauce
- Strawberry Sauce
- Raspberry Sauce
Instructions
- Preheat oven and prepare pans: Preheat your oven to 350℉. Line a 12-count muffin tin with parchment paper liners or cupcake liners. Have a large baking sheet ready to be used later for the water bath, and boil water in preparation.
- Make the crust: Combine the graham cracker crumbs and sugar in a bowl. Pour in melted butter and stir until well combined. Evenly distribute this mixture among the 12 liners, firmly pressing down to form a compact crust layer. Bake the crusts for 5 minutes and then allow them to cool slightly while you prepare the batter.
- Make the cheesecake batter: In a large bowl, beat the room temperature cream cheese and sugar on high speed for 2 minutes using an electric hand mixer. Scrape down the sides to ensure smoothness. Add vanilla extract, eggs, and a pinch of salt, then mix on medium speed until just combined to avoid cracking during baking.
- Assemble cheesecakes: Divide the batter evenly over the slightly warm crusts in the muffin tin. Tap the tin gently on the counter several times to release air bubbles and swirl a toothpick through batter surfaces to further break up large bubbles.
- Bake in water bath: Place the prepared muffin tin inside the large baking pan. Pour the boiling water into the pan until it reaches about halfway up the sides of the muffin tin. Bake for 25-30 minutes, or until the cheesecake tops are rounded and the centers are no longer jiggly when gently shaken.
- Cool and chill: Carefully remove the muffin tin from the water bath and let the cheesecakes cool in the tin for 30 minutes. Then refrigerate for at least 3 hours until fully chilled and set.
- Serve: Add your choice of toppings such as whipped cream, caramel, or berry sauces before serving. Enjoy your rich, creamy mini cheesecakes!
Notes
- The water bath is recommended to prevent cracks and ensure smooth creamy texture, but it is optional if you don’t mind slight cracking on top.
- If skipping the water bath, baking without it might yield cracked tops but the cheesecakes will still taste delicious.
- Make sure cream cheese and eggs are at room temperature to achieve a smooth batter and avoid overmixing eggs to prevent cracks.
- Use fresh liners and tamp the crust firmly to avoid crumbly bottoms.
Nutrition
- Serving Size: 1 mini cheesecake
- Calories: 260
- Sugar: 16g
- Sodium: 150mg
- Fat: 19g
- Saturated Fat: 11g
- Unsaturated Fat: 7g
- Trans Fat: 0g
- Carbohydrates: 14g
- Fiber: 0.5g
- Protein: 4g
- Cholesterol: 90mg


Your email address will not be published. Required fields are marked *