
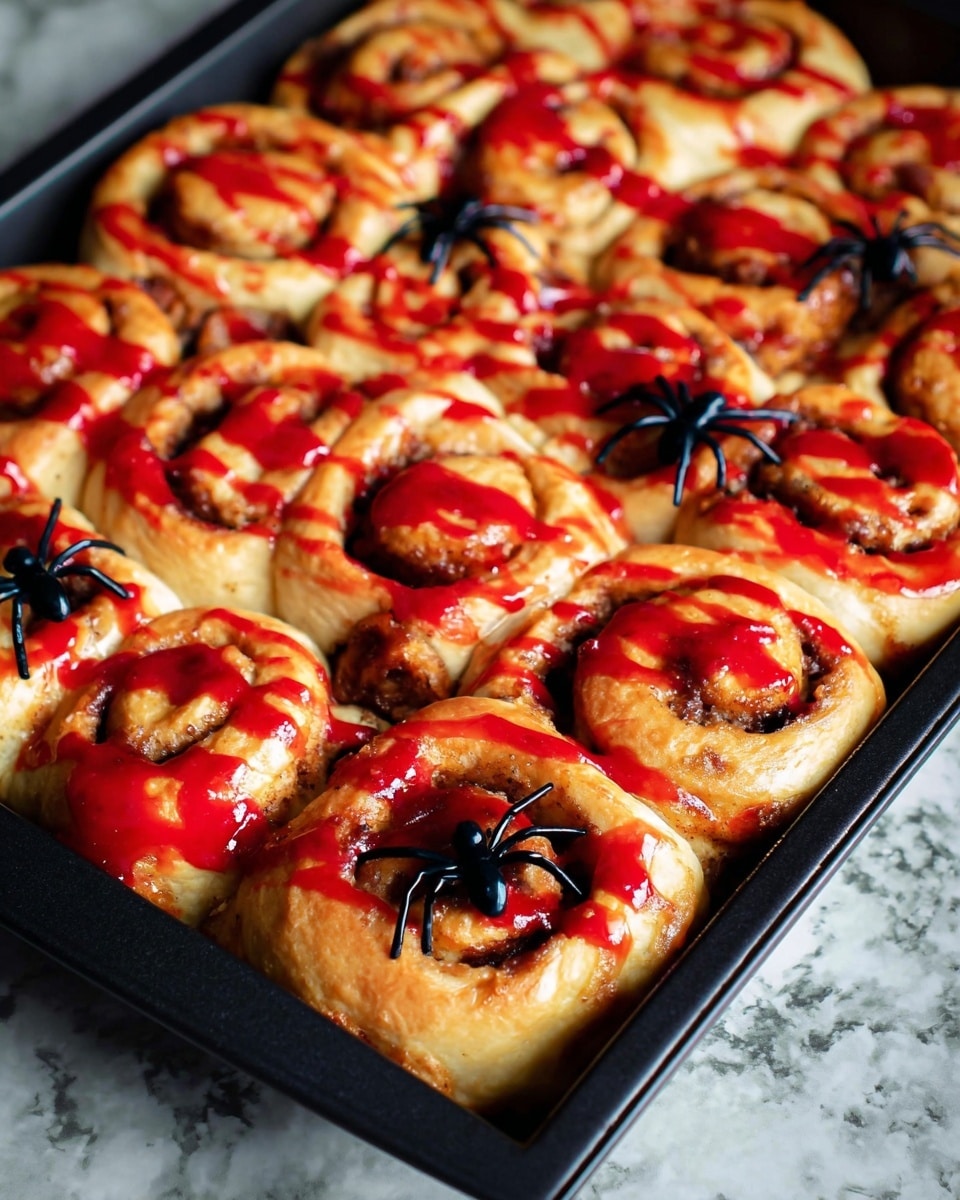
If you’re looking to wow your family or friends with a spooky but utterly delicious start to Halloween morning, this Halloween Breakfast – Bloody Guts Cinnamon Rolls + Video Recipe is a game changer. I absolutely love how these cinnamon rolls turn into creepy, twisted “bloody guts” that are as tasty as they look terrifying. It’s quick, fun, and perfect for getting everyone excited about the day ahead. Stick with me here—I’m sharing all my tips, tricks, and even a video to make sure your breakfast is both eerie and excellent!
Why You’ll Love This Recipe
- Super Simple & Fast: You don’t have to make dough from scratch to get that awesome “bloody guts” Halloween effect.
- Kid-Friendly Halloween Fun: Kids love rolling and twisting the cinnamon roll strips into spooky shapes before baking.
- Visually Impressive: The red frosting looks just like fresh blood, creating a perfect eerie vibe without any extra fuss.
- Customizable & Versatile: You can easily swap colors or add your own twists to fit your Halloween theme exactly.

Ingredients You’ll Need
The magic behind this Halloween Breakfast – Bloody Guts Cinnamon Rolls + Video Recipe lies in using store-bought cinnamon rolls that unravel easily and a simple “blood” frosting you whip up in minutes. I always recommend picking cinnamon rolls that coil apart nicely since those dense, embossed ones just don’t give the right effect.
- Store-bought cinnamon rolls: Look for brands that unravel into strips rather than staying stamped flat; Aldi’s and Best Choice work great, while Pillsbury tends to stay intact.
- Powdered sugar: Essential for making your sweet red frosting to drizzle over the “guts.”
- Milk: Adds just the right consistency to your frosting without making it too runny.
- Red gel food coloring: This creates the perfect blood-red hue; gel works better than liquid for vibrant color with less impact on frosting consistency.
Variations
I love encouraging people to make this recipe their own. You can easily play with colors or mix-ins to bring your version of Halloween Breakfast – Bloody Guts Cinnamon Rolls + Video Recipe to life. Here are some of my favorites:
- Green “Zombie Brains”: One Halloween, I swapped the red food coloring for green and called them zombie guts — it was a hit, and trust me, kids never forget.
- Spiced “Bloody” Filling: Add a bit of pumpkin spice to the cinnamon roll filling for a seasonal twist that pairs perfectly with the visual effect.
- Vegan/Dairy-Free: Use dairy-free milk alternatives and check cinnamon roll ingredients to customize for special diets without losing creep factor.
How to Make Halloween Breakfast – Bloody Guts Cinnamon Rolls + Video Recipe
Step 1: Preheat and Prep Your Cinnamon Rolls
First things first, preheat your oven to 400°F. This might surprise you since cinnamon rolls often bake at a lower temperature, but here’s the scoop: baking at 400°F for about 8-10 minutes helps create that slightly crispy, twisted texture that looks so much like… well, bloody guts. Unroll each cinnamon roll completely — make sure you pick brands that let you unravel them easily. This is the step where you start shaping your “intestines” by twisting and coiling the strips on a quarter-sized baking sheet (9×13 inches works great). Don’t be shy—twist, coil, and overlap to get the perfect creepy look.
Step 2: Bake and Watch the Magic Happen
Pop your twisted cinnamon guts into the oven and bake for just 8 to 10 minutes. Don’t rely on the package timing—those are for unaltered rolls and will overbake your creation. You want the edges to start browning lightly but still stay soft enough to pull apart with that wonderful chew. Keep an eye on them near the end to nail the perfect balance between tender and slightly crispy.
Step 3: Whip Up the Blood-Frosting Drizzle
While your cinnamon rolls are baking, mix together your powdered sugar and milk to create a smooth frosting. Add red gel food coloring gradually until you get that rich, blood-red color. My trick? Start with a small amount of milk—just 2 tablespoons—and then add more only if necessary, especially if you’re using liquid food coloring instead of gel. The goal is thick enough to drizzle but not so runny it pools. This frosting is what brings your breakfast to life, so have fun with getting the color just right.
Step 4: Drizzle, Drape, and Devour
Once your cinnamon guts come out of the oven, let them cool for a couple of minutes — you want the frosting to stick, not slide right off. Then drizzle your red “blood” frosting liberally over the twisted rolls. This is where they go from just cinnamon rolls to a Halloween masterpiece. Serve immediately and watch your family’s faces light up with both delight and a little spooky shiver.
Pro Tips for Making Halloween Breakfast – Bloody Guts Cinnamon Rolls + Video Recipe
- Pick the Right Cinnamon Rolls: I used to grab Pillsbury out of convenience but learned it just doesn’t unravel well—going for brands like Aldi or store brands that coil makes all the difference.
- Don’t Overbake: Baking them longer than 10 minutes dries them out and loses the soft, chewy texture that makes these rolls so delightfully creepy.
- Frosting Consistency: If your frosting is too runny, it won’t cling to your cinnamon rolls well; add powdered sugar one tablespoon at a time to thicken before adding more milk.
- Use Gel Food Coloring: It gives a vibrant, deep red without watering down the frosting, making your “blood” look seriously realistic.
How to Serve Halloween Breakfast – Bloody Guts Cinnamon Rolls + Video Recipe
Garnishes
To kick your Halloween breakfast up another notch, I love sprinkling a tiny bit of edible glitter or a dusting of cinnamon on top. If you’re feeling extra spooky, a few black sugar sprinkles or “eyeball” candies work wonders too. These simple additions can really amp up the creep factor without stealing the spotlight from your cinnamon roll guts.
Side Dishes
Pairing is key! I usually serve these with fresh fruit cut into creepy shapes (think orange “pumpkin” slices or green apple “monster mouths”) and a glass of cold milk or pumpkin spice latte for adults. Breakfast sausages shaped like little mummies or ghost-shaped yogurt parfaits add an extra layer of fun and protein.
Creative Ways to Present
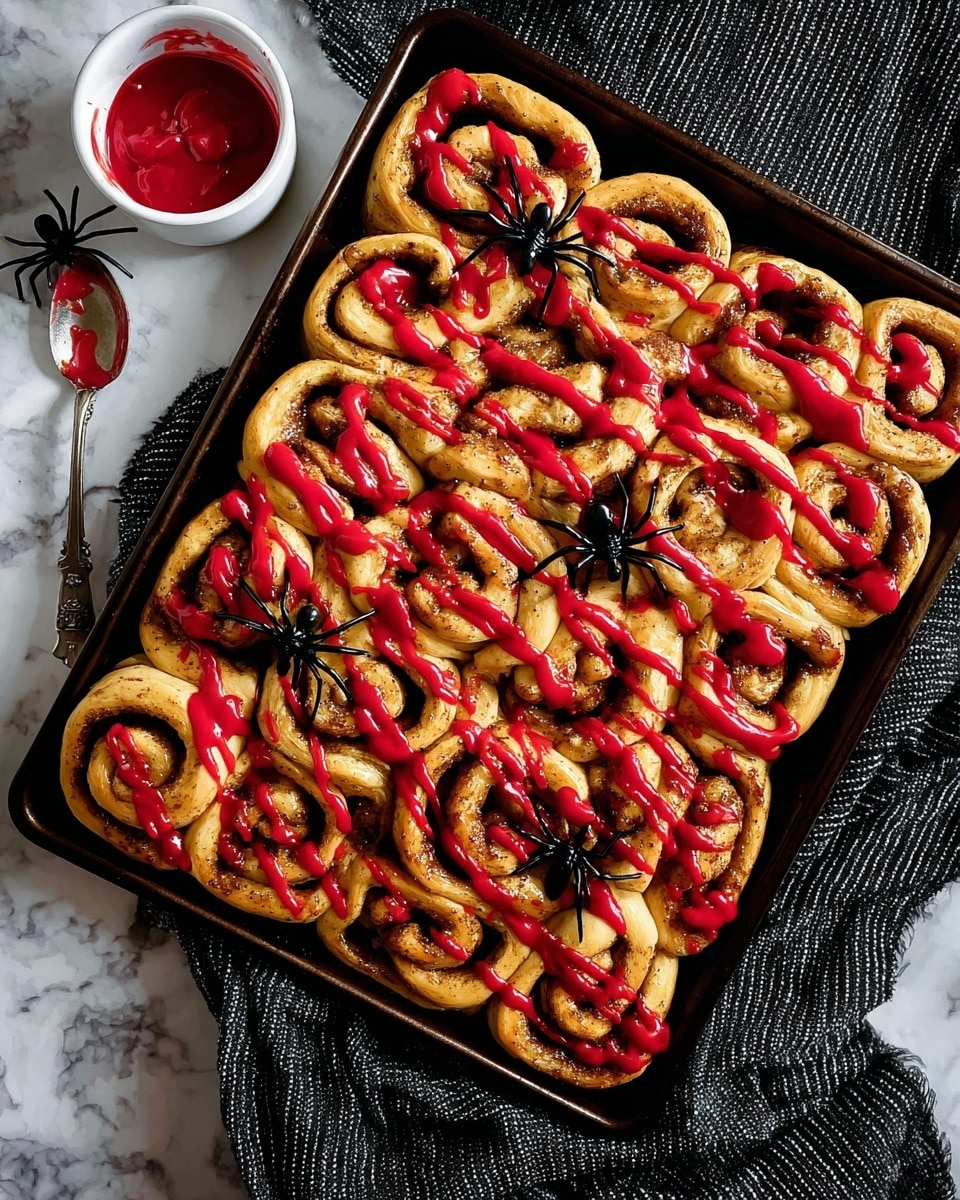
If you’re hosting a party, I recommend arranging your “bloody guts” cinnies on a black or red platter with some Halloween props like fake spider webs or plastic spiders. When I did this for my niece’s party, we even added a little fog machine for drama! For a casual family breakfast, just adding some spooky napkins and Halloween-themed mugs always gets big smiles.
Make Ahead and Storage
Storing Leftovers
I like to store leftover cinnamon roll “guts” in an airtight container at room temperature if I plan to eat them within a day—this keeps them soft and delicious. For anything longer, I move them to the fridge to stay fresh. Just keep in mind refrigerated rolls can firm up a bit, so reheating is key.
Freezing
Freezing works well if you want to prep in advance! After twisting and shaping your cinnamon rolls, you can freeze them on the baking sheet until solid, then transfer to a freezer bag. When ready, bake them straight from the freezer adding a couple of extra minutes to your bake time. The frosting is best made fresh after baking.
Reheating
To warm up leftovers, I pop them in the microwave for about 20 seconds or into a toaster oven at 350°F for 5 minutes. This revives that fresh-baked softness and melts the frosting slightly for the best flavor and texture.
FAQs
-
Can I use homemade cinnamon roll dough for this recipe?
Absolutely! Homemade dough can work, but make sure it’s rolled thin enough to easily unravel and twist like store-bought versions. If your dough is too thick, the “guts” might end up too bulky and take longer to bake.
-
What if I only have liquid food coloring?
Liquid food coloring will work but can thin out your frosting. Reduce the milk to about 1 tablespoon to keep your glaze thick and drizzly. Add color gradually to reach the desired blood-red shade.
-
How do I prevent the cinnamon rolls from sticking to the baking sheet?
I recommend lining your baking sheet with parchment paper or using a silicone baking mat. This makes cleanup easier and ensures those twisted “guts” come off perfectly intact.
-
Can I prepare the cinnamon rolls the night before?
You sure can! Shape your “bloody guts” rolls, cover loosely with plastic wrap, and refrigerate overnight. In the morning, bake as usual; this saves time but keeps them fresh.
Final Thoughts
Whenever I make this Halloween Breakfast – Bloody Guts Cinnamon Rolls + Video Recipe, it’s like bringing a little edible Halloween magic to the table. It’s so fun to twist those cinnamon rolls into something wildly creepy yet totally delicious. Honestly, my family goes crazy for these every single year, and it gets better each time because you can tweak and personalize it however you want. So go ahead—grab your cinnamon rolls, watch the video, and let’s make this Halloween breakfast one they’ll remember (and ask for again and again)!
Print
Halloween Breakfast – Bloody Guts Cinnamon Rolls + Video Recipe
- Prep Time: 5 minutes
- Cook Time: 10 minutes
- Total Time: 15 minutes
- Yield: 6 servings
- Category: Breakfast
- Method: Baking
- Cuisine: American
Description
Celebrate Halloween with a spooky twist on a classic breakfast favorite! These Bloody Guts Cinnamon Rolls are creatively unraveled, twisted, and baked to resemble creepy intestines, then drizzled with vibrant red ‘blood’ frosting. Perfect for a festive and fun Halloween morning treat that’s quick to prepare and sure to impress kids and adults alike.
Ingredients
Cinnamon Rolls
- 2 (8 count) packages store-bought cinnamon rolls (choose ones that unravel, such as Aldi’s or Best Choice brands)
Blood Frosting
- 1 cup powdered sugar
- 2 tablespoons milk (adjust as needed)
- Red gel food coloring (or liquid food coloring with adjusted milk amount)
Instructions
- Preheat Oven: Set your oven to 400°F (200°C) to prepare for baking the cinnamon rolls.
- Unravel Cinnamon Rolls: Open the packages and carefully unravel each cinnamon roll into strips instead of using them as they come.
- Shape the ‘Guts’: On a quarter baking sheet (9 x 13 inches), twist, coil, and turn the unraveled cinnamon roll strips to mimic the look of intestines or guts.
- Bake the Cinnamon Rolls: Bake the shaped rolls for 8-10 minutes. Do not follow the original package instructions as those times are longer and will overbake the rolls.
- Prepare the Blood Frosting: While baking, mix together 1 cup powdered sugar, 2 tablespoons milk, and enough red gel food coloring to achieve a realistic blood-like color. If using liquid food coloring, reduce milk to 1 tablespoon.
- Drizzle the Frosting: Once baked, remove the cinnamon rolls from the oven and drizzle the red frosting generously over them to enhance the gory effect.
- Serve and Enjoy: Let the frosting set slightly and serve these spooky Bloody Guts Cinnamon Rolls as a fun Halloween treat!
Notes
- If using liquid food coloring instead of gel, reduce the milk amount in the frosting to 1 tablespoon for better consistency.
- You can substitute red food coloring with green to create a ‘Zombie Brains’ or ‘Zombie Guts’ variation.
- Store brands like Best Choice or Aldi typically unravel better than brands like Pillsbury which are stamped rolls and don’t unravel well.
- Do not bake cinnamon rolls according to the original package instructions; bake only 8-10 minutes to avoid overbaking.
Nutrition
- Serving Size: 1 serving (about 2-3 twisted cinnamon roll strips with frosting)
- Calories: 320
- Sugar: 25g
- Sodium: 320mg
- Fat: 10g
- Saturated Fat: 4g
- Unsaturated Fat: 5g
- Trans Fat: 0g
- Carbohydrates: 50g
- Fiber: 1g
- Protein: 4g
- Cholesterol: 15mg

Your email address will not be published. Required fields are marked *