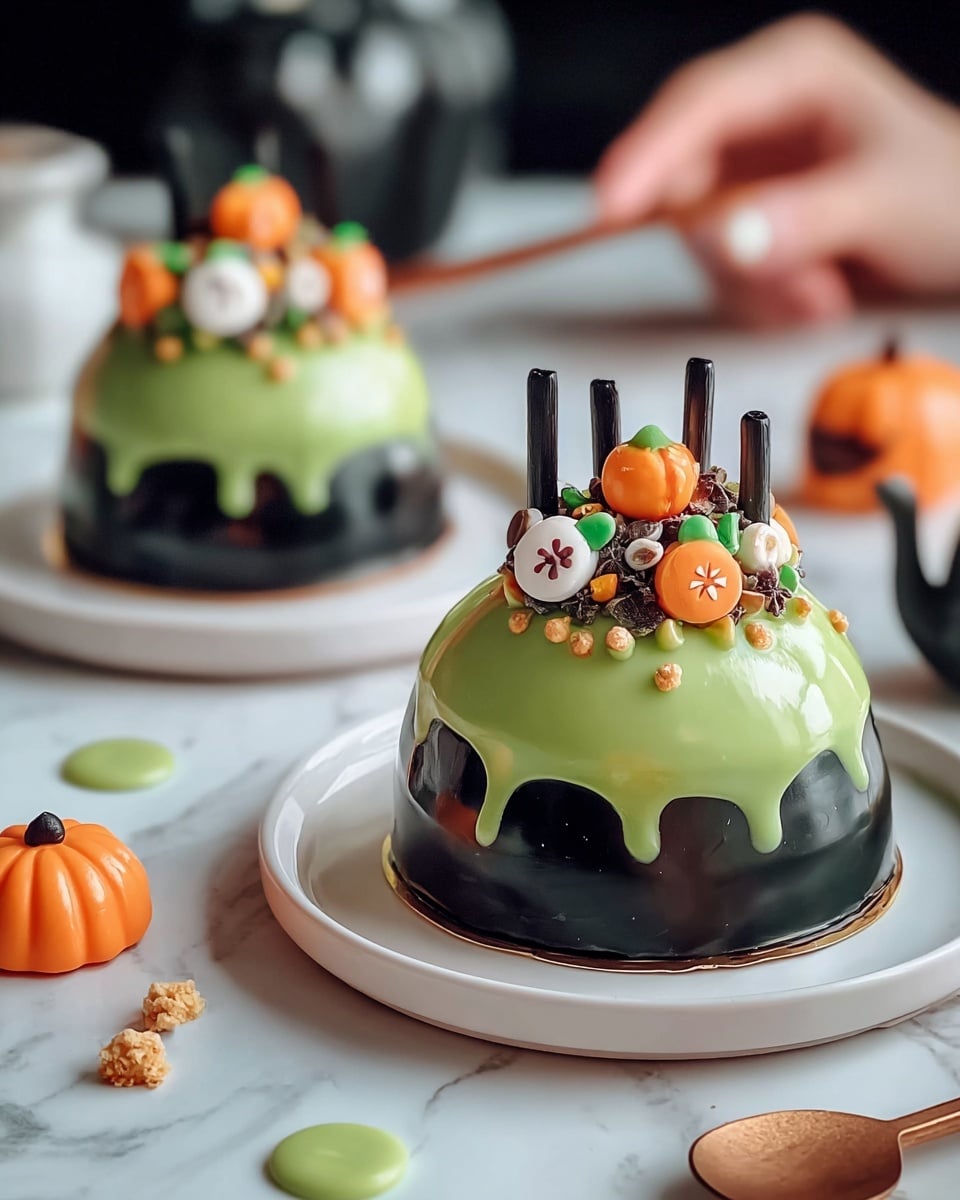
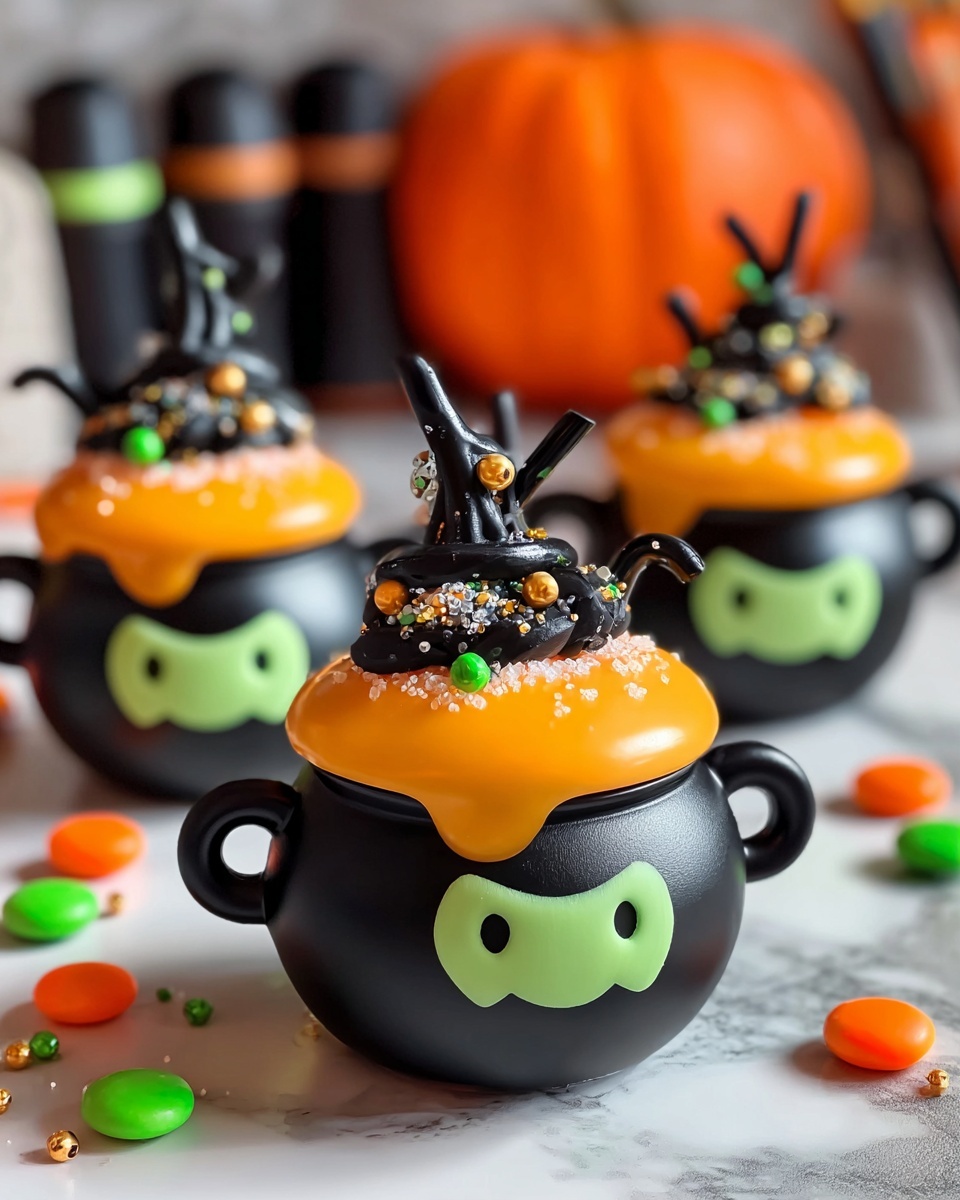
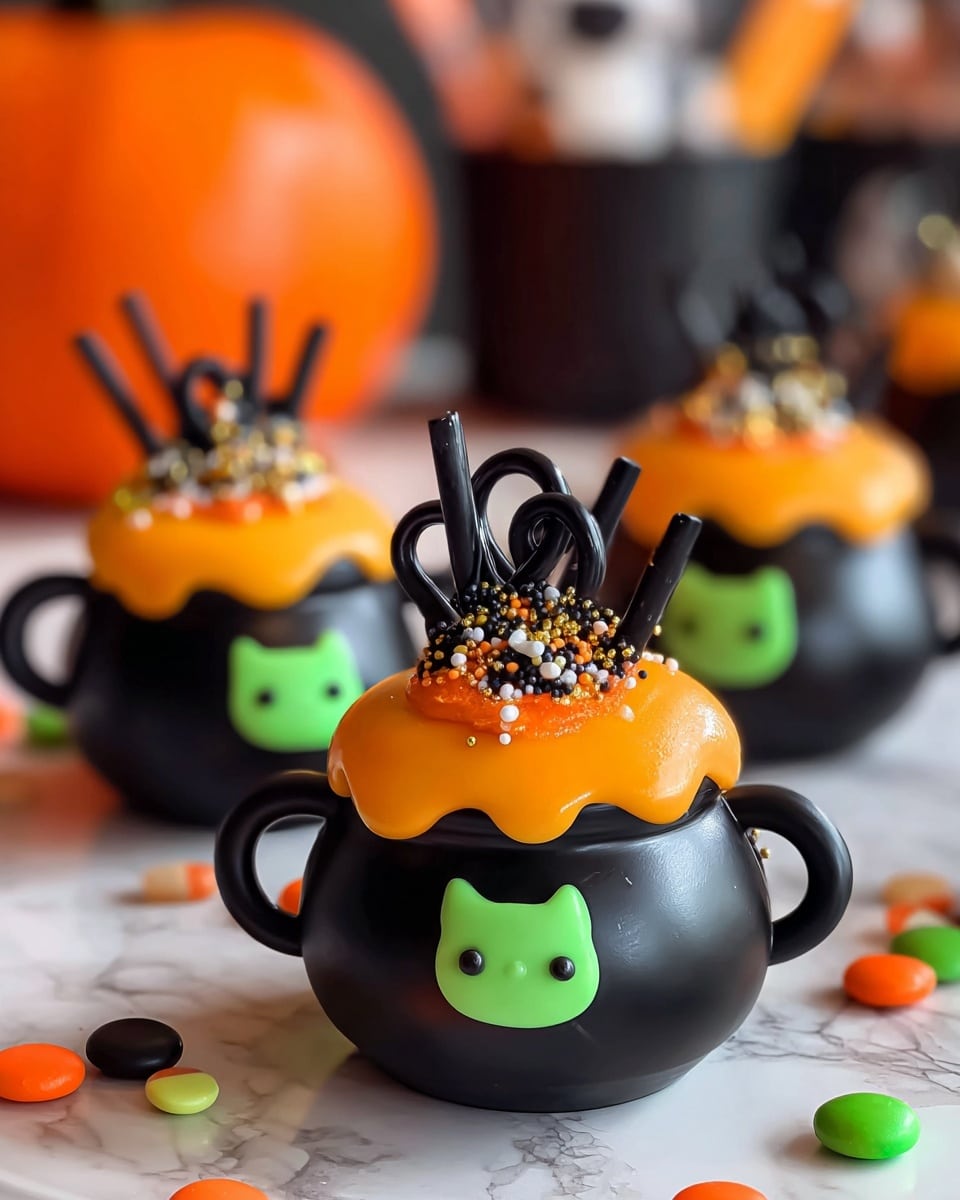
It’s pumpkin spice season, and I have just the treat to make your Halloween celebrations extra magical! Let me introduce you to my Halloween Cauldron Cookies Recipe—these cookies are fun, festive, and so delightfully rich in chocolatey goodness. Imagine biting into a soft, chewy cookie that looks like a little bubbling witch’s cauldron, perfect for spooking up a party or just a cozy night in. Trust me, once you try this recipe, your family and friends will be begging for the secret!
Why You’ll Love This Recipe
- Perfectly Chewy Texture: The combo of brown and granulated sugar keeps the cookies soft and chewy—no brick-like biscuits here!
- Fun to Customize: Adding food coloring is a blast—it’s like painting your own little edible cauldrons.
- Simple Ingredients: You probably have everything already at home, which means no last-minute store runs before the party.
- Crowd-Pleaser: My kids and their friends disappear these cookies within minutes, every single time.
Ingredients You’ll Need
These ingredients come together to create that classic chocolate chip cookie base with a Halloween twist, especially when you bring in the optional food coloring. A quick tip: using room temperature eggs really helps with mixing and gives you a lighter dough texture.
- All-purpose flour: The backbone that holds everything together—make sure it’s fresh for the best rise and texture.
- Baking soda: Acts as the leavening to get those cookies puffed just right.
- Salt: Enhances the sweetness and balances flavors.
- Unsalted butter: Softened to room temperature for easy creaming and a tender crumb.
- Granulated sugar: Adds sweetness and crispness to cookie edges.
- Brown sugar: Packed tightly for that moist, chewy factor and slight caramel notes.
- Large eggs: Room temperature helps with smoother mixing and fluffier dough.
- Vanilla extract: Brings warmth and depth to the flavor.
- Semi-sweet chocolate chips: Classic and melty, they make every bite irresistible.
- Food coloring (optional): To make your cauldrons pop with spooky Halloween colors like green or purple.
Variations
One of the things I love about this Halloween Cauldron Cookies Recipe is that it’s a canvas for your creativity. Whether you want to go colorful, add more chocolate, or tweak it for dietary needs, there are easy ways to make these your own.
- Colorful Cauldrons: I mix green and purple gel food coloring into separate portions of the dough for eye-catching cookies that kids adore.
- White Chocolate Chips: Swapping half the chocolate chips for white chocolate adds a sweeter, creamy surprise.
- Gluten-Free Option: Use a gluten-free all-purpose blend for allergy-friendly cookies that still come out chewy and delicious.
- Spiced Variation: Sometimes I add a pinch of cinnamon and nutmeg for a cozy fall flavor twist—it’s amazing!
How to Make Halloween Cauldron Cookies Recipe
Step 1: Get Your Oven and Baking Sheets Ready
First things first: preheat your oven to 350°F (175°C). Line two baking sheets with parchment paper or silicone mats so the cookies don’t stick and bake evenly. This step sets you up for success and fuss-free cleanup.
Step 2: Cream the Butter and Sugars
In a big mixing bowl, beat together the softened unsalted butter, granulated sugar, and brown sugar until the mixture is light and fluffy. This usually takes about 3-4 minutes with an electric mixer. I discovered this trick helps the cookies puff up nicely and makes the texture extra tender.
Step 3: Add Eggs and Vanilla
Mix in eggs one at a time, making sure each is fully incorporated before adding the next. Stir in the vanilla extract until the batter looks smooth and glossy. Scraping down the sides of the bowl ensures everything combines evenly and you won’t miss any pockets of dry ingredients later.
Step 4: Combine Dry Ingredients
In a separate bowl, whisk together the flour, baking soda, and salt. This helps evenly distribute the leavening agents and prevents clumps. Gradually add this dry mix to your wet mixture, folding gently until just combined. Over-mixing can make the cookies tough, so be gentle here.
Step 5: Add Chocolate Chips and Color
Fold in the semi-sweet chocolate chips carefully. Now, here’s where the fun really starts: if you’re using food coloring, divide the dough into separate bowls and mix in your chosen colors. I love using gel colors because they give vibrant hues without altering the dough’s texture.
Step 6: Chill the Dough
Chilling the dough for at least 30 minutes makes it easier to handle and ensures a thicker, chewier cookie. I sometimes set a timer and do a quick tidy-up or prep other festive treats while I wait.
Step 7: Scoop and Bake
Scoop tablespoon-sized balls of dough onto your lined baking sheets, spacing them about 2 inches apart because they’ll spread a bit. Bake for 10-12 minutes or until edges start to get golden but centers look soft. Remember, they continue to set while cooling, so avoid overbaking.
Step 8: Cool and Enjoy
Let the cookies cool on the baking sheet for 5 minutes before transferring to wire racks. This helps them firm up just right without falling apart. Then, prepare to impress yourself and whoever’s lucky enough to taste them!
Pro Tips for Making Halloween Cauldron Cookies Recipe
- Softening Butter Exactly: I learned it’s best to leave butter out on the counter about an hour before starting, so it’s soft but not melted.
- Even Dough Portions: Using a cookie scoop keeps the size uniform, which means more consistent baking and pretty even cauldrons.
- Mixing Food Coloring: Gel food colors give you vibrant color without watering down your dough like liquid colors.
- Avoid Overbaking: Watch the edges carefully; I usually pull them out when centers are still slightly underdone for the best chewiness.
How to Serve Halloween Cauldron Cookies Recipe

Garnishes
I often top these cookies with a little dollop of colored icing or sprinkle on edible glitter to make them sparkle like real magical cauldrons. Mini candy eyes or tiny Halloween-themed sprinkles add a whimsical touch that delights kids and adults alike.
Side Dishes
These cookies pair perfectly with a glass of cold milk or a mug of warm spiced cider. For a Halloween party, I like to set out bowls of pumpkin-shaped candies or caramel popcorn alongside for a full festive spread.
Creative Ways to Present
Last Halloween, I stacked these cauldron cookies on a tiered serving tray surrounded by faux spider webs and mini pumpkin decorations. It was an instant conversation starter! You can also serve them in little black cauldron bowls or on plates shaped like witch hats for an extra fun effect.
Make Ahead and Storage
Storing Leftovers
I store leftover cookies in an airtight container at room temperature, layering parchment paper between them to keep their shape intact. They stay soft for up to 4 days—I’ve honestly never seen them last that long!
Freezing
To freeze, I shape the dough into balls and flash freeze them on a baking sheet before transferring to a sealed bag. This way, you can bake fresh cookies whenever the craving hits—no thawing needed, just add a couple minutes to bake time.
Reheating
If you want to warm up leftover cookies, I pop them in a 300°F oven for about 5 minutes to revive that fresh-baked softness. Microwave reheating can get them chewy, but I prefer the oven trick for an even texture.
FAQs
-
Can I use salted butter instead of unsalted?
You can, but I recommend reducing added salt slightly to avoid overly salty cookies. Unsalted butter gives you more control over the seasoning.
-
What’s the best way to add food coloring without changing the dough’s texture?
I always use gel food coloring because it’s concentrated and doesn’t add extra moisture, keeping the dough’s consistency perfect.
-
Can I make this recipe dairy-free?
Yes! Swap the butter for a dairy-free margarine or coconut oil and ensure your chocolate chips are dairy-free as well, and you’re good to go.
-
Why do you chill the dough before baking?
Chilling firms up the dough, preventing cookies from spreading too much and helping them stay thick and chewy.
Final Thoughts
I absolutely love how these Halloween Cauldron Cookies Recipe bring a little extra magic to my kitchen every year. They’re simple to make, endlessly customizable, and just the right kind of sweet comfort that makes Halloween celebrations cozier. Give this recipe a try—you’ll be surprised at how easy it is to create something both festive and delicious. Trust me, once you taste them fresh out of the oven, you’ll want to make these a Halloween tradition in your home too!
Print
Halloween Cauldron Cookies Recipe
- Prep Time: 15 minutes
- Cook Time: 12 minutes
- Total Time: 27 minutes
- Yield: Approximately 24 cookies
- Category: Dessert
- Method: Baking
- Cuisine: American
Description
These Halloween Cauldron Cookies are festive, colorful treats perfect for the spooky season. Soft and chewy with melty chocolate chips inside, these cookies are easy to make and can be customized with fun food coloring to resemble magical cauldrons. Perfect for Halloween parties or seasonal snacking, they offer a delicious balance of buttery sweetness and rich chocolate flavor.
Ingredients
Dry Ingredients
- 2 1/4 cups all-purpose flour
- 1 tsp baking soda
- 1/2 tsp salt
Wet Ingredients
- 1 cup unsalted butter (softened)
- 3/4 cup granulated sugar
- 3/4 cup brown sugar (packed)
- 2 large eggs (room temperature)
- 2 tsp vanilla extract
Add-ins
- 1 cup semi-sweet chocolate chips
- Food coloring (optional)
Instructions
- Prepare the Oven and Baking Sheets: Preheat your oven to 350°F (175°C) and line two baking sheets with parchment paper to prevent sticking and ensure even baking.
- Cream the Butter and Sugars: In a large bowl, use a mixer to cream together softened unsalted butter, granulated sugar, and packed brown sugar until the mixture is light and fluffy, which creates a tender cookie texture.
- Add Eggs and Vanilla: Mix in the two eggs one at a time, beating well after each addition. Add the vanilla extract and scrape down the sides of the bowl as needed to incorporate all ingredients evenly.
- Combine Dry Ingredients: In a separate bowl, whisk together the all-purpose flour, baking soda, and salt to ensure they are evenly distributed.
- Incorporate Dry Ingredients into Wet: Gradually add the dry ingredient mixture to the wet ingredients, mixing until just combined to avoid overworking the dough. Gently fold in the semi-sweet chocolate chips to distribute them evenly.
- Add Food Coloring (Optional): If desired, divide the dough into portions and knead in food coloring to create vibrant cauldron-colored cookies for a festive look.
- Chill the Dough: Cover the dough and chill it in the refrigerator for 30 minutes to help the cookies keep their shape during baking.
- Scoop and Bake: Using a tablespoon, scoop the dough onto the prepared baking sheets, spacing the cookies apart to allow for spreading. Bake for 10-12 minutes until the edges are golden but the centers remain soft and chewy.
- Cool the Cookies: Let the cookies cool on the baking sheets for a few minutes before transferring them to wire racks to cool completely, allowing them to set properly.
Notes
- For best results, use room temperature eggs for easier mixing and better texture.
- You can customize the colors by dividing the dough and adding various food colorings.
- Do not overbake; cookies should be soft in the center after cooling.
- Store cookies in an airtight container to maintain freshness for up to one week.
- For a dairy-free version, substitute the unsalted butter with a plant-based butter alternative.
Nutrition
- Serving Size: 1 cookie
- Calories: 150 kcal
- Sugar: 12 g
- Sodium: 110 mg
- Fat: 7 g
- Saturated Fat: 4 g
- Unsaturated Fat: 2.5 g
- Trans Fat: 0 g
- Carbohydrates: 20 g
- Fiber: 1 g
- Protein: 2 g
- Cholesterol: 30 mg


Your email address will not be published. Required fields are marked *