
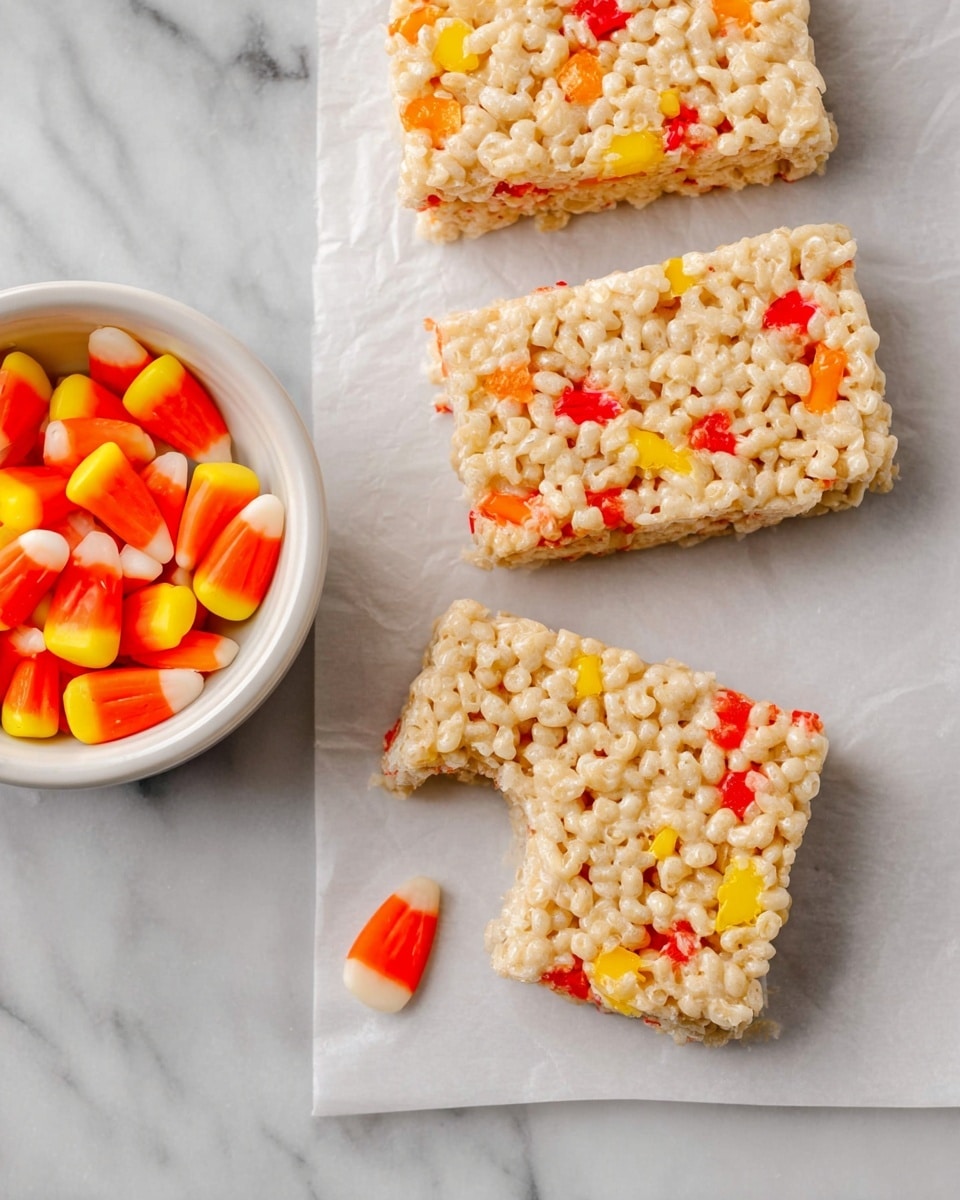
If you’re hunting for a delightfully fun and festive treat, you’re going to absolutely love this Candy Corn Rice Krispie Treats Recipe. It’s sweet, chewy, and packed with those iconic candy corn pieces that add a pop of color and flavor — perfect for fall celebrations, Halloween parties, or just a playful snack anytime. I first stumbled upon this twist on classic Rice Krispie treats a few seasons ago, and it’s become one of my family’s absolute favorites ever since. Stick around, because I’ll share all the insider tips to make sure your batch turns out fantastic every single time!
Why You’ll Love This Recipe
- Super Simple Ingredients: You probably have most of these staples at home already, making it an easy whip-up.
- Perfectly Chewy Texture: Not too hard, not too soft – just the right level of gooeyness that keeps everyone coming back for more.
- Festive and Fun: The addition of candy corn gives it that seasonal vibe without overpowering flavor.
- Quick Prep: Ready in under 20 minutes plus resting time, so it’s perfect for last-minute gatherings or snack cravings.

Ingredients You’ll Need
Each ingredient is chosen to bring you that classic Rice Krispie treat texture with an extra twist of candy corn sweetness. I always recommend using salted butter here for balance, and pure vanilla extract really elevates the flavor if you have it on hand.
- Salted Butter: Adds richness and helps melt the marshmallows smoothly—don’t swap it for unsalted unless you adjust salt elsewhere.
- Mini Marshmallows: They melt quickly and evenly for that perfect sticky consistency; large marshmallows just don’t work quite the same.
- Vanilla Extract: Pure vanilla works wonders here, bringing out the sweet notes without tasting artificial.
- Crispy Rice Cereal: Provides the signature crunch; make sure it’s fresh to keep the treats light and airy.
- Candy Corn Candy: The star of the show! Adds color and a fun texture; toss it in at the end so it keeps a bit of chew.
Variations
I love how flexible this Candy Corn Rice Krispie Treats Recipe is — you can easily tweak it to suit your taste or dietary needs. Whenever I make it, I like playing around with mix-ins or toppings to keep things exciting.
- Chocolate Drizzle: I once drizzled melted chocolate over the top and it was a hit—my kids thought it looked extra festive and felt like a special candy bar.
- Peanut Butter Swirl: Swirl in a bit of peanut butter with the marshmallows melting stage for a nutty twist that balances sweetness perfectly.
- Gluten-Free Version: Using gluten-free crispy rice cereal means anyone can enjoy these treats with no compromise.
- Extra Gooey: Don’t hesitate to add an extra handful of marshmallows if you want a softer, stickier texture — trust me, it’s worth it!
How to Make Candy Corn Rice Krispie Treats Recipe
Step 1: Prep Your Pan Like a Pro
Start by greasing a 9×13-inch pan with cooking spray or lining it with parchment paper. I always go for parchment because the treats slide right out and cleanup is a breeze — no scraping involved! Set this aside while you work on the marshmallow base.
Step 2: Melt Butter and Marshmallows Gently
On medium-low heat, melt 4 ½ tablespoons of salted butter in a large pot. Don’t rush this part — butter should melt slowly without browning. Once melted, add your 16 ounces of mini marshmallows and stir constantly until they’re smooth and fully melted. This slow stirring prevents burning and keeps the mixture silky. When the marshmallows are just right, stir in 1 teaspoon of pure vanilla extract and take the pot off the heat immediately.
Step 3: Fold in Rice Cereal and Candy Corn
Quickly add 6 cups of crispy rice cereal to the pot and fold it in using a spatula. The key here is gentle tossing to maintain the cereal’s crunch while coating everything evenly with the gooey marshmallow mix. Just before you finish, stir in 1 cup of candy corn candy. I like to add it last so the candy keeps a little chew and doesn’t completely melt away.
Step 4: Press and Set
Pour the mixture into your prepared pan. When pressing it down, dampen your hands slightly with water to prevent sticking—trust me on this one, it makes the difference! Then gently pat the mixture evenly into the pan. Don’t press too hard because you want the treats to stay soft and chewy, not rock solid. Let them sit for about an hour to fully set before slicing into your favorite shapes.
Pro Tips for Making Candy Corn Rice Krispie Treats Recipe
- Don’t Rush Melting: Low and slow heat keeps the marshmallow mixture silky without burning, which can ruin flavor and texture.
- Use Damp Hands for Pressing: Keeps the mixture from sticking to your fingers and makes spreading smooth and easy.
- Vanilla Matters: Pure vanilla adds depth and warmth—imitation can leave a chemical taste so I always skip if I don’t have the real thing.
- Candy Corn Timing: Add candy corn at the end to keep those little bursts of candy texture instead of melting it all away.
How to Serve Candy Corn Rice Krispie Treats Recipe
Garnishes
I like to sprinkle a few extra candy corn pieces on top right after pressing the mixture in the pan — it looks so festive and gorgeous! Sometimes I also dust a little colored sanding sugar for an extra sparkle, especially if they’re headed to a party.
Side Dishes
These treats are sweet enough on their own, but I enjoy pairing them with some simple vanilla or pumpkin-flavored ice cream for a little creamy contrast. They’re also great alongside a cup of spiced apple cider or your favorite hot chocolate.
Creative Ways to Present
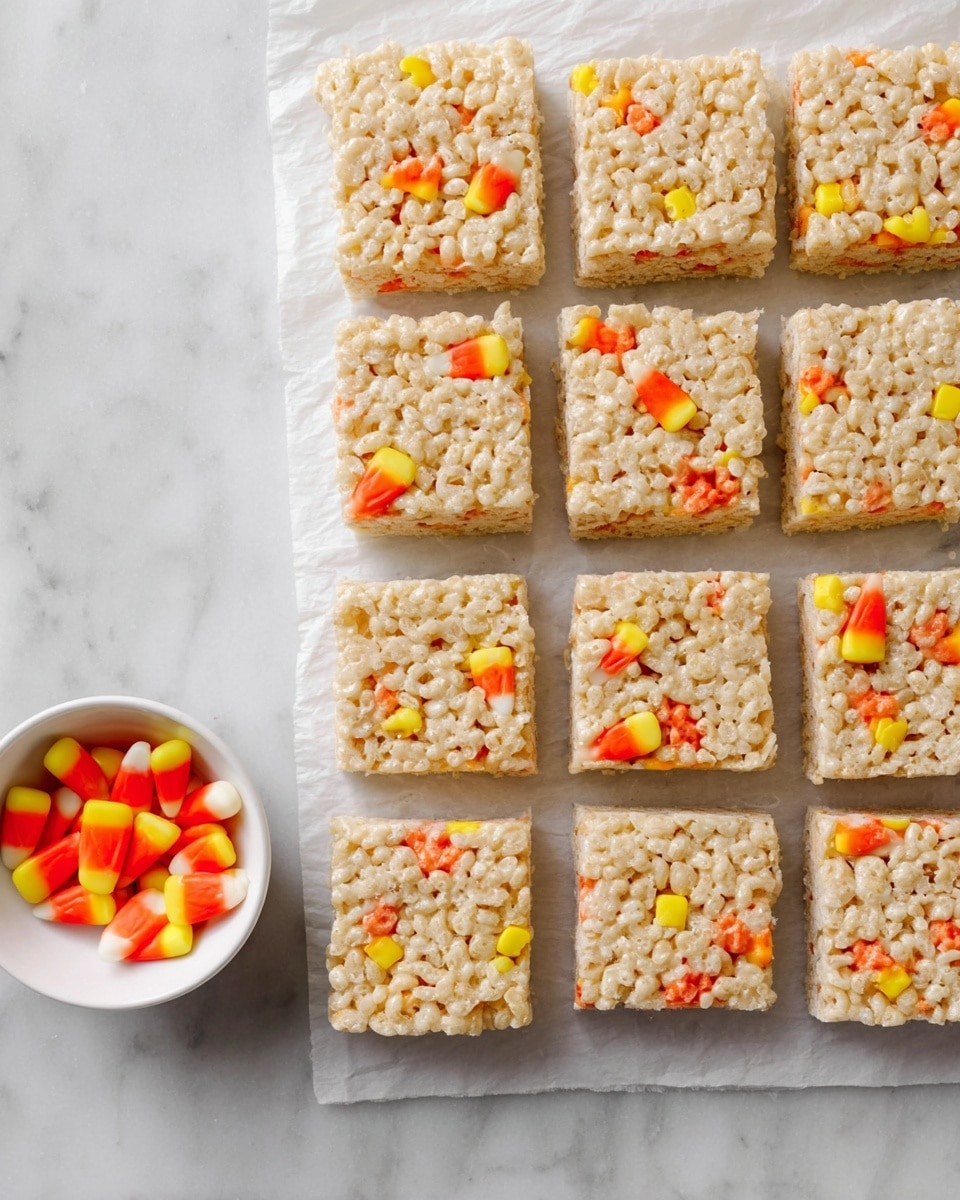
For Halloween, I’ve shaped them into little bite-size squares and arranged them like candy baskets with a decorative ribbon. For a fun party setup, try stacking them with layers of mini candy corn and small candy pumpkins in a clear dish—it’s eye-catching and totally Instagram-worthy!
Make Ahead and Storage
Storing Leftovers
Store leftover Candy Corn Rice Krispie Treats in an airtight container at room temperature. I usually put mine in a sealed Tupperware and they stay soft and fresh for up to three days. No refrigeration needed — actually, chilling them can make them tough.
Freezing
I’ve frozen these treats wrapped tightly in plastic wrap and stashed in a freezer-safe bag. They keep for about a month good this way and thaw quickly at room temperature. Just let them come back to room temp before enjoying so they regain that chewy texture.
Reheating
If you want to soften up the treats a bit after storing, pop them in the microwave for about 10 seconds. Just be careful not to overdo it or they could get too gooey. This little trick helps bring back that fresh-made softness.
FAQs
-
Can I use regular-sized marshmallows instead of mini marshmallows?
You can, but you’ll need to cut the regular marshmallows into smaller pieces for even melting and mixing. Mini marshmallows melt faster and create a smoother texture, which is why I prefer them for this Candy Corn Rice Krispie Treats Recipe.
-
Why use salted butter instead of unsalted?
Salted butter adds a subtle balance to the sweetness, making the flavors pop more. If you only have unsalted butter, you might want to add a pinch of salt to the marshmallow mixture to achieve the same effect.
-
What’s the best way to prevent the treats from sticking to my hands?
Keep a small bowl of water nearby and dip your hands in it before pressing the mixture into the pan. This simple trick keeps the sticky marshmallow from clinging to your fingers and makes working with the mixture much easier.
-
Can I omit the candy corn if I don’t have any?
Absolutely! The candy corn gives these treats their festive flair, but if you’re out, you can skip it or substitute with another favorite candy like mini M&Ms or sprinkles for a similar colorful effect.
-
How do I keep the treats soft and chewy rather than hard?
The key is not to over-press the mixture into the pan and to use plenty of marshmallows. Gently patting instead of squeezing helps retain air pockets that keep the texture perfect. Also, avoid storing them in the fridge, which can make them firmer.
Final Thoughts
I can’t recommend this Candy Corn Rice Krispie Treats Recipe enough for anyone who loves a fun, easy, and crowd-pleasing dessert. It’s become a go-to in my house for fall gatherings because it’s so simple yet impressively delicious. You’ll enjoy the chewy, sweet bites with little pops of candy corn flavor—a true nostalgic treat with a festive twist. Give it a try, and I promise you’ll find yourself making it again and again!
Print
Candy Corn Rice Krispie Treats Recipe
- Prep Time: 5 minutes
- Cook Time: 10 minutes
- Total Time: 1 hour 15 minutes
- Yield: 16 servings
- Category: Dessert
- Method: Stovetop
- Cuisine: American
- Diet: Vegetarian
Description
Delightfully sweet and festive Candy Corn Rice Krispie Treats combine the classic gooey marshmallow rice cereal base with colorful candy corn pieces, perfect for Halloween or any fun occasion. These treats are easy to make on the stovetop and set into a chewy, crispy dessert everyone will love.
Ingredients
Ingredients
- 4 ½ tablespoons salted butter
- 16 ounces mini marshmallows (a 16 ounce bag)
- 1 teaspoon pure vanilla extract
- 6 cups crispy rice cereal
- 1 cup candy corn candy
Instructions
- Prepare the pan: Grease a 9×13-inch baking dish or line it with parchment paper for easier cleanup. Set aside.
- Melt butter and marshmallows: In a large pot over medium-low heat, melt 4 ½ tablespoons of salted butter. Add the 16 ounces of mini marshmallows and stir continuously until fully melted and smooth.
- Add vanilla extract: Stir in 1 teaspoon of pure vanilla extract, then remove the pot from heat immediately to prevent burning.
- Combine cereal and candy: Quickly add 6 cups of crispy rice cereal to the marshmallow mixture, stirring until well coated. Just before finishing, fold in 1 cup of candy corn pieces evenly throughout.
- Set the mixture: Transfer the mixture to the prepared pan and gently press it down evenly using dampened hands to avoid sticking. Do not press too hard to keep the treats soft and chewy.
- Allow to set: Let the treats cool and set in the pan for about 1 hour at room temperature before cutting into squares or desired shapes to serve. Enjoy!
- Storage: Store any leftover treats in an airtight container at room temperature for up to 3 days. Refrigeration is not necessary.
Notes
- Use parchment paper to line the baking dish to prevent sticking and simplify cleanup.
- Use pure vanilla extract for the best flavor; omit if unavailable.
- Dampen your hands with water when pressing the mixture into the pan to avoid sticking.
- For extra gooey treats, increase the amount of marshmallows.
- Gently pat the mixture into the pan without pressing too firmly for a soft, chewy texture instead of hard and crispy.
Nutrition
- Serving Size: 1 piece (approx. 1/16th of recipe)
- Calories: 160
- Sugar: 12g
- Sodium: 90mg
- Fat: 5g
- Saturated Fat: 3g
- Unsaturated Fat: 2g
- Trans Fat: 0g
- Carbohydrates: 27g
- Fiber: 0.5g
- Protein: 1.5g
- Cholesterol: 15mg

Your email address will not be published. Required fields are marked *