

If you’re a fan of chocolate and peanut butter (and honestly, who isn’t?), you’re going to absolutely adore this Reese’s Chocolate Snack Cake Recipe. I first made this for a family get-together, and it disappeared faster than I could say “Reese’s.” This cake is super moist, packed with rich chocolate flavor, and topped with a dreamy peanut butter mousse that’s just heavenly. Seriously, it’s like having your favorite Reese’s candy but in cake form—and way more decadent. Stick with me here, because I’ll walk you through every step to make sure you nail it!
Why You’ll Love This Recipe
- Perfect Peanut Butter-Chocolate Combo: This cake captures the iconic Reese’s flavor without it tasting like just candy—it’s a full dessert experience.
- Moist and Fluffy Texture: The cake stays soft and tender, thanks to the careful balance of cake flour and the right amount of moisture.
- Easy Yet Impressive: Despite its fancy looks, the recipe is straightforward and approachable for any home baker.
- Customizable Toppings: The addition of chopped Reese’s Miniature Cups is optional but adds that wonderful crunch and authenticity.

Ingredients You’ll Need
Each ingredient in this Reese’s Chocolate Snack Cake Recipe plays a key role in achieving that luscious, balanced flavor. I always recommend using good-quality cocoa powder and conventional creamy peanut butter to get the best results. Here are the basics you’ll want to have on hand:
- Unsalted Butter: Using unsalted lets you control the salt content perfectly, and it keeps the cake tender and rich.
- Granulated Sugar: Provides sweetness and helps create that light, fluffy texture when creamed with butter.
- Cocoa Powder: I suggest a good-quality natural cocoa for a deep chocolate flavor; the color and taste really shine through.
- Eggs: They act as the binding agent and help with the cake’s structure and moisture.
- Vanilla Extract: A small touch really enhances the chocolate and peanut butter flavors.
- Cake Flour: This gives the cake that soft crumb—it’s lighter than all-purpose flour.
- Baking Soda & Baking Powder: They work together to give the cake enough lift without drying it out.
- Salt: Just a pinch brightens all the flavors.
- Water: Adds moisture; make sure it’s room temperature to help ingredients blend smoothly.
- Creamy Peanut Butter: Use a classic brand like Jif or Skippy; it keeps the mousse smooth and luscious.
- Powdered Sugar: Adds sweetness and helps create a fluffy peanut butter mousse.
- Heavy Cream: Whipped and folded into the peanut butter mixture to give the mousse its airy texture.
- Reese’s Miniature Cups (optional): Chopped on top, these bring crunch and that unmistakable Reese’s nostalgia.
Variations
One of the things I love about this Reese’s Chocolate Snack Cake Recipe is how easy it is to make your own twists. Whether you’re avoiding dairy or want a more decadent version, there’s a way to tweak it that works well without losing that classic flavor.
- Dairy-Free Variation: I’ve swapped heavy cream for coconut cream in the mousse before, and it still whipped up beautifully—plus it added a subtle coconut undertone that pairs great with peanut butter.
- Nut-Free Version: If peanut allergies are a concern, try substituting the peanut butter mousse with a classic chocolate buttercream or even a sunflower seed butter frosting for a similar creamy effect.
- Extra Crunch: Adding chopped peanuts or pretzels to the topping gives the texture even more bite—my family goes crazy for this extra touch.
- Mini Cup Topping: I sometimes use chopped Reese’s Pieces instead of mini cups for a colorful and less melty topping option.
How to Make Reese’s Chocolate Snack Cake Recipe
Step 1: Prep Your Pan and Oven
Getting your pan ready is a small but crucial step. I always lightly grease my 8×8 inch pan, then line it with parchment paper to create a sling. That overhang on all sides means you can easily lift the whole cake out once it’s baked and cooled—perfect for cutting neat slices without breaking apart.
Step 2: Cream Butter and Sugar Until Fluffy
This part really helps determine the cake’s texture. Using a stand mixer with the paddle attachment, beat the unsalted butter and granulated sugar for about 5 minutes until they’re light, pale, and fluffy. I’ve found that rushing this step means your cake won’t be as tender, so take your time here—you’ll thank yourself later!
Step 3: Add Eggs, Cocoa, and Dry Ingredients
Beat in the eggs one at a time, adding the vanilla after the last egg. Then slowly fold in the cocoa powder—start mixing on low so you don’t get a cloud of cocoa flying everywhere! Meanwhile, sift together your cake flour, baking soda, baking powder, and salt. Alternate adding the dry mix and water into your bowl, starting and ending with the dry ingredients. Remember, mix just until combined between additions to keep your crumb tender.
Step 4: Bake and Cool the Cake
Pour your batter into the prepared pan and smooth out the surface. Bake at 325°F for 45–50 minutes. I recommend checking around 45 minutes: the cake is done when it springs back when lightly pressed or when a toothpick inserted in the center comes out clean. Cooling is key—let the cake chill completely before frosting, or the peanut butter mousse will melt and slide off.
Step 5: Whip Up the Peanut Butter Mousse
In a large bowl, beat the creamy peanut butter and unsalted butter together until smooth and lump-free. Add the powdered sugar and mix just enough to blend. Separately, whip the heavy cream to soft peaks, then gently fold it into the peanut butter mixture. It’s a delicate balance—you want fluffy mousse that holds its shape without being too stiff.
Step 6: Frost and Top
Spread the peanut butter mousse evenly over the cooled cake, pushing it right to the edges and corners with a tapered spatula. Then sprinkle your chopped Reese’s Miniature Cups on top for that extra “wow” factor. I love how the candy bits add texture and a nostalgic crunch—totally optional but highly recommended!
Pro Tips for Making Reese’s Chocolate Snack Cake Recipe
- Use Cake Flour for Softness: I tried this with all-purpose flour once and felt the crumb was too dense—cake flour is the secret to that tender texture.
- Don’t Overmix the Batter: Mixing just until combined keeps the cake moist; overmixing can make it tough.
- Cool Completely Before Frosting: Patience here prevents the mousse from melting and sliding off the cake, which I learned the hard way!
- Use a Tapered Spatula: It allows you to spread the mousse smoothly and reach every corner without breaking the cake.
How to Serve Reese’s Chocolate Snack Cake Recipe
Garnishes
I usually stick with chopped Reese’s Miniature Cups on top, because that really seals the deal flavor-wise. But I also like to toss on some crushed salted peanuts for extra texture and a salty contrast to the sweet mousse. If you want to fancy it up for a party, a light dusting of cocoa powder or a drizzle of melted chocolate can make it look extra special without overpowering the peanut butter-chocolate magic.
Side Dishes
Since this is already a rich, indulgent dessert, I like pairing it with something light and fresh. A scoop of vanilla ice cream or a few fresh berries balances the richness beautifully. For a grown-up twist, a drizzle of coffee or espresso complements the chocolate notes in the cake wonderfully.
Creative Ways to Present
For birthdays or celebrations, I’ve arranged the cake slices on a serving tray with alternating layers of whole and halved Reese’s cups around the edges. This creates a playful “nest” of peanut butter chocolate treats. Another fun idea is to serve slices with mini skewers holding a Reese’s cup and a marshmallow on top for an interactive dessert experience that kids and adults rave about!
Make Ahead and Storage
Storing Leftovers
I like to keep this cake in an airtight container in the fridge. It stays delicious for up to 3 days, though I’ve never had it last that long—it’s usually gobbled up quickly! The mousse holds up well in the fridge, so don’t worry about it drying out.
Freezing
If you want to freeze leftovers, I recommend slicing the cake first, then wrapping individual pieces tightly in plastic wrap and placing them in a freezer-safe container. It keeps well for up to 2 months. When I thaw mine, I let it sit in the fridge overnight to prevent the mousse from getting soggy.
Reheating
Because of the peanut butter mousse topping, reheating this cake isn’t really ideal—it’s best enjoyed chilled or at room temperature. If you want that just-baked warmth, try microwaving a slice for about 10 seconds, but be mindful that the mousse will soften or melt, so handle carefully.
FAQs
-
Can I use natural peanut butter for the mousse in the Reese’s Chocolate Snack Cake Recipe?
Natural peanut butter tends to be oilier and less stable in this mousse, which can cause the texture to separate or become runny. For best results, stick with a traditional creamy peanut butter like Jif or Skippy that has a thicker consistency and blends smoothly.
-
What can I use instead of cake flour in this recipe?
If you don’t have cake flour, you can make a substitute by measuring out the same amount of all-purpose flour, removing 2 tablespoons, and replacing it with 2 tablespoons of cornstarch. Sift together well. This helps lighten the flour and mimic cake flour’s tenderizing effect.
-
How do I know when the cake is done baking?
The cake is ready when it springs back lightly to the touch or when a toothpick inserted in the center comes out clean or with just a few moist crumbs attached. Avoid overbaking to keep it soft and moist. Start checking at 45 minutes.
-
Can I make this Reese’s Chocolate Snack Cake Recipe without the mini Reese’s cups on top?
Absolutely! The cake and peanut butter mousse are delicious on their own. The mini cups add texture and a fun peanut butter surprise, but if you have allergies or prefer a simpler look, feel free to skip them or substitute with chopped nuts or chocolate chips.
Final Thoughts
Honestly, this Reese’s Chocolate Snack Cake Recipe has become a go-to for me whenever I want to impress guests or just indulge a little myself. It hits all the right notes—rich, moist chocolate balanced perfectly with creamy peanut butter, and that nostalgic Reese’s crunch on top. I know you’re going to love making it as much as eating it. So grab your mixing bowl, dive in, and enjoy this sweet slice of peanut butter-chocolate heaven!
Print
Reese’s Chocolate Snack Cake Recipe
- Prep Time: 35 minutes
- Cook Time: 50 minutes
- Total Time: 1 hour 25 minutes
- Yield: 9 servings
- Category: Dessert
- Method: Baking
- Cuisine: American
Description
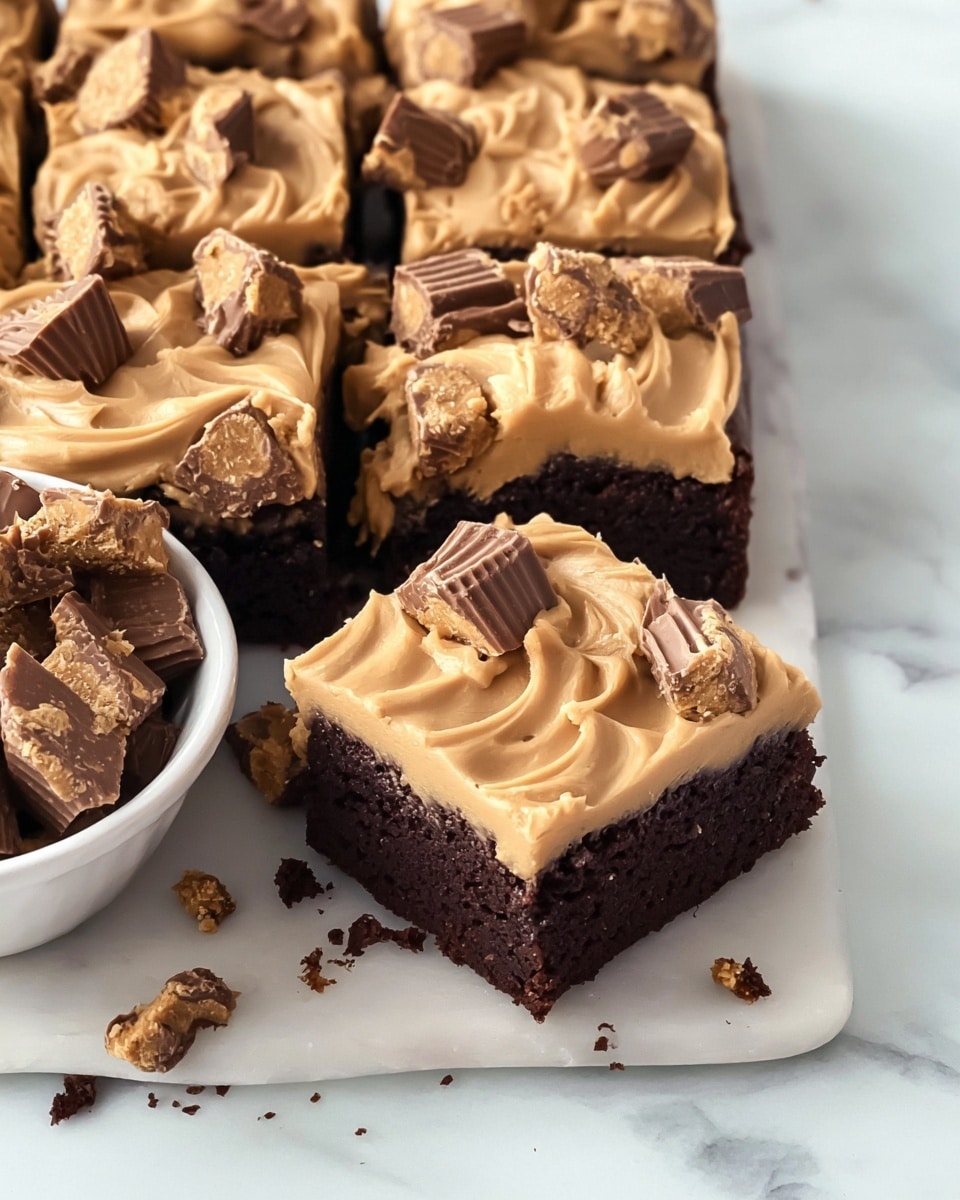
This Reese’s Chocolate Snack Cake is a decadent and moist chocolate cake layered with a creamy peanut butter mousse, topped with chopped Reese’s Miniature Cups for an extra peanut butter and chocolate punch. Perfect for chocolate and peanut butter lovers, this dessert combines rich cocoa with smooth peanut butter in a simple baked treat ideal for gatherings or indulgent snacking.
Ingredients
Chocolate Cake
- ½ cup (113g) unsalted butter
- 1 ⅓ cup (285g) granulated sugar
- ½ cup (56g) cocoa powder
- 2 large eggs
- 1 teaspoon vanilla extract
- 1 ½ cups (160g) cake flour
- 1 teaspoon baking soda
- ½ teaspoon baking powder
- ¼ teaspoon salt
- 1 cup (204g) water
Peanut Butter Mousse
- ¾ cup (190g) creamy peanut butter
- ¼ cup (57g) unsalted butter
- ½ cup (60g) powdered sugar
- ¾ cup (6oz / 170g) heavy cream
Topping
- 8-10 Reese’s Miniature Cups, chopped (optional)
Instructions
- Preheat and Prepare Pan: Preheat your oven to 325°F (163°C). Lightly grease an 8” x 8” square pan with cooking spray and line it with parchment paper, creating an overhang on all four sides to form a sling for easy cake removal.
- Cream Butter and Sugar: In a stand mixer fitted with a paddle attachment, cream together the unsalted butter and granulated sugar until the mixture is fluffy and light in color, approximately 5 minutes, ensuring the butter is softened for best results.
- Add Eggs and Cocoa: Add the eggs one at a time to the creamed mixture, beating well after each addition. Mix in the vanilla extract. Scrape down the bowl, then add the cocoa powder. Start mixing on low speed and gradually increase to medium until fully combined and smooth, scraping the sides as needed.
- Combine Dry Ingredients and Alternate Mixing: Sift together the cake flour, baking soda, baking powder, and salt. Alternately add the sifted flour mixture and the water into the batter, starting and ending with the flour. Mix gently after each addition just until combined, scraping down the bowl occasionally to ensure even mixing without overdeveloping gluten.
- Bake the Cake: Pour the batter into the prepared pan, smoothing the top evenly. Bake in the preheated oven for 45-50 minutes or until the cake springs back when lightly pressed or a toothpick inserted into the center comes out clean. Remove from the oven and let cool completely in the pan.
- Prepare Peanut Butter Mousse: In a large mixing bowl, beat together the creamy peanut butter and unsalted butter with an electric mixer until smooth and free of lumps. Add the powdered sugar and mix just until fully incorporated. In a separate bowl, whip the heavy cream to soft peaks and then fold it carefully into the peanut butter mixture until the mousse is thick and smooth.
- Assemble the Cake: Using a tapered spatula, spread the peanut butter mousse evenly over the cooled chocolate cake, pushing the frosting to cover the edges and corners completely for a neat finish.
- Add Topping and Serve: Optionally, sprinkle chopped Reese’s Miniature Cups over the top of the mousse for added texture and flavor. Slice the cake into 9 generous servings and enjoy your indulgent Reese’s Chocolate Snack Cake.
Notes
- Use a thick, conventional creamy peanut butter like Skippy or Jif for best mousse texture; natural peanut butter varieties may affect consistency.
- Store the cake in an airtight container in the refrigerator for up to 3 days to maintain freshness and mousse stability.
Nutrition
- Serving Size: 1 slice (approximately 1/9 of the cake)
- Calories: 450
- Sugar: 35g
- Sodium: 180mg
- Fat: 28g
- Saturated Fat: 10g
- Unsaturated Fat: 16g
- Trans Fat: 0.2g
- Carbohydrates: 44g
- Fiber: 3g
- Protein: 7g
- Cholesterol: 70mg

Your email address will not be published. Required fields are marked *