
If you’ve ever wished you could whip up a creamy, luscious dessert right at home without relying on those boxed mixes, you’re in the right place. Today, I’m going to walk you through my beloved How to Make Chocolate Pudding from Scratch Recipe that’s so rich and velvety, it might just become your new favorite go-to. Trust me, once you taste homemade chocolate pudding, there’s simply no turning back.
Why You’ll Love This Recipe
- Ultra Creamy Texture: The cornstarch and butter blend creates that dreamy, silky mouthfeel I absolutely adore.
- Simple Ingredients: You’ll find everything in your pantry—no fancy or hard-to-find items needed.
- Quick and Easy: Ready in about 40 minutes, so it’s perfect even on a weeknight dessert craving.
- Customizable Richness: You can easily tweak the cocoa powder amount to suit your chocolate love level.

Ingredients You’ll Need
All the ingredients in this How to Make Chocolate Pudding from Scratch Recipe are straightforward but work together beautifully to deliver that rich flavor and smooth consistency you want in chocolate pudding.
- Sugar: Regular granulated sugar balances the deep cocoa flavors perfectly without overpowering sweetness.
- Unsweetened cocoa powder: Use good-quality organic cocoa powder for an intense chocolate taste.
- Cornstarch: This is the magic thickener that gives pudding its signature silky texture.
- Salt: Just a pinch sharpens the flavors — don’t skip it!
- Milk: Whole milk works best for richness, but you can experiment with alternatives if you prefer.
- Butter: Adds luscious creaminess and a subtle richness to the finished pudding.
- Vanilla extract: A splash of vanilla rounds out the chocolate and adds depth to the flavor.
Variations
I like to think of this recipe as a base canvas—once you master how to make chocolate pudding from scratch, you can play around with flavors and textures to fit your mood or occasion.
- Chocolate Intensity: Sometimes I add an extra tablespoon or two of cocoa powder when I’m craving a darker, more indulgent pudding, and my family goes crazy for it.
- Dairy-Free: I’ve made this with almond or oat milk and swapped butter for plant-based margarine, resulting in a tasty dairy-free version that’s just as satisfying.
- Spiced Twist: Adding a pinch of cinnamon or a drop of espresso gives this pudding a wonderful layer of complexity I love offering to guests.
- Chunky Fun: Occasionally, I’ll stir in mini chocolate chips or fold in some chopped nuts for a bit of crunch.
How to Make How to Make Chocolate Pudding from Scratch Recipe
Step 1: Whisk Together Your Dry Ingredients
Start by combining sugar, cocoa powder, cornstarch, and salt in a medium saucepan. I like to whisk them really well so everything is evenly mixed and clump-free. This step sets the foundation for that smooth, lump-free texture you want. Trust me, rushing this is where things can get grainy, so take your time.
Step 2: Stir in the Milk and Cook
Next, slowly stir in the milk while keeping the heat at medium. This part requires a watchful eye and some elbow grease—you want to stir constantly, scraping the bottom as the mixture heats up. I learned the hard way that if you stop stirring, the pudding can stick and burn, leaving a nasty taste. After about 8-10 minutes, you’ll see it starting to thicken and coat the back of a metal spoon—that’s your green light to move on.
Step 3: Remove from Heat and Add Butter & Vanilla
Once the pudding has thickened perfectly, take the pan off the stove, and immediately stir in the butter and vanilla extract. The butter melts into the pudding, adding richness and that luxurious mouthfeel I absolutely love. Stir until everything’s combined, then resist the urge to dive in right away—it tastes even better after chilling.
Step 4: Cool and Chill
Let the pudding cool down to room temperature, then cover it with plastic wrap pressed directly onto the surface (this stops a skin from forming). Chill it in the fridge for at least an hour before serving. I usually prepare it in the morning for an after-dinner treat, and by evening, it’s perfectly set and ready to enjoy.
Pro Tips for Making How to Make Chocolate Pudding from Scratch Recipe
- Constant Stirring: I can’t stress this enough—keep that whisk moving! It makes all the difference between silky pudding and burnt clumps.
- Use a Metal Spoon: When checking thickness, a metal spoon works better because you can wipe your finger across its back and see if the pudding coats it evenly.
- Press Plastic Wrap on Surface: This trick prevents a skin from forming on top, which bugs me every time, so don’t skip it.
- Avoid High Heat: Cooking on medium heat avoids scorching and ensures your pudding cooks evenly and gently.
How to Serve How to Make Chocolate Pudding from Scratch Recipe
Garnishes
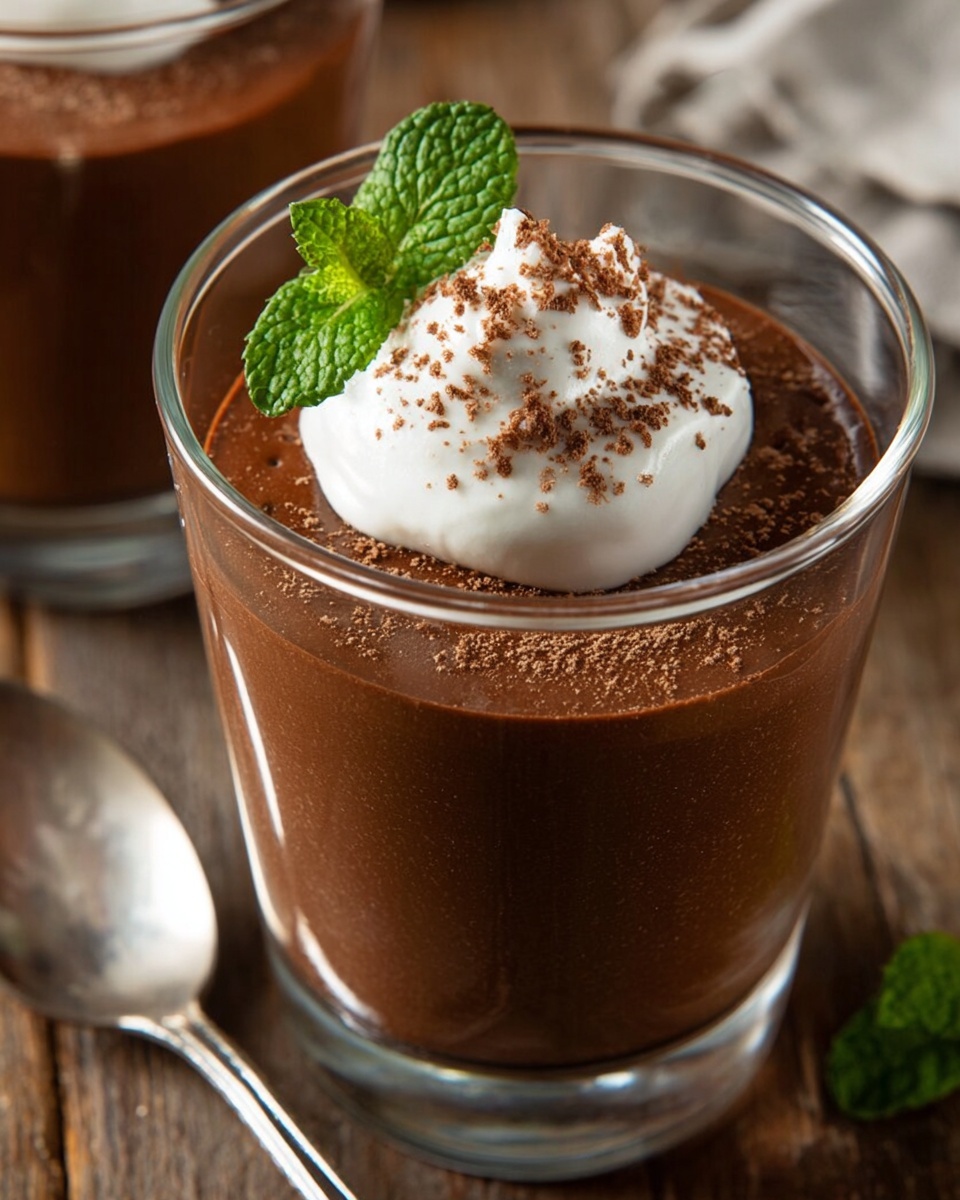
My absolute favorite garnishes are a dollop of whipped cream and a sprinkle of shaved dark chocolate or cocoa nibs for texture. Sometimes I toss in a few fresh raspberries or a mint leaf to add a pop of color and freshness. You’ll find these little touches make it feel like a dessert you ordered in a fancy restaurant, but without the price tag.
Side Dishes
I usually serve this pudding alongside buttery shortbread cookies or a crisp biscotti for dipping. For something lighter, fresh fruit like strawberries or banana slices complement the richness beautifully.
Creative Ways to Present
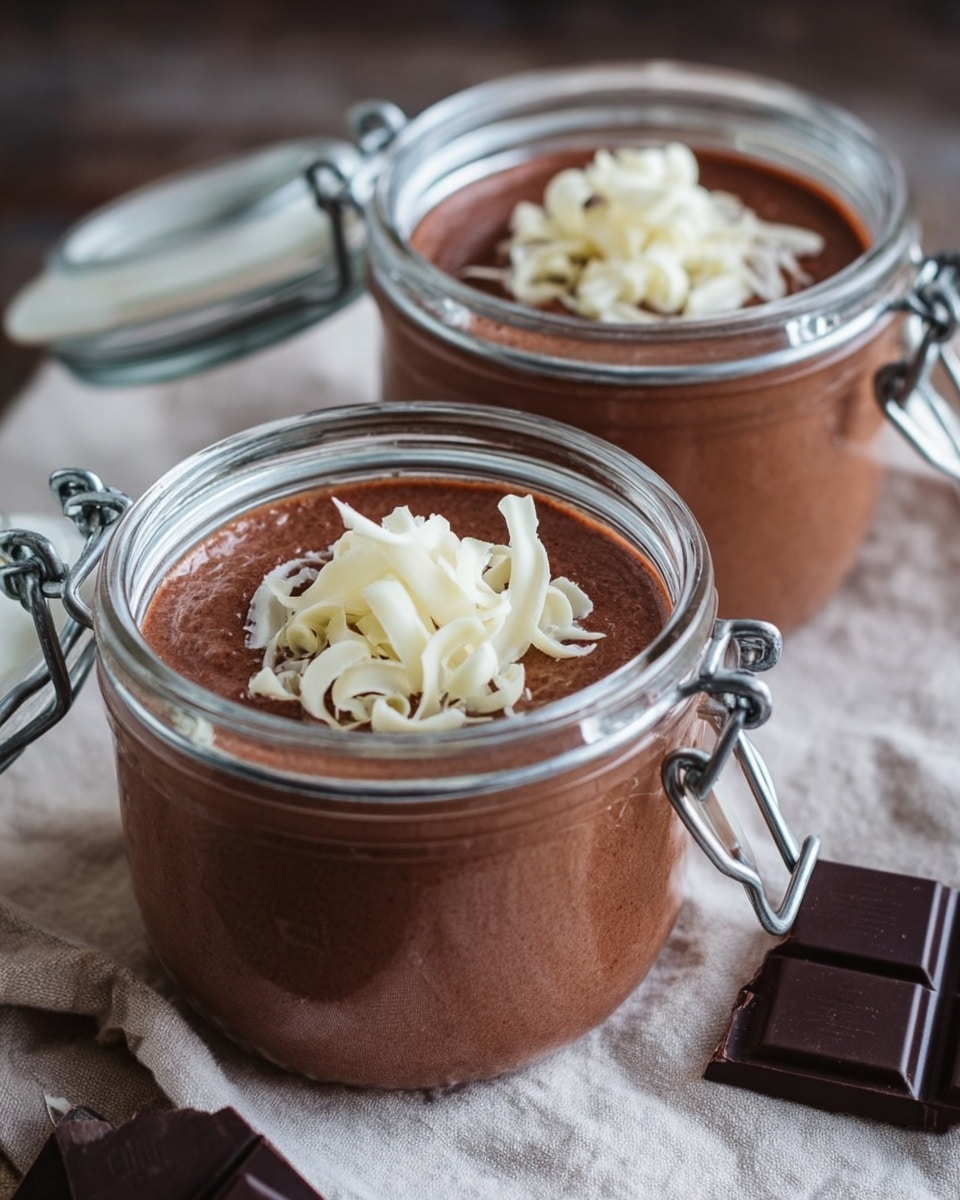
When I’ve made this for birthdays or little dinner parties, I like to pipe the pudding into small glass jars or vintage teacups, topped with whipped cream and chocolate curls—so festive and cute! Layering it with crushed cookies or nuts makes for a fun parfait twist too.
Make Ahead and Storage
Storing Leftovers
I store any leftover pudding covered tightly with plastic wrap in the fridge. It keeps well for about 3-4 days, and if the top separates a bit, a quick whisk before serving brings it right back to life.
Freezing
Freezing pudding is tricky because the texture can change, becoming grainy or icy. I’ve tried it, but honestly, I recommend enjoying this fresh. If you must freeze, freeze in airtight containers and let thaw overnight in the fridge; however, the texture may not be quite the same.
Reheating
If you like your pudding warm, reheat slowly on the stovetop over low heat, stirring constantly to avoid lumps. Adding a splash of milk as it warms helps restore that creamy consistency.
FAQs
-
Can I use a different type of milk for this recipe?
Absolutely! Whole milk gives the creamiest pudding, but you can swap it with 2% milk or plant-based options like almond, oat, or soy milk. Just know that dairy-free versions might be slightly less thick and rich, but still delicious.
-
How do I prevent lumps from forming?
Whisking dry ingredients thoroughly first, then slowly stirring in milk helps prevent lumps. Also, constant stirring while cooking and moderate heat keeps the texture smooth.
-
Can I make this pudding ahead of time?
Yes! This pudding actually tastes better after resting and chilling for a few hours. Just cover the surface with plastic wrap to avoid skin forming, and store in the fridge until you’re ready to enjoy.
-
Is this recipe suitable for kids?
Definitely. This chocolate pudding is a family favorite in my house, and kids love it for its smooth texture and rich, chocolatey taste without any alcohol or complex flavors.
Final Thoughts
Honestly, learning how to make chocolate pudding from scratch recipe was a game-changer for me. It gave me confidence to tackle other homemade desserts and offered my family something comfortingly nostalgic and utterly delicious. I hope you’ll give it a try and discover how satisfying it is to create this classic treat from simple ingredients right in your kitchen. Once you do, you might find it becoming your cherished recipe too!
Print
How to Make Chocolate Pudding from Scratch Recipe
- Prep Time: 10 minutes
- Cook Time: 20 minutes
- Total Time: 40 minutes
- Yield: 4 servings
- Category: Dessert
- Method: Stovetop
- Cuisine: American
Description
This homemade chocolate pudding recipe is a rich and creamy dessert made from scratch using simple pantry ingredients. Perfectly smooth and chocolaty, it combines cocoa powder and cornstarch to create a velvety texture that’s both satisfying and comforting. Ready in under an hour, it’s a classic treat that can be enjoyed on its own or topped with whipped cream or fresh fruit.
Ingredients
Dry Ingredients
- 1/2 cup sugar
- 3 tablespoons unsweetened organic cocoa powder
- 1/4 cup organic cornstarch
- 1/8 teaspoon salt
Wet Ingredients
- 2 3/4 cups milk
- 2 tablespoons room temperature butter
- 1 teaspoon vanilla extract
Instructions
- Combine Dry Ingredients: In a medium-sized saucepan, whisk together the sugar, unsweetened cocoa powder, cornstarch, and salt until well combined and free of lumps.
- Add Milk and Heat: Gradually stir in the milk over medium heat, ensuring the mixture is smooth. Continuously stir as the mixture heats to prevent sticking.
- Cook Until Thickened: Bring the pudding mixture to a boil. Continue cooking and stirring constantly until the pudding thickens enough to coat the back of a metal spoon, about 15-20 minutes.
- Incorporate Butter and Vanilla: Remove the saucepan from heat. Stir in the room temperature butter and vanilla extract until the butter is fully melted and the pudding is smooth.
- Cool and Chill: Let the pudding cool slightly at room temperature for about 10 minutes. Then transfer to serving dishes, cover, and chill in the refrigerator for at least 2 hours before serving for optimal texture and flavor.
Notes
- For a silkier texture, strain the pudding through a fine mesh sieve before chilling.
- Use whole milk for creamier pudding; low-fat milk can be used for a lighter version.
- Ensure constant stirring during cooking to avoid lumps and prevent burning.
- Store leftover pudding covered in the refrigerator for up to 3 days.
Nutrition
- Serving Size: 1/2 cup
- Calories: 180
- Sugar: 23g
- Sodium: 105mg
- Fat: 6g
- Saturated Fat: 3.5g
- Unsaturated Fat: 2g
- Trans Fat: 0g
- Carbohydrates: 31g
- Fiber: 2g
- Protein: 4g
- Cholesterol: 15mg

Your email address will not be published. Required fields are marked *