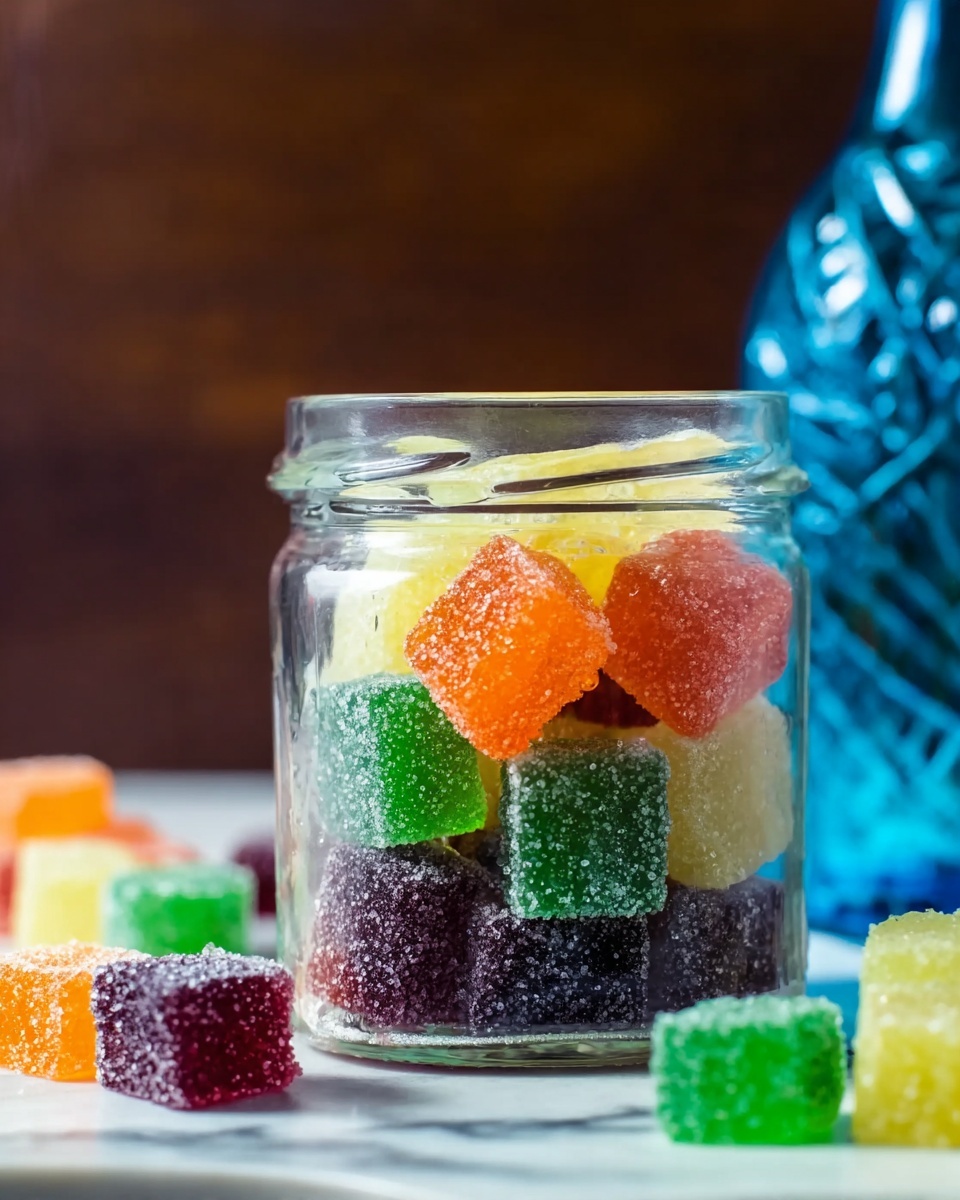
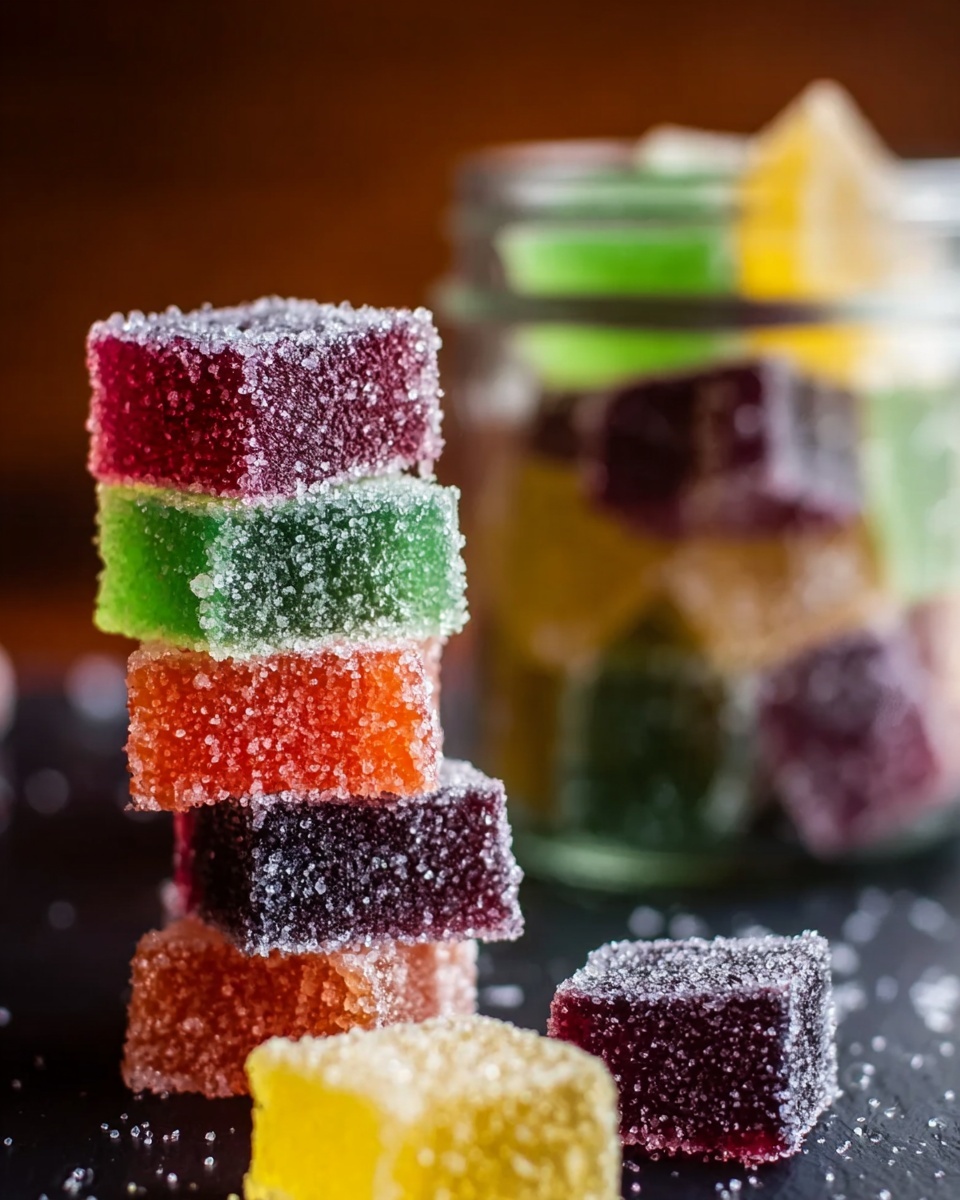
If you’re craving a sweet, chewy treat that’s bursting with flavor and just a little bit nostalgic, you’ve got to try this Homemade Jelly Candy Recipe. I absolutely love how this recipe transforms simple ingredients into colorful, fruity candies that are perfect for snacking, gifting, or just satisfying your sweet tooth. Plus, it’s easier than you might think, and I’ll walk you through every step to make sure your jelly candies turn out perfectly every time. Trust me, once you try this, your family and friends will be begging for more!
Why You’ll Love This Recipe
- Simple Ingredients: You only need a few pantry staples plus your favorite Kool-Aid or flavorings.
- Customizable Flavors: Easily swap out flavors and colors to suit your mood or holiday.
- Fun and Nostalgic: This candy brings back childhood memories and makes a great homemade gift.
- Great Texture: Chewy, yet not too sticky — the sugar coating keeps these candies from clumping together.
Ingredients You’ll Need
The magic of this Homemade Jelly Candy Recipe really comes from the balance between gelatin, sugar, and the bright flavors of Kool-Aid or extracts. I recommend grabbing good quality gelatin and sugar to get the best texture and taste. If you want to go the extra mile, I like using flavored extracts and a touch of food coloring for vibrant colors without artificial ingredients.
- Gelatin: Make sure to use unflavored gelatin; it’s the backbone that gives your candy that perfect chew.
- Cold water: Needed to bloom the gelatin properly, ensuring a smooth texture.
- Boiling water: Dissolves the sugar and gelatin, creating the syrup base.
- Sugar: Key to sweetness and the candy’s structure; some will be used inside and some for coating.
- Unsweetened Kool-Aid packets or flavored extract: These give your candy its fruity punch; I’ve had great results with classic Kool-Aid, but extracts work wonderfully if you want more control.
- Food coloring: Optional, but I love adding a few drops to make my candies look like little gems.
Variations
One of my favorite things about this Homemade Jelly Candy Recipe is how easy it is to make it your own. Whether you want something more natural, kid-friendly, or tailored for a party, there’s a variation for you.
- Low-Sugar Version: I once tried using a sugar substitute for my diabetic aunt, and while the candy firmed up differently, it still tasted great with a firmer chew.
- Flavored Extract Mix: Instead of Kool-Aid, I sometimes use lemon or raspberry extract with natural food coloring for a gourmet touch.
- Fun Shapes: Experiment with silicone molds instead of pans for themed jelly candies — my kids loved gummy bears and stars!
- Herbal Twist: Adding a hint of mint or lavender extract creates a sophisticated candy that’s great as party favors.
How to Make Homemade Jelly Candy Recipe
Step 1: Prep Your Pans Right
First things first, line your baking pans with plastic wrap, and give them a good spray of vegetable oil to make sure your jelly candy doesn’t stick. I usually use three 8×8 pans and two loaf pans for this batch, which makes about 60 candies. Having multiple pans ready saves you a ton of time when you divide the flavors later.
Step 2: Bloom the Gelatin
Pour 2 cups of cold water into a bowl and sprinkle all 8 envelopes of gelatin evenly on top. Stir gently just to help the gelatin begin to absorb the water, but don’t fully dissolve it just yet—that happens later. Set this aside to bloom. I learned this step is super important to avoid clumps and get a smooth jelly texture.
Step 3: Make Your Sugar Syrup
In a saucepan, bring 2 1/2 cups of water to a boil. Add 6 cups of sugar, and stir consistently as it simmers until the sugar completely dissolves. Don’t rush this—you want a clear syrup without any graininess. Once the sugar is dissolved, add your gelatin mixture, stirring carefully so it melts completely. Bring it back to a gentle boil and cook for 2-3 more minutes. This step ensures everything combines nicely and the candy will set just right.
Step 4: Flavor and Color Your Jelly Candy
After removing the syrup from the heat, let it cool for a minute or two. Then divide it evenly into 5 bowls. Now comes the fun part: toss one packet of unsweetened Kool-Aid or add 3 teaspoons of your favorite extract plus a few drops of food coloring into each bowl. A little whisking goes a long way here to make sure the flavor is fully dissolved and the colors look vibrant. I love using lime flavor with green coloring—so fresh and inviting!
Step 5: Pour, Chill, and Cut
Pour each flavored mixture into the prepared pans, then refrigerate overnight. The next day, sprinkle sugar generously over parchment paper. Flip the jelly candy out onto the sugar layer, then transfer it onto fresh parchment again. Using a pizza cutter makes cutting quick and easy—cut into small squares or rectangles. Here’s a trick I discovered: letting the candies sit overnight before coating the bottom sugar side helps them hold their shape beautifully.
Step 6: Coat, Rest, and Store
After the first sugar coating, flip the candies over again, coat the new bottom side with sugar, and let the candy rest out overnight once more. Once fully coated and dried, pack your jelly candies into airtight containers or bags. This keeps them fresh and keeps them from sticking together. I’ve kept mine for up to two weeks, but they rarely last that long around my house!
Pro Tips for Making Homemade Jelly Candy Recipe
- Bloom Gelatin Properly: I once skipped blooming and ended up with lumpy candy—don’t make that mistake!
- Use a Pizza Cutter for Clean Cuts: It’s easier than a knife and prevents tearing.
- Double Sugar Coating: This prevents candies from sticking and adds a lovely crunch.
- Patience is Key: Let the candy chill and rest overnight to get perfect texture and flavor development.
How to Serve Homemade Jelly Candy Recipe

Garnishes
I like to dust my jelly candies with a little extra colored sugar or edible glitter for parties—it makes them sparkle and adds a festive touch. For a fun twist, try rolling a few in coconut flakes or crushed nuts for extra texture and a surprising flavor contrast.
Side Dishes
These candies make a great accompaniment to afternoon tea or coffee. I’ve also paired them with a plate of mild cheese and crackers to balance out the sweetness—it’s a favorite among my guests!
Creative Ways to Present
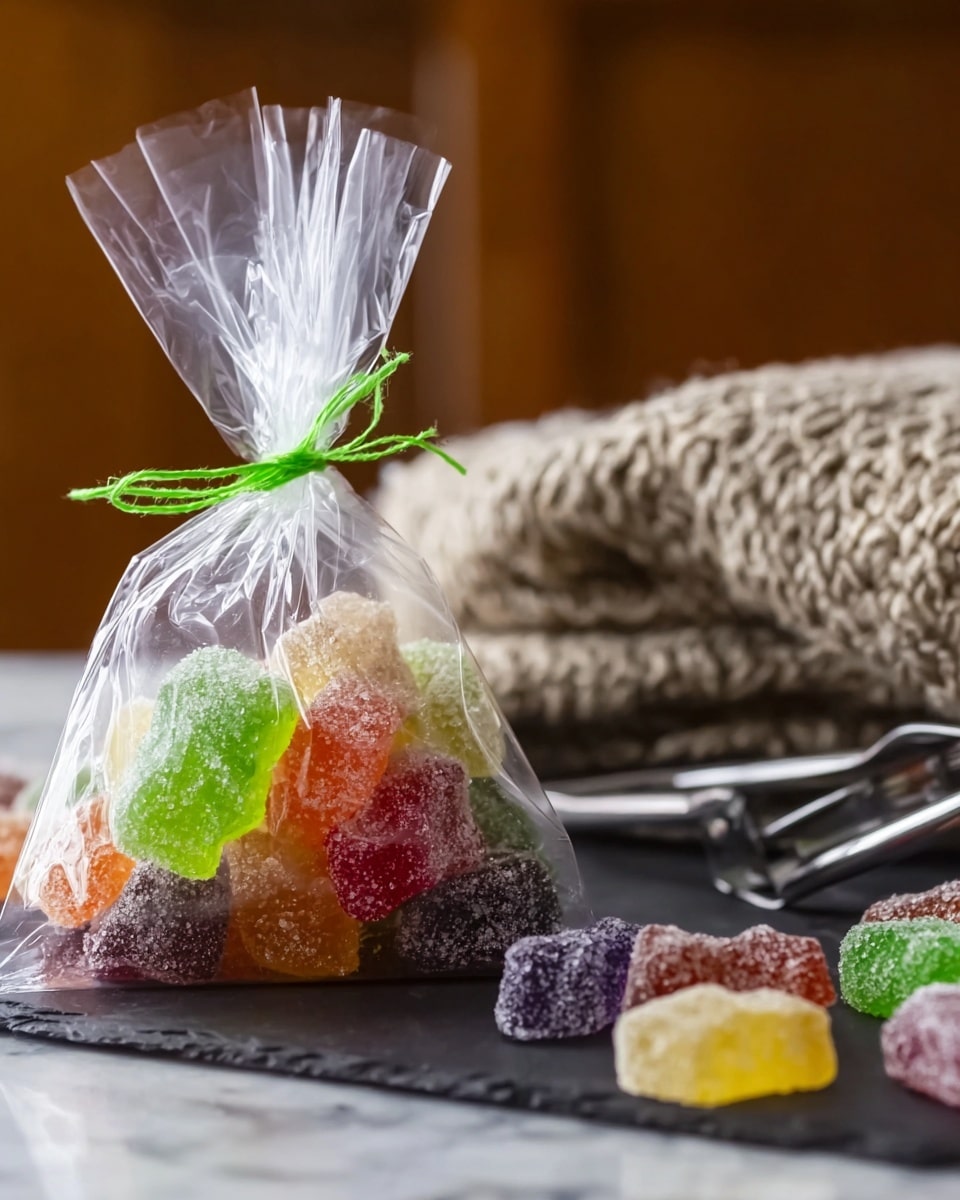
For birthdays or holidays, I arrange the jelly candies in clear jars layered by color—it looks gorgeous and doubles as a gift. Using themed silicone molds gives you cute shapes that kids adore. I also once wrapped them individually in wax paper tied with twine for homemade party favors—such a hit!
Make Ahead and Storage
Storing Leftovers
I store leftover jelly candies in airtight containers at room temperature in a cool, dry place. They keep beautifully for about two weeks. Make sure the container isn’t airtight if you live somewhere humid—otherwise, your candies might get sticky.
Freezing
Freezing jelly candies is something I’ve tried mostly out of curiosity. While it’s possible, I find the texture slightly changes after thawing, so I usually only freeze if I want to save them for over a month. Just freeze in a single layer on parchment paper and then transfer to a sealed bag.
Reheating
If your jelly candies get too firm or cold, just leave them at room temperature for a bit before enjoying. No reheating is necessary since the chewiness is best fresh. Avoid microwaving or heating, as it can melt the sugar coating and mess up the texture.
FAQs
-
Can I use gelatin substitutes in this Homemade Jelly Candy Recipe?
You can try agar-agar or pectin, but gelatin provides the best chewy texture for this kind of jelly candy. Using substitutes might alter the final texture and setting time, so expect some experimentation.
-
Why is my jelly candy sticky after making it?
Sticky jelly candy usually means either too much moisture or not enough sugar coating. Make sure you coat your candies generously with sugar on all sides and allow proper resting time. Also, avoid storing in humid conditions.
-
Can I make this jelly candy without Kool-Aid?
Absolutely! Using flavored extracts combined with a few drops of food coloring works wonderfully and gives you greater control over sweetness and flavor intensity.
-
How long does homemade jelly candy last?
Stored properly in airtight containers at room temperature, these candies will last for about two weeks. Just keep them away from heat and humidity.
-
Can I gift homemade jelly candies?
Definitely! Pack them in decorative jars or boxes, add a pretty ribbon, and you have a sweet, homemade gift that’s sure to impress.
Final Thoughts
Making your own jelly candy is such a rewarding experience—you get that delightful chewy texture, bright flavors, and the satisfaction of creating candy from scratch. I love sharing this recipe because it’s not only delicious but also brings back fun memories of childhood treats. I really hope you give this Homemade Jelly Candy Recipe a try, whether you’re making it for your family, friends, or just to treat yourself. You’ll find it’s a sweet project full of flavor, fun, and nostalgia!
Print
Homemade Jelly Candy Recipe
- Prep Time: 10 minutes
- Cook Time: 15 minutes
- Total Time: 35 minutes plus overnight chilling and drying
- Yield: Approximately 60 candies (about 5 dozen)
- Category: Dessert
- Method: Stovetop
- Cuisine: American
Description
This Homemade Jelly Candy recipe creates colorful, sweet, and chewy treats using gelatin, sugar, and flavored drink mix or extracts. The candies are coated with sugar to add a delightful crunch and a burst of flavor. Perfect for candy lovers who enjoy making fun, fruity confections at home with simple ingredients.
Ingredients
Gelatin Base
- 8 envelopes (2 boxes, 1 oz each) gelatin
- 2 cups cold water
- 2 1/2 cups boiling water
- 6 cups sugar
Flavoring and Coating
- 6 packets unsweetened Kool-aid or equivalent flavored extract with food coloring
- 2 cups sugar for coating
Instructions
- Prepare Pans: Line three 8×8 inch oven pans and two bread loaf pans with plastic wrap and spray with vegetable oil to prevent sticking.
- Bloom Gelatin: In a bowl, pour 2 cups cold water and sprinkle all 8 envelopes of gelatin over the surface. Stir gently to incorporate and let it sit to bloom.
- Make Sugar Syrup: In a medium saucepan, bring 2 1/2 cups water to a boil. Add 6 cups sugar and stir while simmering until the sugar fully dissolves.
- Combine Gelatin and Syrup: Add the bloomed gelatin mixture to the hot sugar syrup, stirring until completely dissolved. Bring to a boil again and cook for 2-3 minutes.
- Cool Slightly: Remove from heat and let the mixture cool for 1-2 minutes to avoid overheating the flavorings.
- Add Flavorings: Divide the gelatin syrup evenly into 5 separate bowls. To each bowl, add one packet of unsweetened Kool-aid or 3 teaspoons of extract plus food coloring (e.g., 5 drops green for lime). Whisk well until flavors dissolve completely.
- Set the Jelly: Pour each flavored gelatin mixture into the prepared pans. Refrigerate overnight to set firmly.
- Coat with Sugar: Turn out the jelly onto parchment paper generously coated with sugar. Transfer onto a new parchment and cut into small squares or rectangles using a pizza cutter.
- Dry and Sugar Coat Again: Let squares sit overnight uncovered. Then coat the bottoms with more sugar, flip, and let sit another night to fully dry and set sugar coating.
- Store: Place coated jelly candies into airtight bags or containers to keep fresh.
Notes
- Use unsweetened Kool-aid or natural extracts for a variety of flavors and vibrant colors.
- Ensure pans are well lined and sprayed to facilitate easy removal after setting.
- Allow full drying on both sides with sugar coating overnight to get perfect texture and prevent stickiness.
- The candy can be stored at room temperature in airtight containers for several weeks.
- Cut candies into desired shapes using a pizza cutter or sharp knife once set.
Nutrition
- Serving Size: 1 candy (approximate)
- Calories: 35
- Sugar: 8g
- Sodium: 15mg
- Fat: 0g
- Saturated Fat: 0g
- Unsaturated Fat: 0g
- Trans Fat: 0g
- Carbohydrates: 9g
- Fiber: 0g
- Protein: 0.5g
- Cholesterol: 0mg


Your email address will not be published. Required fields are marked *