

If you’re anything like me and love that dreamy combo of peanut butter and chocolate with a satisfying crunch, then you’re going to flip over this Chocolate Peanut Butter Butterfinger Balls Recipe. These little bites of goodness pack so much flavor and texture, I promise once you try them, they’ll become your go-to treat for parties, gifts, or just sneaking a little indulgence at home.
Why You’ll Love This Recipe
- Perfect Flavor Combo: The marriage of creamy peanut butter and rich chocolate with Butterfinger crunch is absolutely irresistible.
- Easy to Make: No fancy equipment or complicated steps—just simple ingredients and straightforward instructions.
- Customizable: You can easily tweak toppings or add-ins to make these balls unique to your taste.
- Great for Gifting and Parties: They look adorable and taste like you spent hours in the kitchen.

Ingredients You’ll Need
Before we get rolling, let’s talk about the stars of this Chocolate Peanut Butter Butterfinger Balls Recipe. Each ingredient adds its own magic, and choosing the right ones really makes a difference in flavor and texture.
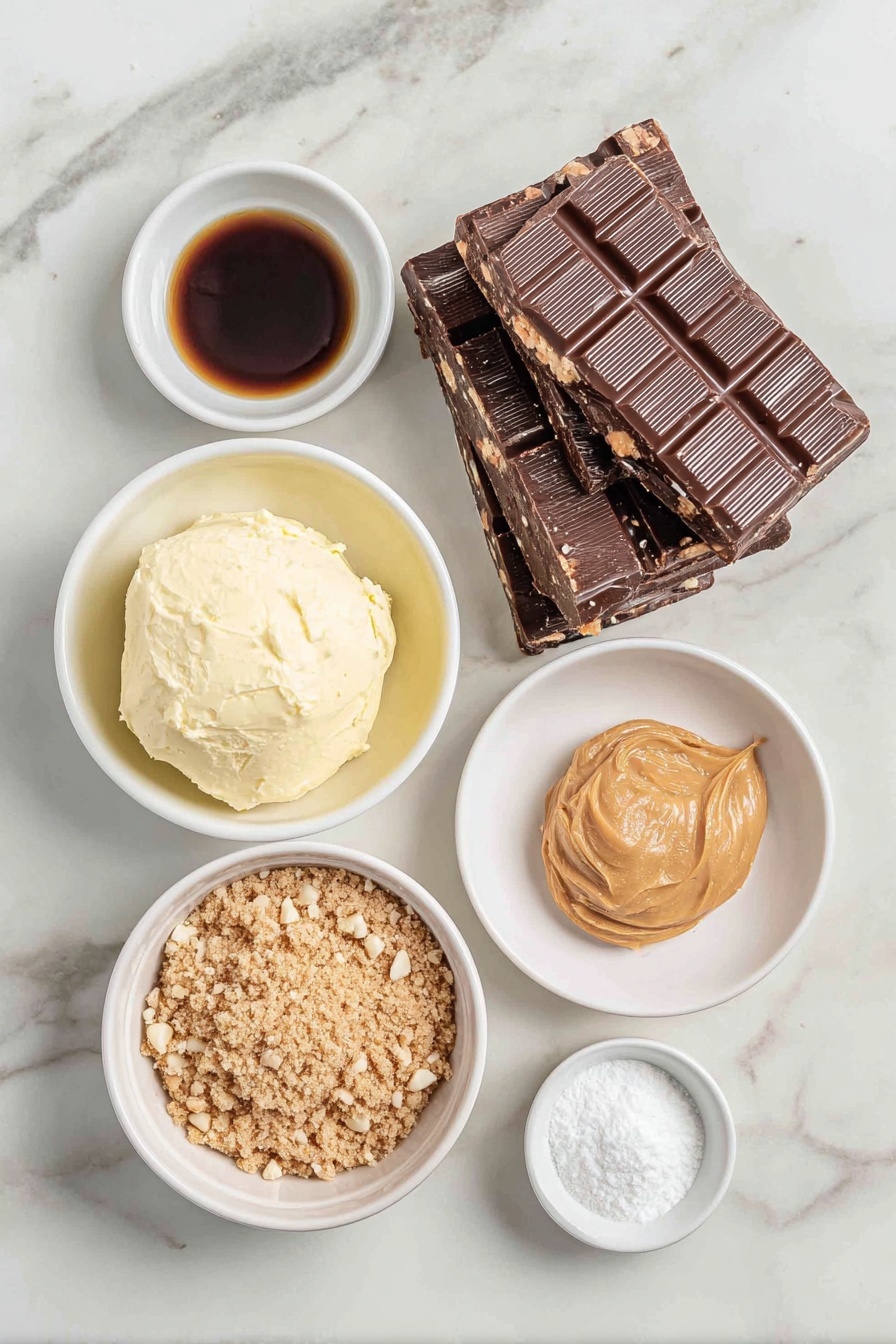
- Butter (softened): Using softened butter helps create a smooth, creamy base that melds beautifully with the peanut butter.
- Vanilla extract: Just a splash adds a warm, sweet aroma that lifts the entire recipe.
- Chocolate bark or chocolate chips: I usually go for chocolate bark because it melts evenly, but good-quality chips work well too.
- Butterfinger bars (crushed): The secret crunch! Make sure to crush them coarsely for texture.
- Powdered sugar: This sweetens and helps bind the dough together without any graininess.
- Peanut butter (creamy, not all-natural): Conventional brands like Jif or Skippy work best since natural peanut butter can be too oily and mess with the consistency.
- Graham cracker crumbs: Adds a subtle buttery crunch and holds the mixture firm.
- Optional garnishes: Additional Butterfinger crumbs, sprinkles, or sea salt for a finishing touch.
Variations
I love mixing things up depending on my mood or what’s in the pantry. The great thing about this Chocolate Peanut Butter Butterfinger Balls Recipe is how flexible it is — you can personalize it a ton without losing that delicious core flavor.
- Nut-free version: I’ve swapped peanut butter for sunflower seed butter for friends with allergies, and the taste is surprisingly perfect.
- Dark chocolate twist: Use dark chocolate instead of milk chocolate if you want a richer bittersweet contrast.
- Extra crunch: Add chopped nuts like pecans or almonds for some more texture.
- Holiday flair: Top with colorful sprinkles or edible glitter to make them festive for special occasions.
How to Make Chocolate Peanut Butter Butterfinger Balls Recipe
Step 1: Create the Peanut Butter Dough
First things first, soften that butter so it blends smoothly with the peanut butter. Use an electric mixer on medium speed and beat these two together until you get a creamy, uniform mixture. This is key because it sets the texture for your balls — no one wants gritty or uneven bites! Adding vanilla extract here will infuse a lovely aroma that warms up this sweet treat.
Step 2: Mix in the Sweeteners and Crunch
Slowly add the powdered sugar, blending on low speed to avoid a dust cloud in your kitchen (I speak from experience). Remember to scrape down the sides of your bowl so everything mixes evenly. Once that’s incorporated, gently fold in your crushed Butterfinger bars and graham cracker crumbs. That fold is important — you want to keep the chunks intact for that delectable crunch.
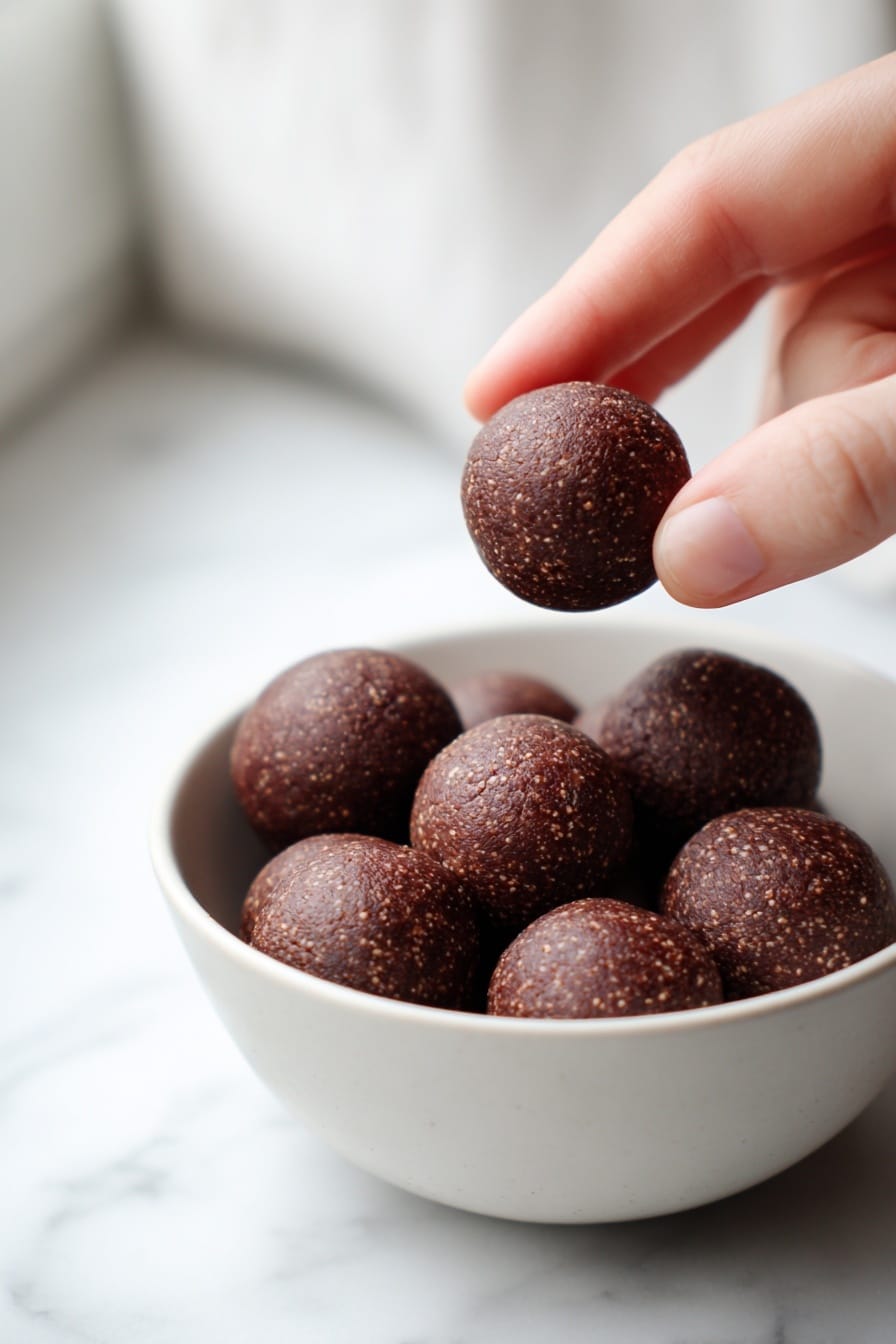
Step 3: Shape and Chill
Line a baking sheet with parchment paper—this is your workspace for the balls to chill. I like to use a cookie scoop or tablespoon to portion out the dough, then roll them between my palms to create smooth, uniform balls. This step is so satisfying! Once shaped, pop the whole tray into the freezer for about 30 minutes. This firm chilling makes dipping in chocolate easier and cleaner.
Step 4: Melt the Chocolate Perfectly
Now the fun part: melting the chocolate! I find using a microwave-safe bowl and heating at 50% power for 30-second bursts works great. Be patient and stir between intervals — you want a glossy, smooth melt, not burnt or grainy chocolate. Leaving a few lumps that melt by stirring prevents overheating, which can ruin the shine and texture.
Step 5: Dip, Decorate, and Set
Drop each chilled peanut butter ball into your melted chocolate, swirl to coat fully or partially—your call! Then, sprinkle extra crushed Butterfinger bits, festive sprinkles, or a tiny pinch of flaky sea salt on top. Let these set at room temperature or refrigerate until the chocolate hardens solid. The anticipation is half the fun.
Pro Tips for Making Chocolate Peanut Butter Butterfinger Balls Recipe
- Use Conventional Peanut Butter: I learned the hard way that natural peanut butter’s oiliness makes the dough too soft—stick with brands like Jif or Skippy for perfect consistency.
- Don’t Overheat Chocolate: Microwave in short bursts and stir often so your chocolate stays silky without burning.
- Chill Thoroughly Before Dipping: Frozen balls dip much easier and hold their shape better when coated in chocolate.
- Store in Airtight Containers: Keeps your Butterfinger balls fresh and prevents any fridge odors from sneaking in.
How to Serve Chocolate Peanut Butter Butterfinger Balls Recipe
Garnishes
I tend to keep it simple with a sprinkle of crushed Butterfinger bars on top for extra crunch and visual appeal. Sometimes for holiday parties, I add festive sprinkles or a light dusting of flaky sea salt — that salt contrast really brings out the chocolate and peanut butter flavors beautifully.
Side Dishes
Since these are rich and indulgent on their own, I like pairing them with a light cup of coffee or a glass of cold milk. For parties, they’re perfect alongside fresh fruit platters or simple vanilla ice cream to balance the sweetness.
Creative Ways to Present
For a festive touch, I’ve served these in mini cupcake liners arranged on pretty platters or tied up in cellophane bags with a handmade tag for gifting. Another fun idea is stacking them into a “ball tree” using a foam cone and toothpicks—such a showstopper at holiday gatherings!
Make Ahead and Storage
Storing Leftovers
My family and I never have too many leftovers because they disappear fast, but when I do save some, I store the balls in an airtight container in the fridge. They keep well for about a week, maintaining freshness and that perfect texture without getting too soft or soggy.
Freezing
If you want to make a big batch ahead of time, freezing works like a charm. I place the dipped balls on a tray until firm, then transfer them to a freezer-safe container or zip-top bag. They keep for a couple of months and thaw quickly in the fridge or at room temperature.
Reheating
Since these are best enjoyed cool, I usually just let them sit out for 10 minutes if they’re too firm from the fridge or freezer. If you want to freshen up the chocolate shine, a quick 10-second zap in the microwave on low can help soften the coating—but watch closely so it doesn’t melt completely.
FAQs
-
Can I use all-natural peanut butter for this recipe?
While you technically can, I don’t recommend it because natural peanut butter tends to be oilier and can make the dough too soft and difficult to handle. Conventional creamy peanut butter brands like Jif or Skippy give you the best consistency and taste.
-
How do I crush Butterfinger bars easily?
Place the Butterfinger bars into a zip-top bag and use a rolling pin or the bottom of a heavy skillet to gently crush them. I like to leave some larger chunks for that wonderful crunchy surprise in each bite.
-
What’s the best way to melt chocolate for coating?
The microwave method is quick and easy: heat chocolate at 50% power in 30-second intervals, stirring between each until smooth. Alternatively, a double boiler on low heat works well if you prefer stovetop melting.
-
Can I make these ahead of time for a party?
Definitely! Make them a day or two ahead and store in the fridge in an airtight container — they’ll stay fresh and taste just as amazing. For even longer storage, freeze them and thaw before serving.
Final Thoughts
This Chocolate Peanut Butter Butterfinger Balls Recipe is one of those special treats that feels indulgent yet simple to whip up whenever the craving hits. I absolutely love how the crunchy Butterfinger bits play off the creamy peanut butter and smooth chocolate—it’s like a little party for your mouth each time. I’m confident you’ll find them just as addictive as my family and friends do. So grab your mixing bowl, and let’s make some buttery, chocolatey magic together—you won’t regret it!
Print
Chocolate Peanut Butter Butterfinger Balls Recipe
- Prep Time: 15 minutes
- Cook Time: 0 minutes
- Total Time: 45 minutes
- Yield: 20 balls
- Category: Dessert
- Method: No-Cook
- Cuisine: American
- Diet: Vegetarian
Description
These Butterfinger Balls combine creamy peanut butter, crushed Butterfinger bars, and graham cracker crumbs, all coated in melted chocolate for a crunchy, sweet treat perfect for any occasion. With a smooth, rich texture and a delightful crunch, they are easy to make and ideal for festive gatherings or everyday indulgence.
Ingredients
Base Mixture
- 4 tablespoons softened butter (½ stick)
- 1 teaspoon vanilla extract
- 1 cup peanut butter (avoid all-natural varieties)
- 1 cup powdered sugar
- ¾ cup graham cracker crumbs
- ½ cup crushed Butterfinger bars
Chocolate Coating
- 8 ounces chocolate bark or chocolate chips
Optional Garnishes
- Additional crushed Butterfinger bars
- Festive sprinkles
- Coarse sea salt
Instructions
- Prepare the Dough: In a mixing bowl, combine the peanut butter and softened butter. Use an electric or stand mixer set to medium speed and blend until the mixture is creamy and uniform.
- Add Aromatic Notes: Incorporate the vanilla extract and blend thoroughly to infuse flavor evenly.
- Sweeten the Deal: Gradually add the powdered sugar in increments, blending at low speed. Be sure to scrape down the sides of the bowl to ensure even mixing and a smooth dough.
- Crunch Time: Gently fold in the graham cracker crumbs and crushed Butterfinger bars until just combined to maintain the texture.
- Shape ’em Up: Line a large cookie sheet with parchment paper. Scoop out approximately 1 to 1½ tablespoons of the dough, roll into neat balls, and place them evenly spaced on the cookie sheet.
- Chilling Phase: Freeze the dough balls on the sheet for about 30 minutes until they are completely firm and ready for coating.
- Melting the Chocolate: Once the dough balls are chilled, melt the chocolate in a microwave-safe bowl using 30-second intervals at 50% power, stirring between each interval. Avoid overheating; some lumps are okay as they will melt while stirring.
- Coat and Decorate: Submerge each chilled dough ball into the melted chocolate, coating fully or partially, as preferred. Then add your choice of garnishes such as crushed Butterfinger bars, sprinkles, or flaky sea salt for a festive touch.
- The Grand Finale: Allow the chocolate to solidify completely at room temperature or in the refrigerator before serving or storing.
Notes
- Store these delights in an airtight container and refrigerate for up to a week.
- Stick to conventional peanut butter brands like Jif or Skippy, as all-natural varieties can be too oily and affect texture.
- For smoother texture, chocolate bark is recommended. You can also use a combination of bark and chocolate chips or tempered chocolate chips.
- If preferred, melt chocolate using a double boiler over low or medium-low heat for better control and to avoid scorching.
Nutrition
- Serving Size: 1 ball
- Calories: 160
- Sugar: 15g
- Sodium: 90mg
- Fat: 10g
- Saturated Fat: 4g
- Unsaturated Fat: 5g
- Trans Fat: 0g
- Carbohydrates: 15g
- Fiber: 1g
- Protein: 3g
- Cholesterol: 10mg

Your email address will not be published. Required fields are marked *