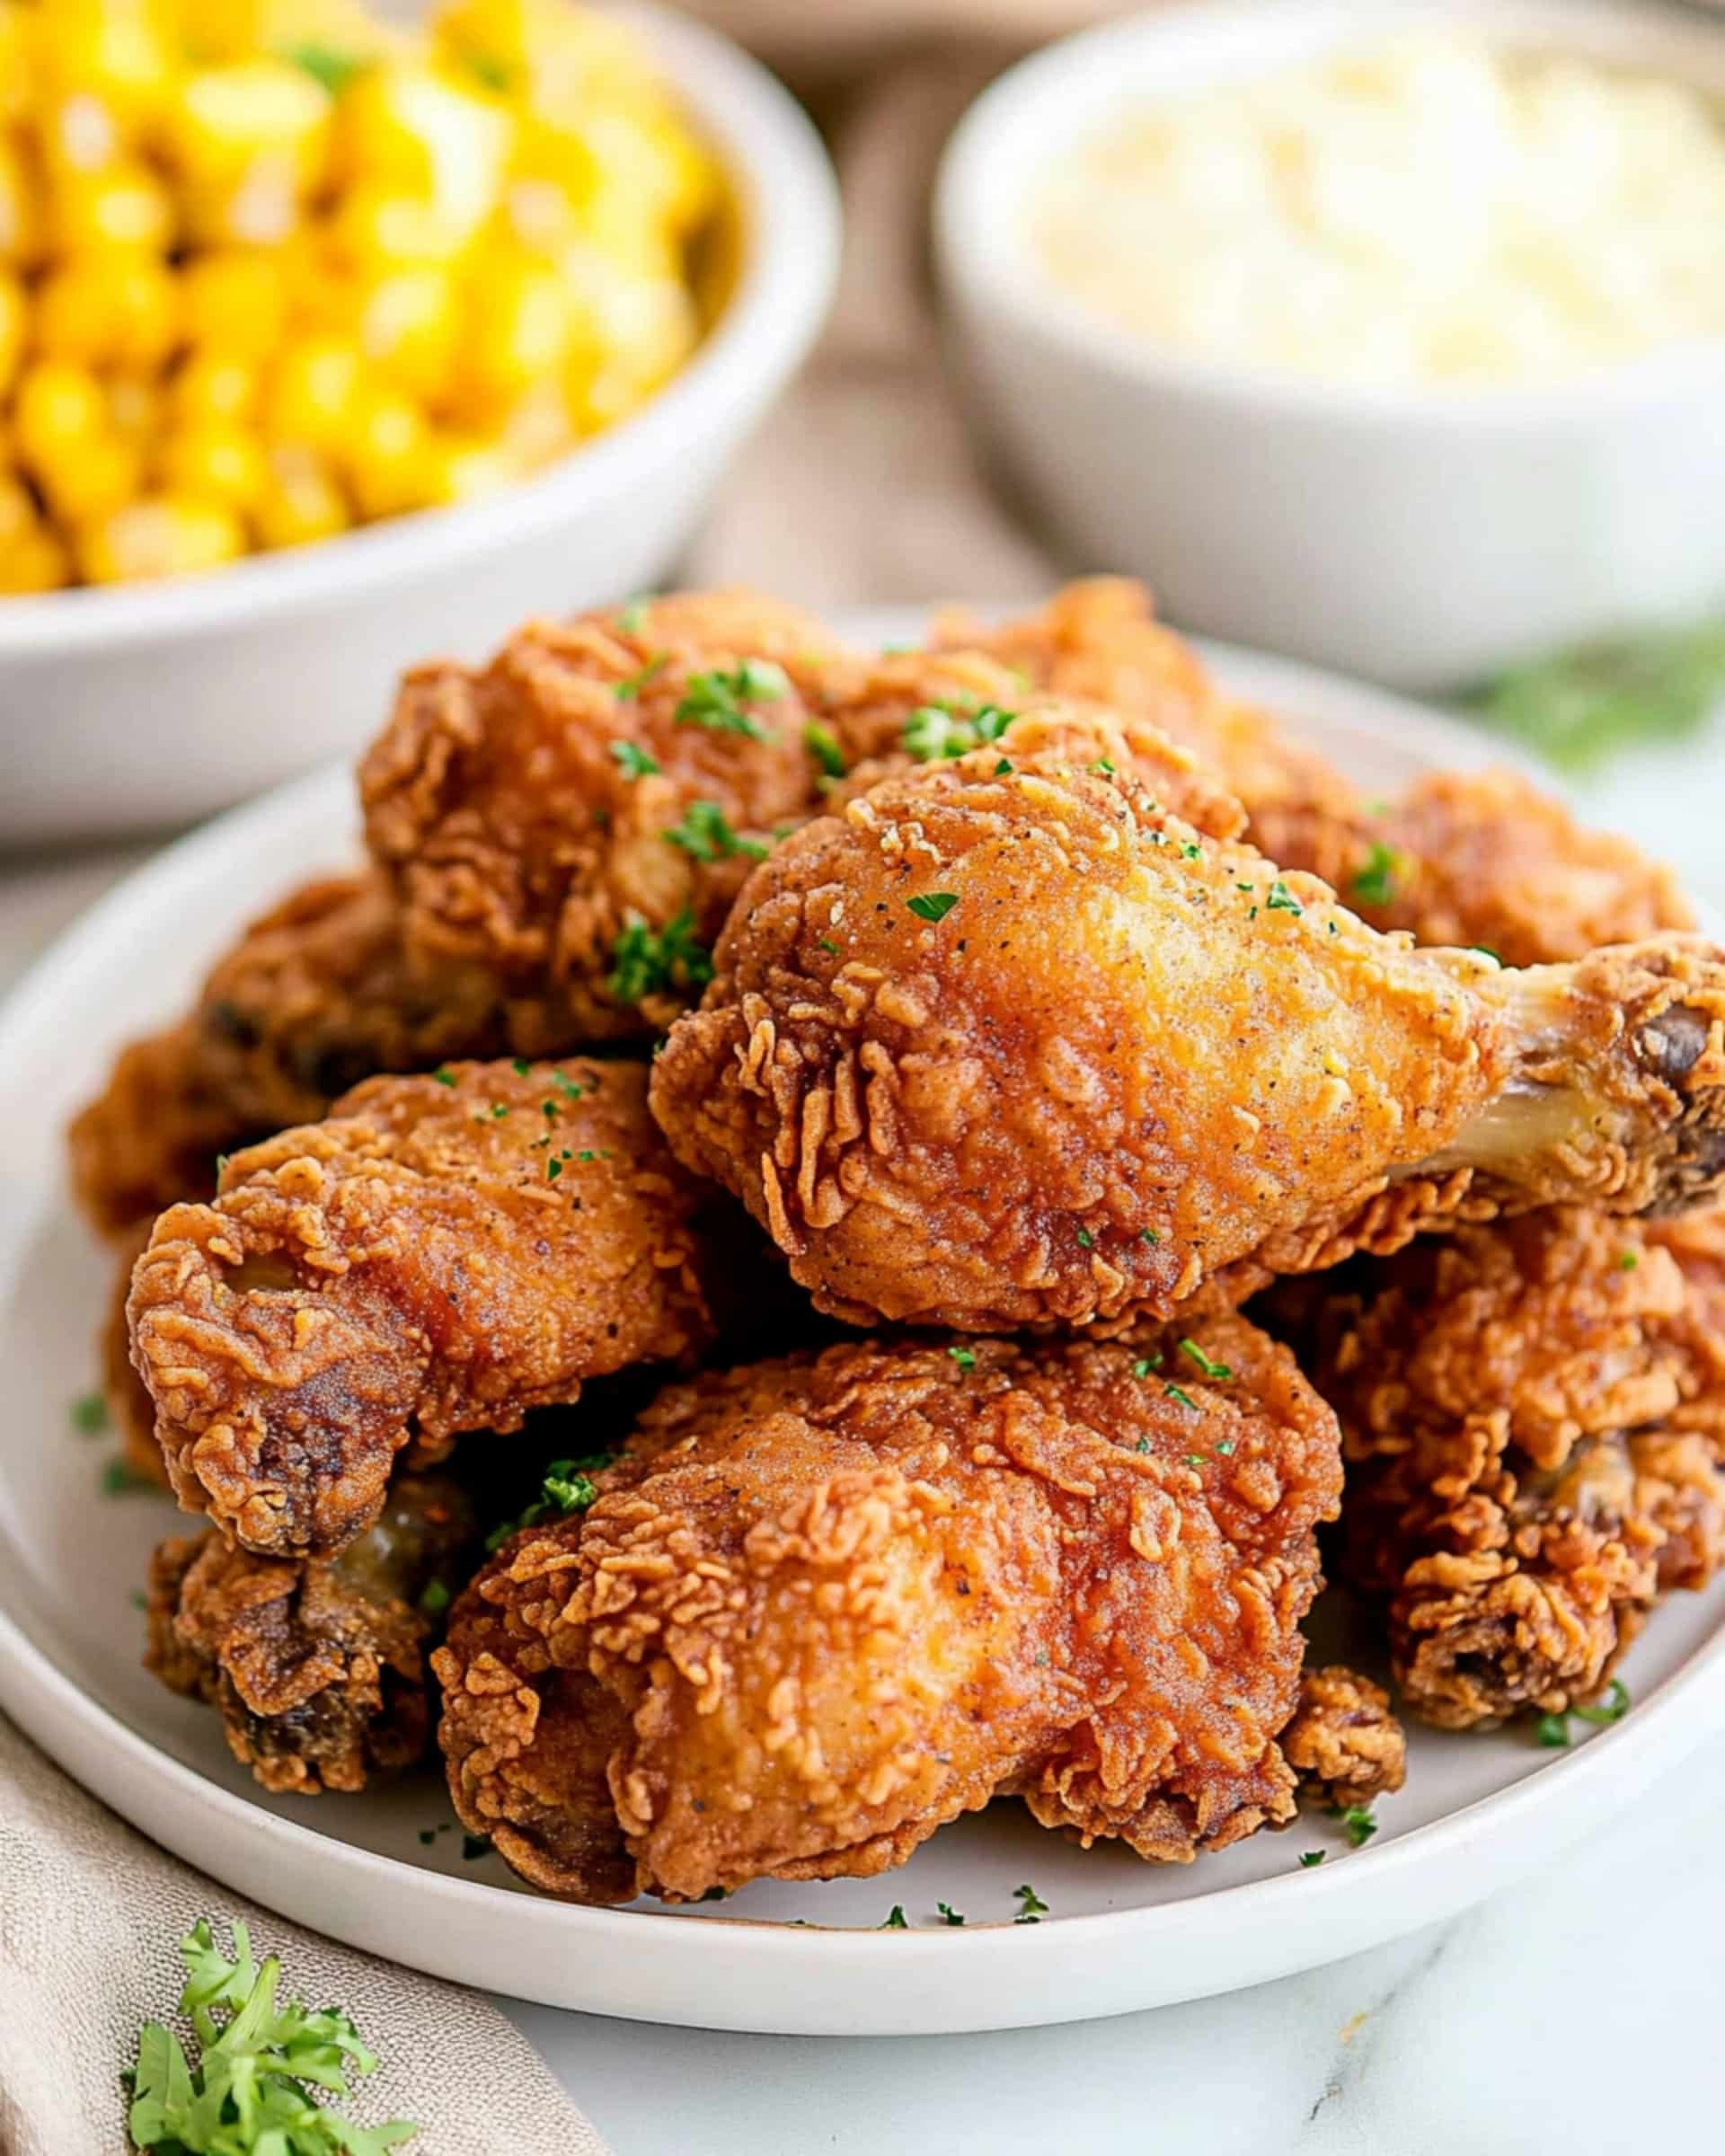
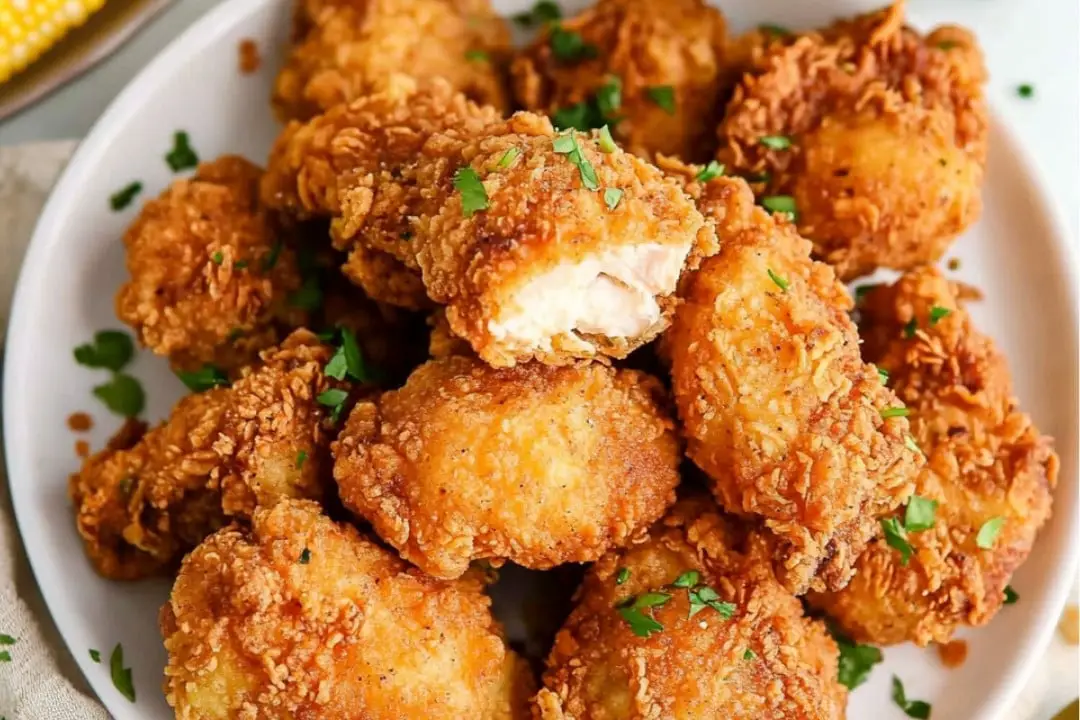
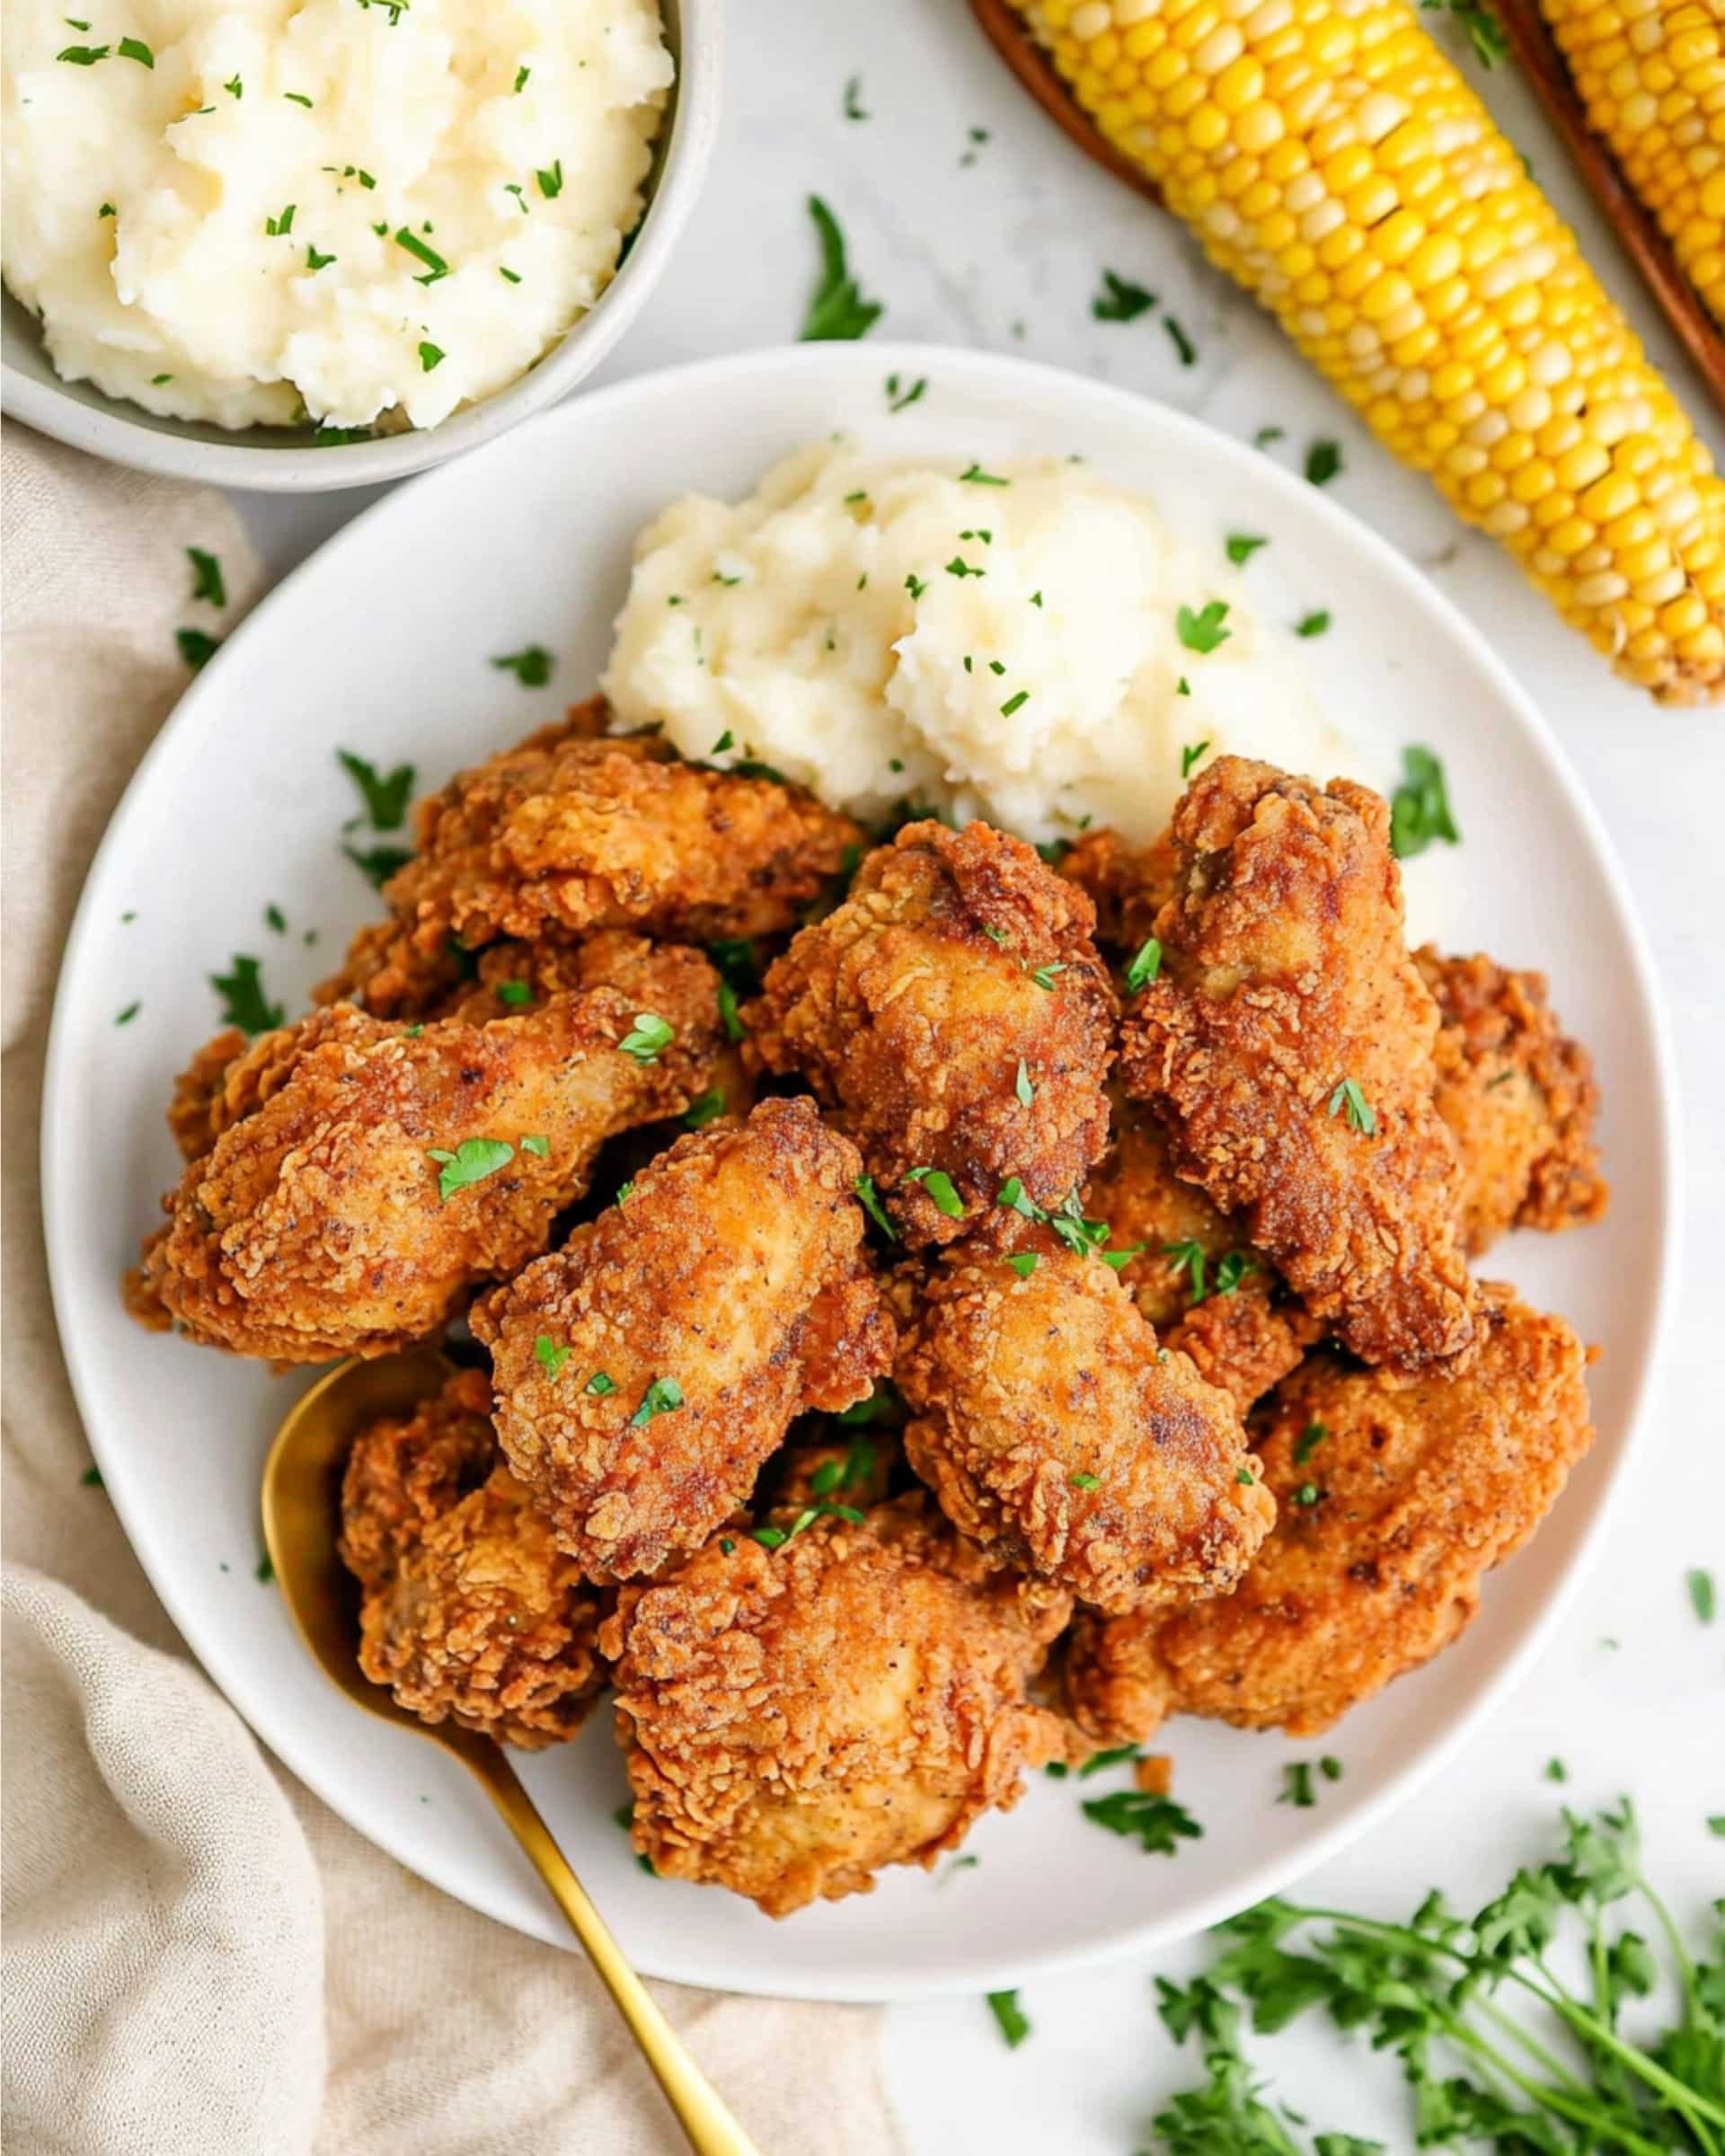
This incredible Buttermilk Fried Chicken delivers that perfect combination of juicy, tender meat and crispy, seasoned coating that makes fried chicken so irresistible. The secret lies in the buttermilk marinade that tenderizes the chicken while infusing it with flavor. With a perfectly spiced flour coating that crisps up beautifully when fried, this recipe creates restaurant-quality fried chicken right in your own kitchen!
Why You’ll Love This Recipe
- Incredibly Juicy: The buttermilk marinade breaks down proteins in the chicken, resulting in the most tender, moist meat you’ve ever tasted.
- Perfect Crunch: The well-seasoned flour coating creates that satisfying crispy exterior that makes fried chicken so craveable.
- Make-Ahead Friendly: You can marinate the chicken overnight, making prep work a breeze when you’re ready to cook.
- Flavor-Packed: Every bite delivers the perfect balance of savory, slightly spicy goodness with layers of herb and spice flavors.
Ingredients You’ll Need
For the Buttermilk Marinade:
- Chicken pieces: Thighs and drumsticks work best because they stay juicier than breast meat and have more flavor. The skin is essential for that crispy exterior.
- Salt: Enhances all the flavors and helps tenderize the meat.
- Black pepper: Provides that classic peppery kick that’s essential in good fried chicken.
- Garlic powder: Adds savory depth without the burning issue fresh garlic might cause during frying.
- Dried mustard: Brings a subtle tangy note that balances the richness.
- Paprika: Provides beautiful color and a mild, sweet pepper flavor.
- Dried sage: Adds an earthy, slightly minty note that pairs beautifully with chicken.
- Buttermilk: The star tenderizer! Its acidity breaks down proteins while adding tanginess.
For the Flour Dredge:
- All-purpose flour: Creates the base for your crispy coating.
- Baking powder: The secret to extra crispiness! It creates tiny air bubbles during frying.
- Salt: Essential for a well-seasoned crust.
- Garlic powder: Reinforces the savory notes from the marinade.
- Paprika: Adds color and mild pepper flavor to the coating.
- Dried basil and thyme: Provide herbal notes that complement the chicken perfectly.
- Onion powder: Adds savory sweetness to the coating.
- Cayenne pepper: Brings a manageable heat that makes the chicken exciting without overwhelming.
- Vegetable oil: Choose one with a high smoke point for perfect frying without burning.
Variations
Spice Level Adjustments
Dial the heat up or down by adjusting the cayenne pepper. For extra spicy chicken, add a dash of hot sauce to the buttermilk marinade or increase the cayenne. For milder chicken, reduce or omit the cayenne altogether.
Herb Customization
Feel free to switch up the herbs based on what you have on hand. Rosemary, oregano, or even a bit of dill can work wonderfully in the flour dredge.
Gluten-Free Option
Replace the all-purpose flour with your favorite gluten-free flour blend. You might need to adjust the amount slightly to get the right coating consistency.
Air Fryer Adaptation
Spray the coated chicken pieces with cooking oil and air fry at 375°F for about 25-30 minutes, flipping halfway through, until the internal temperature reaches 170°F.
How to Make Buttermilk Fried Chicken
Step 1: Season and Marinate the Chicken
Place your chicken pieces in a large bowl and season them with salt, pepper, garlic powder, dried mustard, paprika, and sage. Mix everything thoroughly to ensure each piece is evenly coated with the spices. Pour the buttermilk over the seasoned chicken and stir well until every piece is fully submerged. Cover the bowl and refrigerate for at least 1 hour, but overnight is even better for maximum tenderness and flavor penetration.
Step 2: Prepare the Flour Dredge
When you’re ready to fry, whisk together the flour, baking powder, salt, garlic powder, paprika, basil, thyme, onion powder, and cayenne pepper in a shallow dish. Make sure all the ingredients are evenly distributed throughout the flour for consistent flavor in every bite.
Step 3: Heat the Oil
Pour vegetable oil into a deep frying pan until it’s 1-2 inches deep. Heat the oil to approximately 340°F. This temperature is crucial – too hot and the coating will burn before the chicken is cooked; too cool and the chicken will absorb excess oil and become greasy.
Step 4: Dredge the Chicken
Take each piece of chicken from the buttermilk marinade, allowing excess to drip off, and place it in the flour mixture. Coat thoroughly, pressing the flour onto the chicken to ensure it adheres well. For extra crispiness, you can double-dip by returning it briefly to the buttermilk and then back into the flour.
Step 5: Fry to Golden Perfection
Carefully place 4-5 pieces of chicken in the hot oil, making sure not to overcrowd the pan. Fry for about 15 minutes, turning occasionally, until each piece is deeply golden brown. Monitor the oil temperature with a candy thermometer and adjust your heat as needed to maintain around 340°F. The chicken is done when it reaches an internal temperature of 170°F.
Step 6: Drain and Rest
Transfer the cooked chicken to a wire rack placed over a baking sheet, not paper towels. This allows air to circulate around the entire piece, keeping the coating crispy while the excess oil drains away. Let the chicken rest for about 5 minutes before serving.
Pro Tips for Making the Recipe
- Temperature Control: Keep that thermometer in your oil! Maintaining a steady temperature is the difference between perfectly crispy chicken and either raw or burnt disappointment.
- Don’t Skip the Marinade: The buttermilk soak isn’t optional—it’s what makes this chicken incredibly tender while adding subtle tanginess.
- Use Bone-in, Skin-on Pieces: They provide more flavor and stay juicier during the frying process than boneless pieces.
- Proper Draining: Always drain your chicken on a wire rack, not paper towels. Paper towels can create steam that softens your crispy coating.
- Season Immediately: If you want to add any additional seasoning like a finishing salt, do it right as the chicken comes out of the fryer while the surface is still hot and slightly oily.
How to Serve

Perfect Pairings:
Serve this crispy, juicy fried chicken with classic Southern sides like creamy mashed potatoes, buttery corn on the cob, or collard greens. For a complete comfort food experience, add homemade mac and cheese or buttermilk biscuits with honey butter.
Sauce Options:
While this chicken is flavorful enough to stand alone, serving it with honey, hot sauce, ranch dressing, or gravy takes it to another level. For something different, try a maple-sriracha drizzle for a sweet-heat combination.
Presentation Ideas:
For casual gatherings, pile the chicken high on a platter lined with parchment paper and garnish with fresh herbs or lemon wedges. For individual servings, place a piece or two on a plate with colorful sides for a visually appealing meal.
Make Ahead and Storage
Marinating Ahead:
The chicken can sit in the buttermilk marinade for up to 24 hours, making this perfect for planning ahead. In fact, longer marinating time means more tender, flavorful chicken.
Storing Leftovers:
Keep leftover fried chicken in an airtight container in the refrigerator for up to 3 days. For optimal texture, store the chicken uncovered for the first hour in the fridge to prevent the coating from softening before covering it.
Freezing:
Fully cooked fried chicken freezes surprisingly well. Place cooled pieces in a single layer on a baking sheet and freeze until solid, then transfer to a freezer bag. It will keep for up to 3 months.
Reheating:
For the crispiest results, reheat refrigerated chicken in a 350°F oven for 15-20 minutes. Avoid microwaving if possible as it will make the coating soggy. If reheating from frozen, add about 5-10 minutes to the oven time.
FAQs
Can I use regular milk instead of buttermilk?
You can make a buttermilk substitute by adding 1 tablespoon of white vinegar or lemon juice to 1 cup of regular milk and letting it sit for 5-10 minutes until slightly curdled. However, real buttermilk provides the best tenderizing results and flavor due to its higher acidity and thicker consistency.
Why is my fried chicken not crispy?
Several factors could be at play: your oil might not be hot enough (maintain 340°F), you might be overcrowding the pan (fry in small batches), or you’re placing the finished chicken on paper towels instead of a wire rack. Also, make sure your flour coating is well-seasoned with the baking powder included—it’s crucial for that extra crispiness.
Can I make this chicken less spicy?
Absolutely! Simply reduce or omit the cayenne pepper in the flour dredge. The other spices provide plenty of flavor without heat, so you’ll still have delicious, well-seasoned chicken. You can also reduce the black pepper if you’re particularly sensitive to spice.
Can I use this recipe for boneless chicken?
Yes, but you’ll need to adjust the cooking time. Boneless pieces cook faster, typically taking 8-10 minutes instead of 15. Be sure to check the internal temperature—boneless pieces should reach 165°F. Also, bone-in pieces tend to stay juicier, so be careful not to overcook boneless chicken.
Final Thoughts
This Buttermilk Fried Chicken recipe carries all the hallmarks of a family favorite—crispy, juicy, and bursting with flavor. The magic happens in that buttermilk soak, transforming ordinary chicken into something truly special. Whether you’re making it for a weeknight dinner or a special gathering, this chicken promises to disappear quickly! Give yourself the gift of making this recipe—your taste buds will thank you, and those you share it with will be asking for seconds.
Print
Buttermilk Fried Chicken Recipe
- Prep Time: 15 minutes
- Cook Time: 45 minutes
- Total Time: 2 hours
- Yield: 4 servings
- Category: Main-course
- Method: Frying
- Cuisine: American
- Diet: Halal
Description
Crispy, golden-brown buttermilk fried chicken is marinated in buttermilk and a blend of savory spices, then dredged in a seasoned flour mixture and fried to perfection. This recipe is tender on the inside and crispy on the outside, perfect for an indulgent main course.
Ingredients
Buttermilk Marinade
- 8 pieces chicken (skin on, thighs and drumsticks are best, approximately 3 pounds)
- 1 teaspoon salt
- 1 teaspoon ground black pepper
- 1 teaspoon garlic powder
- 1 teaspoon dried mustard
- 1/2 teaspoon paprika
- 1/2 teaspoon dried sage
- 2 cups buttermilk
Flour Dredge
- 2 cups all-purpose flour
- 1 Tablespoon baking powder
- 1 1/2 teaspoon salt
- 1 1/2 teaspoon garlic powder
- 1 1/2 teaspoon paprika
- 1 1/2 teaspoon dried basil
- 1 1/2 teaspoon dried thyme
- 1 1/2 teaspoon onion powder
- 1 teaspoon cayenne pepper
- Vegetable oil (to be 1-2 inches deep in a deep frying pan)
Instructions
- Prepare the marinade: Place the chicken pieces in a large bowl. Add salt, pepper, garlic powder, dried mustard, paprika, and sage. Stir to coat the chicken evenly. Pour the buttermilk over the seasoned chicken and stir well to coat. Refrigerate this mixture for at least 1 hour, but overnight marination will yield more tender chicken.
- Make the flour dredge: In a shallow dish, whisk together the flour, baking powder, salt, garlic powder, paprika, basil, thyme, onion powder, and cayenne pepper until well combined.
- Heat the oil: Heat the vegetable oil to about 340°F in a deep frying pan. Ensure the oil is hot enough to fry the chicken until crisp golden brown without burning, while fully cooking the chicken inside.
- Dredge the chicken: Remove each piece of marinated chicken from the buttermilk marinade. Place it into the shallow dish with the flour mixture and coat thoroughly, ensuring all surfaces are evenly covered.
- Fry the chicken: Place the coated chicken pieces into the oil, cooking 4-5 pieces at a time without overcrowding. Fry until golden brown, turning as necessary. It will take about 15 minutes per piece. Ensure the internal temperature of the chicken reaches 170°F for full doneness. Monitor the oil temperature and adjust heat to maintain around 340°F.
- Drain and serve: Remove fried chicken from the oil and place it on a wire rack to drain excess oil and maintain crispness. Serve hot and enjoy!
Notes
- Adjust the spice levels in the marinade and dredge to your preference if you prefer less heat.
- For extra crispy chicken, double-dredge each piece by dipping it back into the marinade and flour mixture.
- Using a thermometer to monitor the oil temperature ensures even cooking and avoids undercooked or overcooked chicken.
- This recipe is adaptable for wings or boneless chicken pieces if desired.
Nutrition
- Serving Size: 1 serving
- Calories: 650
- Sugar: 3g
- Sodium: 1100mg
- Fat: 38g
- Saturated Fat: 8g
- Unsaturated Fat: 27g
- Trans Fat: 0g
- Carbohydrates: 40g
- Fiber: 2g
- Protein: 36g
- Cholesterol: 140mg


Your email address will not be published. Required fields are marked *