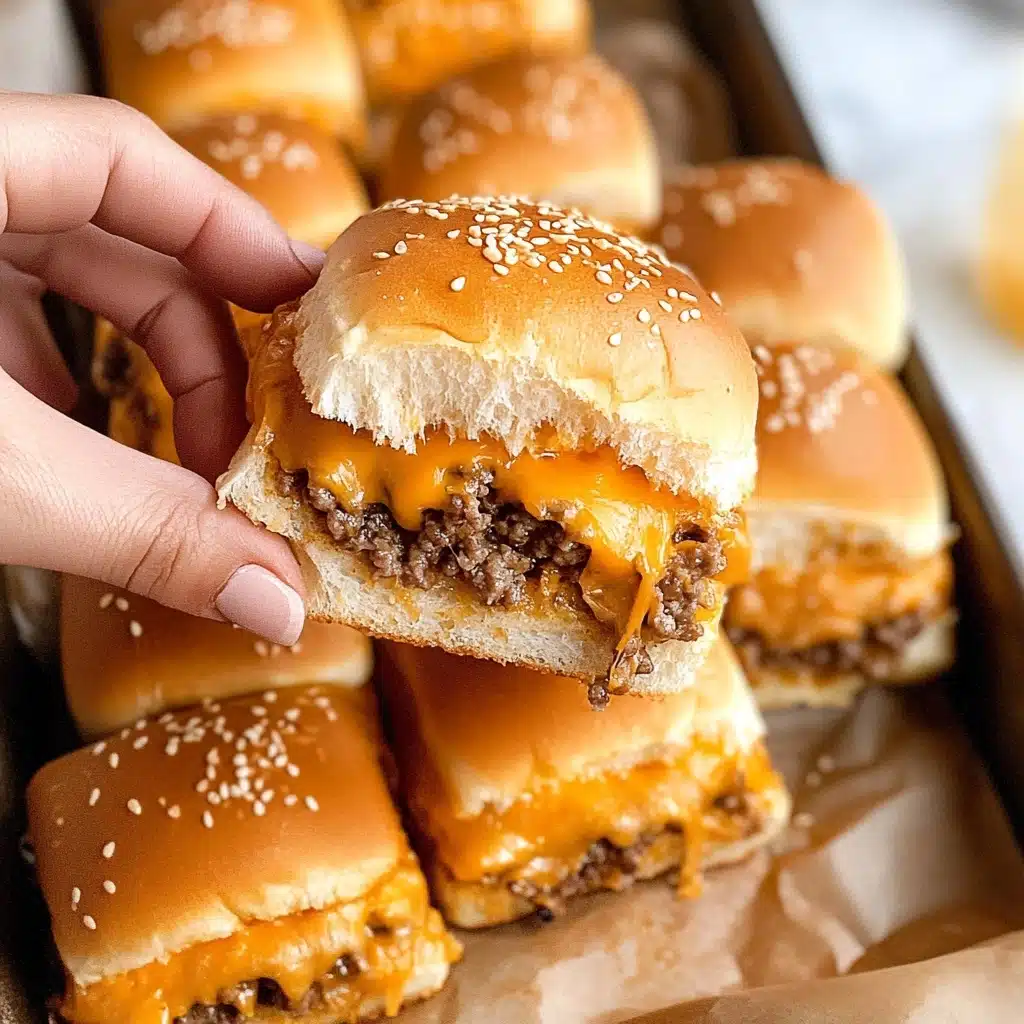
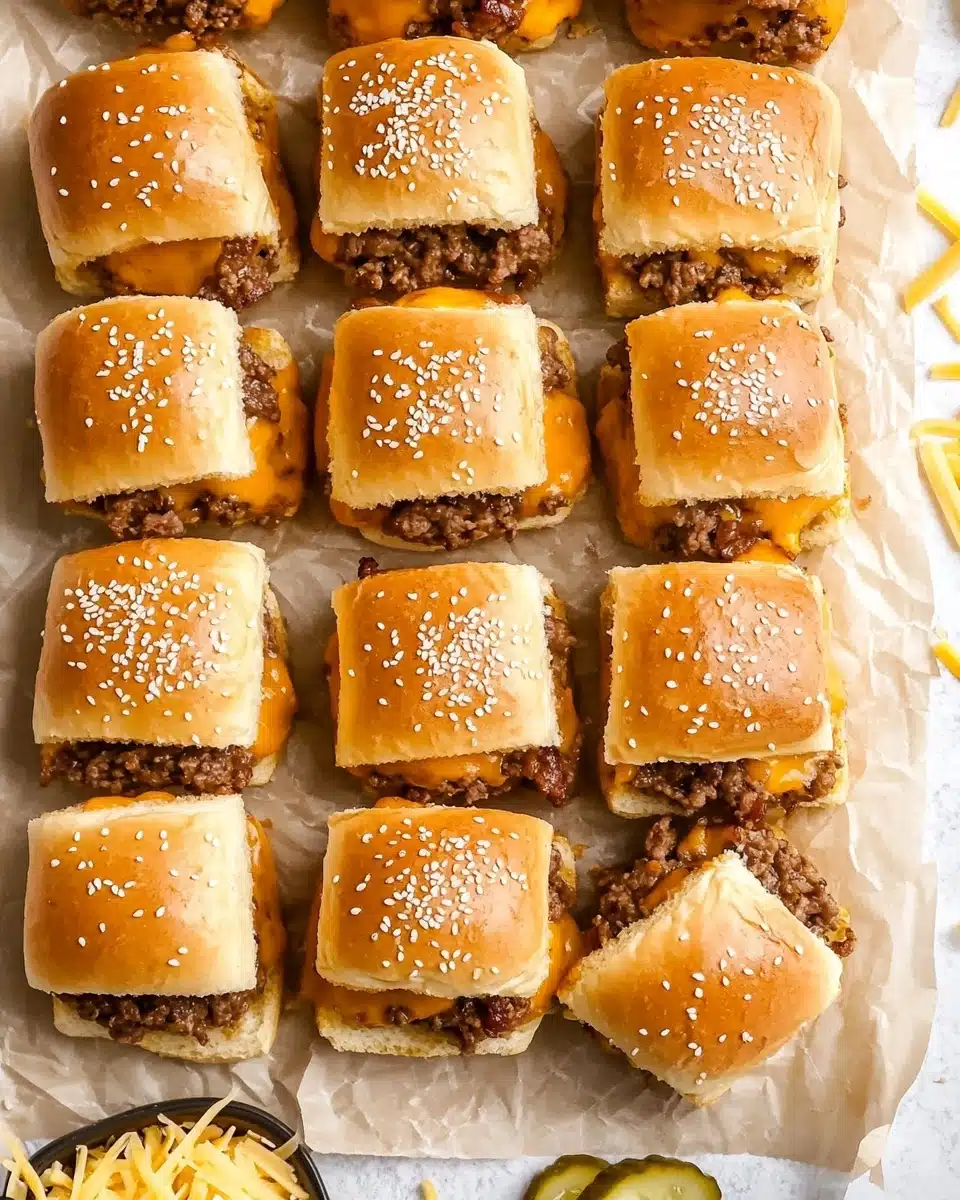
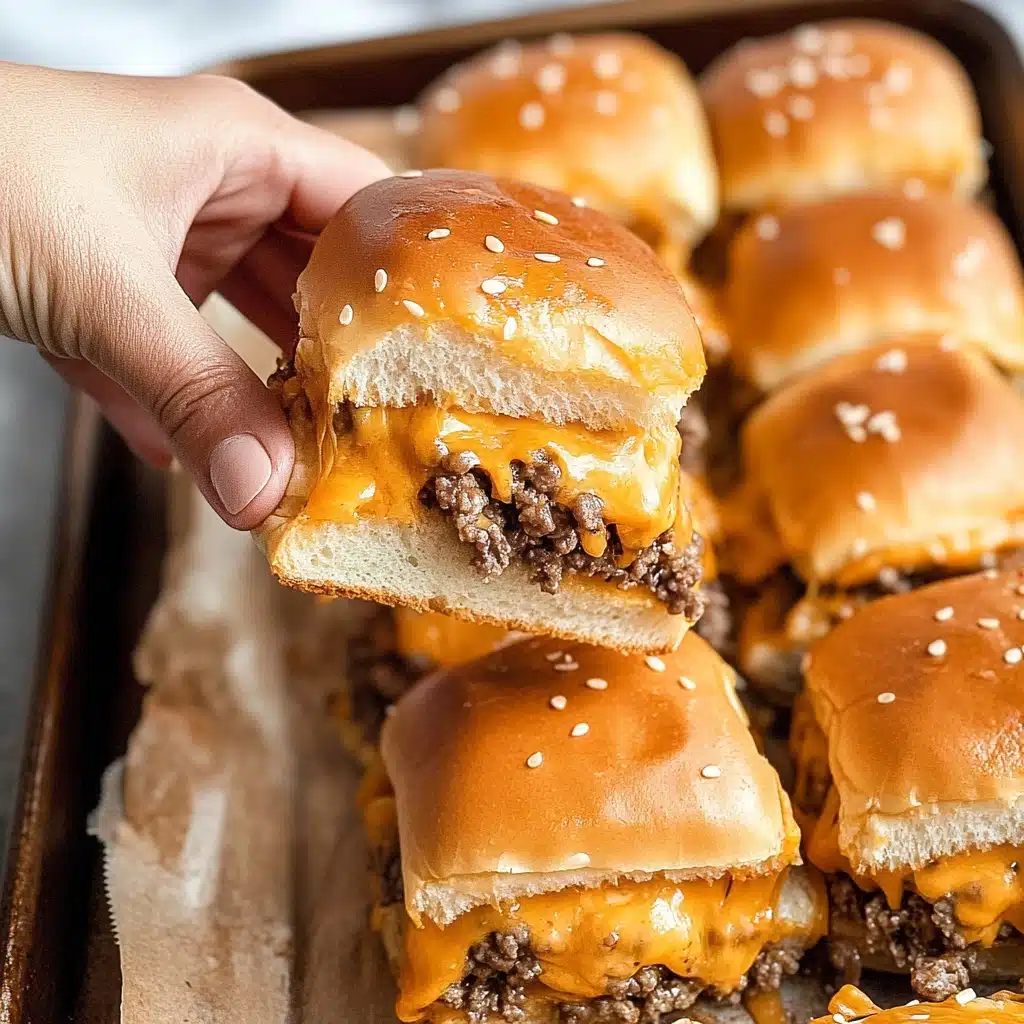
If you’re a fan of classic cheeseburgers but need a fun, shareable twist, these Cheeseburger Sliders are about to become your new obsession. Think juicy, tangy beef layered with melty cheddar, tucked into fluffy mini rolls – all the flavor of a burger, but perfectly portable and party-ready!
Why You’ll Love This Recipe
- Big Burger Flavor, Bite-Sized Fun: These sliders bring all the classic cheeseburger taste in a mini, hand-held package that’s impossible to resist.
- Quick & Effortless: Ready in just 30 minutes with simple steps—no firing up the grill needed, but all the wow-factor for weeknights or parties!
- Perfect for Sharing: The pull-apart style makes them the star of any gathering, whether it’s game day, a casual dinner, or a family movie night.
- Completely Customizable: You can easily adapt the fillings or toppings to please everyone at the table (even the picky eaters!).
Ingredients You’ll Need
The beauty of Cheeseburger Sliders is that their magic lies in a handful of straightforward, familiar ingredients. Each one plays a crucial role, from the savory beef right down to the buttery buns, to ensure every bite delivers pure cheeseburger joy.
- Avocado oil: This neutral, high-heat oil gets your beef sizzling without smoking, but you could swap in canola or vegetable oil if needed.
- Ground beef: The heart of any cheeseburger! Opt for 80/20 for juicy, flavorful sliders that don’t dry out in the oven.
- Yellow onion: Adds a delicious, slightly sweet savoriness when sautéed, mingling perfectly with the beef.
- Worcestershire sauce: Just a splash infuses the filling with a crave-worthy depth you can’t quite put your finger on (but you’ll miss if it’s gone!).
- Ketchup: Brings classic burger tang and ties together all the other flavors.
- Mayonnaise: Lends a little creaminess and richness right in the filling for burgers that never taste dry.
- Salt & black pepper: The classic combo—just enough to make all the flavors pop.
- Dinner rolls: Grab a package of soft, pull-apart slider rolls; they soak up those beefy juices and bake up golden.
- Cheddar cheese: Melty, sharp, and super satisfying. Shred your own for the gooey-est results.
- Dill pickle: (Optional, but highly recommended!) These add crunch and zing for that true cheeseburger bite.
- Butter: Brushed on top, it helps the sliders get that irresistible golden finish in the oven.
Variations
Once you master the base recipe, Cheeseburger Sliders are a blank canvas! Don’t be afraid to riff with different cheeses, sauces, or even tweak the fillings to suit your crowd or cravings—they’re impossibly flexible.
- Spicy Kick: Add diced pickled jalapeños or a few dashes of hot sauce to the beef mixture for sliders with attitude.
- Bacon Lover’s Dream: Layer cooked, crumbled bacon over the beef before topping with cheese for even more savory decadence.
- Lighten It Up: Use ground turkey or chicken and reduced-fat cheese for a lighter, just-as-delicious option.
- Cheese Swap: Try pepper jack, Swiss, or even a combo of cheeses if cheddar isn’t your jam.
- Veggie Boost: Toss in sautéed mushrooms or bell peppers to sneak in extra color and nutrients.
How to Make Cheeseburger Sliders
Step 1: Cook the Beef and Onion
Heat the avocado oil in a large skillet over medium-high heat until shimmering. Crumble in the ground beef and cook, stirring and breaking up the meat as it browns. After 6-8 minutes, when the beef is mostly cooked, add in the thinly sliced onions and sauté until they turn soft and golden—this step really brings out their natural sweetness.
Step 2: Add the Sauces and Seasonings
Stir in the Worcestershire sauce, ketchup, mayonnaise, salt, and pepper right into the beef and onions. Let everything mingle on medium heat for another couple of minutes, letting those classic burger flavors meld into a saucy, irresistible filling. Remove the pan from the heat and get ready to build your sliders.
Step 3: Assemble the Sliders
Slice the packet of dinner rolls in half horizontally—keep the bottom layer on a parchment-lined baking sheet. Spoon the hot beef mixture evenly over the bottom halves, making sure every roll gets plenty of filling. Sprinkle the shredded cheddar cheese liberally over the meat, and if you love pickles, layer on a few thin slices before adding the top half of the buns.
Step 4: Brush and Bake
Brush the tops of the rolls with melted butter to help them turn perfectly golden in the oven. Bake the sliders at 350°F for 12-15 minutes, until the cheese is melt-in-your-mouth gooey and the tops are wonderfully toasty. Slice along the bun lines, and serve these Cheeseburger Sliders piping hot!
Pro Tips for Making Cheeseburger Sliders
- Even Layer Magic: Use the back of a spatula to gently press and flatten the beef mixture evenly across the buns—this ensures every Cheeseburger Slider gets a perfect, hearty bite.
- Cheese Placement: Scatter the cheese all the way to the edges of the buns before baking; it’ll melt and “glue” the layers together for extra gooey pull-apart goodness.
- Crispy Top Buns: For extra crunch, broil the sliders on the top oven rack for the last 1-2 minutes—just watch closely so they don’t over-brown!
- Customize the Pickles: Place pickles only on half the rolls before baking if you have some pickle skeptics in your crowd (trust me, it works!).
How to Serve Cheeseburger Sliders

Garnishes
Finish your Cheeseburger Sliders with a scattering of chopped fresh parsley or chives for a pop of color. If you love extra zing, a drizzle of classic burger sauce, extra pickles on the side, or a sprinkle of sesame seeds on the buns before baking will make them look (and taste!) seriously special.
Side Dishes
There’s nothing better than sliders with a crunchy or creamy side. Serve them alongside classic french fries, crispy potato wedges, or a simple green salad. For a playful touch, a big bowl of kettle chips or a tangy slaw makes these sliders feel right at home at any gathering.
Creative Ways to Present
For parties, pile the Cheeseburger Sliders onto a rustic wooden board and set out little ramekins of dipping sauces—like sriracha mayo, honey mustard, or extra ketchup. Add toothpicks for easy grabbing, or line them up “pull-apart style” right on the tray so guests can break them apart hot from the oven.
Make Ahead and Storage
Storing Leftovers
Leftover Cheeseburger Sliders should be stored in an airtight container in the fridge for up to 2 days. The buns will absorb some meat juices over time, so for the very best texture, enjoy them as soon as possible—though late-night snacking is always encouraged!
Freezing
If you want to freeze, it’s best to cool and freeze just the beef filling. Pop it into a freezer-friendly bag or container and store for up to 2 months—then you can thaw and assemble fresh Cheeseburger Sliders anytime you crave them, and the buns won’t get soggy.
Reheating
The quickest option is the microwave, but for the tastiest leftovers, reheat the sliders in a 350°F oven or even an air fryer for 5-10 minutes. This brings back the gooey cheese and crisp bun texture we all love.
FAQs
-
Can I prepare Cheeseburger Sliders ahead of time?
Absolutely! You can cook the beef filling the day before and store it in the fridge. When you’re ready, assemble and bake—just add a minute or two to the baking time if starting with cold filling.
-
What’s the best type of dinner rolls to use?
Soft, pull-apart dinner rolls or Hawaiian rolls work beautifully for Cheeseburger Sliders. Look for ones with a golden crust that’s still pillowy in the center for the best texture.
-
Can I make these without pickles?
Of course! The pickles add crunch and tang but can easily be left out (or just added to half the batch) if you’ve got pickle skeptics in the crowd.
-
How do I keep the bottoms from getting soggy?
Don’t overload with sauce and bake the Cheeseburger Sliders until the cheese is fully melted and bubbly—this helps keep everything cohesive and the rolls just the right amount of tender.
Final Thoughts
These Cheeseburger Sliders have become my go-to for any get-together that calls for delicious food and great company. They’re simple, absolutely crowd-pleasing, and honestly, just really fun to eat. Give them a try—you might find you’ve started a delicious new tradition!
Print
Cheeseburger Sliders Recipe
- Prep Time: 10 minutes
- Cook Time: 20 minutes
- Total Time: 30 minutes
- Yield: 12 sliders
- Category: Baking
- Method: Baking
- Cuisine: American
Description
These Cheeseburger Sliders are a delicious and convenient way to enjoy all the flavors of a classic cheeseburger in a fun, bite-sized form. Perfect for parties or a quick family dinner!
Ingredients
For the beef mixture:
- 2 tablespoons avocado oil
- 1 1/2 pounds ground beef
- 1 yellow onion, thinly sliced
- 2 tablespoons Worcestershire sauce
- 2 tablespoons ketchup
- 2 tablespoons mayonnaise
- 1/2 teaspoon salt
- 1/4 teaspoon ground black pepper
For assembling:
- 1 package (12 sliders) dinner rolls
- 1 block (8 ounces) cheddar cheese, shredded
- 1/4 dill pickle, thinly sliced (optional)
- 2 tablespoons butter, melted (for brushing)
Instructions
- Preheat oven and prepare baking sheet: Preheat oven to 350F. Line a large baking sheet with parchment paper.
- Cook the beef mixture: Heat oil in a skillet, add ground beef and cook until browned. Add onion, Worcestershire sauce, ketchup, mayonnaise, salt, and pepper. Cook until well combined.
- Assemble the sliders: Place dinner rolls on the baking sheet, slice in half, and spread beef mixture over the bottom half. Top with cheddar cheese and pickle slices. Cover with top half of rolls.
- Bake the sliders: Brush the tops with melted butter and bake until golden brown and cheese is melted, about 12-15 minutes.
- Serve: Slice and serve the sliders warm.
Notes
- Store any leftover sliders in an airtight container in the fridge for 1-2 days.
- Reheat leftovers in a 350 degree oven or air fryer for 5-10 minutes for best results.
- Freeze leftover beef mixture separately to avoid soggy buns when reheating.
Nutrition
- Serving Size: 1 slider
- Calories: 280
- Sugar: 2g
- Sodium: 380mg
- Fat: 17g
- Saturated Fat: 7g
- Unsaturated Fat: 8g
- Trans Fat: 0g
- Carbohydrates: 15g
- Fiber: 1g
- Protein: 17g
- Cholesterol: 60mg


Your email address will not be published. Required fields are marked *