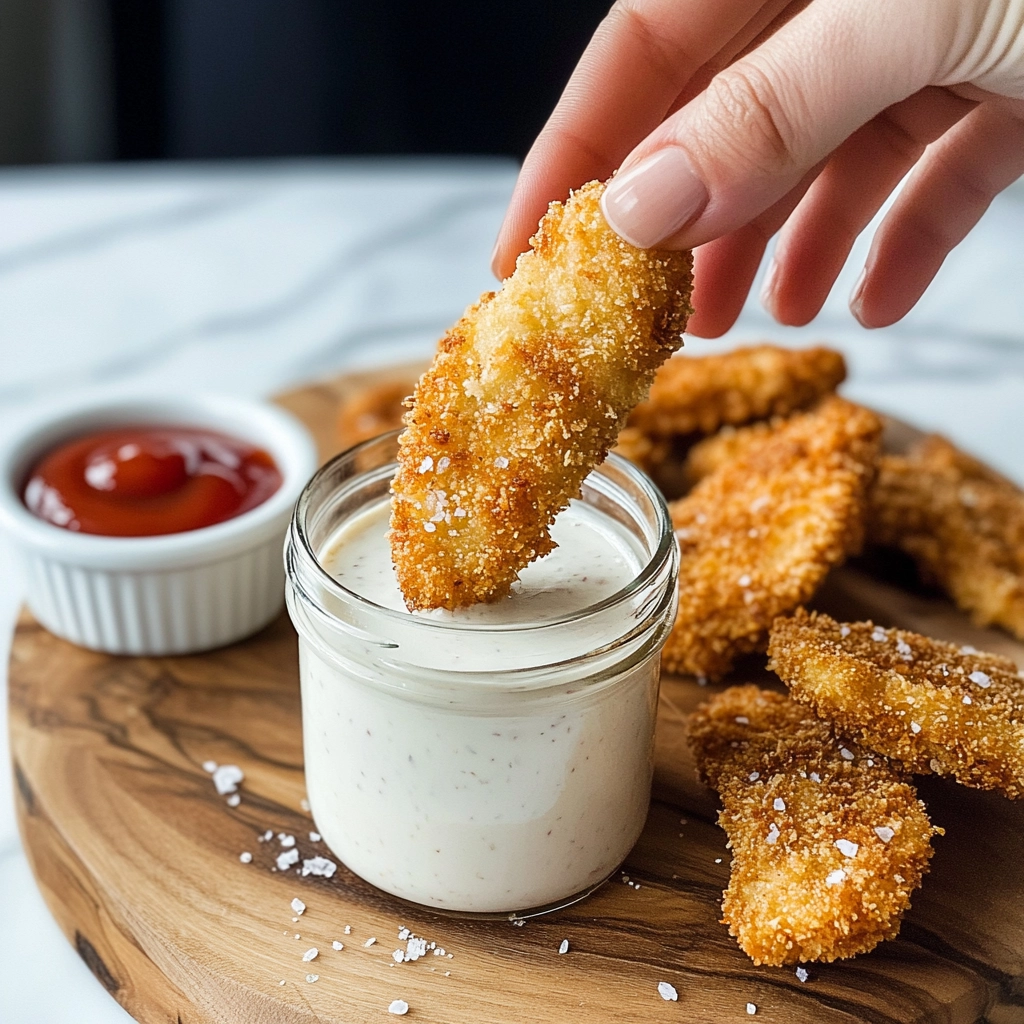
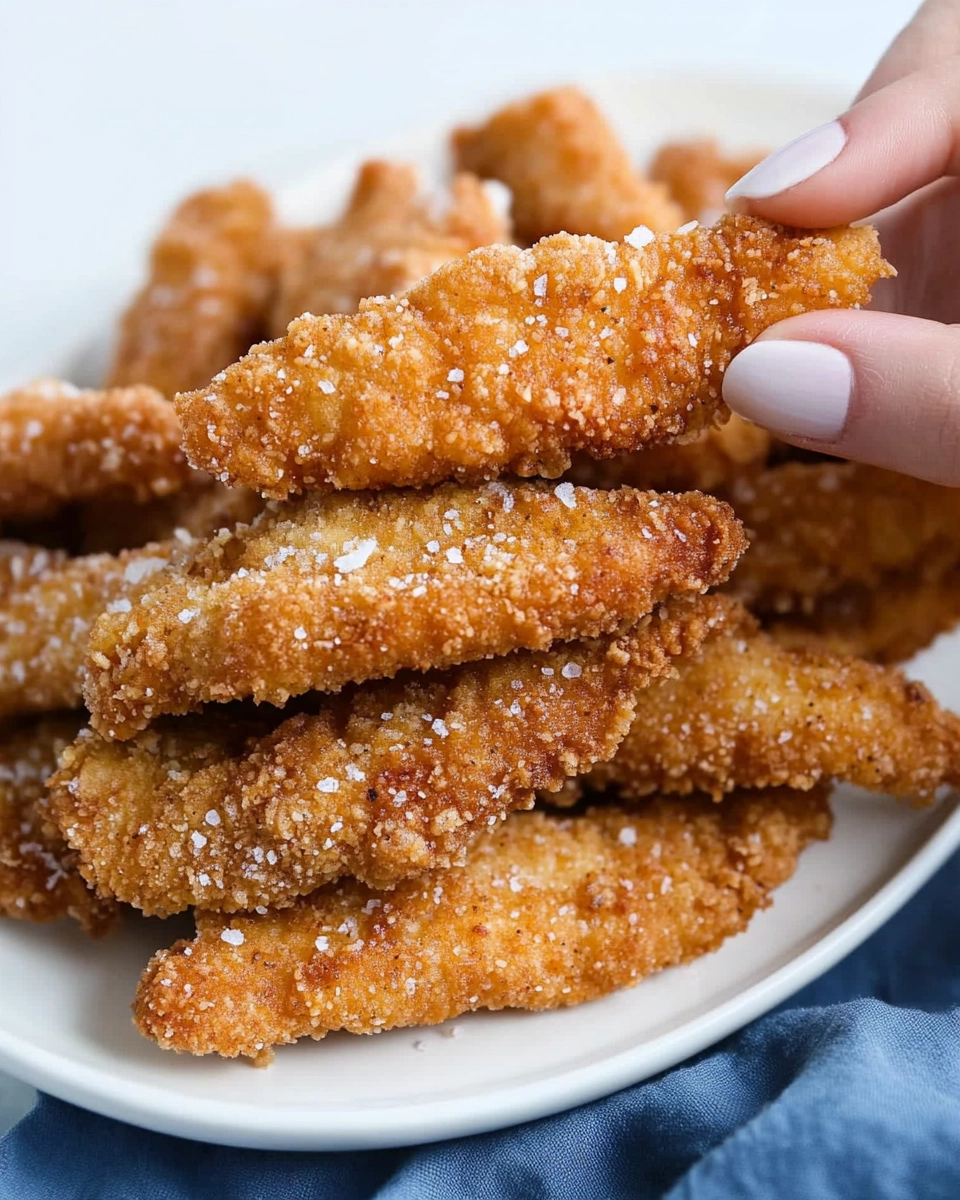
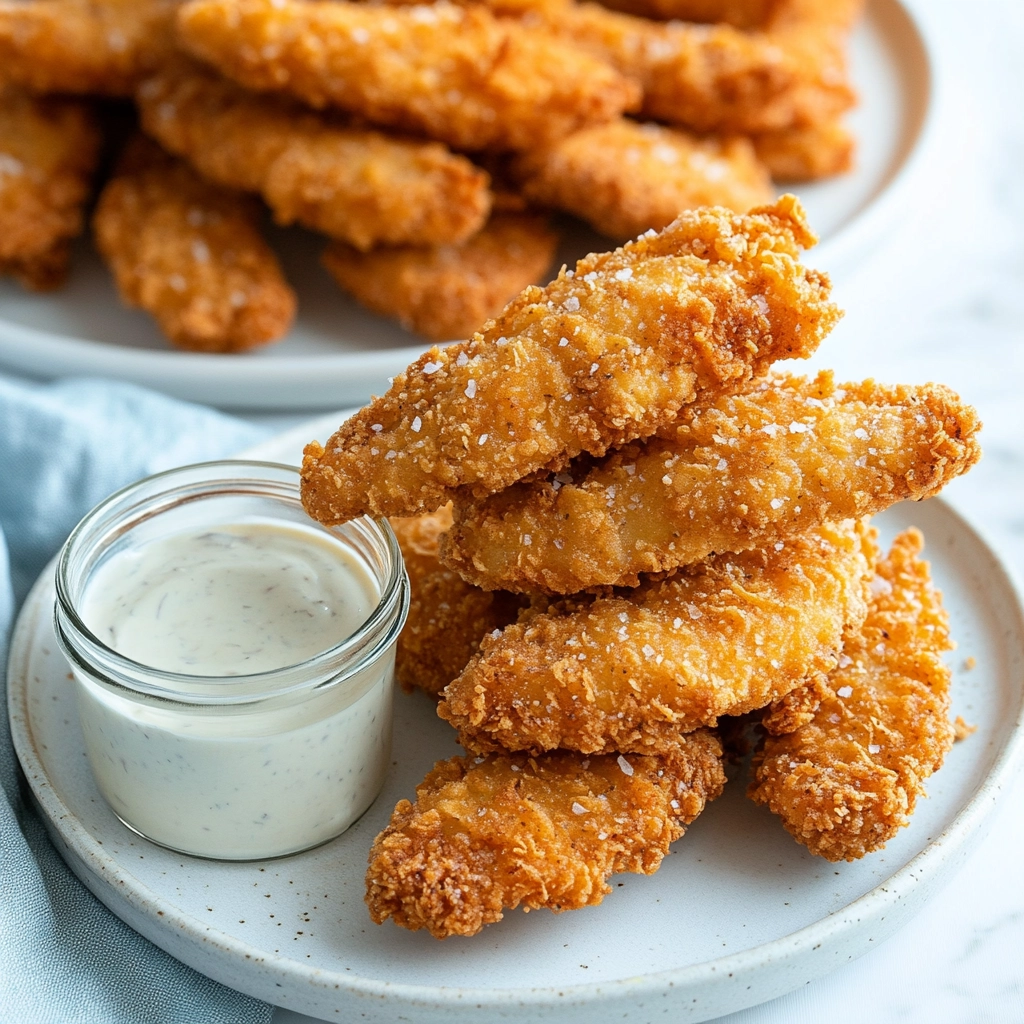
If you’re looking for the ultimate crispy, savory snack or crowd-pleasing party bite, my Chicken Katsu Fingers Recipe will absolutely steal the show. Each juicy strip of chicken breast is blanketed in a golden panko-Parmesan crust—so crunchy and flavorful, especially when dunked in cool ranch dressing. This is comfort food with a knockout crunch, and you’re about to discover exactly why I can never make enough!
Why You’ll Love This Recipe
- Irresistible Crunch: Every bite bursts with that signature katsu crispiness thanks to a thick, bubbly panko coating.
- Juicy and Flavor-Packed: The chicken stays unbelievably moist, soaking up garlicky, savory notes from the egg wash and a hint of Dijon.
- Foolproof & Fast: This Chicken Katsu Fingers Recipe comes together in about 20 minutes with no fancy gadgets or hard-to-find ingredients.
- Crowd Friendly: Whether you serve them at a party, for game night, or as a fun family meal, these fingers disappear in a flash!
Ingredients You’ll Need
The magic of this Chicken Katsu Fingers Recipe comes from simple yet purposeful ingredients—each one layering flavor, crunch, and tenderness. Here’s what makes every component count when you take that first crunchy bite.
- 3 chicken breasts: Boneless, skinless chicken breasts are ideal for slicing into perfect strips with juicy centers.
- 3 eggs, beaten: The eggs form an ultra-creamy, flavorful binder for the breading to really cling to each finger.
- 1/4 cup all-purpose flour: Gives the chicken a sticky surface so the crunchy coating locks on tightly.
- 1 teaspoon garlic powder: Adds a delicious, subtle robustness to the egg mixture.
- 1 teaspoon onion powder: Gives the chicken a gentle, savory depth that sets off the breading.
- 1 teaspoon Dijon mustard: A secret, tangy ingredient that livens up every bite without overpowering.
- 3 cups panko: Japanese panko bread crumbs make the outer layer extra light and crispy compared to regular breadcrumbs.
- 1/2 cup grated Parmesan cheese: Melts into the breading for a salty, nutty richness and gorgeous color.
- Ranch, for serving: Cool, creamy ranch is the perfect dip to balance out the crunch and spice.
Variations
This Chicken Katsu Fingers Recipe is made for customizing. Whether you’re swapping ingredients to suit your cravings, keeping it gluten-free, or dialing up the heat, a few tweaks make it entirely your own.
- Gluten-Free: Use gluten-free panko and substitute rice flour for all-purpose for a totally wheat-free version that’s just as crispy.
- Spicy Kick: Add a dash of cayenne or chipotle powder to the egg wash or breadcrumbs for bold, spicy flavor.
- Cheesy Jalapeño: Stir in a finely diced fresh jalapeño and shredded cheddar with the Parmesan for a fun fusion twist.
- Baked Instead of Fried: Lay out the breaded chicken strips on a wire rack and bake at 425°F until they’re golden and crunchy—no oil needed!
How to Make Chicken Katsu Fingers Recipe
Step 1: Prepare and Flatten the Chicken
Lay your chicken breasts between two sheets of plastic wrap and gently pound them with a meat mallet until they are even in thickness. This ensures the strips cook perfectly and stay tender (no dry bites!).
Step 2: Slice and Marinate
Cut the flattened chicken breasts into even strips—around 1-inch wide is perfect for finger food. Then, let them take a quick dip in your egg mixture (that’s eggs, flour, Dijon, plus garlic and onion powder). This step layers in flavor and helps the breading stick beautifully.
Step 3: Bread with Panko and Parmesan
Mix panko breadcrumbs and grated Parmesan together in a shallow bowl, then press each eggy chicken strip in, making sure both sides are fully coated. Press firmly for maximum crunch payoff!
Step 4: Fry to Golden Perfection
Heat about 1 inch of oil in a heavy pot to 350°F. Gently lower the breaded strips in batches, frying for 3-5 minutes and flipping halfway, until golden brown. Let them drain on a wire rack and hit immediately with a sprinkle of salt for the best flavor.
Pro Tips for Making Chicken Katsu Fingers Recipe
- Slice for Maximum Crunch: The thinner your chicken strips, the faster they cook and the crunchier they become—aim for uniform width so they fry up evenly.
- Double-Dip for Extra Crisp: For a thick, shatteringly crisp crust, dip the chicken back into the egg and panko for a second layer before frying.
- Oil Temperature Matters: Always use a thermometer and fry at a steady 350°F—too cool and the coating gets soggy, too hot and it burns before the chicken cooks through.
- Don’t Skip the Rest: Letting the breaded chicken strips rest on a tray for a couple minutes before frying helps the coating adhere and minimizes crumbs in the oil.
How to Serve Chicken Katsu Fingers Recipe

Garnishes
Take your Chicken Katsu Fingers Recipe from awesome to irresistible with a final flourish of flaky sea salt or a scattering of fresh parsley or scallions. A drizzle of creamy sriracha mayo also gives them a spicy, colorful kick that looks stunning on the platter.
Side Dishes
These katsu fingers pair beautifully with steamed jasmine rice, a lively cabbage slaw, or pickled veggies for a refreshing contrast. If you want to go full comfort food, serve with sweet potato fries or a big basket of tempura vegetables on the side.
Creative Ways to Present
Arrange the crispy strips in mason jars with dipping sauce at the bottom for a grab-and-go appetizer, or pile them high on a platter lined with banana leaves for a party-ready, tropical vibe. You can even slide them into slider buns with lettuce and ranch for an unforgettable mini sandwich spread!
Make Ahead and Storage
Storing Leftovers
Leftover Chicken Katsu Fingers keep well in the refrigerator for up to 3 days. Cool them completely, then pop them into an airtight container with parchment between layers to preserve that all-important crunch.
Freezing
Freeze your cooled katsu fingers in a single layer on a baking sheet, then transfer them to a resealable bag or container. They’ll stay tasty for up to 2 months, ready to reheat whenever a craving strikes.
Reheating
For the best crunch, reheat the katsu fingers in a 400°F oven for 8-10 minutes or until hot and crispy. Skip the microwave if you can—while it works in a pinch, the oven keeps your coating remarkably crunchy.
FAQs
-
Can I make the Chicken Katsu Fingers Recipe ahead of time?
Absolutely! You can bread the chicken strips and refrigerate them on a tray (covered) for up to 24 hours before frying. This actually makes the coating adhere even better, and is a lifesaver for entertaining or meal prep.
-
Do I have to fry, or can I bake these for less oil?
If you prefer, you can bake the Chicken Katsu Fingers Recipe on a wire rack set over a baking sheet at 425°F for about 15-18 minutes, flipping once. The result is a slightly lighter crunch that’s still incredibly satisfying.
-
What’s the best oil for frying katsu fingers?
Go with a neutral, high-heat oil like vegetable, canola, or peanut oil. These have a clean flavor that won’t overpower the katsu and maintain a steady frying temperature.
-
Can I use chicken thighs instead of breasts?
Yes! Chicken thighs bring even more juiciness to the Chicken Katsu Fingers Recipe. Cut them into similar-sized strips and follow the same steps—they’ll be impossibly tender and flavorful.
Final Thoughts
I truly hope you give this Chicken Katsu Fingers Recipe a try and share it with your favorite people. It’s one of those dishes that makes everyone light up, from kids dunking with sticky fingers to adults sneaking “just one more.” Have fun frying, and don’t forget to save a few for yourself before they’re devoured!
Print
Chicken Katsu Fingers Recipe
- Prep Time: 10 minutes
- Cook Time: 10 minutes
- Total Time: 20 minutes
- Yield: Serves 6
- Category: Appetizer, Snack
- Method: Frying
- Cuisine: Japanese
- Diet: Non-Vegetarian
Description
These Chicken Katsu Fingers are a delightful twist on the traditional Japanese dish, featuring crispy breaded chicken strips that are sure to be a hit with both kids and adults alike. Served with a side of tangy ranch dressing, these make for a perfect snack or light meal.
Ingredients
For the Chicken Katsu Fingers:
- 3 chicken breasts
- 3 eggs, beaten
- 1/4 cup all-purpose flour
- 1 teaspoon garlic powder
- 1 teaspoon onion powder
- 1 teaspoon Dijon mustard
- 3 cups panko breadcrumbs
- 1/2 cup grated Parmesan cheese
For Serving:
- Ranch dressing
Instructions
- Prepare the Egg Mixture: In a large bowl, whisk together the flour, eggs, garlic powder, onion powder, and Dijon mustard until smooth. Set aside.
- Prepare the Breading: Combine panko breadcrumbs and Parmesan cheese in a mixing bowl until well mixed.
- Tenderize the Chicken: Use a meat mallet to evenly pound the chicken breasts wrapped in plastic wrap.
- Cut and Coat the Chicken Strips: Cut the chicken breasts into strips and dip them into the egg mixture until coated.
- Bread the Chicken: Bread the eggy chicken strips in the panko breadcrumb mixture, pressing them into the breading. Place on a sheet tray until ready to fry.
- Fry the Chicken: Preheat a pot with 1″ of oil to 350°F. Fry the chicken strips for 3-5 minutes, flipping halfway, until golden brown.
- Serve: Remove the chicken from the oil, place on a wire rack, season with salt, and serve immediately with ranch dressing.
Notes
- For extra flavor, consider adding a dash of cayenne pepper or paprika to the breading mixture.
- Make sure the oil is at the right temperature before frying to ensure a crispy coating.
- Feel free to customize the seasonings to suit your taste preferences.
Nutrition
- Serving Size: 1 serving
- Calories: 280
- Sugar: 1g
- Sodium: 520mg
- Fat: 12g
- Saturated Fat: 3g
- Unsaturated Fat: 7g
- Trans Fat: 0g
- Carbohydrates: 15g
- Fiber: 1g
- Protein: 25g
- Cholesterol: 105mg


Your email address will not be published. Required fields are marked *