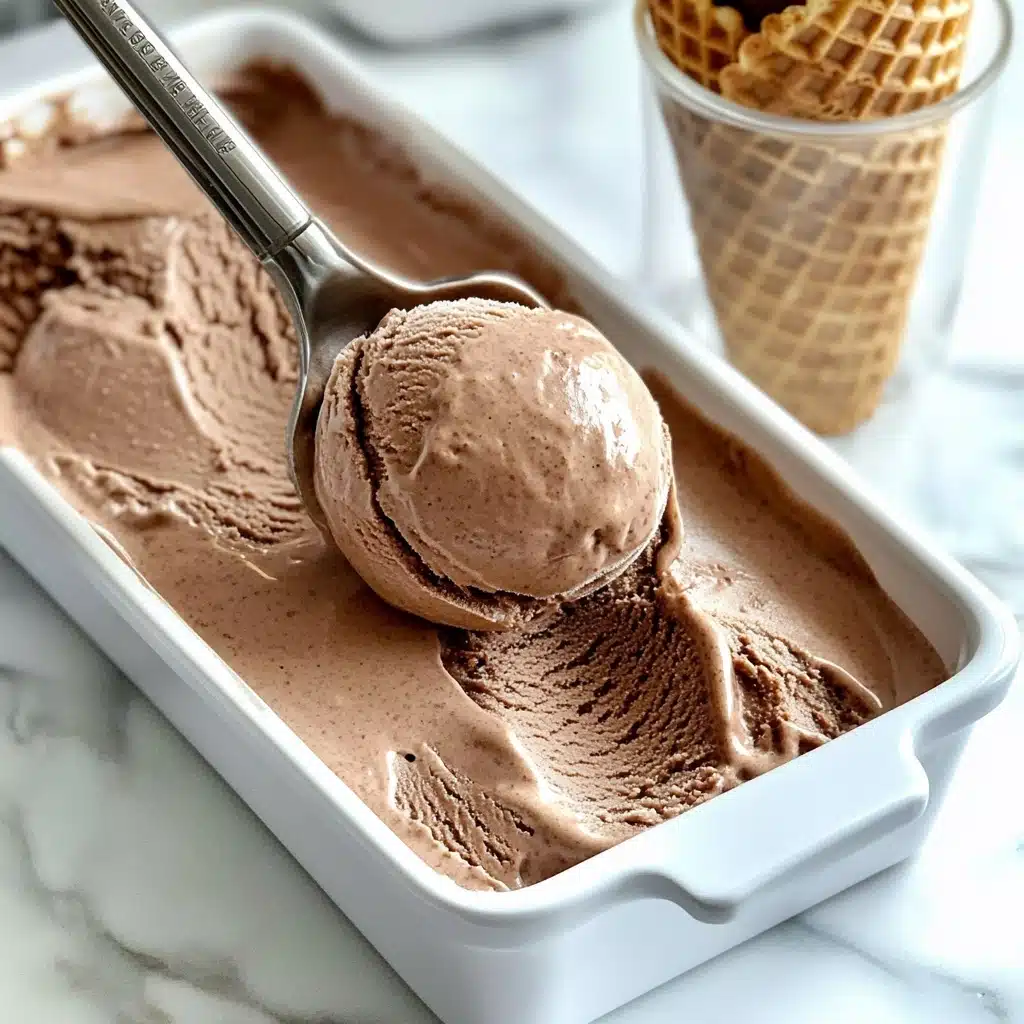
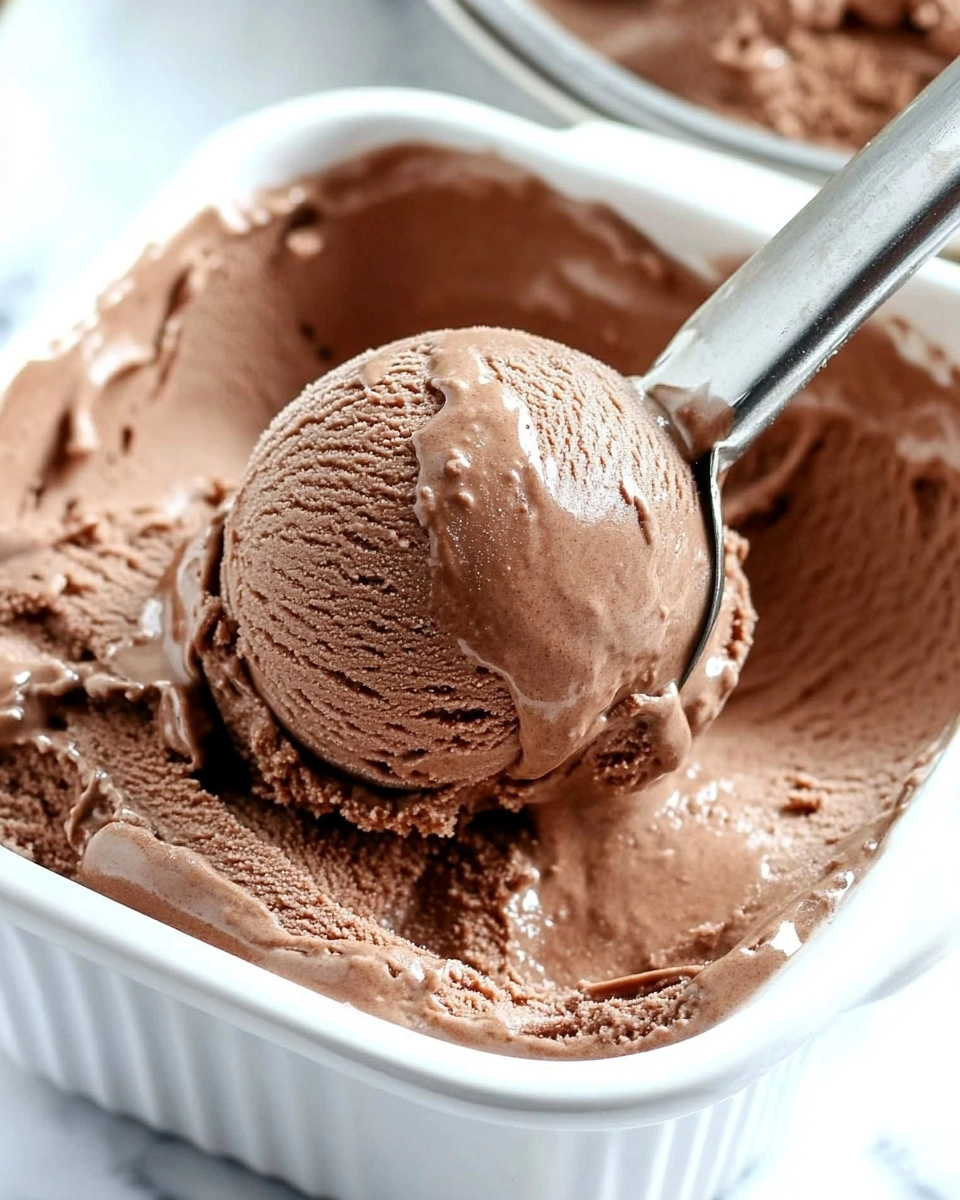
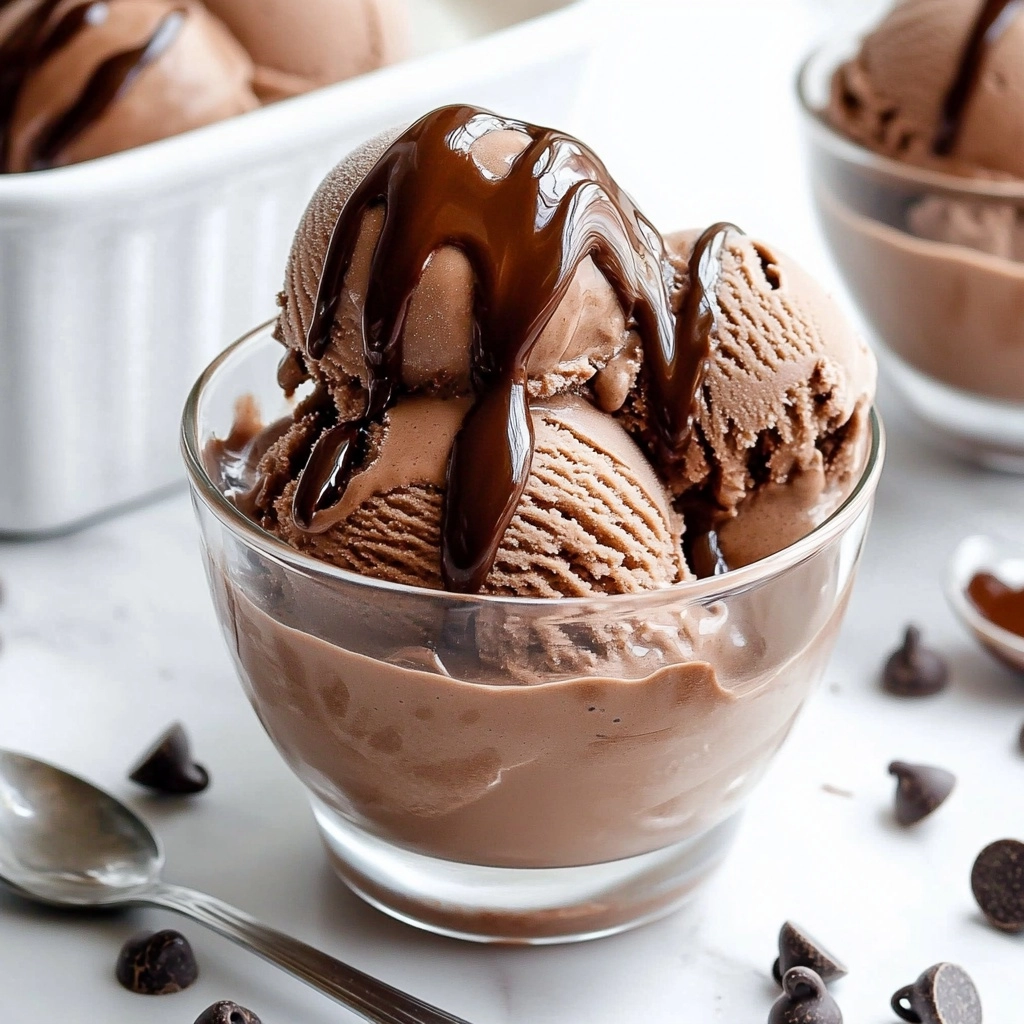
Creamy, dreamy, and downright chocolatey, this homemade Chocolate Coconut Milk Ice Cream is one of those recipes that makes you feel a little giddy with excitement. It’s delightfully rich thanks to coconut milk, has a deep chocolate flavor, and is naturally sweetened—so there’s absolutely no skimping on taste, just pure, irresistible decadence in every scoop.
Why You’ll Love This Recipe
- Dairy-Free Dream: Coconut milk lends an ultra-creamy texture—no heavy cream required—making it friendly for lactose-sensitive and plant-based friends.
- Rich, Deep Chocolate Flavor: Cacao powder gives an incredible chocolate punch that rivals any classic ice cream parlor treat.
- Effortlessly Simple: Just four easy ingredients and a blender stand between you and a scoop of homemade bliss—no complicated cooking required.
- Naturally Sweetened: Maple syrup keeps things sweet and luscious while avoiding refined sugar, so you can indulge a little more often.
Ingredients You’ll Need
You really won’t believe how just a handful of humble ingredients can transform into something as luscious and scoopable as Chocolate Coconut Milk Ice Cream. Each element here plays a starring role in texture, flavor, and that unforgettable chocolatey finish!
- Full-Fat Coconut Milk: This is the secret behind the super creamy, non-icy texture—always use the canned, unsweetened kind for best results.
- Cacao Powder: For deep, pure chocolate flavor, opt for unsweetened cacao powder (or swap in cocoa powder if that’s what you have on hand).
- Pure Maple Syrup: Adds richness, a touch of caramel undertone, and just the right balance of sweetness—plus, it keeps the ice cream naturally refined sugar-free.
- Vanilla Extract: Little, but mighty! It rounds out the chocolate flavor and adds a gentle warmth to each bite.
Variations
Once you get the hang of the base recipe, you’ll see how easy it is to put your own spin on this Chocolate Coconut Milk Ice Cream—play around with extra flavors, fun mix-ins, and sweeteners until you find “your” perfect scoop!
- Chunky Chocolate Additions: Stir in mini chocolate chips, chopped dark chocolate, or cacao nibs for a bit of crunch and extra chocolate goodness.
- Nutty Delight: Swirl in roasted hazelnuts, toasted coconut flakes, or almonds before freezing for a twist that’s deliciously reminiscent of your favorite candy bars.
- Espresso Boost: Add a teaspoon of instant espresso powder to the blender for a mocha flavor that’s rich and sophisticated.
- Fruit-Forward: Fold in tart raspberries or juicy cherries when churning—the combo of fruit and chocolate is simply divine.
- Sugar Swap: Use honey or agave in place of maple syrup, or experiment with sugar-free alternatives if you’d like a lower-carb treat.
How to Make Chocolate Coconut Milk Ice Cream
Step 1: Prep Your Equipment
If you’re using an ice cream maker with a removable bowl, be sure to pop it in the freezer 24 hours ahead of time—this step is easy to forget, but so important for that gorgeously creamy churn! Setting a phone reminder can be a real lifesaver here.
Step 2: Blend the Base
Add the coconut milk, cacao powder, pure maple syrup, and vanilla extract to your blender. Blend on high until the mixture is completely smooth and glossy. Don’t be afraid to stop and scrape down the sides—smoothness is the key to a velvety ice cream base.
Step 3: Churn Until Creamy
Pour your gleaming chocolate mixture straight into the frozen bowl of your ice cream maker. Let it churn for about 30–35 minutes, or until it looks airy and thickened—somewhere between a decadent soft-serve and rich gelato. The transformation is always magical to watch!
Step 4: Freeze for Scooping (Optional)
For classic, perfectly scoopable Chocolate Coconut Milk Ice Cream, transfer the churned mixture to an airtight container and freeze it for 4–6 hours. If you’re too impatient (no judgment!), dive right in for an ultra-creamy soft-serve experience.
Step 5: No Ice Cream Maker? No Problem!
If you don’t own an ice cream maker, pour the blended base into a freezer-safe container and freeze it, stirring vigorously every hour or so. This little effort helps incorporate air, making your finished ice cream lighter, fluffier, and totally spoon-worthy.
Pro Tips for Making Chocolate Coconut Milk Ice Cream
- Chill That Coconut Milk: Store your canned coconut milk in the fridge so it’s extra cold before blending—this speeds up churning and yields a creamier result.
- Blend Thoroughly: Don’t shortchange the blending! A super-smooth mixture prevents gritty ice crystals and ensures every bite is silk-smooth.
- Customize Sweetness: Always taste the base before churning—cocoa powders can vary, so tweak with a splash more maple syrup if you crave a sweeter treat.
- Soften Before Scooping: If your ice cream has been in the freezer for several hours, let it sit on the counter for around 10 minutes for the absolute perfect, creamy scoop.
How to Serve Chocolate Coconut Milk Ice Cream

Garnishes
The fun is only just beginning once you’ve made your Chocolate Coconut Milk Ice Cream! Let each bowl (or cone!) be your canvas—think toasted coconut flakes, a dusting of cacao powder, a drizzle of melted chocolate, or a scattering of chopped roasted nuts for crunch.
Side Dishes
This ice cream loves company: pile a scoop over warm brownies, serve alongside fresh raspberries or juicy strawberries, or pair it with a crisp coconut cookie. For a grown-up twist, try a little glass of espresso on the side.
Creative Ways to Present
Go beyond the standard bowl! Scoop your Chocolate Coconut Milk Ice Cream into chocolate-dipped waffle cones, sandwich it between gluten-free cookies, or serve mini scoops in espresso cups for a playful dinner party ending. Layer in parfait glasses with coconut whipped cream and berries for a swoon-worthy sundae.
Make Ahead and Storage
Storing Leftovers
To keep your Chocolate Coconut Milk Ice Cream tasting fresh, transfer leftovers to an airtight container as soon as it’s churned and cooled. Press a piece of parchment right on top of the surface to prevent freezer burn and keep it ultra-smooth for days to come.
Freezing
Store your ice cream in the coldest part of your freezer. Homemade ice cream is a bit firmer than store-bought, but keeps beautifully for up to 3 months. If it’s been in the freezer for a while, just give it a few minutes at room temp before scooping.
Reheating
No actual reheating needed, but if your Chocolate Coconut Milk Ice Cream is too firm, simply let it rest on your counter for 5–10 minutes. The texture softens up perfectly, making for easy, dreamy scooping every time.
FAQs
-
Can I use light coconut milk instead of full-fat?
Light coconut milk can be used, but it won’t deliver the same ultra-creamy, rich texture. Full-fat coconut milk is key for that classic ice cream mouthfeel—anything lighter may make the ice cream more icy than smooth.
-
What’s the best way to make Chocolate Coconut Milk Ice Cream without an ice cream maker?
Simply blend the ingredients, pour the mixture into a freezer-safe container, and stir every hour or so as it freezes. This helps prevent large ice crystals, leading to a creamier, scoopable treat—even without special equipment!
-
Can I add other flavors or mix-ins to this ice cream?
Absolutely! Swirl in nuts, chocolate chunks, coconut flakes, or fruit before the final freeze. Just be sure any mix-ins are dry (not watery) to avoid icy spots in the finished ice cream.
-
How can I keep homemade ice cream from getting too hard in the freezer?
Let your container of Chocolate Coconut Milk Ice Cream sit at room temperature for a few minutes before scooping. For extra scoopability, press parchment paper directly onto the surface before sealing—this keeps the texture softer and prevents icy surfaces.
Final Thoughts
This Chocolate Coconut Milk Ice Cream is pure joy in a bowl—so simple, wildly delicious, and wonderfully shareable. Whether you’re making it for a special celebration or a random Tuesday night, let yourself savor every creamy, chocolatey bite. I promise, you’re just one batch away from pure homemade ice cream happiness!
Print
Chocolate Coconut Milk Ice Cream Recipe
- Prep Time: 10 minutes
- Total Time: 40 minutes
- Yield: 6 servings
- Category: Dessert
- Method: Churning, Freezing
- Cuisine: Dairy-Free, Vegan
- Diet: Vegetarian
Description
Indulge in this creamy and decadent Chocolate Coconut Milk Ice Cream that is dairy-free and vegan. Made with rich coconut milk, cacao powder, pure maple syrup, and vanilla extract, this frozen treat is a delightful combination of flavors that will satisfy your sweet cravings.
Ingredients
Chocolate Coconut Milk Ice Cream:
- 1 (13.5 oz.) can full-fat coconut milk (400 mL)
- 1/2 cup cacao powder (36 grams)
- 3/4 cup pure maple syrup (241 grams)
- 1 teaspoon vanilla extract (5 grams)
Instructions
- Prepare the Ice Cream Mixture: In a blender, combine the coconut milk, cacao powder, maple syrup, and vanilla. Blend until smooth.
- Churn the Ice Cream: Pour the mixture into the frozen bowl of your ice cream maker. Process for 30-35 minutes until thick and creamy.
- Serve or Store: Enjoy immediately for a soft-serve texture, or transfer to a container and freeze for 4-6 hours for a firmer consistency.
Notes
- This recipe yields approximately 3 cups of ice cream. Nutritional values are based on a 1/2 cup serving.
- If you don’t have an ice cream maker, freeze the mixture in a container overnight, stirring occasionally for a lighter texture.
Nutrition
- Serving Size: 1/2 cup
- Calories: 180
- Sugar: 18g
- Sodium: 10mg
- Fat: 10g
- Saturated Fat: 9g
- Unsaturated Fat: 1g
- Trans Fat: 0g
- Carbohydrates: 22g
- Fiber: 2g
- Protein: 1g
- Cholesterol: 0mg


Your email address will not be published. Required fields are marked *