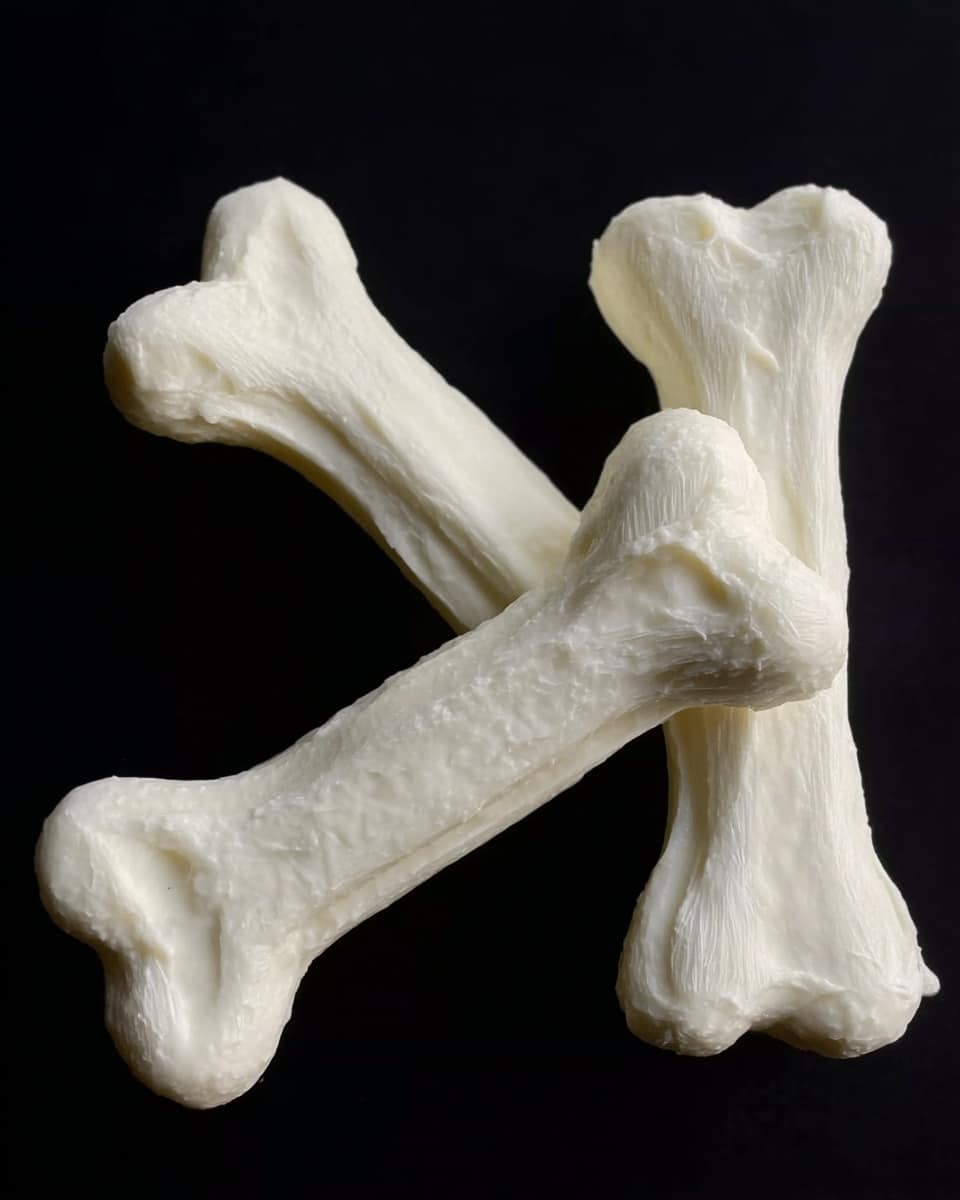
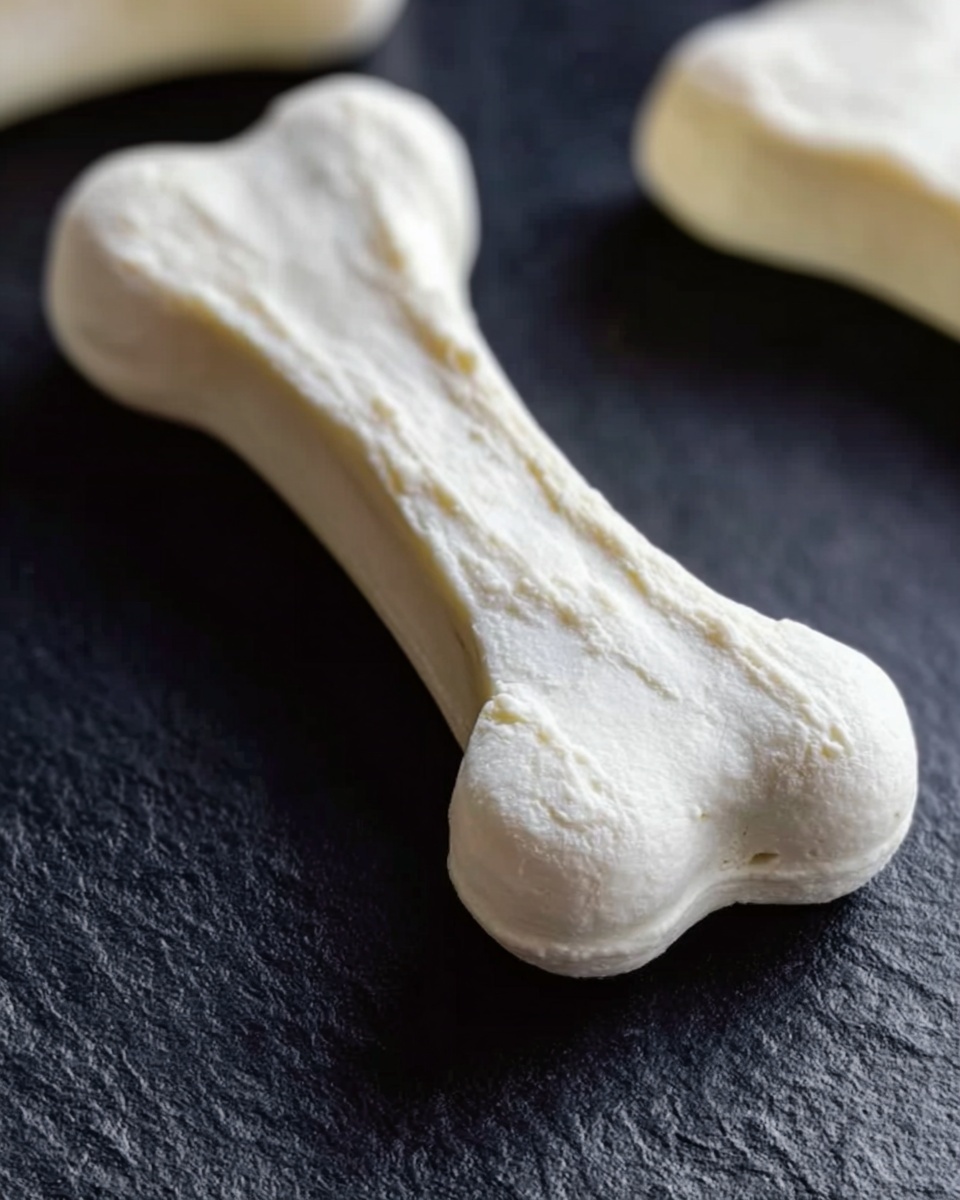
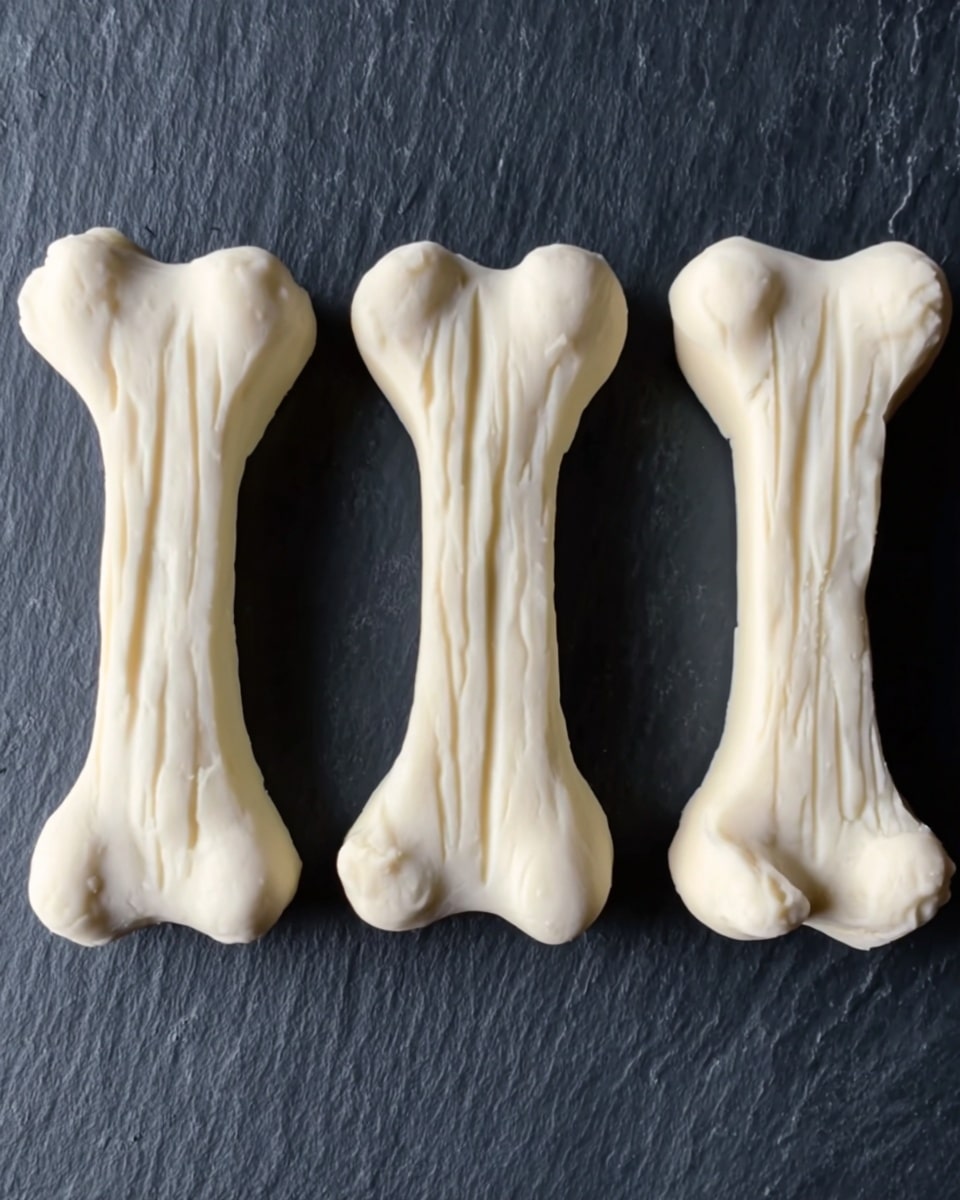
If you’re looking for a fun and festive treat that’s both sweet and salty, you’re going to adore this Chocolate Covered Pretzel Bones Recipe. It’s super easy to make and absolutely kid-friendly — plus, they’re perfect for Halloween or anytime you want a cute, crunchy snack. I love this recipe because it comes together quickly, and you’ll find that the combo of chocolate, pretzel crunch, and those little marshmallows is downright addictive. Keep reading and I’ll walk you through every step so you get perfect “bones” that your family and friends will rave about!
Why You’ll Love This Recipe
- Simple Ingredients: You only need a few ingredients that you probably already have on hand.
- No Baking Required: This is one of those zero-bake recipes that’s quick and mess-free.
- Kid-Approved Fun: My kids went wild for decorating and eating these pretzel bones.
- Perfect Party Treat: They’re adorable for Halloween parties or any festive occasion.
Ingredients You’ll Need
Each ingredient here plays a special role in turning simple snacks into a charming treat. You’ll want to use high-quality candy melts for smooth dipping, and the right type of pretzel rods really makes the difference — trust me on that.
- Pretzel rods: Opt for rods, not sticks, as the wider surface helps hold the “bones” together perfectly.
- Mini marshmallows: These little puffs create the classic “knob” at the end of the bone, making them look extra fun.
- White candy melts: These melt easily and coat the pretzels with a smooth, sweet layer that hardens beautifully.
Variations
I love how versatile this Chocolate Covered Pretzel Bones Recipe is — you can easily tweak it to match your mood or occasion. Play around with colors, chocolate types, or even toppings to make it your own.
- Use colored candy melts: I often switch to orange or purple candy melts around Halloween for extra festive bones.
- Add sprinkles: After dipping, sprinkle some Halloween-themed sprinkles for crunch and color — my family goes crazy for the extra pop.
- Try dark or milk chocolate: When I want a richer flavor, I swap white candy melts for dark or milk chocolate; it adds a nice depth to the salty pretzel.
- Gluten-free options: If you need gluten-free, look for certified gluten-free pretzel rods—they work just as well.
How to Make Chocolate Covered Pretzel Bones Recipe
Step 1: Prep your pretzels and melt your candy
Start by breaking each pretzel rod in half — I like to snap them in my hands so the ends stay nice and clean (plus, it feels kinda satisfying!). Then, melt your white candy melts in short 15-30 second bursts in the microwave, stirring well in between to keep it smooth and prevent scorching. A smooth melt is key to getting even coverage.
Step 2: Dip one end and add marshmallows
Dip the smooth end of your broken pretzel into the melted candy, then quickly press two mini marshmallows onto the dipped end side by side — these form the “knobby” bone look. Pro tip: Work fast so the candy doesn’t harden before you attach the marshmallows. Once all 12 “bones” are dipped, let them sit for about 5 minutes to firm up.
Step 3: Dip each end again
Next, dip those pretzels again, this time covering about two-thirds of the rod, including the marshmallows, to create a creamy chocolate layer that holds everything together. Let them sit to set a bit. Then repeat the same steps on the other end to create a full “bone” look — you’ll have ends dipped with marshmallows and covered in candy melt on both sides. Place on wax paper to dry completely. Avoid refrigerating; room temperature setting gives the best texture.
Pro Tips for Making Chocolate Covered Pretzel Bones Recipe
- Perfect Melting: I’ve learned it’s better to melt candy slowly in bursts to avoid overheating, which can make candy melts grainy and harder to work with.
- Fast Hands in Dipping: Marshmallows stick best when the chocolate is warm but not too hot; this helped me avoid them slipping off repeatedly.
- Set on Wax Paper: Always use wax paper to set your bones — I tried foil once, and the chocolate didn’t release easily.
- Skip Refrigeration: Refrigerating seemed like a good idea at first, but I noticed the candy crackling more — room temp works best for smooth, glossy finish.
How to Serve Chocolate Covered Pretzel Bones Recipe

Garnishes
I usually keep it simple and let the bones shine on their own, but sometimes I sprinkle a little colored sanding sugar or mini black and orange sprinkles right after dipping for that extra festive look. It adds a subtle crunch and makes them pop on the plate—kids love it!
Side Dishes
These are sweet and salty enough to stand on their own, but if you want to build a Halloween snack spread, pair them with popcorn balls, caramel apples, or a bowl of candy corn. I also like to set them alongside hot chocolate or warm cider for cozy fall vibes.
Creative Ways to Present
For parties, I like to arrange the pretzel bones upright in a clear vase filled with candy corn or Halloween-themed confetti. It looks like a spooky bouquet! Another time, I wrapped each bone in cellophane bags tied with orange and black ribbons — perfect for handing out to guests.
Make Ahead and Storage
Storing Leftovers
I store leftover bones in an airtight container at room temperature. They stay crisp and fresh for about a week, which is my experience anyway — if they sit too long, the pretzels can soften from the moisture.
Freezing
I haven’t frozen these often, but when I did, I wrapped them individually in plastic wrap and placed them in a sealed freezer bag. Thaw completely at room temp before serving. Texture stays mostly intact, although I recommend enjoying fresh when possible.
Reheating
No reheating necessary here — these are best served as a cold treat. If you want the chocolate a little softer, just let them sit out for a few minutes to come to room temperature.
FAQs
-
Can I use regular chocolate instead of candy melts for the Chocolate Covered Pretzel Bones Recipe?
You can, but candy melts are specially formulated to melt smoothly without seizing and harden with a nice glossy finish. If you use regular chocolate, make sure to temper it properly or add a little shortening to keep it workable and shiny.
-
How do I prevent the marshmallows from falling off the pretzels?
Dip the pretzel end into the warm (but not too hot) candy melts, then press the marshmallows onto the sticky coating immediately. Working quickly ensures the candy holds the marshmallows firmly in place as it cools.
-
Can I make Chocolate Covered Pretzel Bones Recipe ahead of time?
Absolutely! You can prepare them a day or two in advance and keep them stored in an airtight container at room temperature. Just keep in mind that over time the pretzels might soften slightly.
-
Why shouldn’t I refrigerate these pretzel bones?
Refrigerating can cause the candy melts to develop a dull or crackled finish and make the chocolate layer less firm. It’s best to let them set at room temperature for that perfect shiny coating and crisp texture.
Final Thoughts
I absolutely love how this Chocolate Covered Pretzel Bones Recipe turns out every single time. It’s one of those snacks that’s so simple yet so charming — and you’ll find that once you make them, they’re impossible to stop munching! Whether you’re crafting treats for a party, a holiday, or just because, this recipe hits the sweet spot of fun and flavor. I hope you try making these with your loved ones and enjoy the smiles and “oohs” and “aahs” that come after each crunchy bite.
Print
Chocolate Covered Pretzel Bones Recipe
- Prep Time: 15 minutes
- Cook Time: 0 minutes
- Total Time: 15 minutes
- Yield: 12 pretzel bones
- Category: Dessert
- Method: No-Cook
- Cuisine: American
Description
These Chocolate Covered Pretzel Bones are a fun and festive treat perfect for Halloween or any spooky-themed party. Crunchy pretzel rods are dipped in creamy white candy melts and adorned with mini marshmallows to resemble bones, making them a playful and easy no-bake snack that kids and adults will love.
Ingredients
Ingredients
- 6 pretzel rods (Use rods, not sticks!)
- 24 mini marshmallows
- 1 package white candy melts (about 8-10 ounces)
Instructions
- Prepare the Pretzels: Break each pretzel rod in half to create 12 pieces, which will form the ‘bones’. Set aside.
- Melt Candy: Melt the white candy melts according to package instructions, typically in 15-30 second increments in the microwave, stirring thoroughly after each interval until smooth and creamy.
- Dip and Add Marshmallows: Dip one smooth end of a pretzel piece into the melted candy, then immediately press two mini marshmallows onto the dipped end to form the ‘bone joints’. Repeat for all 12 pretzel halves. Let these set for about 5 minutes to harden slightly.
- Cover with Candy Coating: Dip each marshmallow-tipped end along with about two-thirds of the pretzel rod into the white candy melts, ensuring the marshmallows and a portion of the rod are coated. Let them rest until the coating firms up.
- Repeat on Other End: Repeat the dipping process on the opposite end of each pretzel piece, forming the other ‘bone joint’, and place them on wax paper to cool and set completely at room temperature. Do not refrigerate.
Notes
- Use pretzel rods (thicker) instead of thin pretzel sticks for better structure.
- Allow candy coating to set at room temperature; refrigeration can cause cracking.
- If candy melts harden during dipping, reheat in short microwave bursts to maintain smoothness.
- These treats are best consumed within 2-3 days for optimal freshness.
Nutrition
- Serving Size: 1 pretzel bone
- Calories: 90
- Sugar: 8g
- Sodium: 150mg
- Fat: 3g
- Saturated Fat: 2.5g
- Unsaturated Fat: 0.3g
- Trans Fat: 0g
- Carbohydrates: 14g
- Fiber: 0.5g
- Protein: 1g
- Cholesterol: 0mg


Your email address will not be published. Required fields are marked *