
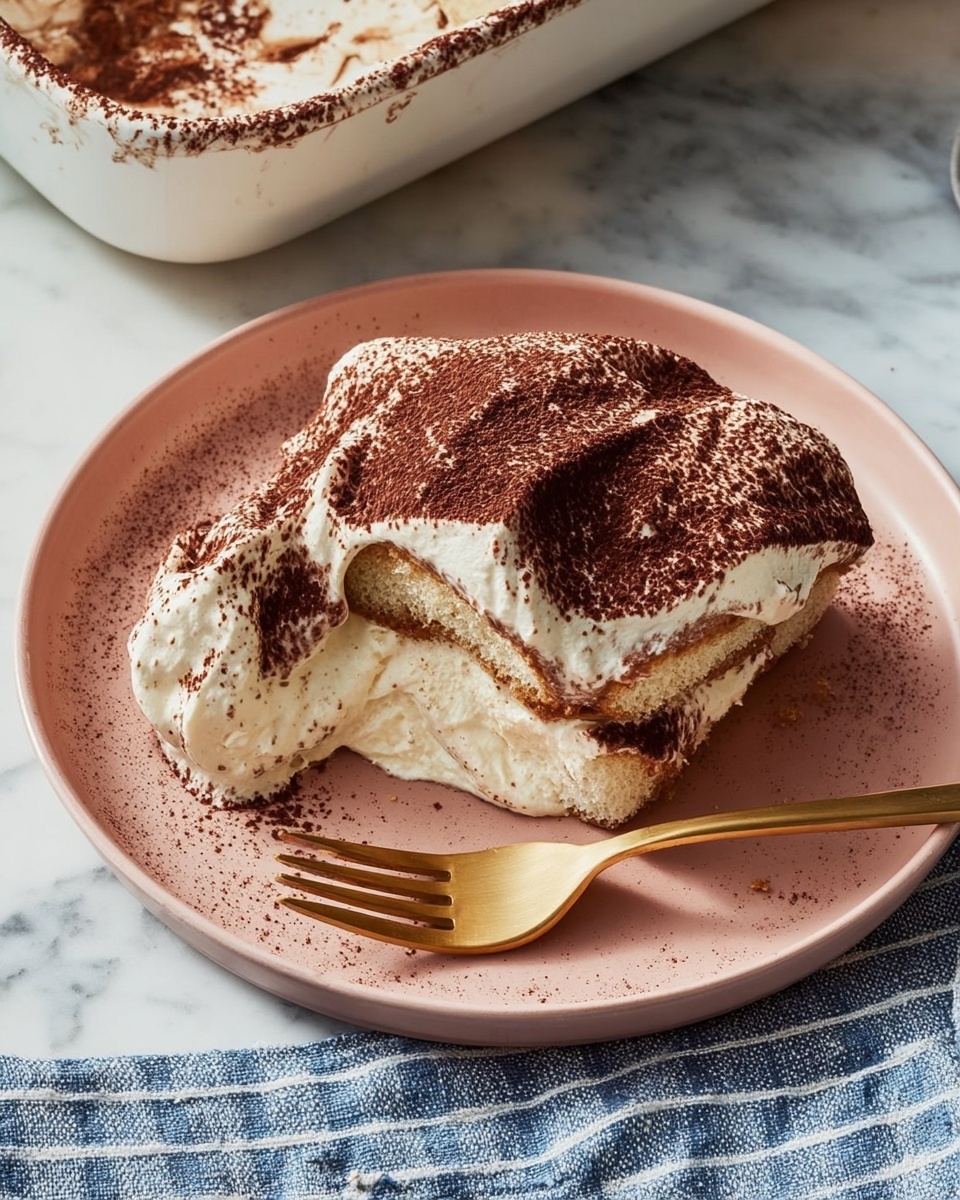
I absolutely love this Classic Italian Tiramisu Recipe because it’s the perfect blend of bold espresso, creamy mascarpone, and just the right hint of cocoa. Whenever I make this, it transports me straight to a cozy little trattoria in Rome. It’s rich but never overwhelming, which makes it my go-to dessert for dinner parties or anytime I want to impress guests without spending hours in the kitchen.
You’ll find that this recipe is straightforward but yields authentic results—perfect if you’ve been intimidated by tiramisu before. Plus, it doesn’t require baking, so it’s wonderfully easy to whip up ahead of time. Whether you’re treating yourself or sharing with friends, this Classic Italian Tiramisu Recipe is totally worth the few hours of chilling time it needs to set!
Why You’ll Love This Recipe
- Authentic Flavor: Every bite captures the essence of traditional Italian tiramisu with real mascarpone and espresso.
- No Baking Required: Easy assembly means less fuss and more time to relax before dessert.
- Make Ahead Convenience: It tastes even better after a few hours in the fridge, so planning ahead is effortless.
- Crowd-Pleaser: This dessert disappears fast — my family goes crazy for it every time I bring it out.

Ingredients You’ll Need
The magic of a Classic Italian Tiramisu Recipe lies in the balance of rich mascarpone, strong espresso, and delicate ladyfingers. Shopping for good quality mascarpone and fresh ingredients will truly elevate your dessert.
- Dutch Processed Cocoa Powder: Use this for dusting because it’s smooth and slightly less bitter, enhancing the tiramisu’s aroma.
- Espresso: Freshly brewed espresso gives the dessert its signature kick; you can add a splash of dark rum for a boozy twist.
- Vanilla Extract: Adds warmth and rounds out the flavors beautifully.
- Egg Yolks: Pasteurized if possible, so you get that richness safely.
- White Sugar: Sweetens the mascarpone mixture just right without overpowering.
- Kosher Salt: A pinch brings balance and enhances all the flavors.
- Mascarpone Cheese: The star ingredient — make sure it’s cold and fresh for the creamiest texture.
- Heavy Cream: Chilled for whipping into airy perfection.
- Ladyfinger Cookies: These soak up the espresso but keep their structure exactly as they should — not soggy, just right.
Variations
I like to play around with this Classic Italian Tiramisu Recipe depending on the occasion — it’s versatile enough for tweaks but stays true to the flavors we love. Feel free to make it your own!
- Alcohol-Free Version: I swapped espresso for strong brewed coffee and omitted rum, and the tiramisu still impressed my non-drinking guests.
- Chocolate Lover’s Delight: Sometimes I add a layer of shaved dark chocolate or mix some melted chocolate into the mascarpone for an extra indulgent touch.
- Seasonal Twist: In the fall, I mix a pinch of cinnamon or nutmeg into the mascarpone mixture — subtle but cozy!
- Fruit-Infused: For a fresh twist, I’ve added thin slices of strawberries between layers; it’s delicious and colorful.
How to Make Classic Italian Tiramisu Recipe
Step 1: Prepare the Espresso Mixture
Start by whisking together your Dutch processed cocoa powder, freshly brewed espresso, and vanilla extract in a shallow bowl. This is your soaking liquid for the ladyfingers, so make sure the espresso is cool but aromatic. Adding a few tablespoons of dark rum here is optional, but I highly recommend it if you enjoy a slight boozy depth.
Step 2: Whip the Mascarpone Mixture
Using a mixer, beat the cold egg yolks and sugar on medium-high speed until the mixture is pale, thick, and almost ribbon-like — this takes about 5 minutes. Then add the pinch of kosher salt and chilled mascarpone cheese, whipping until the texture becomes smooth and creamy. Lastly, fold in your chilled heavy cream and keep mixing until soft peaks form — the key here is to keep it light and airy, so don’t overbeat!
Step 3: Assemble the Layers
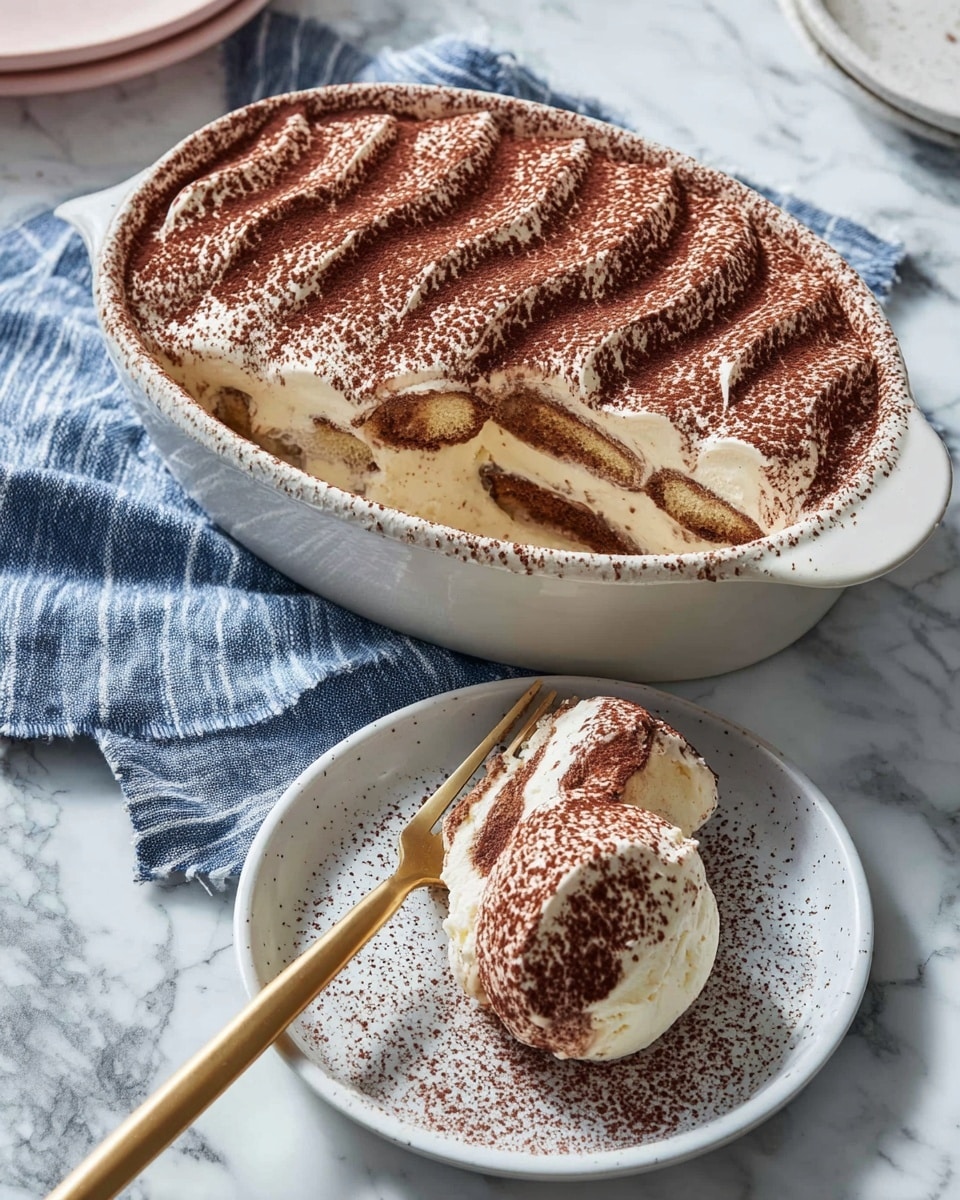
Dunk each ladyfinger quickly (1 to 2 seconds) into the espresso mixture—just enough to soak the flavor without turning soggy. Lay them down in a 7×11 oval baking dish to create the base layer. Spread half of your mascarpone mixture evenly over the soaked ladyfingers using the back of a spoon. Dust with a light layer of cocoa powder to start that iconic look.
Step 4: Repeat and Chill
Repeat the dunking and layering with the remaining ladyfingers and mascarpone mixture. Finish with a generous dusting of cocoa powder on top. Cover your tiramisu tightly with plastic wrap and refrigerate for at least 2 hours; I find letting it chill overnight yields the best flavor and texture. This resting time lets the ladyfingers soften just perfectly and the cocoa infuses into the cream.
Pro Tips for Making Classic Italian Tiramisu Recipe
- Use Cold Ingredients: I learned that keeping your egg yolks, mascarpone, and cream chilled helps your final mixture whip up light and fluffy — warm ingredients just won’t hold!
- Dunk Ladyfingers Just Right: Too long and they fall apart; too quick and they stay dry. I always count “one Mississippi, two Mississippi” seconds for that perfect soak.
- Whip Cream to Soft Peaks: Over-whipping can turn it grainy or buttery, and under-whipping makes the cream runny. I stop once I see soft peaks that hold shape gently.
- Rest Before Serving: Resist the urge to dig in immediately — chilling lets flavors marry, improves texture, and makes the dusted cocoa powder less harsh on your palette.
How to Serve Classic Italian Tiramisu Recipe
Garnishes
I usually keep it classic with a final dusting of cocoa powder right before serving to preserve that fresh look. But sometimes, I sprinkle on some dark chocolate shavings or freshly grated orange zest for a pleasant, unexpected zing. These small touches impress guests and add a fresh aroma that pairs beautifully with the creamy layers.
Side Dishes
This tiramisu sings best as a standalone dessert, but if I’m pairing it, I love serving it alongside fresh seasonal berries or a simple espresso shot to complement the coffee notes. On cozy nights, a dollop of whipped cream on the side makes it feel extra indulgent.
Creative Ways to Present
For parties, I like layering this tiramisu in individual glasses or ramekins—it looks elegant and lets guests admire the perfect layers. I’ve even made mini tiramisus in mason jars for easy grab-and-go desserts. Trust me, presentation makes all the difference when you want to wow your crowd without extra stress!
Make Ahead and Storage
Storing Leftovers
I store leftover tiramisu tightly covered with plastic wrap or in an airtight container in the fridge. Because the flavors meld over time, it often tastes even better the next day. Just be sure to keep it chilled until you’re ready to serve again.
Freezing
I have frozen tiramisu successfully by wrapping it well in plastic wrap and foil to prevent freezer burn. When thawed overnight in the fridge, the texture is just slightly softer but still delightful. It’s a handy option if you want to prep ahead or save a portion for later.
Reheating
Tiramisu is best served cold, so I don’t recommend reheating. Instead, let frozen or refrigerated portions thaw fully in the fridge to bring back that perfect creamy consistency. Enjoy it chilled to get the full flavor and textural experience.
FAQs
-
Can I make Classic Italian Tiramisu Recipe without raw eggs?
Yes! Using pasteurized eggs is the safest option for recipes like this that call for raw yolks. Alternatively, some recipes replace egg yolks with whipped cream or cream cheese blends, but for authentic flavor and texture, I recommend pasteurized eggs if you can find them.
-
What if I don’t have espresso on hand?
No worries. Strong brewed coffee works just fine as a substitute in this Classic Italian Tiramisu Recipe. It won’t have quite the same intensity as espresso, but it still delivers that essential coffee flavor we love.
-
How long should I soak the ladyfingers?
Keep the dunking brief—just 1 to 2 seconds per ladyfinger is enough. This will infuse coffee flavor without making them soggy and falling apart, which will ruin the texture.
-
Can I make tiramisu ahead of time?
Absolutely. In fact, tiramisu benefits from resting in the fridge for at least 2 hours and up to 24 hours, which allows flavors to meld and dessert to set perfectly. Just cover it well to prevent it from absorbing other odors in your fridge.
Final Thoughts
This Classic Italian Tiramisu Recipe holds a special place in my heart because it’s a dessert that brings everyone to the table with smiles. It’s approachable enough for a midweek treat but elegant enough for celebrations. I encourage you to give it a try — with these helpful tips and variations, you can customize it just the way you like. Trust me, once you make this, your family and friends will be asking for it again and again!
Print
Classic Italian Tiramisu Recipe
- Prep Time: 20 minutes
- Cook Time: 0 minutes
- Total Time: 2 hours 20 minutes
- Yield: 10 servings
- Category: Dessert
- Method: No-Cook
- Cuisine: Italian
Description
Classic Italian Tiramisu is a luscious, creamy dessert made with layers of espresso-soaked ladyfinger cookies and a rich mascarpone filling, dusted with cocoa powder. This no-bake treat combines the bold flavors of espresso and cocoa with a smooth, velvety texture that melts in your mouth, perfect for any special occasion or a delightful end to any meal.
Ingredients
Espresso Mixture
- 1/4 cup Dutch Processed cocoa powder, plus more for dusting
- 1 cup brewed espresso (optional: add a few tablespoons of dark rum)
- 1 tablespoon vanilla extract
Mascarpone Cream Filling
- 5 large egg yolks, cold (pasteurized eggs recommended)
- 1/2 cup white sugar
- 1/4 teaspoon kosher salt
- 16 ounces mascarpone cheese, chilled
- 1.75 cups heavy cream, chilled
Assembly
- 28 hard ladyfinger cookies
Instructions
- Prepare Espresso Mixture: Whisk together the Dutch processed cocoa powder, brewed espresso, and vanilla extract in a bowl and set aside. This mixture will be used to lightly soak the ladyfinger cookies, infusing them with rich flavor.
- Make Mascarpone Cream: In a mixer or with a hand mixer, beat the cold egg yolks and white sugar until the mixture is pale and thick, approximately 5 minutes. Add the kosher salt and chilled mascarpone cheese, then continue whipping until the mixture is smooth and creamy.
- Whip Heavy Cream: Add the chilled heavy cream to the mascarpone mixture and whip continuously until the cream becomes light, smooth, and can hold soft peaks. This creates the luscious filling for the tiramisu layers.
- Dunk Ladyfingers: Quickly dunk each ladyfinger cookie into the espresso-cocoa mixture just long enough to soak them lightly (1-2 seconds) without making them soggy or falling apart.
- Assemble First Layer: Arrange a layer of soaked ladyfingers in a 7×11 oval baking dish. Spread half of the whipped mascarpone cream evenly over the ladyfingers using the back of a metal spoon. Lightly dust this layer with cocoa powder.
- Assemble Second Layer: Repeat the process with another layer of soaked ladyfingers, followed by the remaining mascarpone mixture, spreading it evenly. Finish by dusting with cocoa powder on top.
- Chill: Cover the tiramisu with plastic wrap and refrigerate for at least 2 hours to allow the flavors to meld, and the cocoa powder topping to soften and infuse into the cream.
Notes
- Ensure all ingredients for the filling are cold for best results and texture.
- If you don’t have espresso on hand, brewed coffee works well as a substitute.
- Dunk ladyfingers briefly (1-2 seconds) to prevent them from becoming too soggy and falling apart.
- Allow sufficient chill time for the tiramisu so the cocoa powder topping softens and the flavors fully develop.
Nutrition
- Serving Size: 1 slice (approx. 150g)
- Calories: 420 kcal
- Sugar: 28 g
- Sodium: 70 mg
- Fat: 32 g
- Saturated Fat: 19 g
- Unsaturated Fat: 10 g
- Trans Fat: 0.3 g
- Carbohydrates: 24 g
- Fiber: 2 g
- Protein: 6 g
- Cholesterol: 175 mg

Your email address will not be published. Required fields are marked *