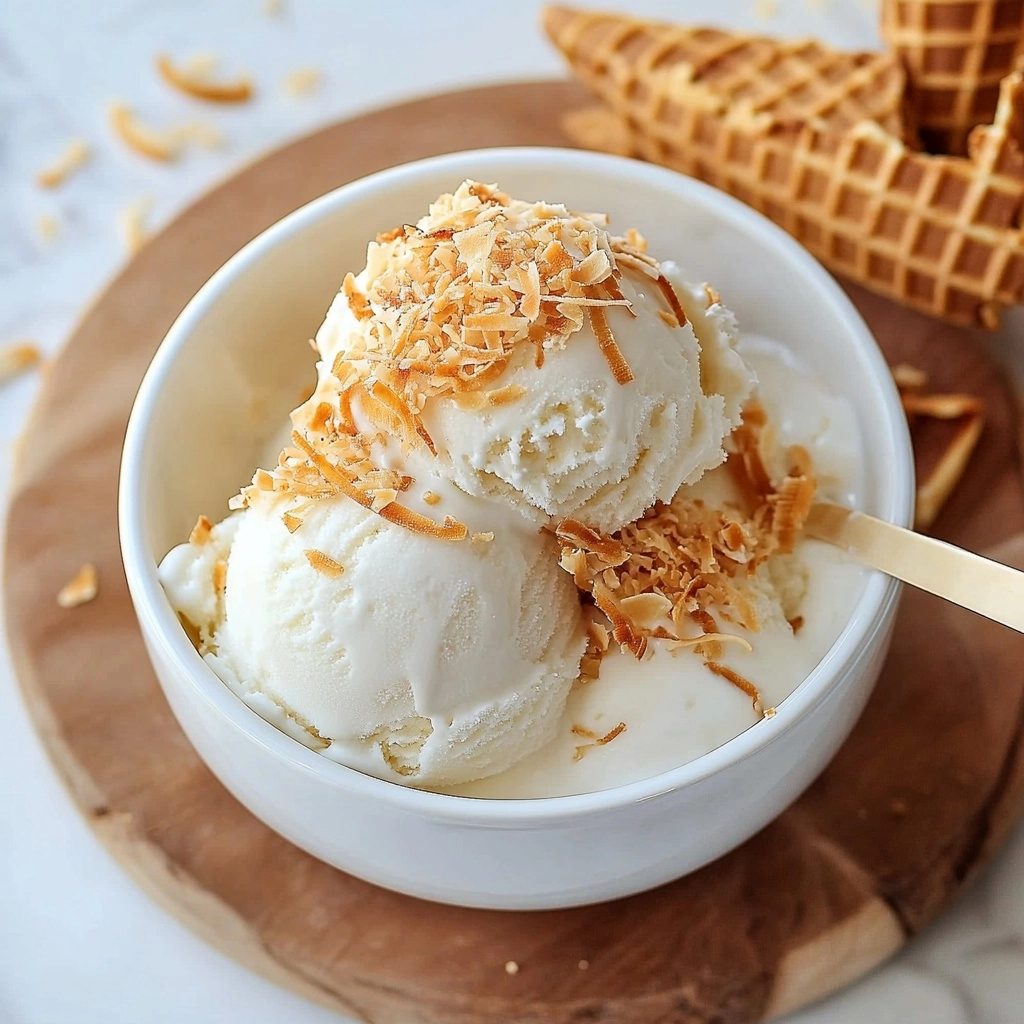
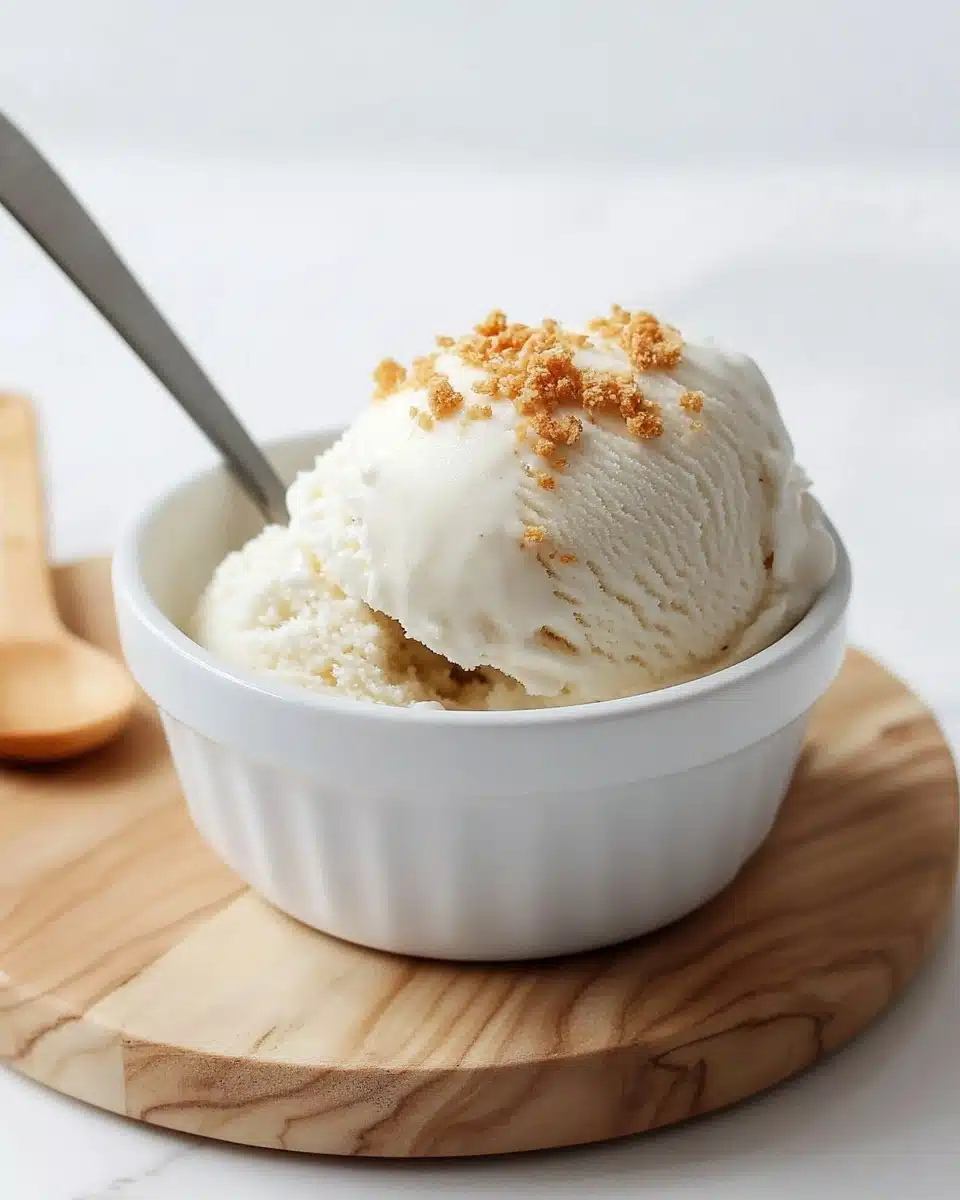
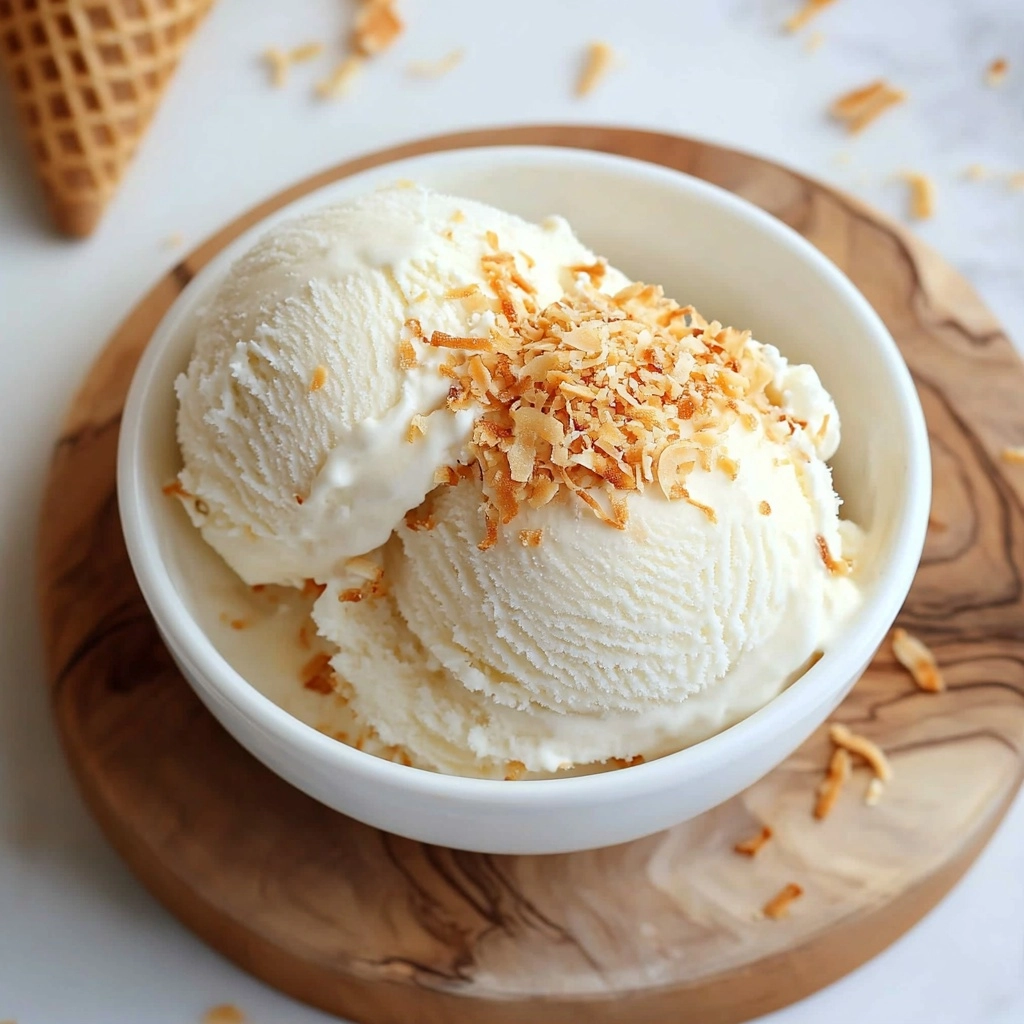
If you’re craving a cool, creamy treat that’s naturally dairy-free (but every bit as luscious as traditional ice cream!), Coconut Milk Ice Cream is about to become your new obsession. Each dreamy spoonful is perfectly silky, loaded with coconut flavor, and honestly, almost too easy to make at home.
Why You’ll Love This Recipe
- Luxurious Creaminess: The full-fat coconut milk gives every bite an ultra-smooth, dreamy texture you won’t believe is dairy-free.
- Simple, Wholesome Ingredients: With just a small handful of pantry staples, you can create a totally swoon-worthy treat, right at home.
- Customizable Flavor: This Coconut Milk Ice Cream is a blank canvas—try it with add-ins, toppings, or playful variations for your own twist each time.
- Naturally Allergy-Friendly: It’s vegan, gluten-free, and nut-free, so everyone can get in on the frozen fun.
Ingredients You’ll Need
One of my favorite things about Coconut Milk Ice Cream is how it needs so few ingredients! Each one plays a big role in building that irresistible creamy texture and pure, coconutty flavor, without any unnecessary fillers or mystery additives.
- Full-Fat Coconut Milk: The base of your ice cream; choose the canned, unsweetened kind for ultra-rich and velvety results.
- Granulated Sugar: Just enough sweetness to make the flavors shine—try organic cane sugar if you prefer.
- Cornstarch: This is your magical thickener, ensuring you get spoonable, scoopable ice cream even without eggs or dairy.
- Salt: Don’t skip it! A tiny pinch balances and intensifies the coconut and vanilla notes.
- Vanilla Extract: Classic vanilla enhances the coconut and gives those bakery-style dessert vibes.
Variations
Don’t be afraid to play! This recipe is your perfect base for experimenting, so you can tailor Coconut Milk Ice Cream to fit your mood, what’s in your pantry, or your specific dietary needs.
- Chocolate Coconut Milk Ice Cream: Whisk in ¼ cup of cocoa powder with the sugar for a decadent twist reminiscent of a coconut-chocolate truffle.
- Berry Swirl: Gently fold in homemade blueberry or raspberry compote just before freezing for a fruity ribbon throughout each scoop.
- Crunchy Add-Ins: Stir in toasted coconut flakes, roasted nuts, or even dairy-free chocolate chips after churning for extra flavor and texture.
- Sugar Alternatives: Swap in maple syrup or coconut sugar if you’re avoiding refined sugar, but note that texture may be a little softer.
How to Make Coconut Milk Ice Cream
Step 1: Prep Your Ice Cream Maker
Pop the bowl from your ice cream maker into the freezer the night before you plan to churn. You want it rock-solid cold—this is the secret to a quick churn and perfectly creamy Coconut Milk Ice Cream.
Step 2: Make the Ice Cream Base
Pour all but ½ cup of your coconut milk into a small saucepan with sugar and salt. Set over medium heat and whisk until the sugar is fully dissolved—it’ll just take a couple of minutes. Stir in the vanilla extract for seriously aromatic results.
Step 3: Thicken the Mixture
Whisk the cornstarch into your reserved ½ cup coconut milk until smooth, then add that combo to the warm saucepan. Bring everything to a boil, whisking often, and let it bubble for about 5 minutes to cook out any starchiness and thicken to a silky custard texture.
Step 4: Chill the Base
Pour your cooked base into a shallow dish and cover it tightly. Slide it into the fridge and chill for at least 4 hours so it’s very cold—this ensures the ice cream churns up extra smooth and creamy.
Step 5: Churn It Up
Transfer your chilled base to the ice cream maker bowl and churn according to the manufacturer’s directions. After 20–30 minutes, it should look like soft serve and hold its shape. If you want, swirl in your favorite add-ins now!
Step 6: Freeze Until Scoopable
For a classic, firmer ice cream texture, scrape your Coconut Milk Ice Cream into a pint container and freeze for a few more hours. Just remember to let it thaw for 5–10 minutes before scooping for the creamiest texture.
Pro Tips for Making Coconut Milk Ice Cream
- Choose the Right Coconut Milk: Always go for canned, full-fat coconut milk—light versions or cartons just won’t deliver that creamy richness you crave.
- Chill Base Thoroughly: Don’t rush the chilling! A cold base is the #1 secret to smooth, scoopable Coconut Milk Ice Cream every single time.
- Prevent Icy Texture: If possible, press a piece of plastic wrap directly onto the surface of the ice cream before freezing to reduce ice crystals.
- Serving Sweet Spot: Let your ice cream sit on the counter for a few minutes before scooping—it softens up beautifully for that classic, creamy mouthfeel.
How to Serve Coconut Milk Ice Cream

Garnishes
This is where the fun begins! Toasted coconut, a drizzle of dark chocolate sauce, fresh berries, or even a few crunchy candied nuts take Coconut Milk Ice Cream from simple to spectacular. For extra coconut flair, lightly toast shredded coconut until golden and sprinkle right before digging in.
Side Dishes
Pair your ice cream with fresh tropical fruit like mango or pineapple, or serve it alongside a warm dessert—think grilled peach halves or classic banana bread. It’s also a dream as part of a build-your-own sundae bar with crushed cookies and sauces.
Creative Ways to Present
Scoop Coconut Milk Ice Cream into little coconut shell halves for a tropical party, or layer it in parfait glasses with fruit compote for an easy dessert. For extra special occasions, sandwich it between vegan cookies or brownies for homemade ice cream sandwiches that truly wow.
Make Ahead and Storage
Storing Leftovers
After churning, transfer your ice cream to an airtight container—pint-size ice cream tubs work beautifully—and keep it in the coldest part of your freezer. This keeps it fresh and protects that velvety texture from freezer burn.
Freezing
Coconut Milk Ice Cream stays delicious in the freezer for up to a month. For longer storage, press a layer of wax paper or plastic directly on top before sealing, and always freeze it flat for even chilling.
Reheating
No reheating needed for ice cream! Instead, if the Coconut Milk Ice Cream is extra hard, let the tub sit at room temperature for 10–15 minutes—that’s the magic window for perfect scooping texture without melting.
FAQs
-
Can I make Coconut Milk Ice Cream without an ice cream maker?
Absolutely! After making and chilling your base, pour it into a shallow baking sheet, freeze, then break into chunks and process in a high-powered food processor until smooth and creamy. Refreeze and scoop as usual.
-
Why is my Coconut Milk Ice Cream icy instead of creamy?
This can happen if the base isn’t thoroughly chilled before churning, or if you accidentally use light coconut milk. For best results, always go with canned, full-fat coconut milk and chill the base at least 4 hours.
-
Can I use other sweeteners instead of sugar?
You can swap in maple syrup, agave, or coconut sugar. Just note that coconut sugar and liquid sweeteners might result in a slightly softer ice cream, and you may want to adjust the quantity to taste.
-
How long does homemade Coconut Milk Ice Cream last in the freezer?
This ice cream keeps well for up to a month if stored in a well-sealed container. For the best flavor and consistency, enjoy it within the first two weeks of making—it never lasts that long at my house!
Final Thoughts
Once you try this homemade Coconut Milk Ice Cream, I guarantee it’ll be a fixture in your freezer all year long. Let your creativity run wild, embrace those tropical flavors, and most importantly, treat yourself to a few scoops of extra-creamy, dreamy goodness—you totally deserve it!
Print
Coconut Milk Ice Cream Recipe
- Prep Time: 15 minutes
- Total Time: 4 hours 50 minutes
- Yield: 6 servings
- Category: Dessert
- Method: Churning, Freezing
- Cuisine: Tropical
- Diet: Vegan
Description
Creamy and indulgent, this Coconut Milk Ice Cream is a dairy-free treat perfect for those with dietary restrictions or anyone looking for a tropical twist on a classic dessert.
Ingredients
For the Ice Cream:
- 2 (15oz) cans full-fat coconut milk, divided
- 1/2 cup granulated sugar
- 1 1/2 tablespoon cornstarch
- 1/4 teaspoon salt
- 2 tsp vanilla extract
Instructions
- The night before: Place the bowl of your ice cream maker in the freezer to freeze all the way through.
- Prepare the base: Measure out ½ cup of coconut milk and set aside. Add remaining coconut milk, sugar, and salt to a small saucepan. Whisk over medium heat until sugar dissolves. Stir in vanilla extract.
- Thicken the base: Combine cornstarch with reserved coconut milk. Add to the saucepan and bring to a boil, stirring frequently. Boil for 5 minutes until thickened. Refrigerate for 4 hours.
- Churn the ice cream: Pour the chilled base into the frozen ice cream maker bowl and churn according to instructions until thickened.
- Freeze and serve: Enjoy as soft serve or freeze in a container. Thaw slightly before serving. Top with toasted coconut if desired.
Notes
- Serving and Storing: Store in an airtight container in the freezer for up to 1 month. Thaw for 10-15 minutes before serving.
- Variations: No ice cream maker? Freeze the base, blend, and refreeze for a creamy treat.
Nutrition
- Serving Size: 1 serving
- Calories: 320
- Sugar: 15g
- Sodium: 120mg
- Fat: 25g
- Saturated Fat: 22g
- Unsaturated Fat: 1g
- Trans Fat: 0g
- Carbohydrates: 25g
- Fiber: 1g
- Protein: 2g
- Cholesterol: 0mg


Your email address will not be published. Required fields are marked *