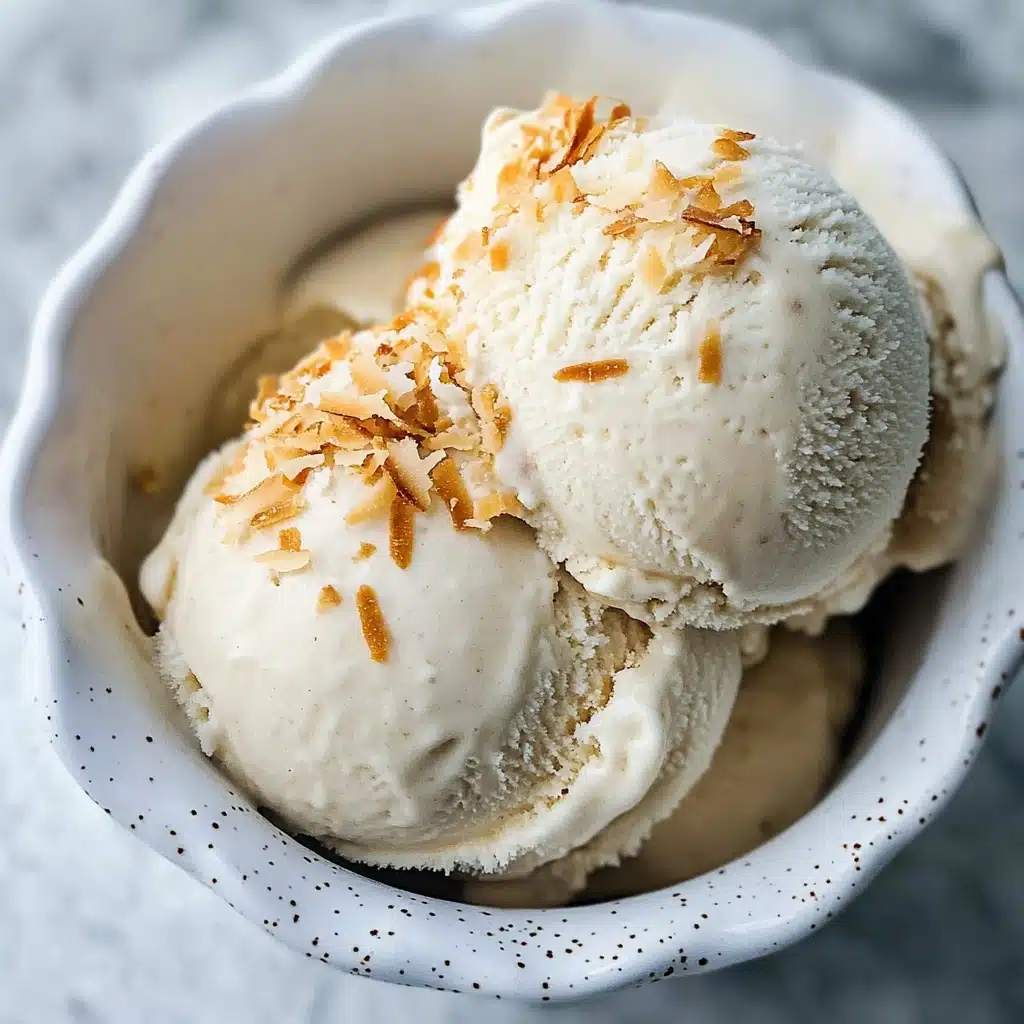
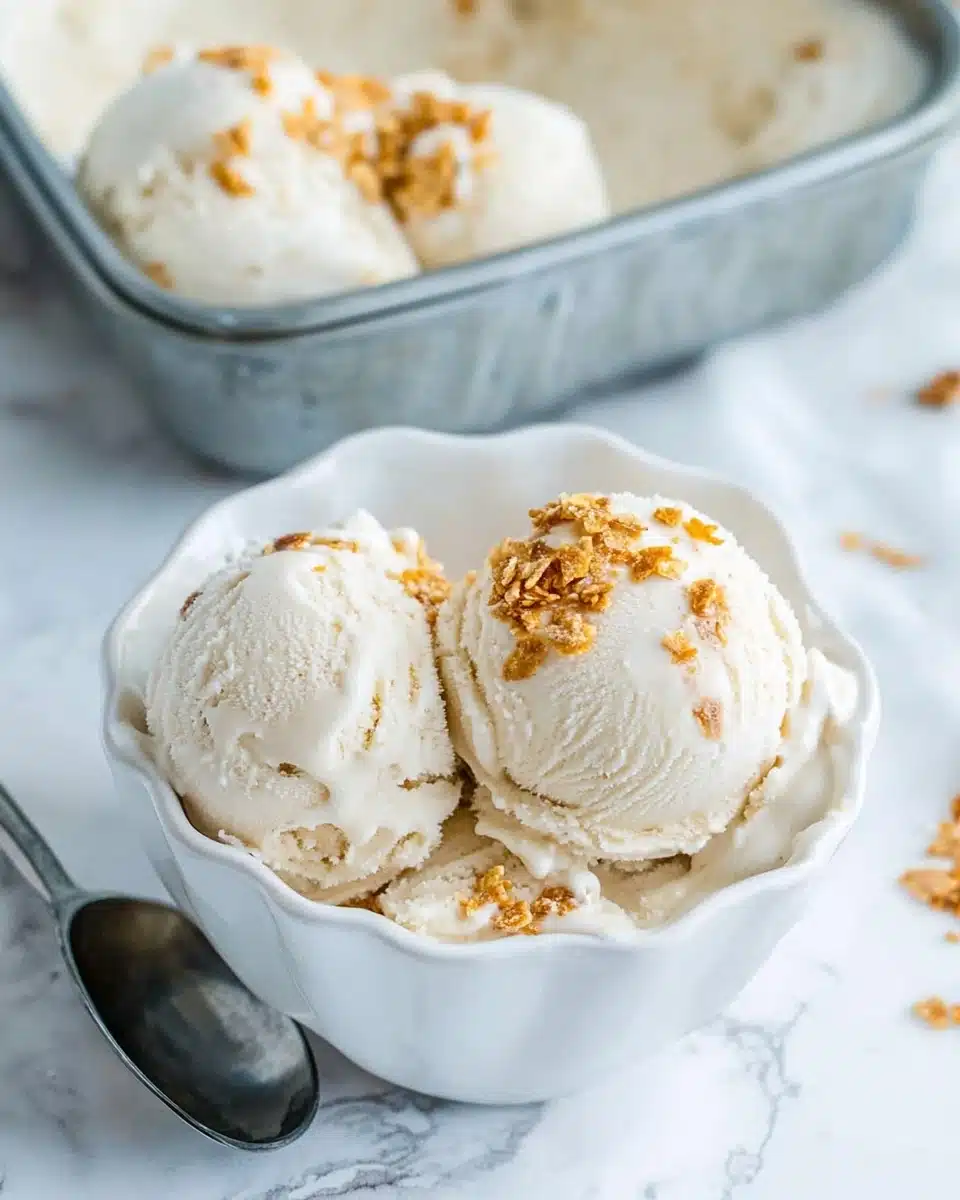
If you crave a dreamy frozen treat with a jolt of energy and creamy, tropical flavor, this Coffee Coconut Milk Ice Cream is about to become your new summer addiction. With bold espresso, velvety coconut milk, and a touch of natural sweetness, each bite is pure, grown-up bliss—no dairy required!
Why You’ll Love This Recipe
- Naturally Dairy-Free: Creamy coconut milk delivers all the rich, scoopable decadence you want—no cream or milk needed.
- Big Coffee Flavor: This Coffee Coconut Milk Ice Cream packs a bold java punch, thanks to cold brew and espresso powder.
- Easy Ingredients: Just five pantry staples blend together for a dessert that tastes anything but simple.
- Tropical Twist: Toasted coconut flakes on top create the perfect contrast of crispy and creamy in every bite.
Ingredients You’ll Need
These five powerhouse ingredients are all it takes to create a rich, luscious Coffee Coconut Milk Ice Cream. Don’t be tempted to substitute or skip—the magic is in the way each one adds depth, creaminess, sweetness, or that irresistible aroma!
- Full-Fat Coconut Milk (31 oz/879 ml): The key to ultra-creamy, dairy-free ice cream. Don’t opt for “lite” or it won’t set as smooth.
- Cold Brew Coffee (1 cup/237 ml): Brings a mellow, robust coffee note without bitter undertones. Strong brewed coffee also works in a pinch.
- Espresso Powder (½ tsp): Intensifies the flavor, giving your ice cream that coffee shop gusto.
- Coconut Sugar (½ cup/80 g): Naturally sweet and slightly caramel-y, this keeps things refined-sugar-free (while playing so well with the coconut base).
- Toasted Coconut Flakes: These are optional but highly recommended for an eye-catching, tropical crunch.
Variations
One of the best parts about homemade Coffee Coconut Milk Ice Cream is how delightfully customizable it is. Don’t be afraid to riff—there’s plenty of flavor room for your creativity or dietary needs!
- Mocha Coconut Milk Ice Cream: Whisk in a couple tablespoons of unsweetened cocoa powder with the espresso for a luscious chocolatey-coffee swirl.
- Vegan Affogato: Serve a scoop doused with a shot of hot espresso for an instant dairy-free affogato treat!
- Nutty Crunch: Add a handful of chopped toasted almonds or pecans to the churned mixture just before freezing for crave-worthy texture.
- Sugar Swap: Use maple syrup or agave in place of coconut sugar for a slightly different sweetness profile.
How to Make Coffee Coconut Milk Ice Cream
Step 1: Warm the Base & Dissolve Sugar
Begin by adding your coconut milk, cold brew coffee, espresso powder, and coconut sugar to a medium saucepan. Set over low heat and gently stir, just until the coconut sugar is totally dissolved and the mixture is uniform. There’s no need to bring it to a simmer—just warmth is enough!
Step 2: Chill the Mixture Completely
Pour the warm coffee-coconut blend into a large heat-proof bowl. Cover and let it chill in the refrigerator until it is thoroughly cold, which usually takes about 4–6 hours. Chilling well is crucial for the best churn and creamy results, so plan ahead and resist the urge to shortcut this step!
Step 3: Churn the Ice Cream
Once your mixture is nice and cold, pour it into your ice cream maker. Churn it according to your machine’s instructions—typically, you’ll be looking for a luscious, soft-serve consistency. The aroma at this stage is pure heaven!
Step 4: Freeze Until Scoopable
Transfer that gorgeous churned Coffee Coconut Milk Ice Cream into a freezer-safe container, smoothing the top evenly. Pop it into your freezer overnight to let it firm up fully. This patience will be rewarded!
Step 5: Scoop & Garnish
When you’re ready to serve, let the ice cream rest at room temperature for 10 minutes (it makes scooping so much easier). Use a warmed ice cream scoop for smooth, round scoops and top with toasted coconut flakes for a pretty, exotic flourish.
Pro Tips for Making Coffee Coconut Milk Ice Cream
- Chill Thoroughly for Creaminess: Make sure your base is absolutely cold before churning—this prevents icy crystals and guarantees a decadent, smooth texture.
- Max Espresso Power: If you’re a true coffee enthusiast, increase the espresso powder up to 1 teaspoon for an even deeper, more robust kick.
- Don’t Skip Full-Fat: Only use full-fat coconut milk for best results—light coconut milk just won’t create that creamy mouthfeel.
- Perfect the Scoop: Let the Coffee Coconut Milk Ice Cream sit on the counter for 10 minutes before scooping to avoid any unwanted shards or crumbling.
How to Serve Coffee Coconut Milk Ice Cream

Garnishes
A flutter of toasted coconut flakes over each scoop brings a buttery crunch and beautiful visual appeal. For extra flair, consider a dusting of cocoa powder, a drizzle of vegan chocolate sauce, or a sprinkle of flaked sea salt to tease out the deeper coffee tones.
Side Dishes
This Coffee Coconut Milk Ice Cream pairs brilliantly with crisp biscotti, almond cookies, or a warm, gooey brownie. Fresh, ripe mango or grilled pineapple on the side draws out the tropical coconut notes for a truly special dessert experience!
Creative Ways to Present
Try scooping into espresso cups for a playful “coffee and cream” vibe, or layer it with vegan chocolate cake for a bold ice cream sandwich. For parties, create an ice cream bar with bowls of add-ins—think crushed hazelnuts, chocolate-covered espresso beans, or even a hint of chili powder for heat!
Make Ahead and Storage
Storing Leftovers
Store any extra Coffee Coconut Milk Ice Cream in a tightly sealed, freezer-safe container. Press a piece of parchment or wax paper directly onto the surface before sealing the lid to help prevent ice crystals and keep it tasting freshly churned for days.
Freezing
Homemade ice cream keeps best when stored at the back of your freezer—you’ll avoid temperature fluctuations that can make it too hard or icy. For peak flavor and texture, enjoy within 1–2 weeks, though it rarely lasts that long!
Reheating
Reheating isn’t needed, but for easier serving, set your container out at room temperature for 10–15 minutes before scooping. A quick zap of your scoop under hot water works wonders for perfect, round mounds.
FAQs
-
Can I make Coffee Coconut Milk Ice Cream without an ice cream maker?
Absolutely! After chilling the mixture, pour it into a freezer-safe loaf pan and freeze, stirring every 45–60 minutes until nearly firm (about 3-4 hours). The texture will be a little more rustic but still deliciously creamy and satisfying.
-
Can I use instant coffee instead of espresso powder?
You can, though the espresso powder truly intensifies the flavor. If using instant coffee, opt for a dark roast and start with the same amount—adjust to taste if you want a bolder coffee kick.
-
Can I substitute the coconut sugar with regular sugar or another sweetener?
Yes—regular white sugar, brown sugar, maple syrup, or agave all work. Keep in mind that coconut sugar adds a slightly caramel-like depth, but other sweeteners will yield a similarly scoopable texture.
-
How strong is the coffee flavor in this ice cream?
This Coffee Coconut Milk Ice Cream is creamy and pronounced without being bitter—think more sophisticated café treat than a dessert for kids. If you’re looking for a subtler flavor, reduce the espresso powder or use half regular coffee and half plant milk.
Final Thoughts
If you’re looking for a refreshing, ultra-satisfying summer treat, Coffee Coconut Milk Ice Cream is it! Whip up a batch, get creative with your garnishes and mix-ins, and enjoy a scoop (or two!) of this creamy, naturally vegan delight. Trust me—every bite is as exciting as your favorite coffee shop order, only colder.
Print
Coffee Coconut Milk Ice Cream Recipe
- Prep Time: 1 day
- Cook Time: 5 minutes
- Total Time: 1 day 5 minutes
- Yield: 1 quart
- Category: Dessert
- Method: Freezing
- Cuisine: Tropical
- Diet: Vegan
Description
Indulge in the rich and creamy goodness of this Coffee Coconut Milk Ice Cream, a dairy-free treat that combines the bold flavor of coffee with the tropical essence of coconut. Perfect for a refreshing dessert on a hot day!
Ingredients
Ingredients:
- 31 ounces (879 ml) full-fat coconut milk (two 15.5 ounce cans)
- 1 cup (237 ml) cold brew coffee (or alternatively brew a strong cup of coffee)
- 1/2 teaspoon espresso powder
- 1/2 cup (80 g) coconut sugar
- Toasted coconut flakes
Instructions
- In a pot over low heat, combine coconut milk, coffee, espresso powder, and coconut sugar. Stir until sugar dissolves. Remove from heat.
- Add mixture to a large heat-proof bowl, cover, and refrigerate until completely cool, about 4-6 hours.
- Pour the cooled mixture into an ice cream maker and freeze according to the manufacturer’s instructions. Churn/freeze until thick.
- Transfer the soft ice cream to a freezer-safe container with a lid, spread evenly, and freeze overnight.
- Prior to serving, let the ice cream sit on the counter for 10 minutes to soften slightly.
- Top with toasted coconut flakes before serving.
Notes
- For a stronger coffee flavor, increase the amount of cold brew coffee.
- Experiment with adding other mix-ins like chocolate chips or chopped nuts for extra texture.
Nutrition
- Serving Size: 1 scoop (about 1/2 cup)
- Calories: 210
- Sugar: 10g
- Sodium: 30mg
- Fat: 18g
- Saturated Fat: 16g
- Unsaturated Fat: 1g
- Trans Fat: 0g
- Carbohydrates: 12g
- Fiber: 1g
- Protein: 2g
- Cholesterol: 0mg


Your email address will not be published. Required fields are marked *