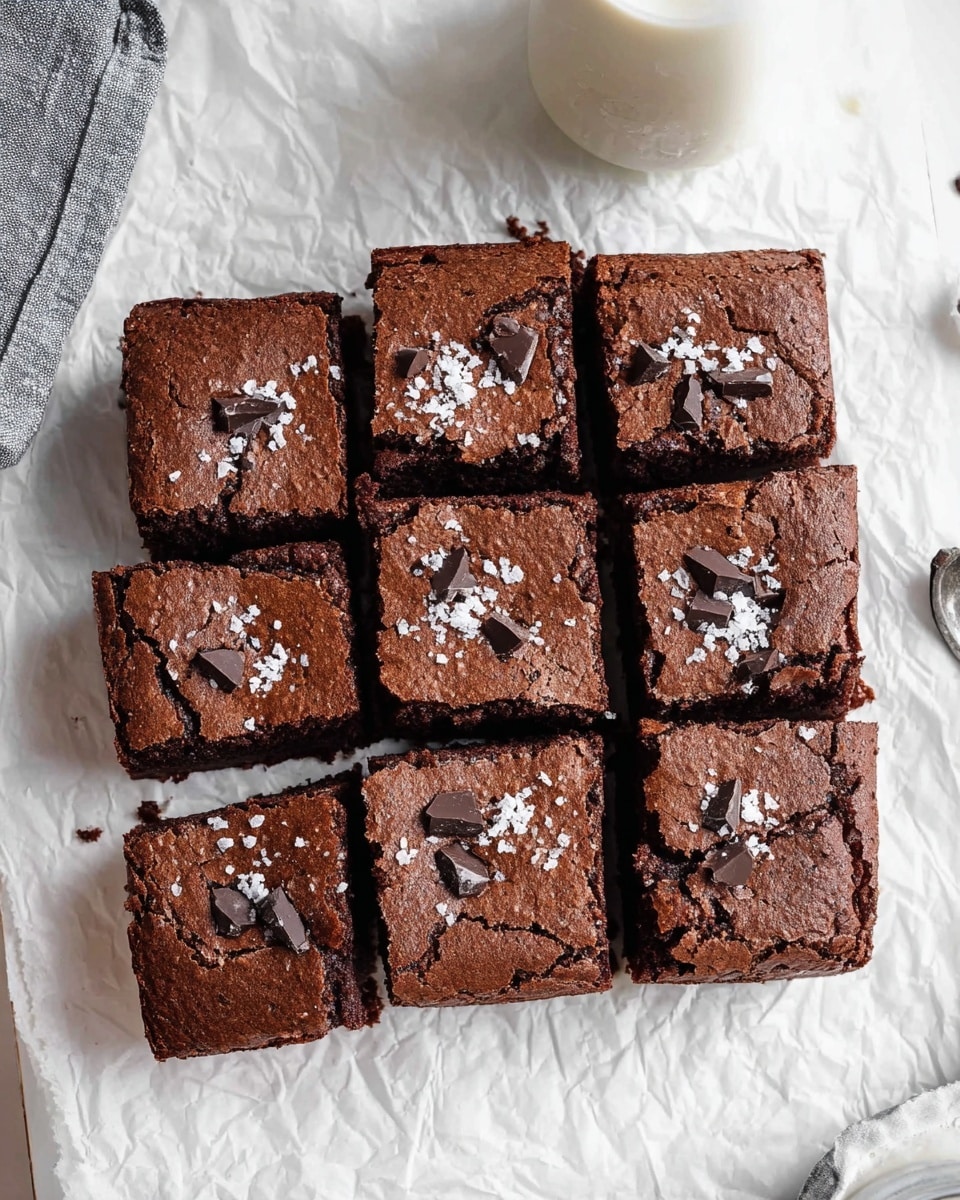
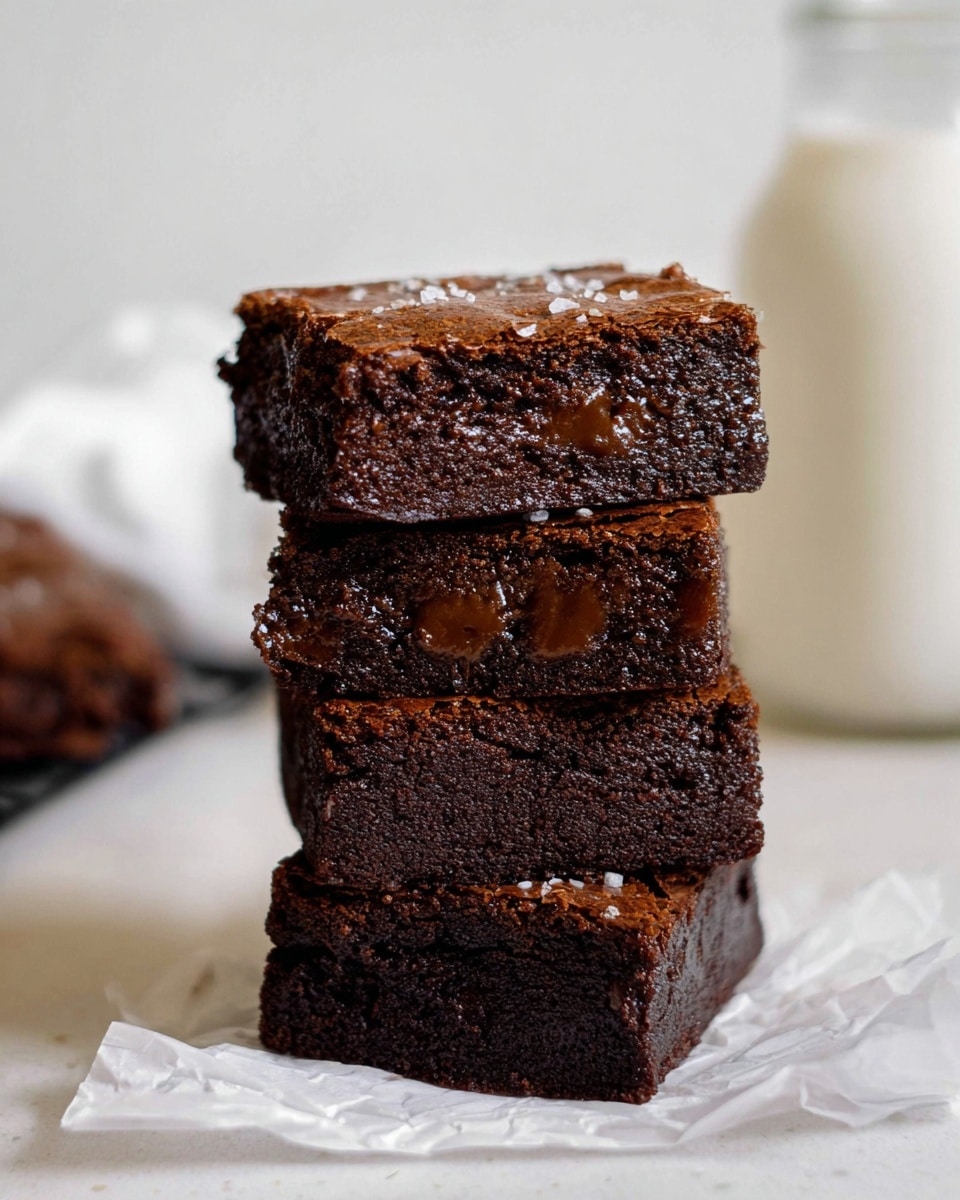
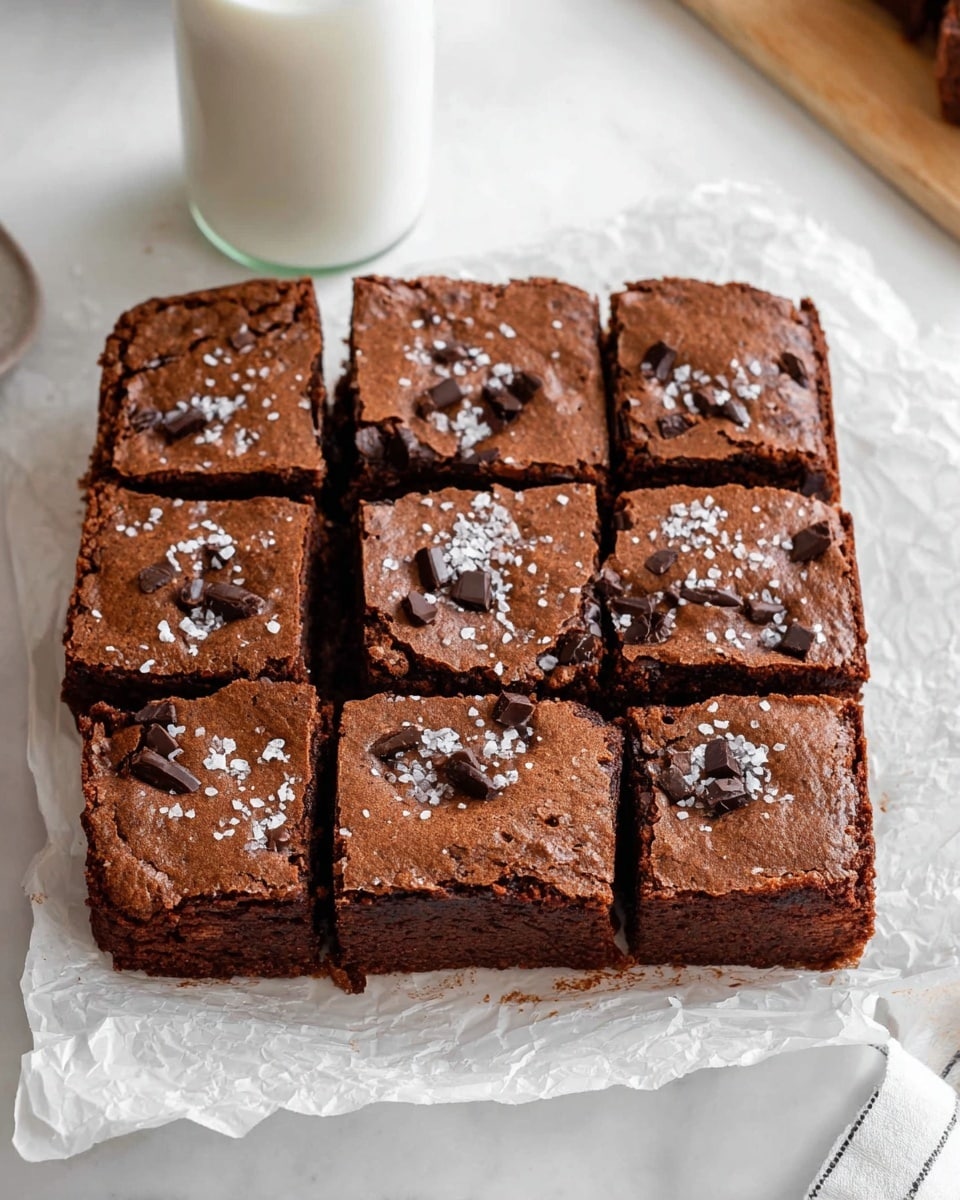
If you’re craving a dessert that’s chewy, fudgy, and a little bit unexpected, then this Dark Chocolate Mochi Brownies Recipe is exactly what you need. I absolutely love how these brownies combine the rich, deep flavors of dark chocolate with the unique, springy texture of mochi thanks to the sweet glutinous rice flour. They’re the perfect treat when you want something indulgent but with a twist—great for impressing friends or just treating yourself after a long day.
When I first tried making dark chocolate mochi brownies, I was stunned by how different they are from your typical brownie. The texture is almost addictive: dense yet delightfully chewy, almost like biting into a little pillow of chocolatey goodness. You’ll find this recipe super rewarding if you want to skip the usual cakey or dry brownies and go for something memorable and delicious every single time.
Why You’ll Love This Recipe
- Unique Chewy Texture: Thanks to sweet glutinous rice flour, these brownies have a satisfying mochi chew unlike your usual brownies.
- Rich Dark Chocolate Flavor: Using dark chocolate and cocoa powder gives these brownies an intense chocolaty depth that chocolate lovers will adore.
- Simple Ingredients & Technique: You don’t need fancy tools or complicated steps—this is a friendly recipe for all skill levels.
- Versatile for Any Occasion: Whether it’s a casual weeknight treat or a dessert for gatherings, these mochi brownies always impress.
Ingredients You’ll Need
All the ingredients come together beautifully to create a perfect balance of sweet, chocolatey, and chewy. Plus, most of these ingredients are pantry staples, so you might already have everything on hand!
- Eggs: They add structure and richness to the brownies.
- Whole milk: Makes the batter smooth and keeps the brownies tender.
- Vanilla extract: Just a splash amplifies the chocolate flavor wonderfully.
- Sweet glutinous rice flour: This is the star ingredient for that signature mochi chew.
- White sugar: Balances the bitterness of the cocoa and chocolate.
- Cocoa powder: Use good-quality unsweetened cocoa for the best chocolate kick.
- Baking powder: Helps give just the right lift without ruining the chewy texture.
- Granulated instant espresso: Enhances the depth of the chocolate flavor—don’t skip it, even if you’re not a coffee fan!
- Salt: A pinch brings out all the other flavors beautifully.
- Dark chocolate chips or chunks: I love using chunks for melty pockets; up to you if you like chips or chunks.
Variations
I’m all for making recipes your own, and this Dark Chocolate Mochi Brownies Recipe is no exception. I’ve played around with adding different mix-ins or adjusting the sweetness to suit my mood, so feel free to experiment and find what you love best.
- Add Nuts: I sprinkled toasted walnuts or pecans into the batter once and it added a lovely crunch that my family went crazy for.
- Swap Milk: For a dairy-free twist, use almond or oat milk—it still works beautifully!
- White Chocolate Chunks: Swap some dark chocolate for white chocolate chunks for a sweet contrast I often make for festive desserts.
- Matcha Mochi Brownies: I’ve tried mixing a teaspoon of matcha powder into the batter—a subtle earthy note that’s a fun change.
How to Make Dark Chocolate Mochi Brownies Recipe
Step 1: Prep Your Pan and Oven
First things first, preheat your oven to 350ºF. I like to grease an 8×8-inch baking dish with either a neutral oil or butter to ensure those brownies come out cleanly without sticking. This simple prep step saves you from any frustration later when it’s time to slice.
Step 2: Mix the Wet Ingredients
In a mixing bowl, crack in your eggs, then add the whole milk, sugar, and vanilla extract. Using a whisk, beat everything together until the mixture is smooth and a little frothy. This helps everything incorporate better and sets a good base for your brownies.
Step 3: Combine the Dry Ingredients
Next, add in the sweet glutinous rice flour, cocoa powder, baking powder, granulated instant espresso powder, and salt right into your wet mixture. Stir gently, making sure no lumps remain. One trick I learned is to sift your dry ingredients beforehand to make this step even smoother, but it’s not absolutely necessary if you stir well.
Step 4: Fold in the Dark Chocolate
Now comes the fun part—add the dark chocolate chips or chunks into your batter and fold them in carefully. You want them nicely dispersed throughout without melting and losing their shape at this point.
Step 5: Bake and Check for Doneness
Pour your batter into the greased baking dish and pop it into the oven for about 40 minutes. When you check, the center shouldn’t jiggle much anymore, and a toothpick inserted should come out clean or with just a few moist crumbs. Don’t overbake—these brownies are best when still a touch soft inside.
Step 6: Cool Slightly and Enjoy
Once baked, let your brownies cool for about 5 minutes. This resting time allows them to firm up just enough without losing their chewiness. Then, cut into squares and dive in! I promise, they’re best when enjoyed fresh.
Pro Tips for Making Dark Chocolate Mochi Brownies Recipe
- Use Room Temperature Ingredients: Bringing eggs and milk to room temp helps everything blend smoothly, resulting in a more uniform texture.
- Don’t Overmix the Batter: Stir just until combined to keep the brownies tender and chewy, not tough.
- Check with a Toothpick Early: I always start testing around 35 minutes so I can avoid baking too long—mochi brownies get dry if overbaked!
- Choose Quality Chocolate: Using high-quality dark chocolate really makes a noticeable difference in the depth of flavor.
How to Serve Dark Chocolate Mochi Brownies Recipe

Garnishes
I often sprinkle a little flaky sea salt on top right after baking—it perfectly balances the sweetness and adds a subtle crunch. Sometimes, a dusting of powdered sugar or a drizzle of melted chocolate makes it look extra tempting when serving guests.
Side Dishes
My go-to pairing is a scoop of vanilla ice cream or a spoonful of whipped cream to complement the rich chocolate and chewy texture. A cup of strong black coffee or a smooth latte also pairs beautifully and makes the whole experience feel like a special café moment at home.
Creative Ways to Present
For parties, I like cutting these brownies into mini bite-sized squares and stacking them on pretty platters with fresh berries scattered around. You can even sandwich two small squares with a layer of sweet red bean paste in between for a fun Asian-inspired twist I stumbled upon—it’s always a crowd-pleaser!
Make Ahead and Storage
Storing Leftovers
I usually store leftover brownies in an airtight container at room temperature for up to 3 days. The texture actually gets a bit more chewily compact, which some in my family prefer! Just be sure to keep them sealed well so they don’t dry out.
Freezing
I’ve frozen these brownies wrapped tightly in plastic wrap and then foil for up to a month. When thawing, I leave them on the counter for a couple of hours, and they come out surprisingly close to fresh—mochi texture holds up quite well in the freezer.
Reheating
To warm up leftovers, I pop a brownie square in the microwave for about 10-15 seconds. This softens the mochi just enough without losing that chewy satisfaction. Avoid reheating too long or they’ll get tough.
FAQs
-
Can I use regular flour instead of sweet glutinous rice flour in this recipe?
Regular flour won’t give you the chewy mochi texture that makes these brownies special. If you want that classic mochi chew, sweet glutinous rice flour is essential. Using regular flour will result in a more typical cakey brownie instead.
-
Why is there instant espresso powder in the recipe?
The instant espresso powder isn’t to make the brownies taste like coffee—it actually enhances and intensifies the chocolate flavor, making it richer and more robust. It’s a small trick I picked up over time that really elevates chocolate desserts.
-
Can I make this recipe vegan or dairy-free?
While this recipe uses eggs and whole milk, you can experiment with plant-based milks like almond or oat milk. For vegan options, replace eggs with flax eggs or commercial egg replacers, though expect some variation in texture. You might want to test small batches first to get your perfect version.
-
How do I know when my dark chocolate mochi brownies are fully baked?
The key sign is that the center should no longer jiggle when you gently shake the pan. Also, a toothpick inserted in the middle should come out clean or with just a few moist crumbs attached—not wet batter. Timing around 40 minutes is typical, but ovens vary, so keep an eye on it early!
Final Thoughts
I honestly can’t recommend this Dark Chocolate Mochi Brownies Recipe enough. It’s become one of those special recipes I turn to whenever I want to surprise family or friends with something a little out of the ordinary but wildly delicious. I love how easy it is, even for beginners, and how satisfying that chewy, chocolatey texture feels with every bite. Give it a try—you might find this becoming your new go-to brownie recipe too!
Print
Dark Chocolate Mochi Brownies Recipe
- Prep Time: 10 minutes
- Cook Time: 40 minutes
- Total Time: 50 minutes
- Yield: 9 squares
- Category: Dessert
- Method: Baking
- Cuisine: Fusion (Japanese-American influence)
- Diet: Gluten Free
Description
These Dark Chocolate Mochi Brownies combine the chewy, tender texture of mochi with the rich, decadent flavor of dark chocolate brownies. Made with glutinous rice flour, cocoa powder, and dark chocolate chunks, this recipe creates a unique dessert that’s fudgy, slightly sticky, and deeply chocolatey. Perfect for those looking for a gluten-free twist on classic brownies, they are easy to prepare and bake in just under an hour.
Ingredients
Wet Ingredients
- 2 eggs
- 1 1/2 cups whole milk (368 grams)
- 1 tsp vanilla extract (4 grams)
- 1 cup white sugar (201 grams)
Dry Ingredients
- 1 1/2 cups sweet glutinous rice flour (240 grams)
- 1/2 cup cocoa powder (50 grams)
- 1 1/2 tsp baking powder (6 grams)
- 1/2 tsp granulated instant espresso powder (2 grams)
- 1/2 tsp salt (3 grams)
Add-ins
- 1/2 cup dark chocolate chips or chunks (80 grams)
Instructions
- Preheat and Prepare: Preheat your oven to 350ºF (175ºC). Grease an 8-inch by 8-inch baking dish thoroughly with a neutral oil or butter to prevent sticking.
- Mix Wet Ingredients: In a medium bowl, whisk together the eggs, whole milk, sugar, and vanilla extract until the mixture is smooth and well combined.
- Add Dry Ingredients: To the wet mixture, sift or add the sweet glutinous rice flour, cocoa powder, baking powder, instant espresso powder, and salt. Stir gently with a spatula or spoon until the batter is smooth and lump-free.
- Fold in Chocolate: Add in the dark chocolate chips or chunks and stir gently to distribute them evenly throughout the batter.
- Bake the Brownies: Pour the batter into the greased baking dish and smooth the top. Bake in the preheated oven for 40 minutes, or until a toothpick inserted into the center comes out clean and the center is no longer jiggly.
- Cool and Serve: Remove the baking dish from the oven and allow the brownies to cool for about 5 minutes. Cut into 9 squares and serve warm for best taste and texture.
Notes
- For a stronger coffee flavor, increase the instant espresso powder slightly.
- If you prefer sweeter brownies, you may increase the sugar by 10-20 grams.
- Store leftover brownies in an airtight container at room temperature for up to 2 days or refrigerate for up to 5 days.
- Reheat briefly in the microwave for a soft, chewy texture before serving.
- These brownies are naturally gluten-free due to the use of glutinous rice flour but are not suitable for a vegan diet because they contain eggs and milk.
Nutrition
- Serving Size: 1 square (approximately 1/9th of the recipe)
- Calories: 240
- Sugar: 22 grams
- Sodium: 130 mg
- Fat: 9 grams
- Saturated Fat: 5 grams
- Unsaturated Fat: 3 grams
- Trans Fat: 0 grams
- Carbohydrates: 35 grams
- Fiber: 3 grams
- Protein: 4 grams
- Cholesterol: 55 mg


Your email address will not be published. Required fields are marked *