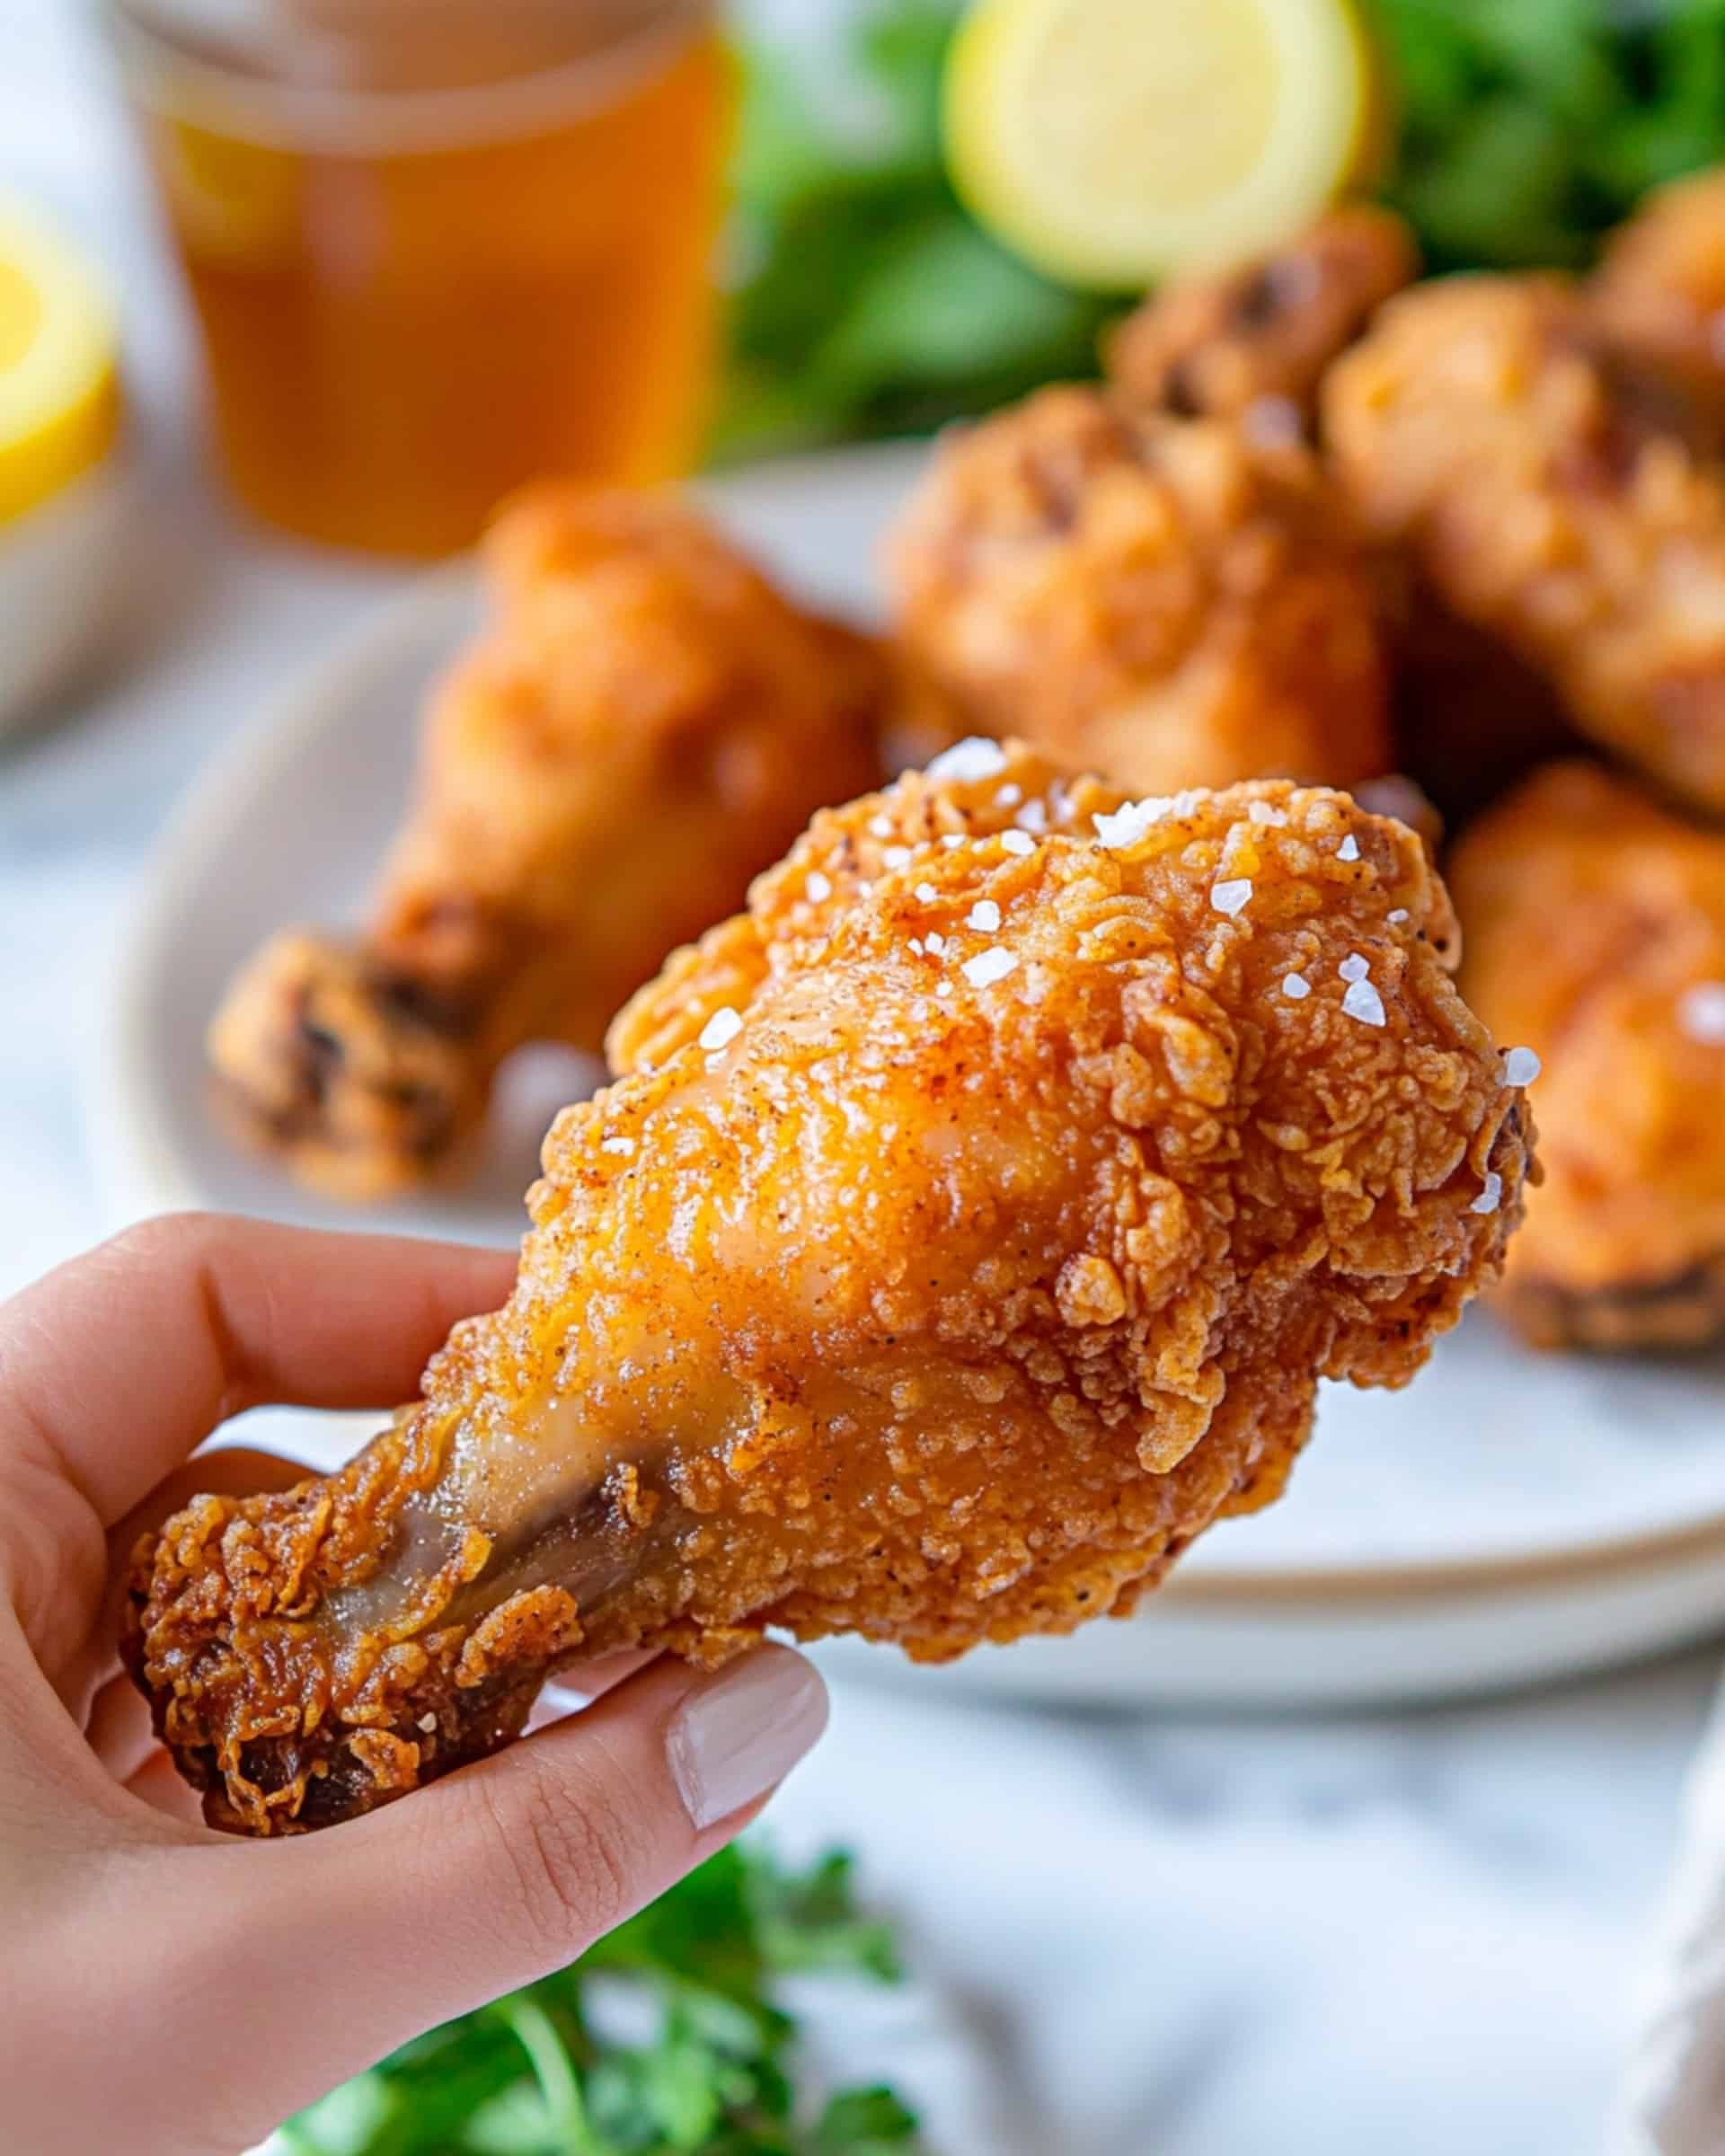
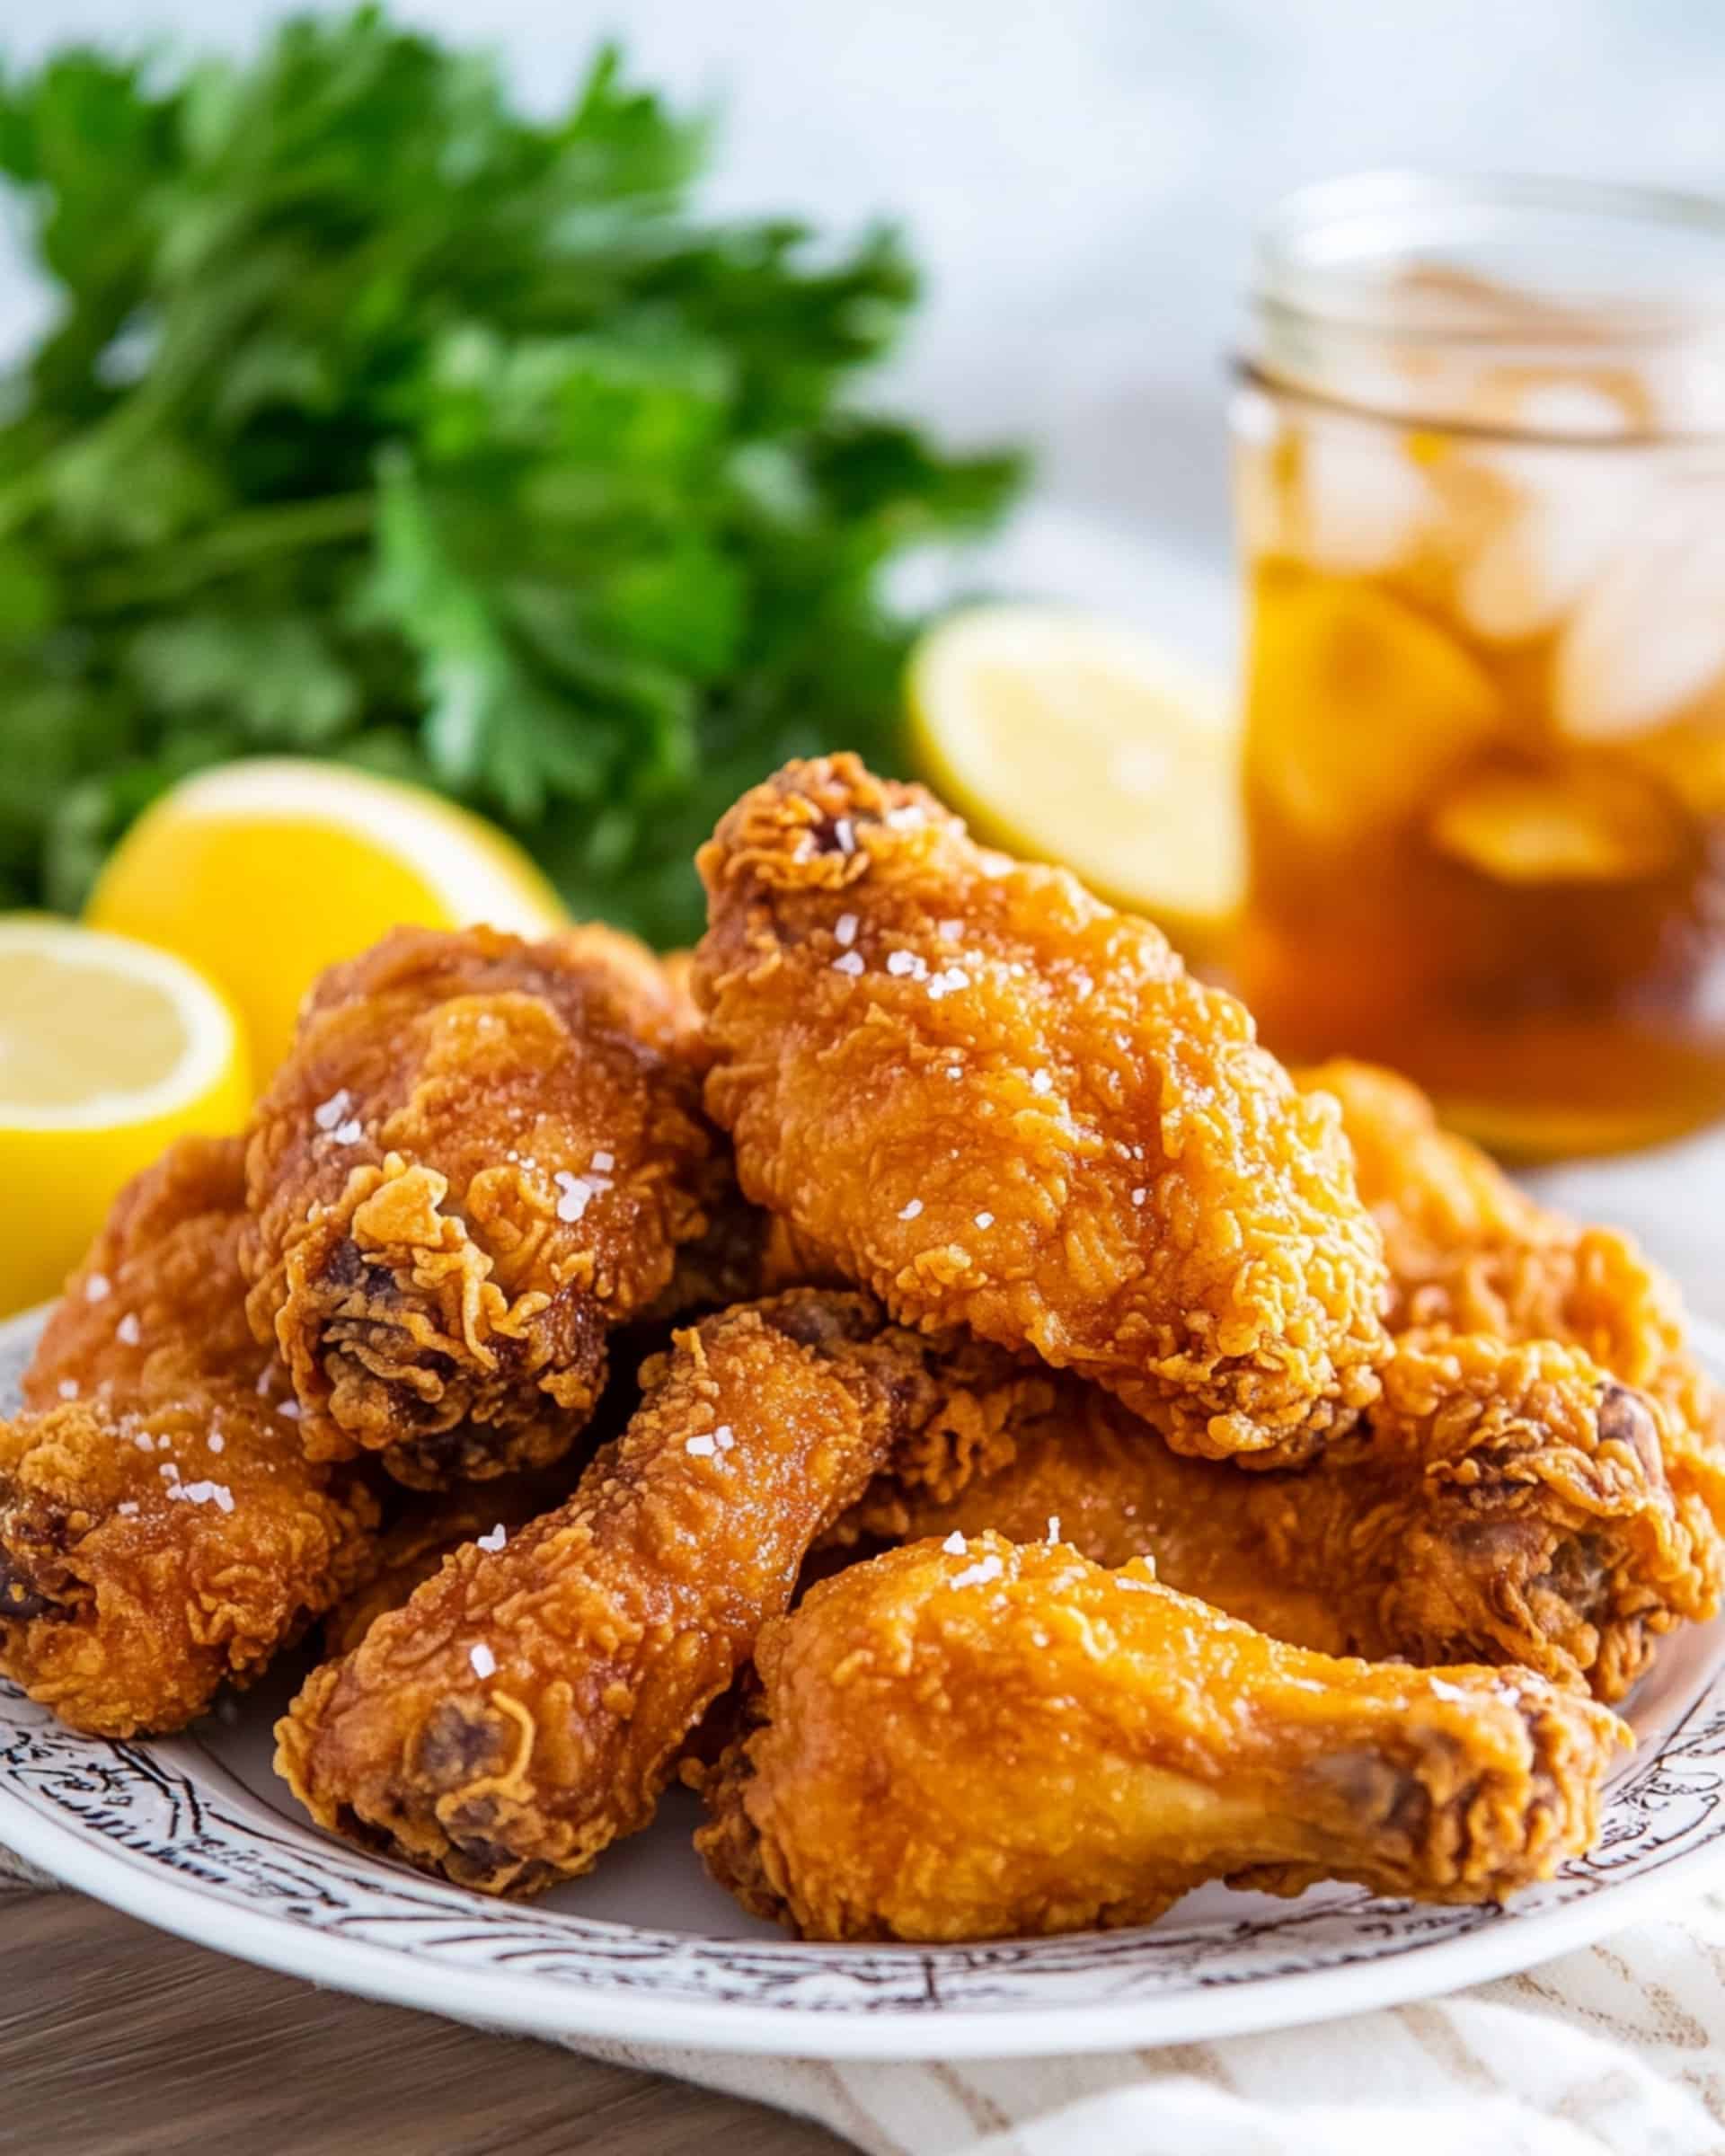
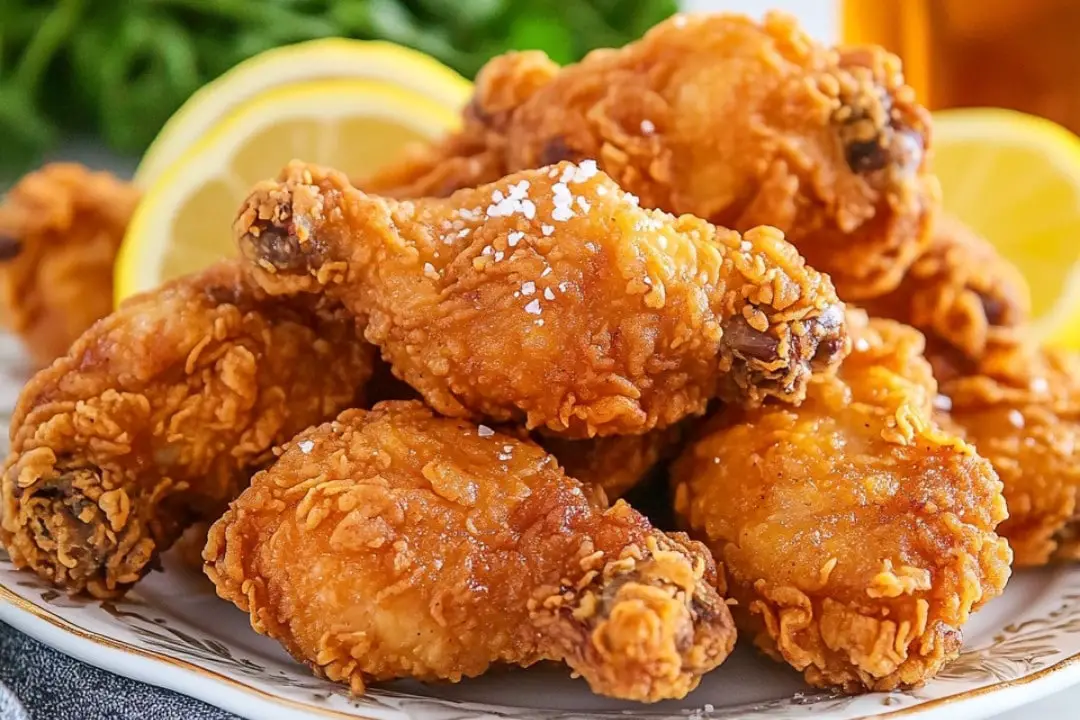
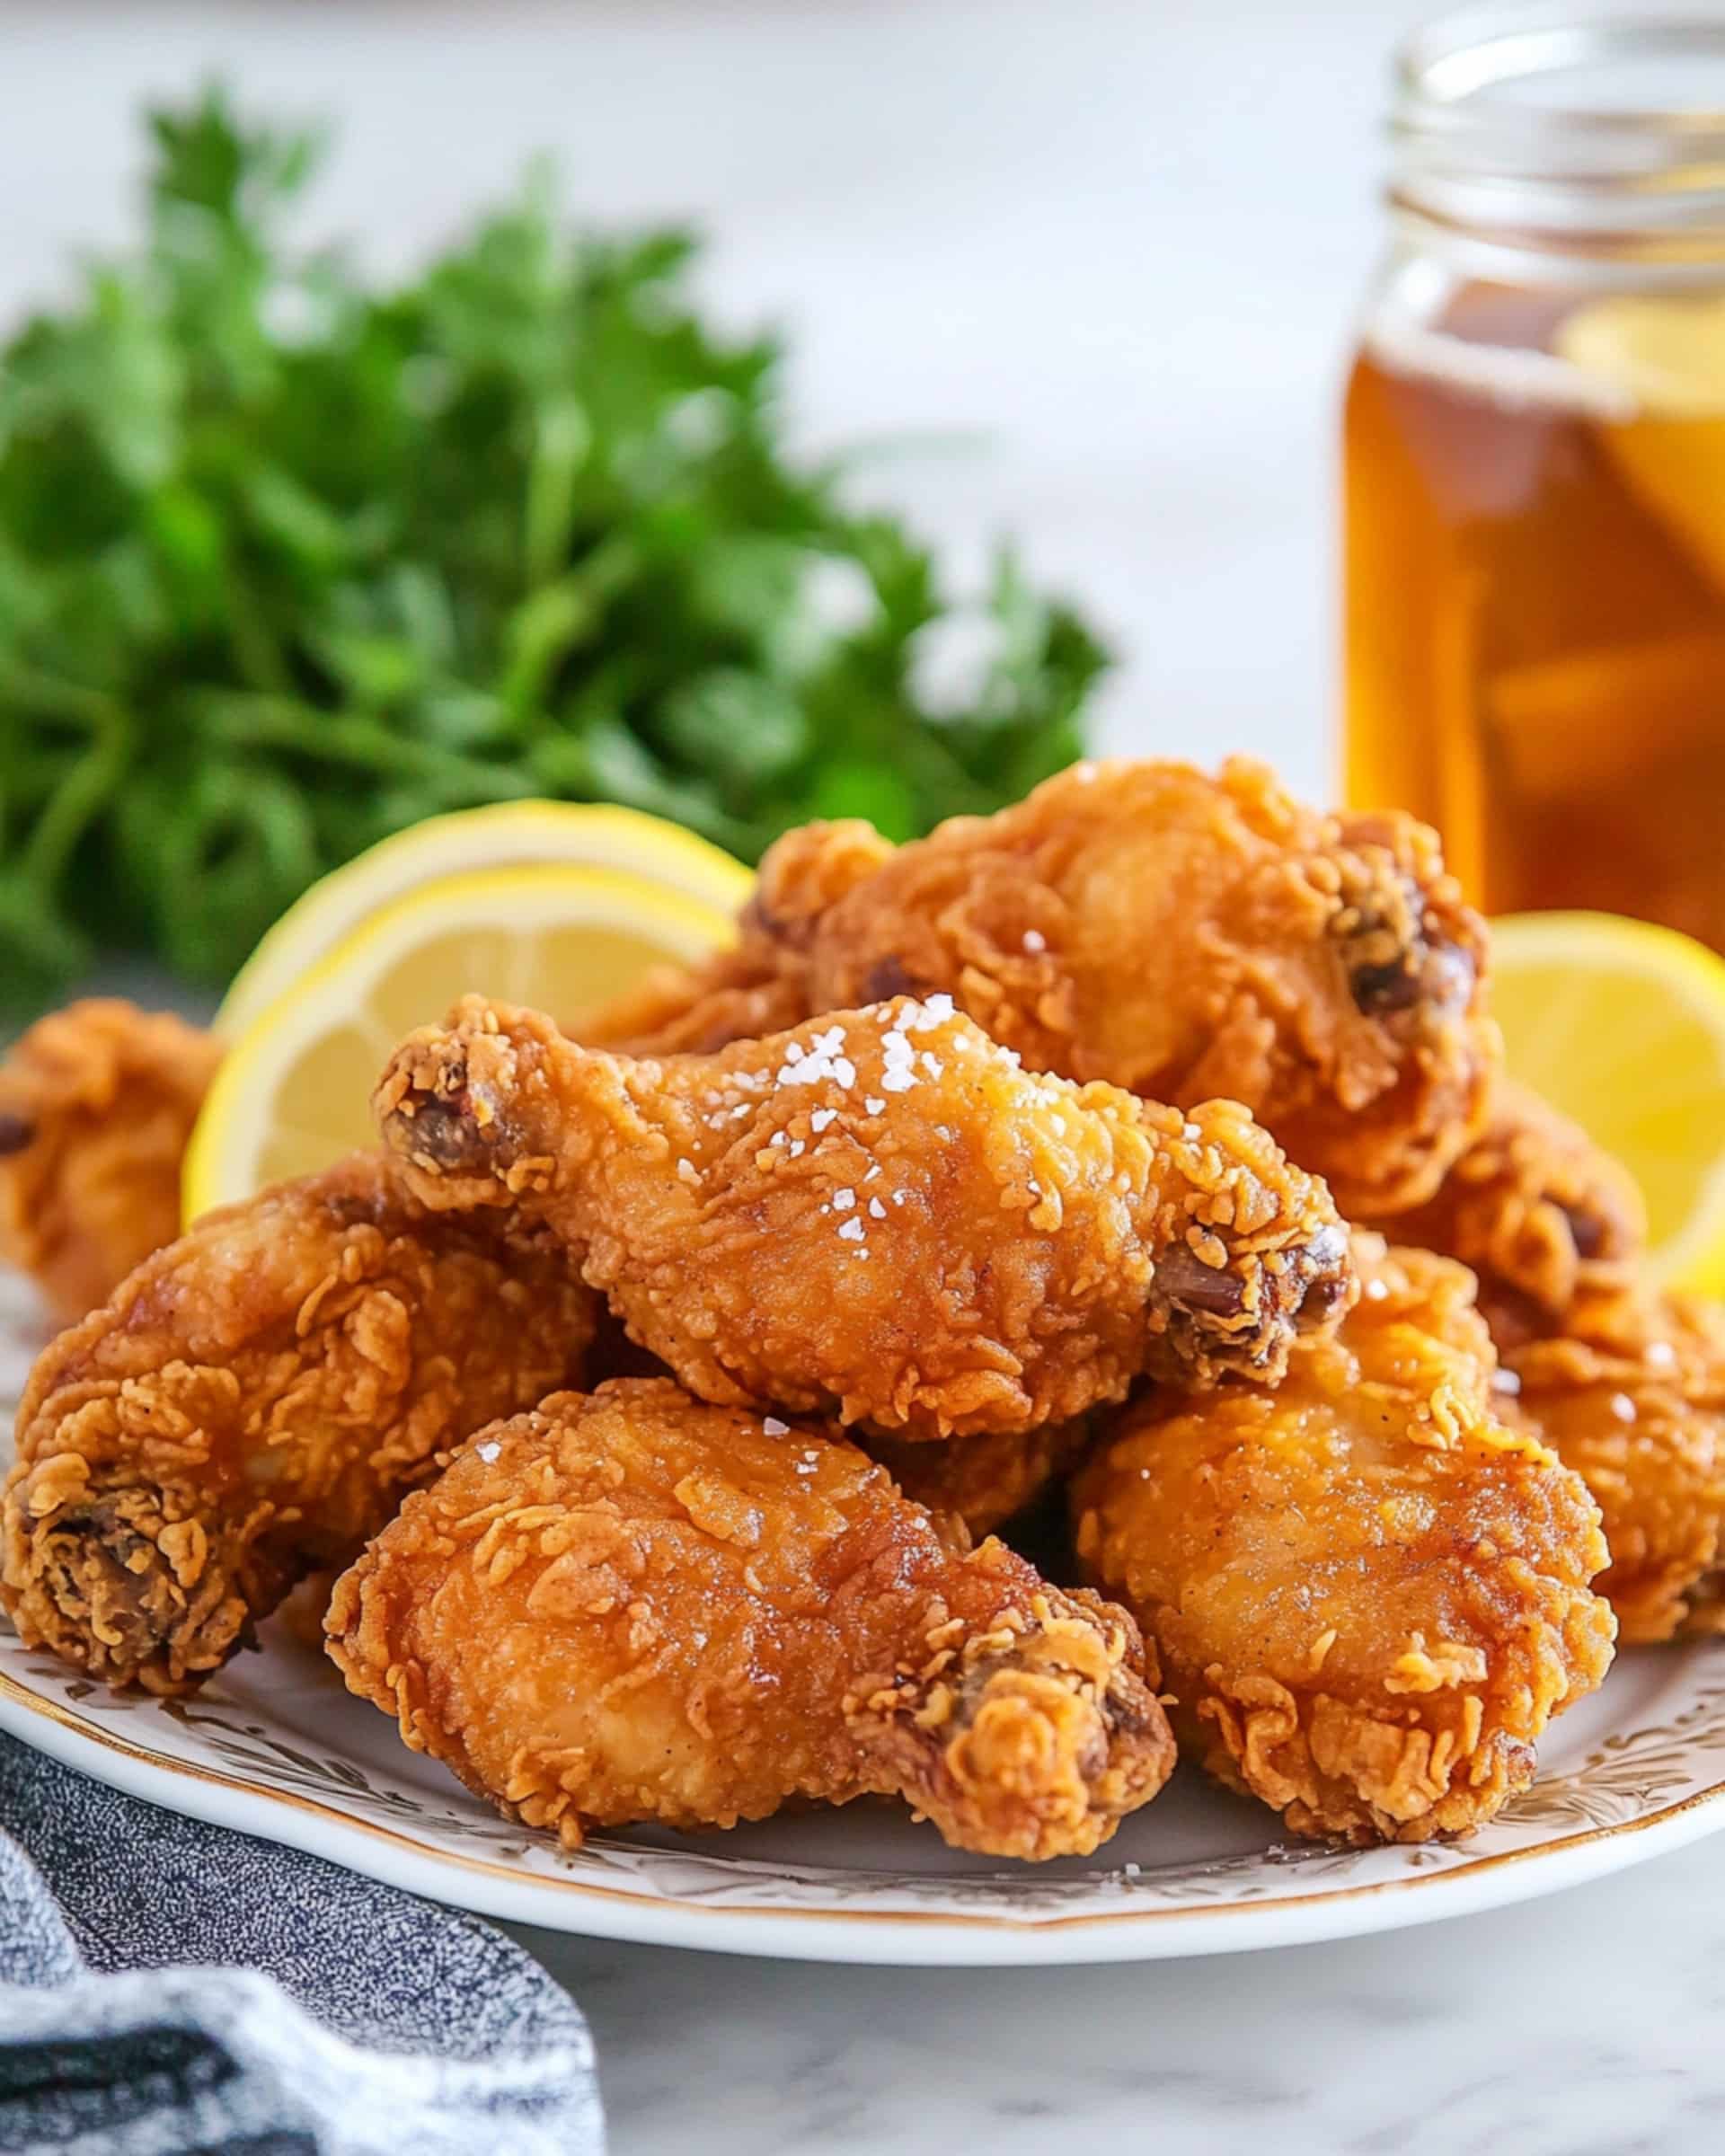
There’s nothing quite like the irresistible crunch and juicy tenderness of homemade fried chicken. This classic recipe delivers that perfect golden-brown crust and mouthwatering flavor that brings back fond memories of Sunday family dinners. What makes this recipe special is the light, crispy coating that seals in all the moisture, ensuring each bite is pure comfort food bliss. Ready in under 30 minutes, this family favorite strikes the perfect balance between ease and incredible flavor!
Why You’ll Love This Recipe
- Foolproof Crispiness: The unique combination of baking powder and baking soda in the batter creates an extra crispy exterior that will have everyone reaching for seconds.
- Perfectly Seasoned: The blend of spices infuses the chicken with flavor that goes all the way through, not just on the coating.
- Quick Preparation: Despite its gourmet taste, this recipe comes together in minutes, making it perfect for weeknight dinners when you’re craving something special.
- Versatile: Works beautifully with any chicken pieces you prefer – thighs, drumsticks, wings, or breast pieces all turn out fantastic.
Ingredients You’ll Need
- Chicken pieces: The star of the show! You can use a whole chicken cut up or your favorite parts. Dark meat stays juicier, while white meat offers a leaner option.
- Garlic powder: Adds a deep savory note without the bite of fresh garlic that would burn in the hot oil.
- Seasoned salt: This powerhouse ingredient brings multiple flavors in one shake, adding complexity to your chicken.
- Black pepper: Provides that essential subtle heat that balances the richness of fried food.
- Onion powder: Contributes a sweet, aromatic quality that enhances the other seasonings.
- All-purpose flour: Creates the foundation for our crispy coating. Its protein content helps develop the perfect crust.
- Baking powder: The secret weapon! It aerates the batter and creates extra crispiness as it reacts with heat.
- Baking soda: Works with the baking powder to create a lighter, crispier crust than flour alone could achieve.
- Water: The amount can be adjusted to achieve that perfect batter consistency – slightly thinner than pancake batter.
- Kosher salt: The finishing touch that brings all the flavors to life when sprinkled on immediately after frying.
- Oil for frying: Choose one with a high smoke point like vegetable, canola, or peanut oil for the best results.
Variations
Spicy Fried Chicken
Add 1-2 teaspoons of cayenne pepper or hot sauce to the spice mixture for a fiery kick that will wake up your taste buds.
Herb-Infused Chicken
Mix in 1 tablespoon of fresh herbs like thyme, rosemary, or sage to the flour mixture for an aromatic twist on the classic.
Buttermilk Soaked
Replace the water with buttermilk and let the chicken marinate for 2-4 hours before coating and frying for extra tenderness and tanginess.
Gluten-Free Version
Substitute the all-purpose flour with your favorite gluten-free flour blend – the baking powder and soda will still work their magic!
How to Make Grandma’s Crispy Fried Chicken
Step 1: Prepare Your Oil
Heat oil in a large, heavy-bottom skillet to 375°F. You’ll need about 3 inches of oil up the side of the pan to ensure proper frying without the chicken touching the bottom.
Step 2: Season the Chicken
Place chicken pieces in a large bowl and add garlic powder, seasoned salt, black pepper, and onion powder. Toss thoroughly to coat every piece with those delicious spices.
Step 3: Prepare the Batter
In a small bowl, mix together the flour, baking powder, and baking soda. Add this mixture to the seasoned chicken and toss until each piece is well coated.
Step 4: Add Water to Create Batter
Gradually add about 1¼ cups of water to the chicken bowl, stirring as you go. Using your hands makes this step easier. The batter should be slightly thinner than pancake batter – add more water if needed to reach this consistency.
Step 5: Fry the Chicken
Once your oil is hot, gently place a few pieces of chicken into the pan, making sure they don’t touch each other. Before adding to the oil, check that each piece is coated in a thin layer of batter.
Step 6: Cook with Patience
Cover the skillet with a lid and cook for 7 minutes. Then flip each piece and cook for an additional 7-9 minutes until the internal temperature reaches 165°F. Cooking time will vary depending on the size of your chicken pieces.
Step 7: Drain and Season
Transfer the fried chicken to a wire rack placed over a sheet tray to catch drips. Immediately sprinkle with kosher salt while still hot. Repeat the process with the remaining pieces.
Pro Tips for Making the Recipe
- Temperature is Key: Use a cooking thermometer to maintain oil at 375°F. If the oil is too hot, the outside will burn before the inside cooks; too cool, and your chicken will absorb excess oil.
- Don’t Overcrowd: Fry in batches to maintain oil temperature and give the chicken room to cook evenly.
- Rest Before Serving: Let the chicken rest for 5-10 minutes after frying to allow the juices to redistribute throughout the meat.
- Keep It Warm: If making multiple batches, keep finished pieces warm in a 200°F oven on a wire rack to maintain crispiness.
- Oil Filtration: Save and reuse your oil by straining it through a fine-mesh sieve lined with coffee filters once it’s completely cooled.
How to Serve

Perfect Pairings
Serve this crispy delight with classic sides like creamy mashed potatoes, tangy coleslaw, or fluffy biscuits with honey butter for a meal that feels like Sunday dinner any day of the week.
Fresh Accompaniments
Balance the richness with fresh, crisp vegetables. A simple green salad with a bright vinaigrette or pickled vegetables provides a perfect contrast to the savory chicken.
Dipping Sauces
Elevate your chicken experience with homemade honey mustard, ranch dressing, or spicy buffalo sauce for dipping. Even a drizzle of hot honey takes this fried chicken to new heights.
Make Ahead and Storage
Storing Leftovers
Place cooled fried chicken in an airtight container lined with paper towels and refrigerate for up to 3 days. The paper towels help absorb excess moisture and keep the coating crisp.
Freezing
Freeze fully cooled chicken in a single layer on a baking sheet, then transfer to a freezer bag once solid. This prevents pieces from sticking together. Frozen fried chicken will keep for up to 3 months.
Reheating
For the crispiest results, reheat thawed chicken in a 350°F oven for 15-20 minutes on a wire rack over a baking sheet. Avoid microwaving if possible, as it makes the coating soggy.

FAQs
Why isn’t my chicken as crispy as it should be?
The most common culprit is oil temperature. If your oil isn’t hot enough (375°F), the batter absorbs too much oil instead of crisping up. Another possibility is overcrowding the pan, which lowers the oil temperature. Fry in smaller batches and maintain that perfect temperature for maximum crispiness.
Can I use this recipe with boneless chicken?
Absolutely! Boneless chicken pieces work wonderfully with this recipe, but they’ll cook faster than bone-in pieces. Start checking for doneness (internal temperature of 165°F) after about 5 minutes per side to prevent overcooking and drying out.
Is there a way to make this recipe healthier?
While traditional deep-frying is what gives this chicken its authentic taste, you can adapt the recipe for an air fryer or oven-baking. Spray the coated chicken with oil, then air fry at 390°F for about 20-25 minutes, or bake at 425°F for 30-35 minutes, turning halfway through. The result won’t be identical, but it will still be delicious!
My batter keeps falling off when I fry the chicken. What am I doing wrong?
Make sure your chicken is completely dry before applying the spices and batter. Any excess moisture can prevent proper adhesion. Also, don’t flip the chicken too early – give it time to set in the hot oil before turning, and handle it gently when flipping to keep that perfect coating intact.
Final Thoughts
This Grandma’s Crispy Fried Chicken Recipe brings together simple ingredients to create something truly magical – that perfect combination of crispy, crunchy exterior and juicy, tender meat that makes fried chicken an enduring favorite. Whether you’re serving it for a weeknight dinner or a special Sunday gathering, this recipe delivers restaurant-quality results right in your kitchen. Give it a try and watch as it becomes your family’s most requested meal!
Print
Grandma’s Crispy Fried Chicken Recipe
- Prep Time: 10 minutes
- Cook Time: 16 minutes
- Total Time: 26 minutes
- Yield: 8 pieces
- Category: Main-course
- Method: Frying
- Cuisine: American
Description
Grandma’s Crispy Fried Chicken is the ultimate comfort food with its irresistible golden crust and juicy, flavorful chicken inside. Coated in a perfectly seasoned batter and fried to crispy perfection, this recipe will bring back nostalgic family memories with every bite. A simple yet delicious dish, ideal for family dinners, picnics, or any occasion that calls for comfort food.
Ingredients
For the Chicken:
- 8 pieces chicken
- 2 teaspoons garlic powder
- 1 1/2 teaspoon seasoned salt
- 1 1/2 teaspoon black pepper
- 1 teaspoon onion powder
For the Batter:
- 2 cups all-purpose flour
- 2 1/4 teaspoon baking powder
- 1/2 teaspoon baking soda
- 1 1/2 cups water (adjust as needed)
For Cooking:
- Kosher salt, to taste
- Oil, for frying
Instructions
- Prepare the Oil
Heat oil in a large, heavy-bottom skillet over medium-high heat until it reaches 375°F. The oil should be around 3 inches deep to ensure proper frying. This high temperature ensures the chicken gets crispy. - Season the Chicken
Place the chicken pieces in a large mixing bowl. Add the garlic powder, seasoned salt, black pepper, and onion powder. Toss well to evenly coat the chicken with the seasonings. - Make the Batter
In a separate small bowl, whisk together the flour, baking powder, and baking soda. Gradually add the flour mixture to the chicken bowl, tossing to coat the chicken. - Mix Batter Consistency
Begin adding water to the chicken bowl, starting with 1¼ cups. Use your hands or a spoon to gently stir the mixture. Adjust the water as needed to achieve a batter consistency slightly thinner than pancake batter, ensuring the chicken is lightly coated. - Fry the Chicken
Once the oil is hot, gently place a few chicken pieces into the skillet. Make sure not to overcrowd the pan so the chicken cooks evenly. Ensure each piece is coated in a thin layer of batter before frying. - Cook and Flip
Cover the skillet with a lid and cook the chicken on one side for around 7 minutes. Flip each piece and cook for another 7-9 minutes or until the internal temperature reaches 165°F. Cooking time may vary depending on the size of the chicken pieces. - Drain and Season
Remove the chicken from the oil and place it on a wire rack set over a tray to let any excess oil drip off. Immediately sprinkle each piece with kosher salt for extra flavor. Repeat the process for all remaining chicken pieces.
Notes
- Ensure your oil temperature remains consistent at 375°F to maintain the chicken’s crispiness and avoid a greasy texture.
- Use a meat thermometer to check the chicken’s internal temperature, which should be 165°F at the thickest part.
- For added flavor, try marinating the chicken in buttermilk for a few hours or overnight before starting the recipe.
- For extra crunch, you can double-dip the chicken in the batter before frying.
Nutrition
- Serving Size: 1 piece
- Calories: 280
- Sugar: 1g
- Sodium: 620mg
- Fat: 17g
- Saturated Fat: 3g
- Unsaturated Fat: 12g
- Trans Fat: 0g
- Carbohydrates: 18g
- Fiber: 1g
- Protein: 14g
- Cholesterol: 75mg


Your email address will not be published. Required fields are marked *