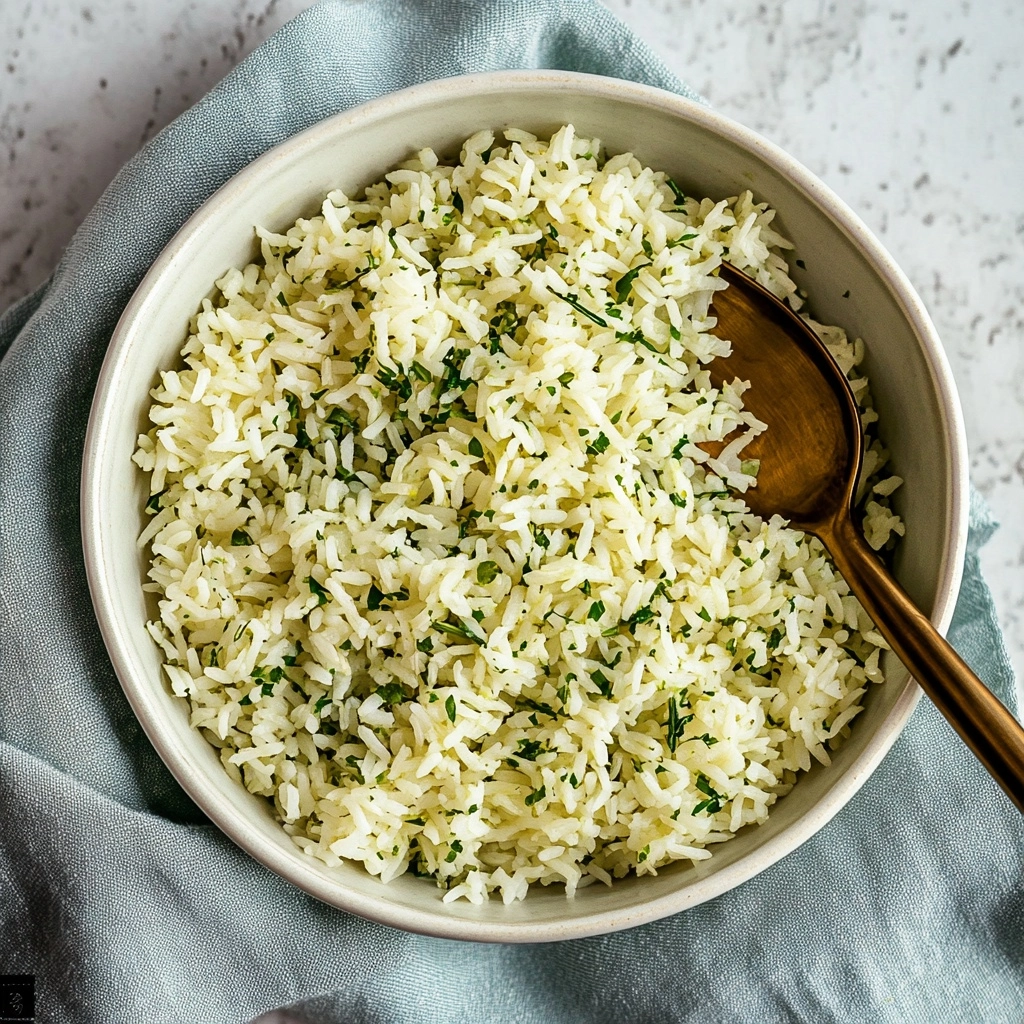
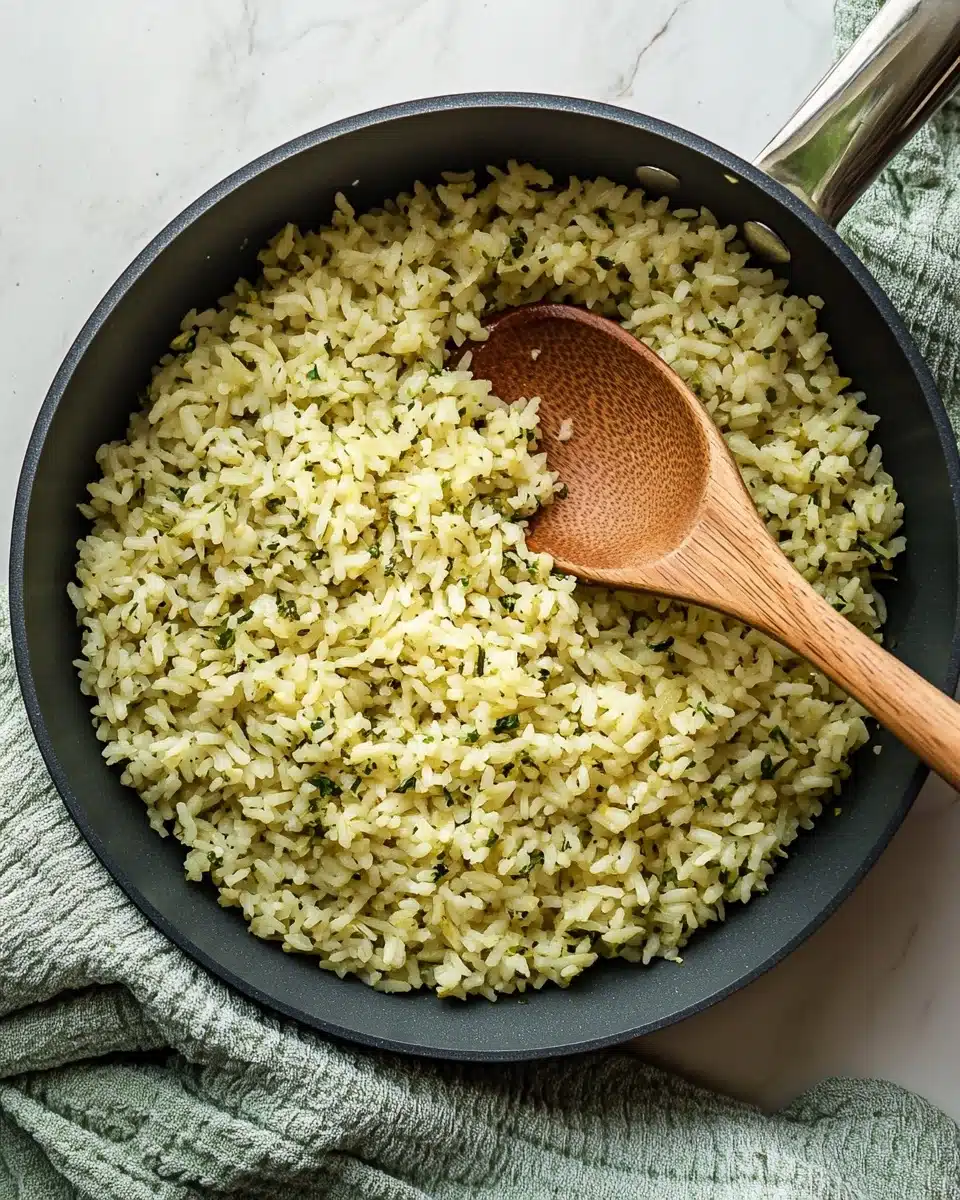
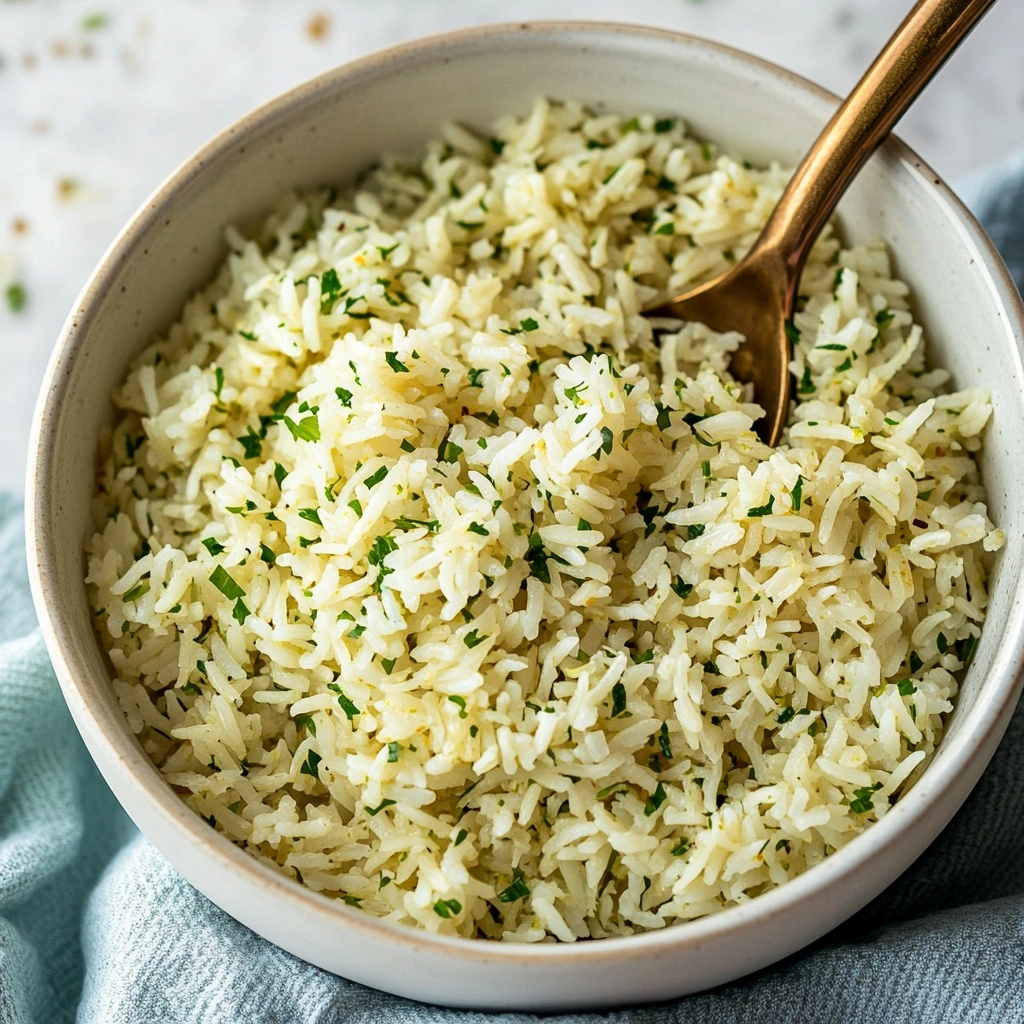
If you’re searching for a quick, flavor-packed side dish that turns any meal into something extra special, Herby Garlic Rice is exactly what you need! This fragrant, fluffy rice is bursting with fresh herbs and savory garlic, creating a bowl of comfort with every bite.
Why You’ll Love This Recipe
- Packed with Fresh Flavor: Fragrant herbs and savory garlic infuse every bite with vibrant taste.
- Effortlessly Simple: With just a few basic ingredients and minimal prep, you’ll have a stunning side on the table in no time.
- Versatile and Adaptable: Enjoy Herby Garlic Rice with anything—grilled chicken, roasted veggies, or even as a main course with extra toppings.
- Light and Guilt-Free: Using low-calorie spray and fresh herbs keeps this dish friendly for a variety of diets.
Ingredients You’ll Need
The beauty of Herby Garlic Rice is that it’s made almost entirely with kitchen staples, yet every element plays a crucial role in the finished dish. Each ingredient adds depth, aroma, and subtle texture that elevates ordinary rice to something truly crave-worthy.
- Uncooked long grain rice: Perfect for fluffy, individual grains that soak up all those delicious flavors.
- Low calorie spray: Helps sauté the garlic without adding extra fat, making this both healthy and tasty.
- Minced garlic (or crushed cloves): The star of the show, infusing the rice with rich, savory depth.
- Chicken or vegetable stock: Adds extra flavor—use your favorite for a comforting, savory kick or keep it vegetarian/vegan-friendly with veggie stock.
- Finely chopped coriander: Brings a zesty, fresh pop to every spoonful.
- Finely chopped parsley: Adds brightness and lovely green color, perfectly balancing the garlic and rice.
- Pinch of black pepper: Just enough to warm up the flavors and tie everything together.
Variations
The best thing about Herby Garlic Rice is how easy it is to customize based on whatever you’ve got on hand, your dietary needs, or even your current cravings. Consider this base recipe your blank canvas—there’s room to make it all your own!
- Swap the Herbs: Try dill, basil, or chives for a different herbal twist—or mix and match whatever’s fresh in your fridge.
- Add Veggies: Toss in a handful of peas, diced bell pepper, or sweetcorn before simmering for extra color, sweetness, and nutrition.
- Make it Spicy: Stir in a pinch of chili flakes or a dash of cayenne to give your Herby Garlic Rice a gentle kick.
- Boost with Lemon: Finish with a spritz of fresh lemon juice and a little zest for a bright, sunny citrus flavor that pairs beautifully with herbs and garlic.
- Protein Power: Fold in cooked shredded chicken, tofu, or prawns to turn this into a hearty main course.
How to Make Herby Garlic Rice
Step 1: Sauté the Garlic
Begin by spraying your deep saucepan with low-calorie spray and placing it over medium heat. As soon as it’s hot, add in the minced garlic—listen for that gentle sizzle! Stir gently for about a minute, until the garlic turns aromatic and just begins to hint at golden edges. This quick step sets the tone for a truly fragrant Herby Garlic Rice.
Step 2: Toast the Rice
Add your rinsed rice straight into the pan with the garlic. Stir and sauté together for another minute or two, letting each grain get a glistening coating and just a touch of translucency. This simple technique bumps up the flavor while helping the rice stay deliciously fluffy.
Step 3: Add Stock and Herbs
Pour in your chicken or vegetable stock, add the chopped coriander and parsley, and sprinkle in a pinch of black pepper. Stir well to evenly distribute all the herby goodness throughout the pot. The kitchen will already start to smell like pure comfort!
Step 4: Simmer and Steam
Bring everything up to a boil, then immediately cover with a tight-fitting lid and lower the heat to a gentle simmer. Cook for about 13 minutes, or until the rice has absorbed most of the liquid. Don’t peek—the steam is what makes Herby Garlic Rice super fluffy.
Step 5: Rest and Fluff
After 13 minutes, turn off the heat but keep the saucepan covered for another 10 minutes. This final steam bath ensures perfect texture and that the herbs and garlic fully perfume the rice. Finally, remove the lid and fluff your Herby Garlic Rice with a fork—every grain will be perfectly separated and packed with flavor.
Pro Tips for Making Herby Garlic Rice
- Rice Rinse Ritual: Give your rice a good rinse until the water runs nearly clear—this removes excess starch and guarantees light, distinct grains that don’t turn mushy.
- Don’t Rush the Rest: Letting the rice sit, covered, once off the heat is the secret to tender, perfectly steamed Herby Garlic Rice—it’s well worth the wait!
- Fresh Herb Finale: For maximally vibrant color and flavor, reserve a sprinkle of chopped herbs to add as a garnish just before serving.
- Stock Matters: Use a richly flavored, low-sodium chicken or vegetable stock—especially if you want to control the salt and boost the savory notes in your rice.
How to Serve Herby Garlic Rice

Garnishes
Top your Herby Garlic Rice with a final flourish of freshly chopped coriander and parsley for extra color and a burst of fresh flavor. For a little zing, scatter over some lemon zest or a grind of black pepper—these small touches really make the dish pop!
Side Dishes
This rice is wildly versatile—pair it with grilled chicken, roasted salmon, veggie kebabs, or a hearty bean stew. It also plays beautifully alongside spicy curries or garlicky shrimp for a meal that feels just a little bit special on an ordinary day.
Creative Ways to Present
Serve Herby Garlic Rice in a pretty bowl topped with a colorful medley of herbs, or use a small ramekin to shape the rice into neat domes on each plate. For gatherings, offer it on a platter scattered with edible flowers and thin citrus slices for a stunning centerpiece.
Make Ahead and Storage
Storing Leftovers
Let any leftover Herby Garlic Rice cool completely before storing it in an airtight container in the fridge. It stays wonderfully fresh for up to three days—perfect for quick lunches or speedy dinners.
Freezing
Herby Garlic Rice freezes like a dream! Pack cooled rice into individual portions, seal well, and freeze for up to a month. Just thaw overnight in the fridge when you need an easy, herby side at a moment’s notice.
Reheating
To reheat, sprinkle the rice with a tablespoon of water, cover, and microwave until piping hot. Alternatively, warm it gently on the stove with a splash of stock to restore moisture—Herby Garlic Rice fluffs right up again!
FAQs
-
Can I use brown rice instead of white rice?
Yes, you can use brown rice for Herby Garlic Rice, but keep in mind that it will require a longer cooking time and possibly a bit more stock. Check the package instructions for timing, and expect a deliciously nutty result.
-
Is Herby Garlic Rice gluten-free?
The rice itself is naturally gluten-free! To keep the whole dish gluten-free, be sure to use a certified gluten-free stock.
-
Can I make Herby Garlic Rice vegan?
Absolutely! Simply use a good quality vegetable stock and you’ll have a dish that’s both vegan-friendly and jam-packed with flavor.
-
What’s the best way to keep the rice from sticking?
Rinsing your rice before cooking helps remove excess starch that can cause clumping. Also, be sure to fluff with a fork after cooking and follow the simmer-and-steam method for perfect, separate grains every time.
Final Thoughts
If you love simple comfort food with a burst of herby flavor, give Herby Garlic Rice a go! It’s the ultimate side that feels fresh, effortless, and absolutely full of life—perfect for brightening up any table. I can’t wait for you to taste just how delicious a humble bowl of rice can be.
Print
Herby Garlic Rice Recipe
- Prep Time: 10 minutes
- Cook Time: 25 minutes
- Total Time: 35 minutes
- Category: Stovetop
- Method: Stovetop
- Diet: Vegetarian
Description
A flavorful and aromatic Herby Garlic Rice recipe that is easy to make and perfect for a side dish or a light meal.
Ingredients
Rice:
- 1 cup (190g) uncooked long grain rice, rinsed
Seasonings:
- low-calorie spray
- 2 teaspoons minced garlic (or 2 cloves, crushed)
- 2 cups (480ml) chicken or vegetable stock
- 1 1/2 tablespoons finely chopped coriander
- 1 1/2 tablespoons finely chopped parsley
- pinch of black pepper
Instructions
- Spray the saucepan: Spray a deep saucepan with low-calorie spray.
- Infuse garlic: Add garlic to the saucepan and fry for about a minute.
- Add rice: Add rice to the saucepan and fry until slightly translucent.
- Add stock and seasonings: Pour in stock, parsley, coriander, and black pepper. Bring to a boil.
- Simmer: Cover the saucepan and simmer for 13 minutes until stock is almost absorbed.
- Rest: Keep covered off heat for 10 minutes to steam-cook the rice.
- Fluff and serve: Fluff the rice with a fork and serve.
Notes
- Calories – scroll down to nutritional info box
- WW Points and other Slimming or Weight Loss programs – due to plans regularly changing and updating, we recommend calculating with the official tools you get as a member to those plans to ensure accuracy of values.
- Gluten Free – use gluten-free stock
- Dairy-Free Friendly
- Vegetarian/Vegan Friendly – use vegetable stock


Your email address will not be published. Required fields are marked *