

If you’re craving a cozy, warm drink that wraps you in the flavors of fall and fills your kitchen with the most inviting aroma, you absolutely have to try this Homemade Dutch Oven Apple Cider Recipe. I promise, it’s the kind of recipe you’ll want to make all season long, and it’s surprisingly simple to master right at home. Get ready to sip on a mug of pure autumn bliss!
Why You’ll Love This Recipe
- Natural, Fresh Flavor: Using whole apples and fresh spices gives your cider that authentic taste you just can’t get from store-bought versions.
- Easy and Versatile: Made right in your Dutch oven with minimal steps, this recipe works just as well in a crockpot, making it weekend-friendly.
- Perfect for Entertaining: It’s a crowd-pleaser for family gatherings and chilly nights — plus, you get a kitchen filled with comforting scents.
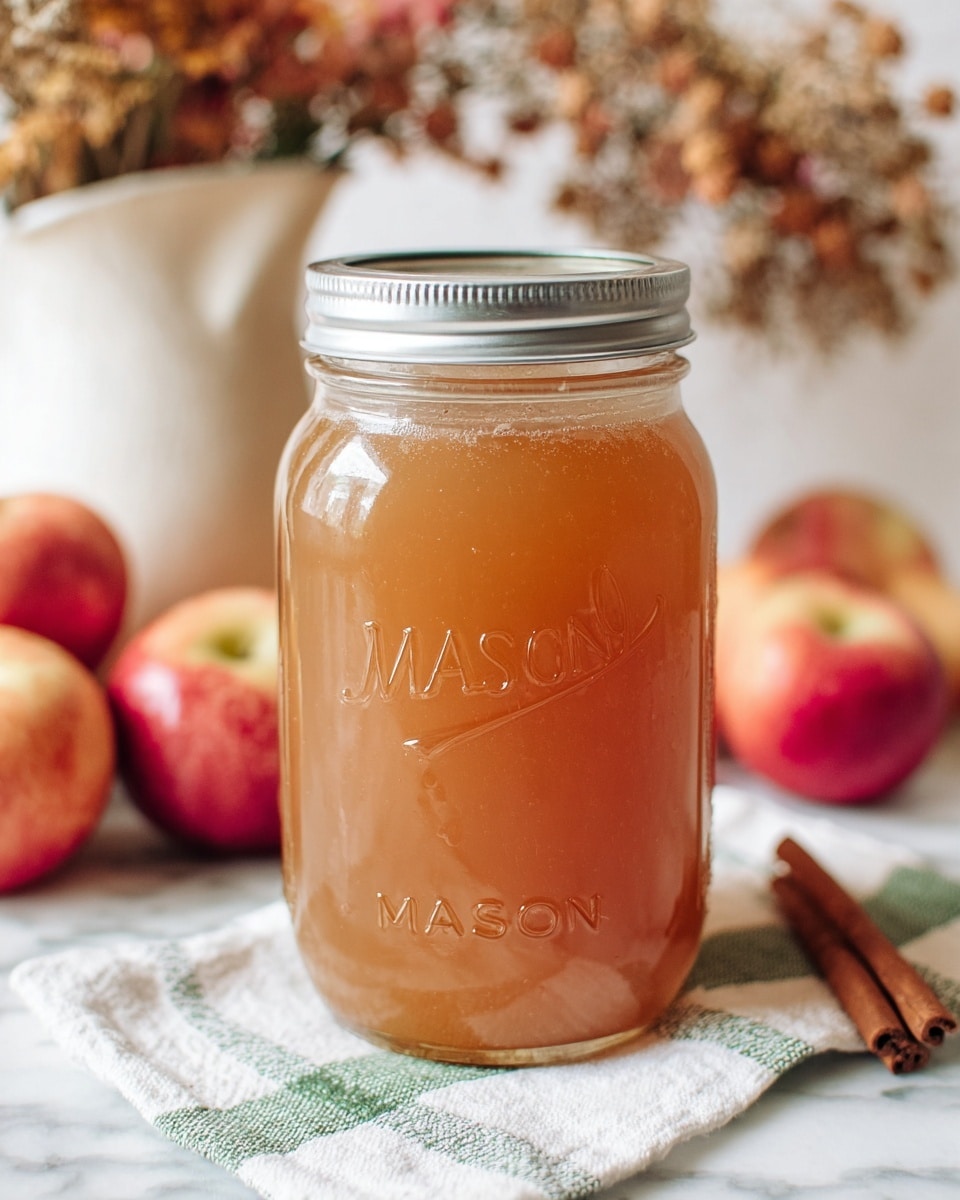
- Great for Canning and Storing: You can preserve this cider easily, letting you enjoy it months after making it, which is a total game-changer.

Ingredients You’ll Need
I love how a handful of simple ingredients come together in this Homemade Dutch Oven Apple Cider Recipe to deliver such a rich and warming drink. Each component plays a role, from the tartness of the apples to the spicy warmth of cinnamon and cloves.
- Apples: Use a mix of sweet and tart apples for depth — I usually grab Fuji, Honeycrisp, and Granny Smith for the best flavor.
- Orange: Adding slices with the peel on brightens the cider with citrus notes without adding bitterness.
- Cloves: Whole cloves infuse warmth and spiciness; a little goes a long way here.
- Cinnamon sticks: These add classic spice and a woody aroma that’s essential for traditional cider.
- Allspice: Just a teaspoon adds complexity resembling nutmeg, cinnamon, and cloves all in one.
- Water: The base of your cider; filtered water works best for pure flavor.
Variations
This Homemade Dutch Oven Apple Cider Recipe is a flexible base that I tweak depending on my mood or the occasion. Don’t hesitate to personalize it — you’ll find it’s forgiving and fun to experiment with.
- Spiced Up Variation: I love adding a star anise or a few cardamom pods when I want a more exotic twist; it pairs beautifully with the apple’s sweetness.
- Alcoholic Upgrade: For grown-up gatherings, stirring in a splash of bourbon or rum right before serving takes it to the next level.
- Sugar-Free Version: Since the apples bring natural sweetness, I usually skip added sugar, but if you want extra sweetness, a drizzle of honey or maple syrup works perfectly.
- Slow Cooker Method: When I’m busy, I toss everything in my crockpot on low and let it simmer for about 6-8 hours—it’s a great hands-off option!
How to Make Homemade Dutch Oven Apple Cider Recipe
Step 1: Prepare Your Fruit for Maximum Flavor
First things first—wash those apples and that orange really well. I always leave the peel on because that’s where a lot of flavor lives, plus it helps with the natural pectin that thickens the cider a bit. Quarter the apples and slice the orange into rounds; no need to peel everything, just keep it simple and rustic.
Step 2: Combine and Simmer in Your Dutch Oven
Next, toss your fruit into the Dutch oven along with the cloves, cinnamon sticks, and allspice. Pour in the water and bring the mix to a gentle boil over medium heat. Once boiling, lower the heat to a simmer and cover it up. Let it bubble away for about 2 hours, stirring occasionally to press the fruit and release all those tasty juices — I find this step really makes a difference!
Step 3: Mash and Simmer Longer for Deep Flavor
After 2 hours, grab a potato masher or the back of a large spoon and mash the apples and oranges right in the pot. This extra step helps unlock even more flavor. Then, cover and let it simmer gently for another 2 hours. I usually sneak a taste here just to make sure it’s hitting all the right notes!
Step 4: Strain Your Cider Like a Pro
Once you’ve coaxed out all that goodness, carefully strain the cider through a fine-mesh sieve or some cheesecloth into another pot or heat-safe pitcher. I like to press the solids down gently with the back of a spoon to get every last drop. It’s okay if you get a little pulp — that’s flavor! But if you prefer it clearer, a second strain won’t hurt.
Step 5: Serve Warm, Cool for Later, or Can It
Serve your homemade cider warm for ultimate comfort — it’s perfect for cozy evenings. If you want to save it for later, just let it cool, then refrigerate. And if you’re feeling ambitious, I’ve got a simple canning guide below so you can enjoy your cider all year round.
Pro Tips for Making Homemade Dutch Oven Apple Cider Recipe
- Choosing the Right Apples: I learned mixing apple varieties balances sweetness and tartness, giving cider its signature flavor.
- Don’t Skip the Mashing: Pressing the fruit during simmering really amplifies the cider’s depth—for me, it’s a game-changer.
- Use a Covered Pot: Keeping the Dutch oven covered traps the aromas and prevents too much evaporation, ensuring rich flavor and volume.
- Strain Carefully: Avoid pressing too hard through the sieve to keep the cider clear of seeds and bitter bits.
How to Serve Homemade Dutch Oven Apple Cider Recipe
Garnishes
I love topping my cider with a cinnamon stick for stirring and an orange slice on the rim whenever I’m serving guests. A sprinkle of freshly grated nutmeg or a few star anise pods adds that extra pizzazz and fragrance that wows folks at parties.
Side Dishes
One of my favorite things is pairing this cider with warm baked goods like cinnamon rolls, pumpkin bread, or a batch of soft ginger cookies — the flavors just sing together. It’s also a lovely partner to hearty dishes like roasted pork or turkey for a fall feast.
Creative Ways to Present
When I want to impress for a holiday or game day, I pour the cider into a big glass punch bowl with floating apple slices and cinnamon sticks. Setting out mugs with garnishes nearby lets everyone customize their drinks, and it looks super inviting on the table!
Make Ahead and Storage
Storing Leftovers
I store leftover cider in airtight glass containers in the fridge, where it keeps beautifully for up to 5 days. Just give it a good stir before reheating, as some natural settling happens but nothing that affects the flavor.
Freezing
If I’m making a big batch, I freeze extra cider in freezer-safe containers or mason jars with some headspace. When thawed, it reheats just as well and tastes just as fresh — a great way to enjoy cider anytime without the need for fresh apples.
Reheating
For reheating, I prefer to warm the cider gently on the stove over low heat, stirring occasionally. This keeps it smooth and prevents scorching. Microwave works in a pinch but be sure to cover your mug to keep it warm evenly.
FAQs
-
Can I use any type of apples for this cider recipe?
Absolutely! You can use any apples you like, but I recommend combining a few varieties — such as a sweet apple like Fuji with a tart one like Granny Smith — for a balanced flavor. Avoid apples that are overly mealy or mushy, as they might not yield the best taste or texture.
-
How long will the homemade apple cider keep in the fridge?
When stored in a sealed container, your fresh homemade cider should stay good in the refrigerator for about 4 to 5 days. Always give it a smell and taste before reheating just to be sure it’s fresh.
-
What if I don’t have a Dutch oven? Can I still make this recipe?
Definitely! This recipe works wonderfully in a crockpot or a large heavy-bottomed pot. Just adjust the heat to low and increase the simmering time slightly if needed. The key is slow, gentle cooking to extract those flavors.
-
Is it necessary to strain the cider?
Straining is important if you prefer a smooth cider without pulp or seeds. If you like a rustic, chunky texture, you can skip thorough straining, but usually pressing the solids will provide a cleaner drink that’s more pleasant to sip.
-
Can I sweeten this cider?
Sure! The recipe uses natural apple sweetness, but if you want it sweeter, adding honey, maple syrup, or brown sugar during simmering or when serving is easy and delicious. Just add gradually and taste as you go.
Final Thoughts
I absolutely love how this Homemade Dutch Oven Apple Cider Recipe fills my home with that cozy, comforting smell that just spells fall. When I first tried making it, I was surprised how simple it was to get that deep, spiced flavor without any fuss. Whether you’re making it as a treat for yourself or to impress family and friends, I know you’ll enjoy the warm, homey goodness it brings. So grab your Dutch oven, a bag of fresh apples, and give this a go—you might just find your new favorite seasonal tradition!
Print
Homemade Dutch Oven Apple Cider Recipe
- Prep Time: 10 minutes
- Cook Time: 4 hours
- Total Time: 4 hours 10 minutes
- Yield: 2 quarts
- Category: Beverage
- Method: Stovetop
- Cuisine: American
- Diet: Vegetarian
Description
This Homemade Dutch Oven Apple Cider recipe delivers a warm, spiced beverage perfect for cozy evenings or entertaining. Using fresh apples, orange, and classic spices simmered slowly in a Dutch oven, it produces a rich and flavorful cider that can be enjoyed immediately or preserved through canning for long-term storage.
Ingredients
Fruits
- 3 lbs apples (about 8-10 medium-sized apples)
- 1 orange, sliced
Spices
- 1 tsp cloves
- 4 cinnamon sticks
- 1 tsp allspice
Liquids
- 2 quarts water (8 cups)
Instructions
- Prepare the fruit: Wash the apples and orange thoroughly. Cut the apples into quarters, keeping the skin on. Slice the orange into rounds with the peel intact.
- Combine ingredients: In a large Dutch oven (or crockpot), add the apple quarters, orange slices, cloves, cinnamon sticks, and allspice. Pour in 2 quarts of water over the fruit and spices.
- Simmer the cider: Place the Dutch oven on medium heat and bring to a boil. Once boiling, reduce heat to low, cover, and simmer for 2 hours, stirring occasionally and pressing the fruit to release flavors.
- Mash the fruit: After 2 hours, use a potato masher or the back of a spoon to crush the apples and orange slices to extract more flavor. Continue simmering the cider for another 2 hours.
- Strain the cider: Carefully strain the mixture through a fine mesh sieve or cheesecloth into another pot or heat-safe pitcher, pressing down on the solids to extract as much liquid as possible.
- Serve: Serve the cider warm or let it cool and refrigerate for later use. Reheat as needed, or proceed to can for long-term storage.
- Sterilize your jars: While cider simmers, wash jars with hot soapy water, rinse well, and sterilize by boiling in water bath for 10 minutes. Keep jars hot until filling. Prepare lids by simmering in hot water for 5 minutes.
- Reheat the cider: After straining, return cider to the pot and bring to a boil. Boil for 5 minutes before filling jars.
- Fill the jars: Using a funnel, ladle hot cider into the sterilized jars, leaving 1/2-inch headspace. Wipe rims clean to ensure a good seal.
- Seal the jars: Place lids on jars and screw bands fingertip tight, avoiding overtightening.
- Process in water bath canner: Place jars in waterbath canner with 1-2 inches water covering jars. Boil rolling water and process pints for 10 minutes, quarts for 15 minutes. Adjust time for altitudes above 1,000 feet by adding 1 minute per 1,000 feet.
- Cool and check seals: Remove jars with lifter and place on towel-lined surface to cool for 12-24 hours. Check lids by pressing in center; no flex means sealed properly. Refrigerate any unsealed jars and use within a week.
- Store the jars: Label and date jars. Store in cool, dark place for up to one year.
Notes
- Use a mix of sweet and tart apples for a balanced flavor.
- Adjust the amount of spices to your taste preference.
- Ensure jars and lids are properly sterilized to prevent spoilage.
- If you prefer less pulp, strain the cider twice.
- The cider can be enjoyed chilled or warmed up.
- Altitude adjustments are important for safe canning.
Nutrition
- Serving Size: 1 cup (240 ml)
- Calories: 100
- Sugar: 22g
- Sodium: 5mg
- Fat: 0.2g
- Saturated Fat: 0g
- Unsaturated Fat: 0.2g
- Trans Fat: 0g
- Carbohydrates: 27g
- Fiber: 1.5g
- Protein: 0.3g
- Cholesterol: 0mg

Your email address will not be published. Required fields are marked *