

If you’ve ever dreamed of a dessert that’s rich, creamy, and bursting with refreshing peppermint flavor, then you’re going to fall hard for this Mint Chocolate Fudge Recipe. It’s one of those simple treats that looks fancy but only takes about 10 minutes from start to finish. I absolutely love how this turns out every single time — smooth, melt-in-your-mouth chocolate balanced perfectly with cool mint. Whether you’re bringing something to a party or just need a sweet pick-me-up, this fudge recipe delivers every time.
Why You’ll Love This Recipe
- Super Easy and Quick: You only need a handful of ingredients and less than 10 minutes to get it ready for the fridge.
- Perfect Mint-Chocolate Balance: The peppermint extract adds just the right pop without overpowering the chocolate.
- No Baking Required: This fudge sets in the fridge, so you can skip the oven and avoid any stress about overcooking.
- Family Favorite: Once I made this, my family goes crazy for it, especially around the holidays.

Ingredients You’ll Need
The ingredients in this Mint Chocolate Fudge Recipe are simple but everything plays a big part in building that creamy, dreamy texture and flavor. Don’t skip on the quality of chocolate chips — it changes the fudge game dramatically. Also, the peppermint extract is what brings the magic, so use pure extract rather than imitation for the best taste.
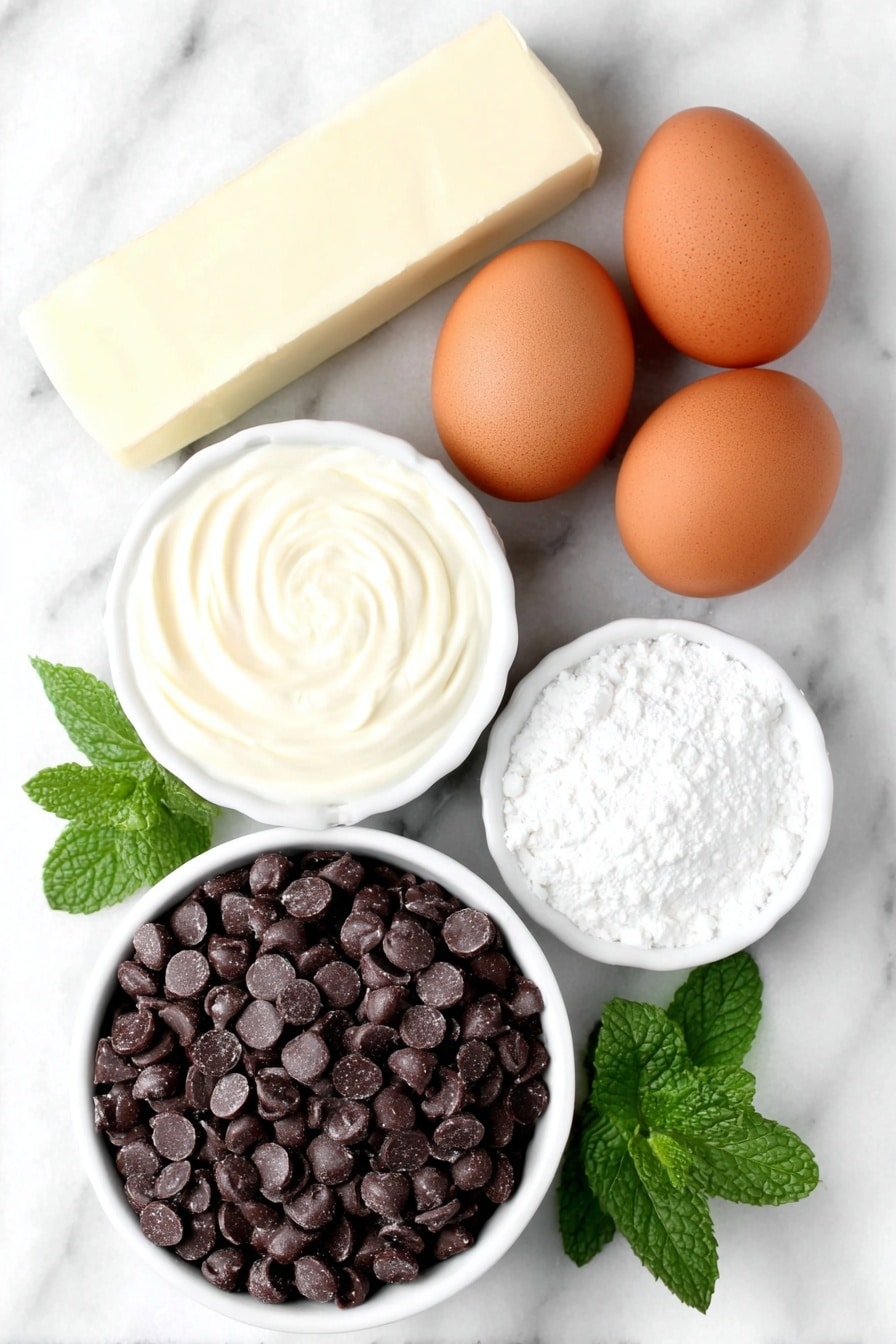
- Semi-sweet chocolate chips: Choose quality chips for smooth melting and rich chocolate flavor.
- Sweetened condensed milk: This adds sweetness and creaminess without extra fuss.
- Unsalted butter: Provides a silky texture; unsalted lets you control saltiness if needed.
- Pure peppermint extract: The key to that classic fresh minty flavor; avoid imitation extracts.
- Pure vanilla extract: Just a splash to deepen the chocolate notes.
Variations
I love tweaking this Mint Chocolate Fudge Recipe depending on the occasion or what I happen to have on hand. Don’t hesitate to get creative — swapping out the peppermint for orange extract is a surprising twist, and adding nuts turns it into a fun textural adventure.
- Nuts or Seeds: I sometimes toss in chopped pecans or walnuts to add crunch, and my guests adore the contrast.
- Dairy-Free Option: Use dairy-free butter and vegan chocolate chips — it still turns out smooth and decadent!
- Mint Topping: Sprinkle crushed peppermint candies or Andes mints on top right after spreading in the pan for an extra festive touch.
- Dark Chocolate Variation: Using dark chocolate chips instead of semi-sweet gives a richer, slightly less sweet fudge.
How to Make Mint Chocolate Fudge Recipe
Step 1: Prep Your Pan Like a Pro
Start by lining an 8×8-inch pan with parchment paper or aluminum foil, then lightly spray it with non-stick cooking spray. This step is a lifesaver — it makes lifting the fudge out super easy later on, and cleanup is a breeze. Trust me, I learned this the hard way when my fudge stuck to the pan one too many times!
Step 2: Melt Ingredients Gently
Combine your chocolate chips, sweetened condensed milk, and butter in a medium saucepan over low heat. Stir constantly — this patience pays off! Cooking slowly prevents the chocolate from seizing or burning, and the mixture turns silky smooth. I usually take about 5 to 10 minutes here, adjusting the heat so it never boils. You want everything melted together into a creamy, luscious fudge base.
Step 3: Flavor and Pour
Once smooth, remove the saucepan from heat and stir in your peppermint extract and vanilla extract. This is where the aroma really hits you — fresh, minty, and inviting. Pour the mixture into your prepared pan and spread it out evenly with a spatula.
Step 4: Chill Until Perfectly Set
Cover the pan and pop it in the refrigerator for at least 2 hours. Patience is key here! The fudge will firm up into that perfect sliceable texture. I usually find that chilling overnight makes it even better for cutting, but 2 hours is enough if you’re eager to dig in.
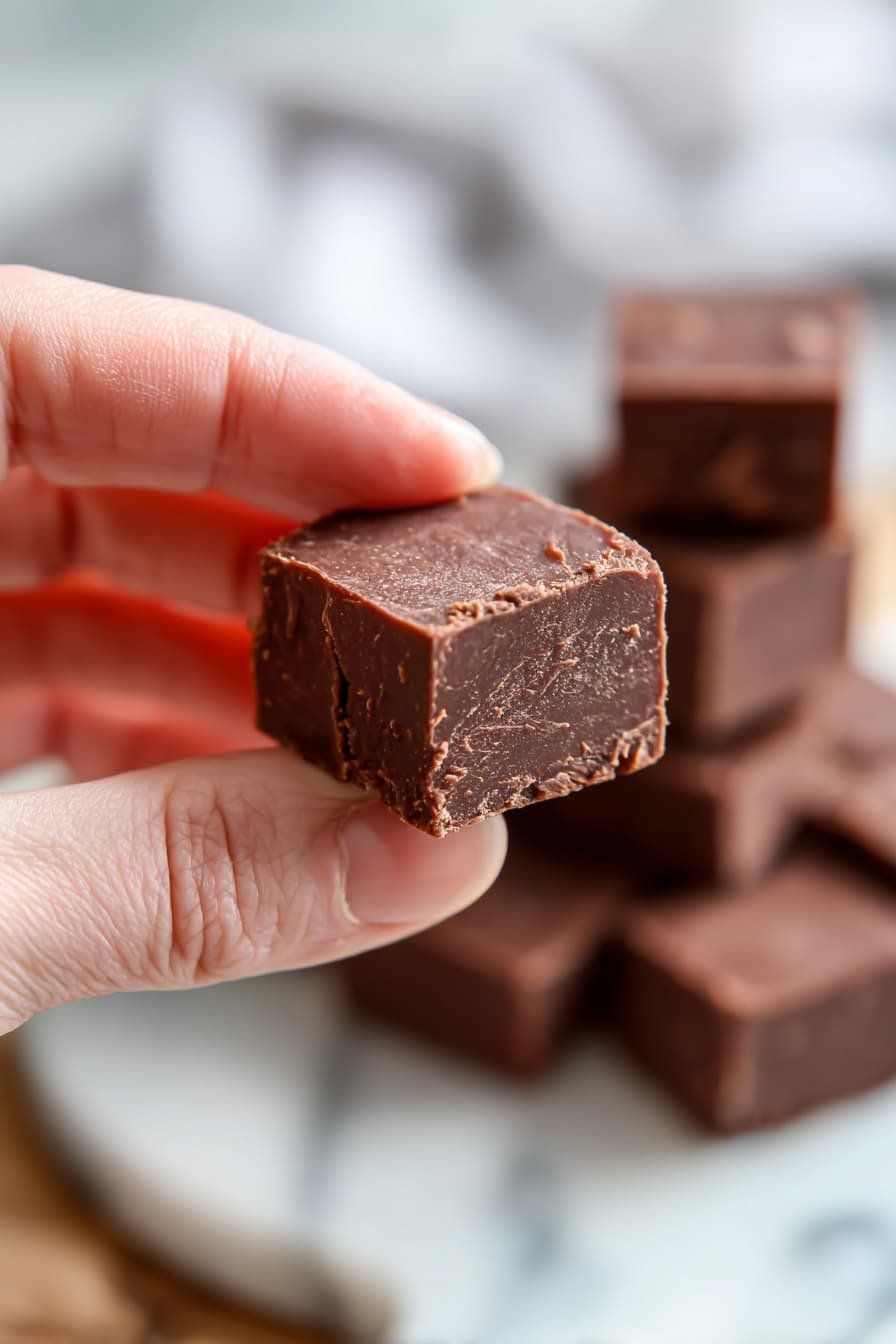
Step 5: Slice and Serve
Using the parchment or foil edges, lift the fudge out of the pan and peel away the lining. Then cut into small, even squares — I like mine bite-sized, so each piece feels like a little indulgence. Store any leftovers in an airtight container in the fridge and enjoy within 2 weeks.
Pro Tips for Making Mint Chocolate Fudge Recipe
- Low and Slow Melting: I always melt the chocolate on the lowest heat to avoid grainy texture and scorching.
- Constant Stirring: Stirring continuously helps the mixture stay smooth and prevents burning on the bottom.
- Use Quality Chocolate: Switching from bargain chocolate chips to a better brand instantly amps up flavor and texture.
- Don’t Skip the Paper Lining: It makes removing the fudge from the pan a snap—no cracked edges or sticking.
How to Serve Mint Chocolate Fudge Recipe
Garnishes
I usually keep it simple by dusting the top with a few crushed peppermint candies or a sprinkle of cocoa powder. But sometimes, for holiday parties, adding a light drizzle of white chocolate on top creates that extra WOW factor. It’s these small touches that make the fudge feel irresistible, especially when you want to impress.
Side Dishes
This fudge pairs wonderfully with a cup of hot coffee, or even a glass of cold milk to balance out the richness. If serving dessert after a meal, I like offering fresh berries or a light fruit salad alongside — the brightness cuts through the dense chocolate beautifully.
Creative Ways to Present
For gift-giving or special occasions, I cut the fudge into festive shapes using small cookie cutters — stars or trees during the holidays make it extra fun. Packaging them in decorative tins or wrapping individual pieces in wax paper always scores compliments. One time, I layered the fudge with peppermint bark in a clear glass dish, and it stole the show!
Make Ahead and Storage
Storing Leftovers
Once cut, I store leftover fudge in an airtight container in the fridge — it keeps super fresh for up to two weeks. I learned that keeping the fudge chilled really preserves its creamy texture and avoids it getting sticky or melting too fast on the countertop.
Freezing
I’ve frozen this fudge a few times by wrapping pieces individually in plastic wrap and then storing them in a freezer-safe container or bag. When thawed in the fridge overnight, it tastes just as delicious as fresh. This trick is great for making a batch ahead of a party or holiday gift prep.
Reheating
Usually, fudge is best eaten cold or at room temperature, but if you want that melty texture, I warm a piece gently in the microwave for 10 seconds or so. Just be careful not to overdo it, or you’ll end up with a chocolate puddle instead of fudge!
FAQs
-
Can I use milk chocolate instead of semi-sweet in this Mint Chocolate Fudge Recipe?
Absolutely! Milk chocolate will make the fudge sweeter and creamier, so if you prefer a milder chocolate flavor, it works well. Just be sure the chocolate chips are good quality for the best melt and texture.
-
What if I don’t have peppermint extract? Can I use fresh mint?
Fresh mint won’t have the concentrated flavor that peppermint extract provides, so your fudge may taste less minty. You could infuse the condensed milk with fresh mint by warming it gently with mint leaves and straining, but it’s more effort and less intense than the extract.
-
Why does my fudge sometimes turn grainy or crumbly?
This usually happens if the chocolate overheats or if the mixture boils. Keeping the heat low and stirring constantly helps prevent the sugars from crystallizing. Using good-quality chocolate chips and following the low-and-slow melting method will keep your fudge silky smooth.
-
How thick should I spread the fudge in the pan?
About half an inch thick is ideal for easy cutting and a satisfying bite-size treat. Spreading it too thin will make the fudge less indulgent, and too thick might take longer to set fully.
Final Thoughts
I have to say, this Mint Chocolate Fudge Recipe quickly became my go-to fudge for holidays, gifts, or whenever I need a little sweet comfort. It’s one of those recipes that feels fancy but is genuinely easy to pull off — which is a winning combo in my book. I hope you try it out and end up loving it as much as my family does. Once you taste that minty chocolate bliss, you’ll totally get why I keep coming back to this recipe again and again!
Print
Mint Chocolate Fudge Recipe
- Prep Time: 5 minutes
- Cook Time: 5-10 minutes
- Total Time: 2 hours 15 minutes
- Yield: 16 squares
- Category: Dessert
- Method: Stovetop
- Cuisine: American
Description
This Mint Chocolate Fudge recipe is a simple, creamy, and delicious treat combining rich semi-sweet chocolate with refreshing peppermint flavor. It requires only a few ingredients and minimal preparation, perfect for satisfying your sweet tooth with decadent homemade fudge.
Ingredients
Ingredients
- 3 cups semi sweet chocolate chips (18 ounces)
- 14 ounces sweetened condensed milk
- 1 tablespoon unsalted butter
- 1 1/2 teaspoons pure peppermint extract
- 1 teaspoon pure vanilla extract
Instructions
- Prepare the Pan: Line an 8×8 inch pan with parchment paper or foil and spray it lightly with non-stick cooking spray to ensure easy removal of the fudge later.
- Melt Ingredients: In a medium saucepan over low heat, combine the semi sweet chocolate chips, sweetened condensed milk, and unsalted butter. Stir constantly to prevent burning and ensure the mixture becomes fully melted, smooth, and creamy. Keep the heat low and avoid boiling. This process typically takes 5 to 10 minutes depending on your stove and saucepan.
- Add Flavors: Once the chocolate mixture is creamy and smooth, remove the pan from heat. Stir in the peppermint extract and vanilla extract thoroughly to evenly distribute the flavors.
- Set the Fudge: Pour the chocolate mixture into the prepared pan and spread it evenly with a spatula. Cover the pan and refrigerate for at least 2 hours, or until the fudge is completely set and firm to the touch.
- Serve and Store: Once set, carefully lift the fudge out of the pan using the parchment paper or foil. Peel off the lining, then cut the fudge into squares. Store the fudge in an airtight container in the refrigerator for up to 2 weeks.
Notes
- Use good quality semi sweet chocolate chips to achieve the best flavor and texture.
- Keep heat low during melting to avoid burning the chocolate mixture.
- Refrigerating the fudge for at least 2 hours ensures it sets properly for easy cutting.
- Store fudge in an airtight container in the fridge to maintain freshness up to 2 weeks.
Nutrition
- Serving Size: 1 square (approx. 1 oz)
- Calories: 150
- Sugar: 20g
- Sodium: 30mg
- Fat: 7g
- Saturated Fat: 4g
- Unsaturated Fat: 3g
- Trans Fat: 0g
- Carbohydrates: 22g
- Fiber: 1g
- Protein: 2g
- Cholesterol: 10mg

Your email address will not be published. Required fields are marked *