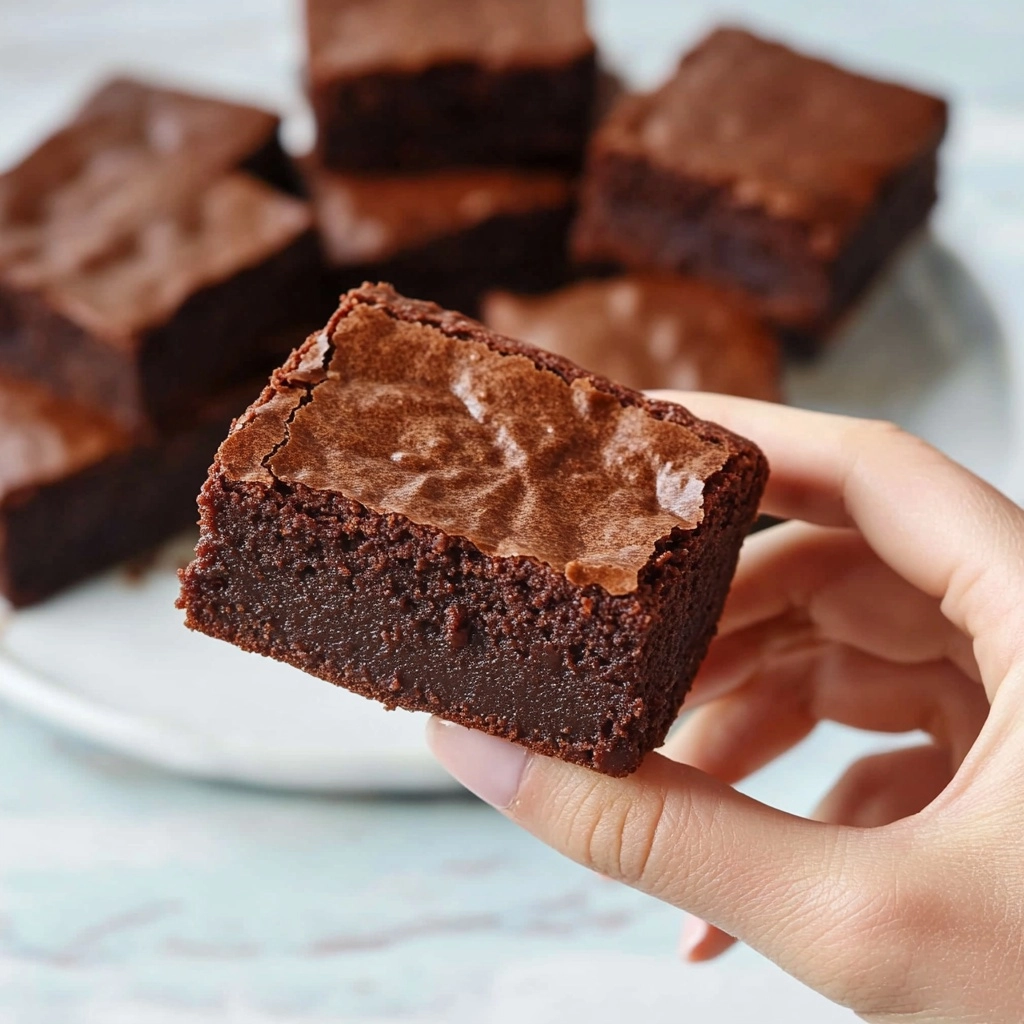
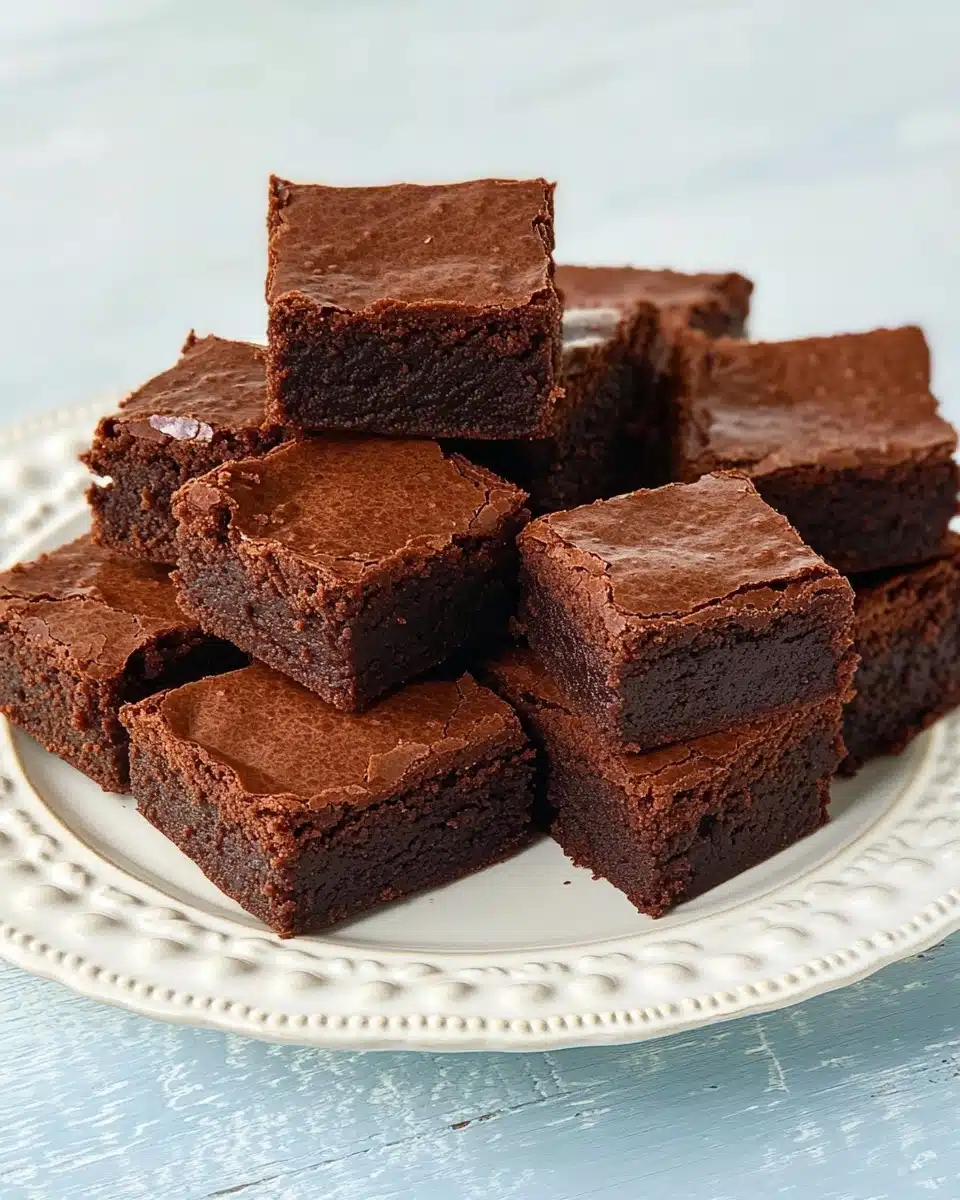
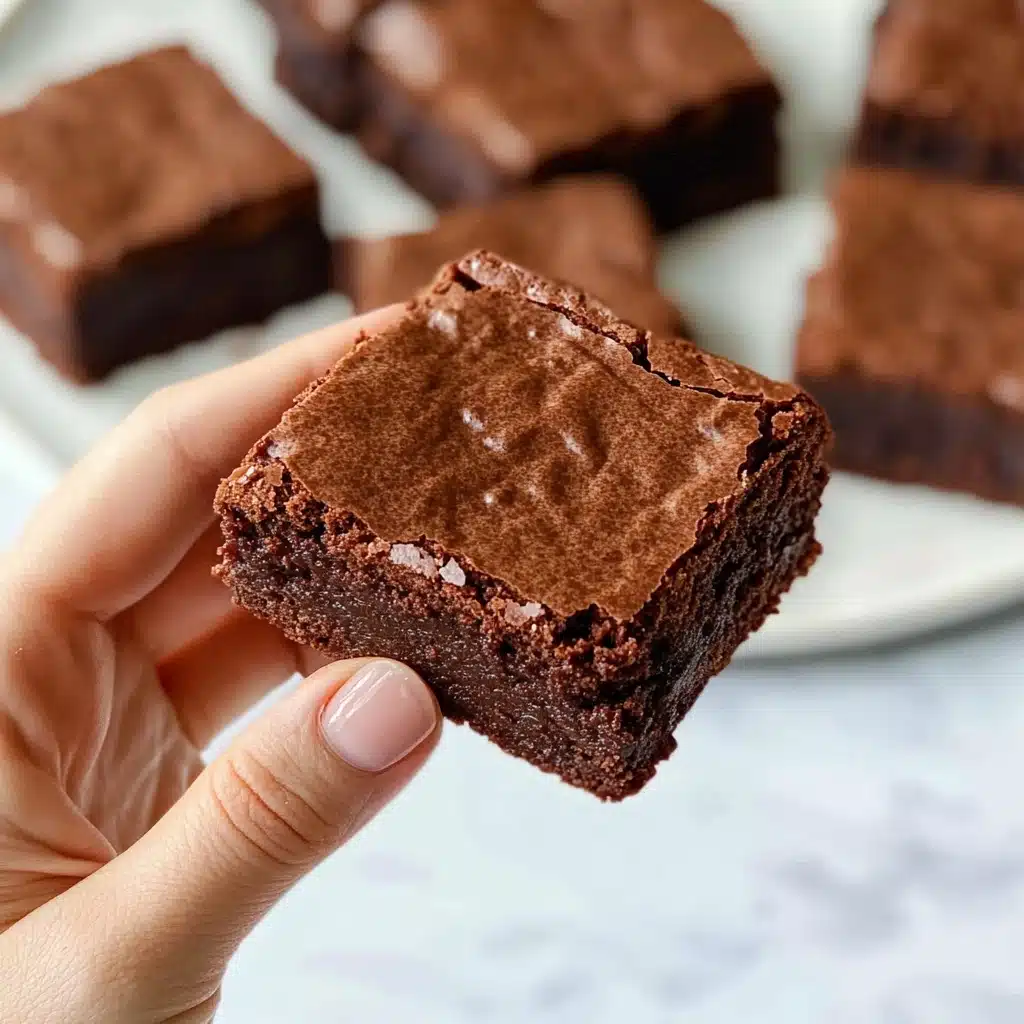
If you’re ready to fall head over heels for a gooey, fudgy treat with a delightful chewy twist, you must try this Mochi Brownies Recipe! Imagine the ultimate fusion of rich chocolate brownies and the signature bouncy texture of mochi—you get the best of both worlds in every luscious bite.
Why You’ll Love This Recipe
- Perfectly Chewy Texture: Every square boasts that signature mochi chew paired with fudgy brownie richness—absolutely addictive!
- Deep Chocolate Flavor: Bittersweet chocolate and cocoa combine for a decadent, not-too-sweet chocolate experience.
- One-Bowl Simple: No fancy mixers or equipment—just a saucepan and a bowl make for easy prep and cleanup.
- Always a Crowd-Pleaser: The Mochi Brownies Recipe is unique enough to turn heads at potlucks and bake sales, yet comforting for any chocolate lover.
Ingredients You’ll Need
This Mochi Brownies Recipe uses a handful of pantry staples, yet each ingredient plays a specific—and delicious—role in creating that irresistible, chewy brownie magic. Here’s why they matter:
- Whole Milk: Adds moisture and richness, ensuring the batter stays silky smooth.
- Bittersweet Chocolate: Deep, complex chocolate flavor forms the backbone of these brownies—use a good quality chocolate for best results.
- Butter: Brings classic brownie richness and gives these bars a tender crumb.
- Unsweetened Cocoa Powder: Intensifies the chocolate notes and deepens the color.
- Eggs: At room temperature, they help the batter bind and rise, creating that fudgy-yet-airy texture.
- Full Fat Coconut Milk: Adds luxurious creaminess and a subtle, irresistible hint of coconut that pairs beautifully with chocolate.
- Vanilla Extract: Rounds out the chocolate and coconut flavors with a sweet, fragrant finish.
- Sweet Glutinous Rice Flour: The secret to that bouncy, chewy mochi texture—don’t substitute with regular rice flour!
- Granulated Sugar: Sweetens the deal without overpowering the chocolate or coconut.
- Baking Powder: A bit of lift to keep things pleasantly cakey at the edges.
- Salt: Brings all the flavors into sharp, spectacular focus.
Variations
The beauty of this Mochi Brownies Recipe is how easy it is to personalize! Whether you’re after a different flavor twist, need to tweak for dietary needs, or want to raid your pantry for creative add-ins, the possibilities are wide open.
- Matcha Marble: Swirl in a couple tablespoons of matcha powder with part of the batter for a green tea-chocolate fusion that’s both striking and delicious.
- Nutty Crunch: Fold in toasted walnuts, pecans, or black sesame seeds for a pop of texture and extra depth of flavor.
- Dairy-Free: Swap out the whole milk and butter for plant-based alternatives to make the brownies fully dairy-free—just keep the coconut milk!
- Double Chocolate: Stir some chocolate chips into the batter right before baking for melty pockets of chocolate surprise in every bite.
How to Make Mochi Brownies Recipe
Step 1: Prep the Pan & Oven
Begin by preheating your oven to 350°F (180°C). Line a 9×13-inch baking pan with parchment paper—don’t skip this step! It makes removing the extra-chewy brownies a breeze later on (no sticking, no crumbling, just perfect bars).
Step 2: Melt Chocolate & Butter
In a small saucepan, combine the milk, chopped bittersweet chocolate, butter, and cocoa powder. Warm gently over low heat, stirring occasionally, just until the chocolate and butter are fully melted and the mixture is smooth. This step creates a gorgeously glossy chocolate base—let it cool for 15 minutes before moving on, so you don’t scramble the eggs later.
Step 3: Add Eggs, Coconut Milk, and Vanilla
Once the chocolate mixture is cool (it should feel just barely warm to the touch), whisk in the eggs, coconut milk, and vanilla extract. Whisk until everything is evenly combined and silky—this is where that irresistible moistness is born!
Step 4: Mix Dry Ingredients
In a separate bowl, whisk together the sweet glutinous rice flour, granulated sugar, baking powder, and salt. This ensures even distribution for the classic, pillowy mochi texture and perfectly balanced sweetness.
Step 5: Combine and Bake
Stir the dry ingredients into your chocolate mixture until just combined—don’t overmix! Pour the thick, glossy batter into the prepared pan, smoothing the top with a spatula. Bake for 45–50 minutes, or until the brownies are set and firm to the touch (a toothpick will come out clean or with just a few moist crumbs).
Step 6: Cool and Slice
Let your Mochi Brownies cool completely in the pan—this lets the signature chewy texture fully develop. Once cooled, lift out the slab using the parchment, then slice into bars or squares. Prepare yourself: trying not to eat them all at once is the real challenge!
Pro Tips for Making Mochi Brownies Recipe
- Don’t Skip the Cooling Stage: Allowing the melted chocolate mixture to cool before adding eggs protects the gorgeous texture and ensures your brownies stay chewy, not cakey.
- Mix Gently for Best Bounce: Overmixing can create a tough texture—mix until just combined for a perfect mochi-brownie chew.
- Check for Doneness with a Light Touch: These brownies are ready when they feel set and springy; a toothpick may still be slightly sticky because of their fudgy, mochi nature.
- Slice with a Wet Knife: For neat, clean edges, dip your knife in hot water and wipe it between cuts—this trick works wonders for sticky, chewy treats like Mochi Brownies!
How to Serve Mochi Brownies Recipe

Garnishes
Add an extra finishing touch by dusting the tops with a little powdered sugar, a light sprinkle of cocoa powder, or even some toasted coconut flakes for extra flavor and visual appeal. You could also drizzle a small amount of melted chocolate, or scatter a few chocolate chips on while the brownies are still warm for an indulgent look.
Side Dishes
For an extra-special treat, serve your Mochi Brownies with fresh berries, a scoop of vanilla ice cream, or lightly sweetened whipped cream. The cool, creamy textures pair beautifully with the deep cocoa flavor and chewy base, creating an irresistible dessert platter.
Creative Ways to Present
Slice your brownies into fun shapes using cookie cutters, stack them into towers with layers of fruit or whipped cream between, or serve them as bite-sized cubes on dessert skewers for a playful party treat. If you want to get really creative, wrap individual squares in parchment for cute, portable snacks or party favors!
Make Ahead and Storage
Storing Leftovers
Store any leftover Mochi Brownies Recipe squares in an airtight container at room temperature for up to 3 days. Keeping them covered prevents them from drying out and keeps that signature chewy texture fresh and satisfying.
Freezing
These brownies freeze remarkably well! Layer cooled squares between parchment in a freezer-safe container, and freeze for up to two months. Thaw at room temperature when you’re ready for a chewy, chocolatey treat on demand.
Reheating
Want that fresh-baked feel? Warm chilled or thawed Mochi Brownies for just 10–15 seconds in the microwave. The steam revives the mochi texture and makes the brownies delightfully soft and fudgy all over again—just keep an eye on them so they don’t overheat and become tough.
FAQs
-
What makes this Mochi Brownies Recipe different from regular brownies?
The use of sweet glutinous rice flour is truly the game-changer; it gives these brownies their uniquely chewy, bouncy texture—like classic baked brownies crossed with Japanese mochi. The combination of chocolate, coconut milk, and rice flour makes every bite satisfyingly soft, fudgy, and stretchy in the best way!
-
Can I substitute regular rice flour for glutinous rice flour?
No, regular rice flour will not produce that signature mochi chew—it will result in a crumbly texture. Be sure to use sweet glutinous rice flour (sometimes labeled as “mochiko” or “sweet rice flour”) for authentic, chewy brownies.
-
Are Mochi Brownies gluten-free?
Yes! Sweet glutinous rice flour is naturally gluten-free, and all the other ingredients in this Mochi Brownies Recipe are as well—just double-check your chocolate brand to be certain if needed.
-
Can I make the Mochi Brownies Recipe ahead of time?
Absolutely. These brownies actually develop an even chewier texture after resting. Simply bake, cool, and store as directed—then serve whenever your craving strikes!
Final Thoughts
If you adore the contrast between fudgy chocolate and that amazing mochi chew, this Mochi Brownies Recipe might just become your new signature bake. Don’t be surprised if friends and family beg for the recipe—a batch of these brownies is a joyful twist on the classic that’s simply meant to be shared. Happy baking!
Print
Mochi Brownies Recipe
- Prep Time: 15 mins
- Cook Time: 45 mins
- Total Time: 1 hour
- Yield: 18 bars
- Category: Baking
- Method: Baking
Description
These Mochi Brownies are a delightful twist on traditional brownies, combining the chewy texture of mochi with rich chocolate flavors.
Ingredients
For the Mochi Brownies:
- 2 cups (16floz/480ml) whole milk
- 1 cup (6oz/170g) bittersweet chocolate (chopped)
- 1/2 cup (4oz/115g) butter
- 3 tablespoons unsweetened cocoa powder
- 2 large eggs (at room temperature)
- 1 can (13.5floz/398ml) full-fat coconut milk
- 2 teaspoons vanilla extract
- 1 box (about 3 cups/16oz/450g) sweet glutinous rice flour
- 2 cups (16oz/450g) granulated sugar
- 2 teaspoons baking powder
- 1/2 teaspoon salt
Instructions
- Preheat the oven: Preheat the oven to 350°F (180°C) and line a 9×13-inch (23x33cm) pan with parchment paper. Set aside.
- Prepare the chocolate mixture: In a small saucepan, combine the milk, chocolate, butter, and cocoa powder. Warm over low heat until the chocolate melts, about 5 minutes. Remove from heat and cool for 15 minutes.
- Mix the batter: To the cooled chocolate mixture, add eggs, coconut milk, and vanilla. Whisk until well combined.
- Combine dry ingredients: In a separate bowl, whisk together sweet glutinous rice flour, sugar, baking powder, and salt. Stir into the chocolate mixture until evenly combined.
- Bake: Spread the batter into the prepared pan and bake for 45-50 minutes until firm.
- Cool and serve: Allow the brownies to cool completely before cutting into bars. Store in an airtight container for up to 3 days.


Your email address will not be published. Required fields are marked *