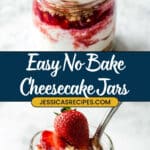
If you’re looking for an easy, no-fuss dessert that steals the show at any gathering, these No Bake Cheesecake Jars are about to become your new signature treat. Layers of buttery graham cracker crust and velvety cheesecake filling, all tucked into a cute little jar—everyone gets their own mini indulgence, and there isn’t a water bath or oven in sight!
Why You’ll Love This Recipe
- Instant Dessert Gratification: No baking, no water bath, just 30 minutes to creamy-smooth, homemade cheesecake you can pop right into the fridge.
- Perfectly Portable & Adorably Individual: Serving in jars makes these cheesecakes a hit for parties, picnics, or anytime you want a special, single-serve treat.
- Ultra-Creamy & Dreamy Texture: The whipped heavy cream lightens the dreamy filling for a mousse-like bite that melts in your mouth.
- Totally Customizable: From toppings to crust options, you can mix, match, and layer your favorite flavors every time you make these No Bake Cheesecake Jars.
Ingredients You’ll Need
You only need a handful of straightforward ingredients to whip up these No Bake Cheesecake Jars, but each one plays a crucial part in building that classic flavor and luscious texture. Every element, from the tangy cream cheese to the crunchy crust, brings something delicious to the table!
- Unsalted Butter: Melted to bind the graham cracker crumbs, giving the crust that rich, buttery base you crave.
- Graham Cracker Crumbs: The golden foundation that adds nostalgic crunch and soaks up buttery goodness—save time by using store-bought crumbs or crush your own crackers.
- Heavy Cream: Whipped into stiff peaks, this makes your cheesecake filling irresistibly light and airy.
- Full-Fat Brick Cream Cheese: For the best flavor and texture, choose a block of cream cheese (not spreadable or low-fat), softened to room temp for dreamy smoothness.
- Granulated Sugar: Just enough to sweeten without overwhelming, letting the tangy notes of cream cheese shine.
- Sour Cream: Adds a touch of tang and silkiness to the filling—don’t skip it!
- Lemon Juice: Brightens things up and balances richness with a little citrus zip.
- Pure Vanilla Extract: Rounds out all the flavors with warm, fragrant sweetness.
- Toppings & Garnishes: The sky’s the limit: try fruit compotes, chocolate or caramel sauce, whipped cream, or any of the garnish ideas below!
Variations
One of the joys of No Bake Cheesecake Jars is just how easy they are to adapt for any occasion, cravings, or dietary need. Let your imagination—and what’s in your pantry—lead the way!
- Chocolate Crust Swap: Use crushed chocolate cookies or chocolate graham crackers for a double-chocolate twist that’s simply decadent.
- Vegan/Dairy-Free Option: Substitute plant-based cream cheese, coconut whipped cream, and vegan butter for a completely dairy-free treat—just be sure to taste and tweak sweetness as needed.
- Gluten-Free Goodness: Gluten-free graham crackers make this dessert friendly for everyone without sacrificing any of that classic flavor.
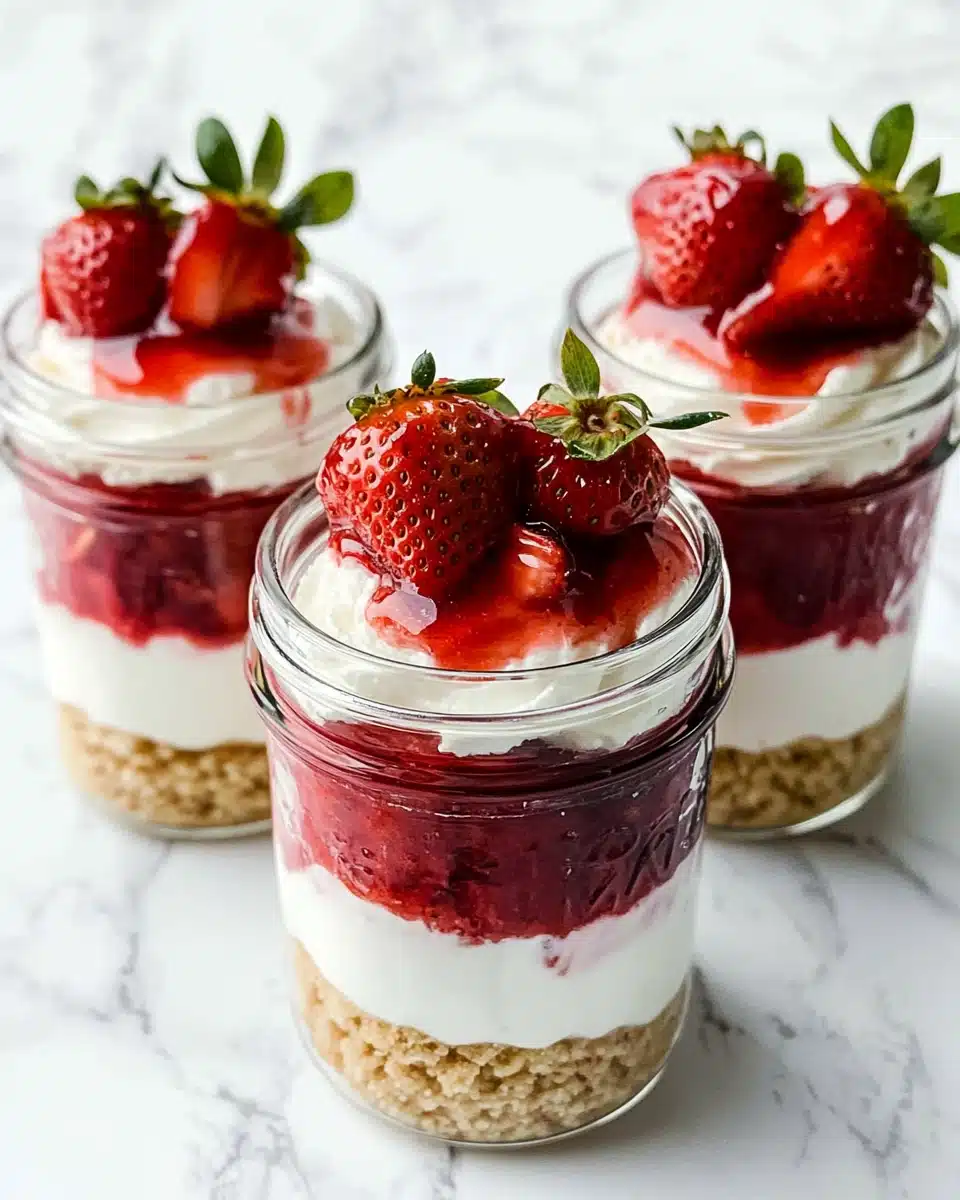
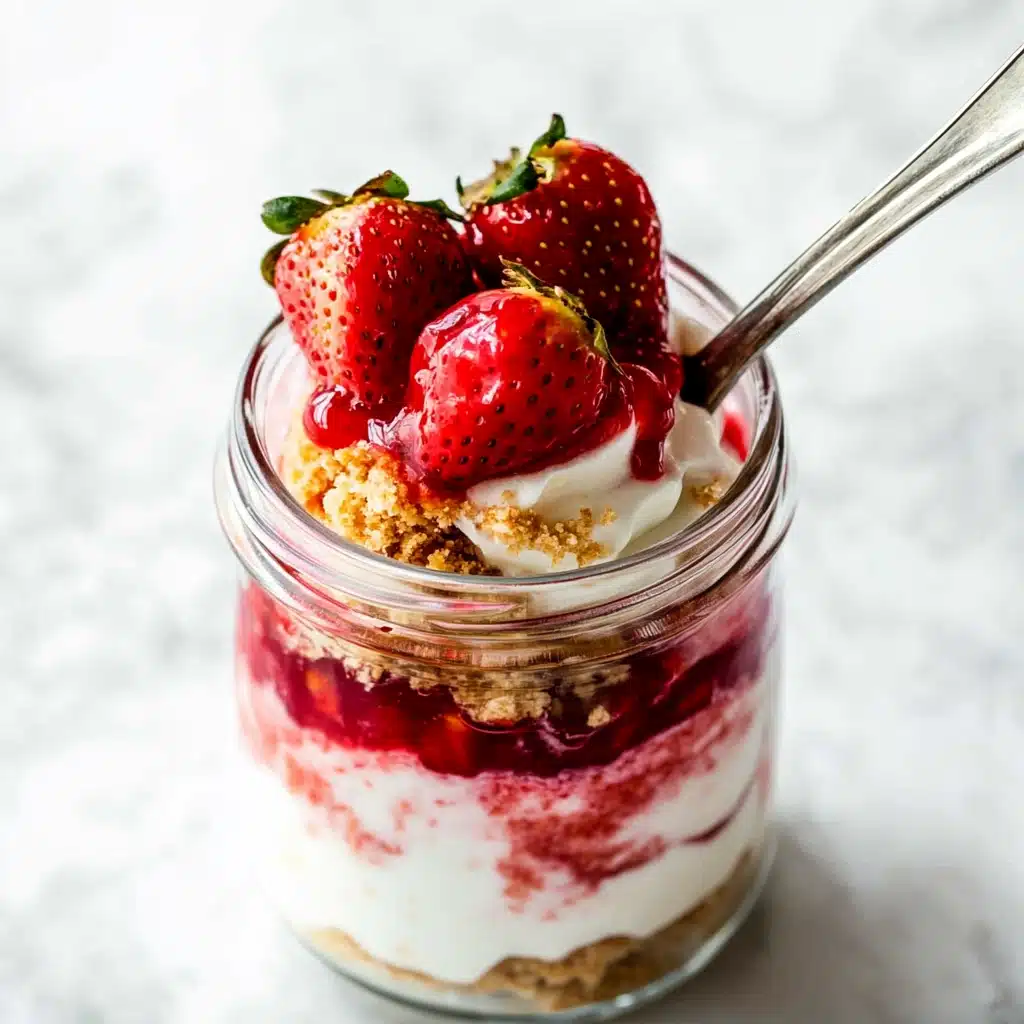
- Fruit-Lover’s Dream: Layer in lemon curd, berry compote, strawberry topping, or fresh fruit for a fresh pop of color and taste—each spoonful is a new adventure!
How to Make No Bake Cheesecake Jars
Step 1: Prepare the Graham Cracker Crust
Start by melting your butter (a quick zap in the microwave does the trick!), then stir it into the graham cracker crumbs until everything looks like golden, wet sand. Spoon a generous layer into each jar, pressing it down lightly—it’s the crunchy, cozy foundation for your cheesecake magic!
Step 2: Whip the Cream
With a hand mixer or the whisk attachment on your stand mixer, whip the heavy cream until you see stiff peaks—this step makes the filling ultra-light and airy, so don’t stop until it’s cloud-like and holds its shape when you lift the beaters.
Step 3: Make the Cheesecake Filling
In a clean bowl, beat together the softened cream cheese, sugar, sour cream, lemon juice, and vanilla extract. Scrape down the bowl and keep mixing until absolutely smooth—this is your chance to ensure the filling turns out lusciously creamy, with no hidden lumps.
Step 4: Fold in the Whipped Cream
Using a silicone spatula (or your mixer’s lowest speed), gently fold the whipped cream into the cheesecake mixture. Go slowly! You want to keep all that lovely air in the filling—it should look fluffy and light, not dense or overmixed.
Step 5: Layer, Chill, and Top
Spoon big, beautiful dollops of filling on top of the crust in your jars, leaving enough space for toppings. You can serve your No Bake Cheesecake Jars right away at room temperature, or pop them in the fridge for a cool, creamy treat later. For best results, add your toppings just before serving—fruit, sauces, or a swirl of whipped cream are picture-perfect!
Pro Tips for Making No Bake Cheesecake Jars
- Room Temperature Ingredients: For the creamiest filling, make sure your cream cheese and sour cream are at room temperature before mixing—this helps everything blend together without a single lump.
- Gentle Folding Is Key: When combining your whipped cream with the cheesecake mixture, go slow and use broad strokes—this keeps the filling wonderfully fluffy and prevents it from becoming dense.
- Chill for Clean Layers: If you want picture-perfect, distinct layers, chill assembled jars for at least 30 minutes before adding your toppings.
- Toppings Timing: For best results, add wet toppings like fruit sauce or ganache just before serving so they stay fresh and don’t seep into the creamy filling.
How to Serve No Bake Cheesecake Jars
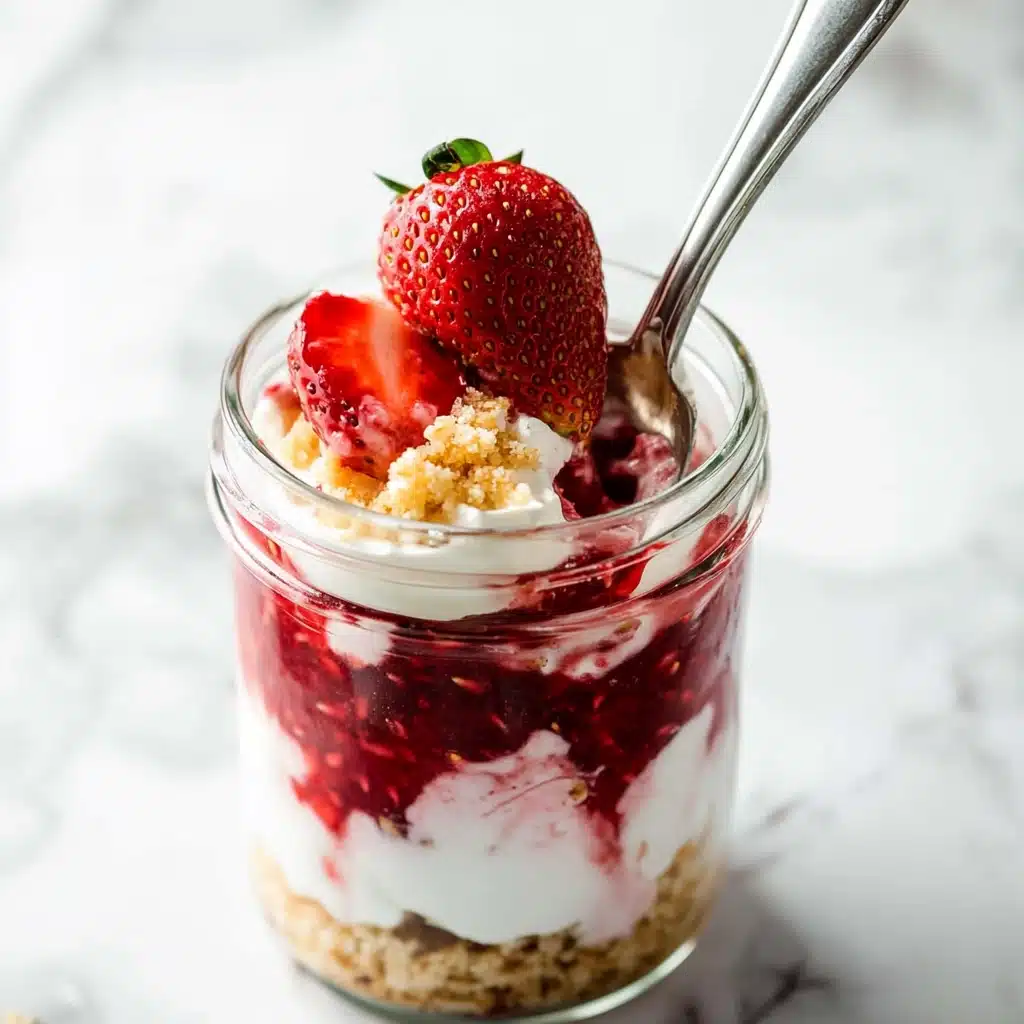
Garnishes
Get creative with garnishes: a swirl of whipped cream, a sprinkle of citrus zest, a handful of fresh berries, or a few shavings of dark chocolate make every No Bake Cheesecake Jar feel truly special. Try adding toasted nuts, chocolate chips, or even colorful sprinkles to bring more texture and fun to the party!
Side Dishes
These little jars are a star all on their own, but if you’re serving a crowd, pair them with platters of finger foods like fresh fruit skewers, lemon bars, or a cheese and cracker board for a beautiful and satisfying dessert spread.
Creative Ways to Present
For parties, tie a ribbon and tiny spoon onto each jar for extra flair. Host a “topping bar” where everyone customizes their own No Bake Cheesecake Jar, or create a rainbow effect by layering multiple fruit sauces. These jars look gorgeous in clear glass, but you can also use vintage teacups, mini tumblers, or even mason jars for rustic charm.
Make Ahead and Storage
Storing Leftovers
No Bake Cheesecake Jars store beautifully in the fridge for up to 5 days—just cover them tightly with lids or plastic wrap to keep them fresh and prevent them from absorbing any other flavors.
Freezing
You can freeze assembled (untopped) jars for up to 3 months. Seal them well and thaw overnight in the refrigerator before topping and serving—these make-ahead treats are perfect for planning ahead for parties or special celebrations.
Reheating
Since these cheesecakes are enjoyed cold, there’s no reheating necessary. Just bring the jars out of the fridge, add your favorite toppings, and enjoy—no oven or microwave required!
FAQs
-
Can I make No Bake Cheesecake Jars in advance?
Absolutely! You can assemble the jars (minus the toppings) up to 3 days ahead. Store them covered in the fridge, and add your toppings about 1–2 hours before serving for the freshest look and taste.
-
Do I have to use graham crackers for the crust?
Nope! Any crunchy cookie works—try chocolate wafer cookies, Biscoff biscuits, or gluten-free graham-style crackers for a unique twist. Just crush and mix with butter, then proceed as directed.
-
Can I double or triple this recipe?
Yes, No Bake Cheesecake Jars are super easy to scale up for a party! Just multiply all ingredient amounts, grab extra jars, and allow a little more time for whipping and mixing as the volume increases.
-
Why is my filling not setting or staying firm?
This usually means the whipped cream wasn’t stiff enough or a lower-fat cream cheese was used. For the best results, use full-fat block cream cheese and whip the cream until you see firm peaks before folding gently into the mixture.
Final Thoughts
There’s nothing quite as satisfying as diving spoon-first into your own No Bake Cheesecake Jar—creamy, tangy, sweet, and simply joyful in every bite. If you’re craving an effortless crowd-pleaser or a quick weeknight treat, give these gems a try. Trust me, you’ll be making them on repeat all year long!
Print
No Bake Cheesecake Jars Recipe
- Prep Time: 30 minutes
- Cook Time: 0 minutes
- Total Time: 30 minutes
- Yield: 6 servings
- Category: Dessert
- Method: No-Bake
- Cuisine: American
- Diet: Vegetarian
Description
Indulge in the creamy, luscious goodness of these No Bake Cheesecake Jars that are easy to make and a delight to eat. Perfect for a quick dessert fix or for entertaining guests!
Ingredients
Crust:
- 2 Tablespoons (28g) unsalted butter, melted
- 1 cup (100g) graham cracker crumbs (about 8 graham crackers)
Filling:
- 1 cup (240ml) heavy cream or heavy whipping cream, cold
- 8 ounces (226g) full-fat brick cream cheese, softened to room temperature
- 1/3 cup (65g) granulated sugar
- 2 Tablespoons (30g) sour cream, at room temperature
- 1 teaspoon lemon juice
- 1/2 teaspoon pure vanilla extract
Additional:
- toppings & garnishes (see note)
Instructions
- Crust: Melt the butter and mix with graham cracker crumbs. Spoon into jars.
- Filling: Whip cream, then beat cream cheese, sugar, sour cream, lemon juice, and vanilla. Fold in whipped cream. Layer filling over crust in jars.
- Spoon toppings and garnishes on top. Chill if desired.
Notes
- Make ahead up to 3 days. Can freeze for up to 3 months.
- Special tools recommended: Glass Jars, Glass Mixing Bowls, Electric Mixer, Silicone Spatula
- Various topping and garnish options available.
Nutrition
- Serving Size: 1 jar
- Calories: Approximately 350
- Sugar: 15g
- Sodium: 220mg
- Fat: 25g
- Saturated Fat: 15g
- Unsaturated Fat: 7g
- Trans Fat: 0g
- Carbohydrates: 30g
- Fiber: 1g
- Protein: 4g
- Cholesterol: 85mg

Your email address will not be published. Required fields are marked *