

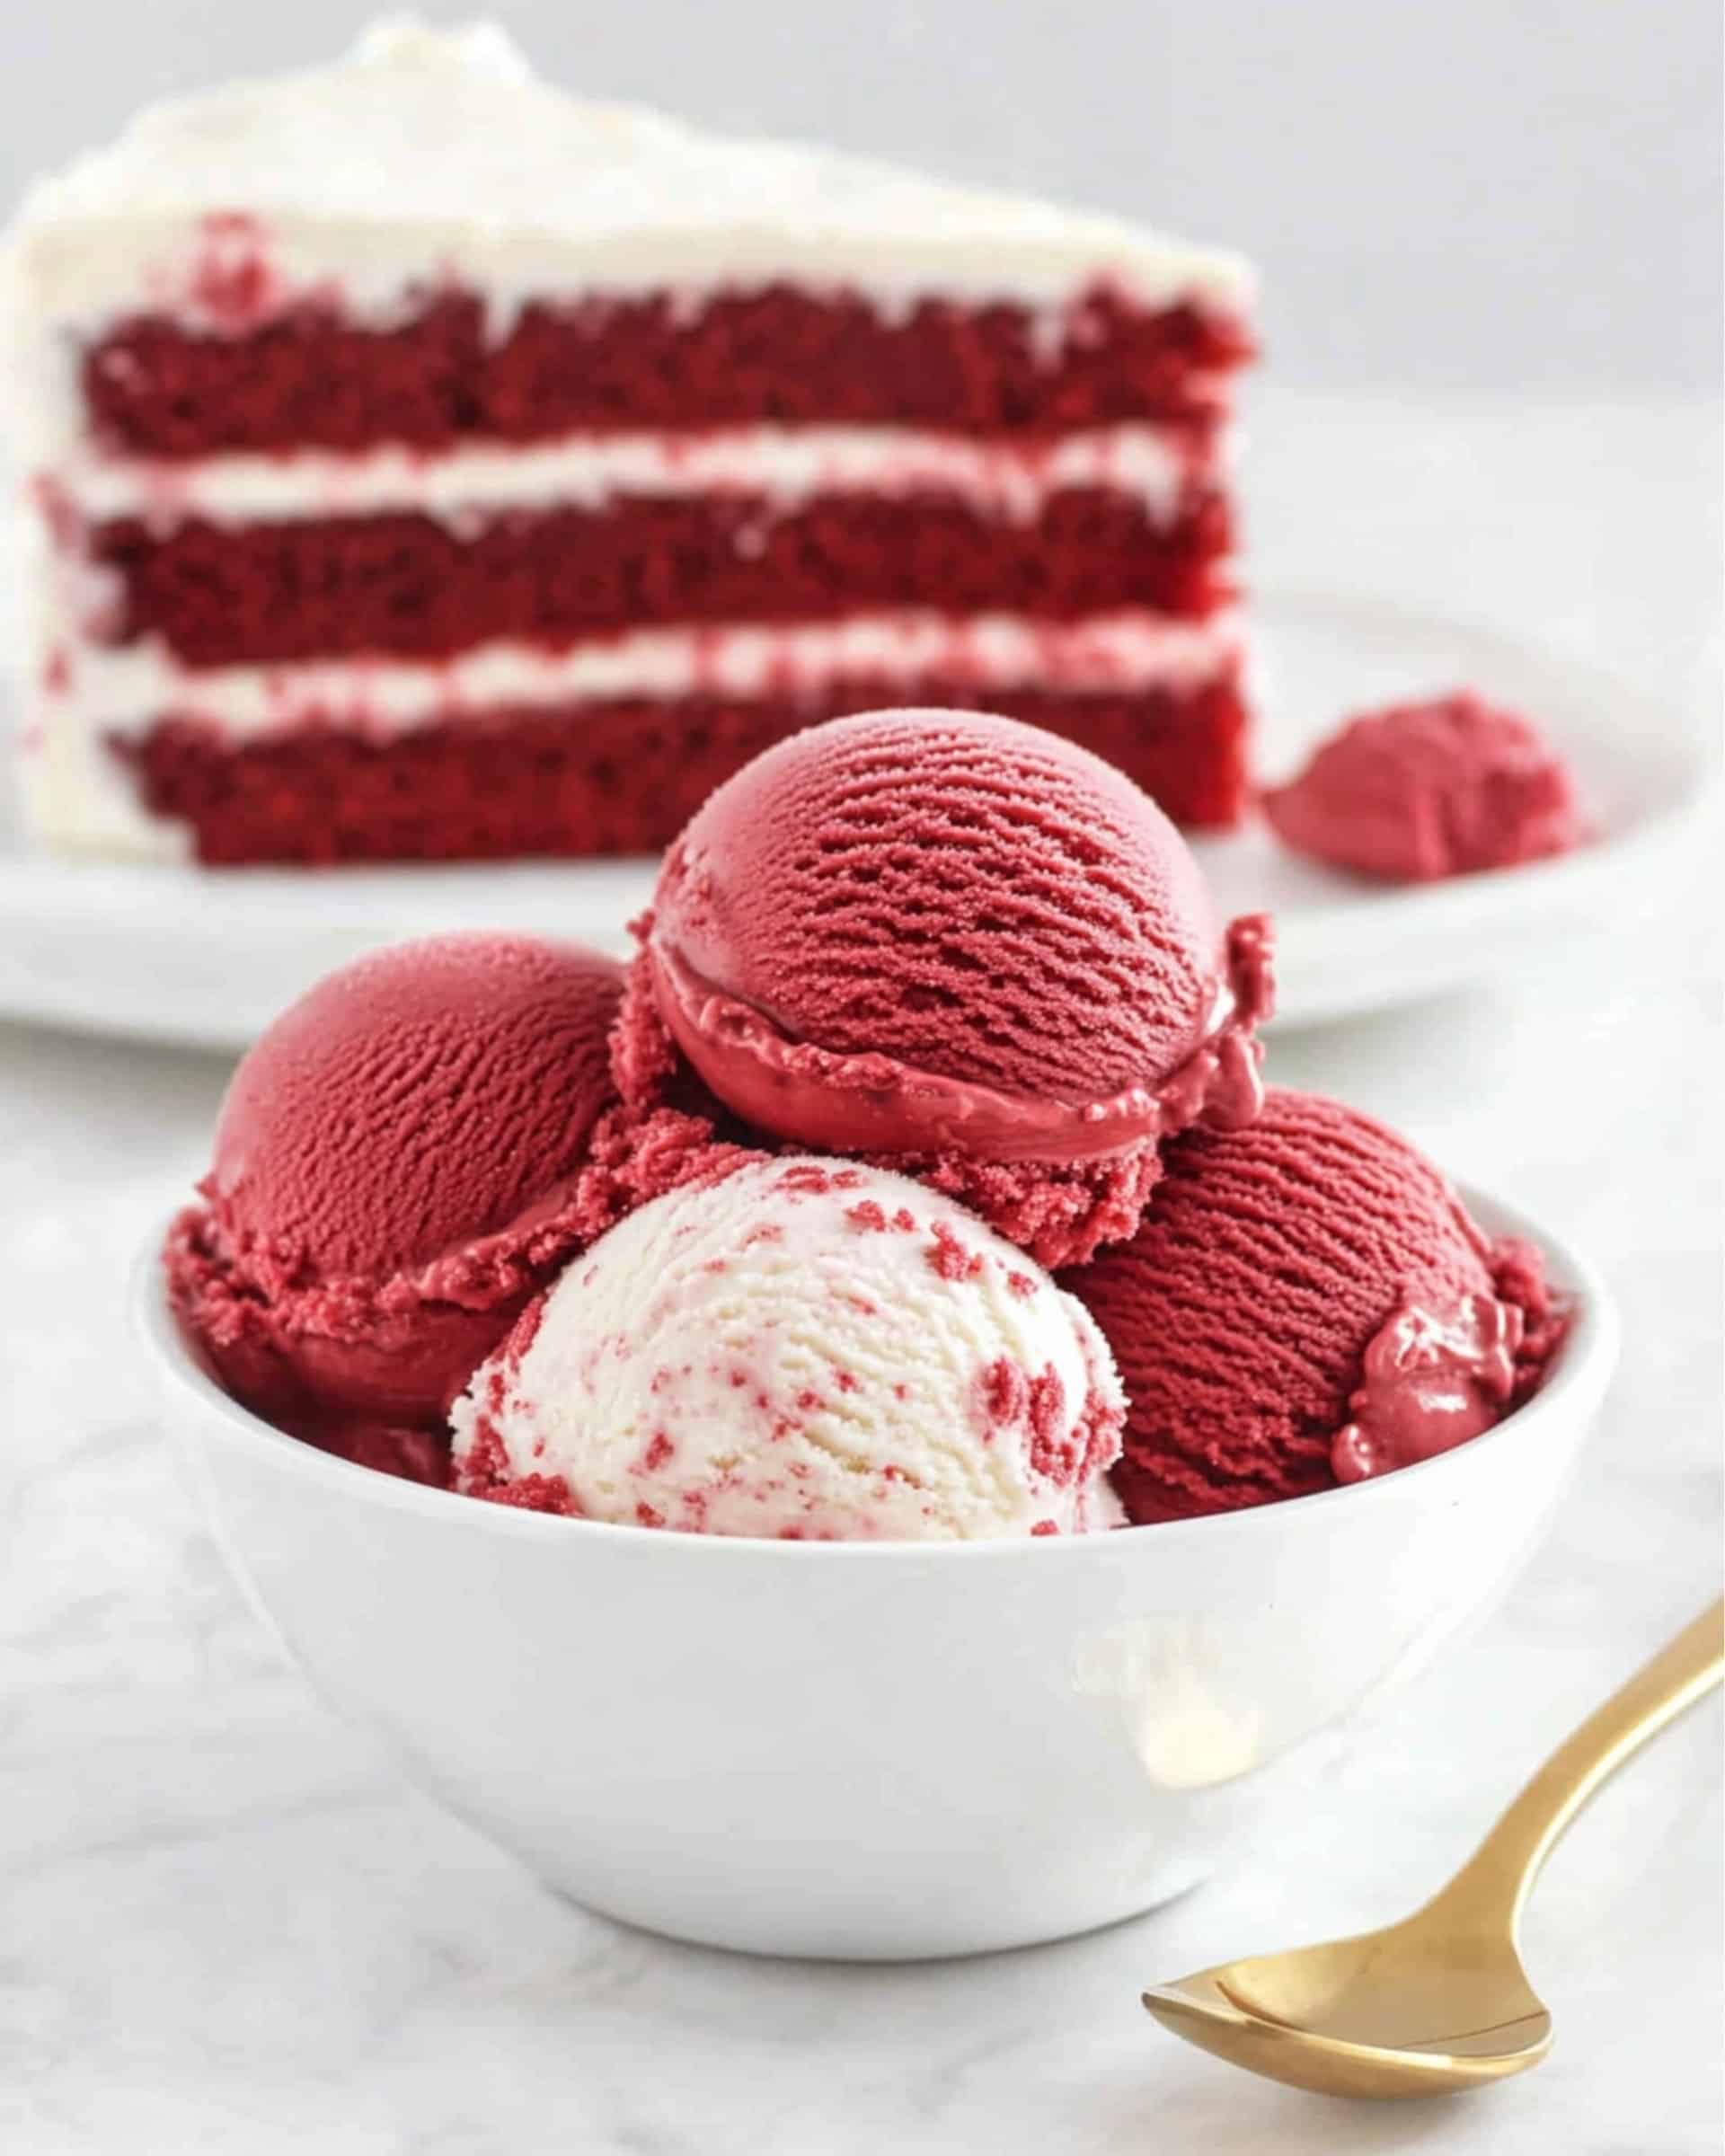
Rich, creamy, and decadent, Red Velvet Ice Cream is a luscious dessert that’s so easy to make, it’ll become your go-to indulgence for any occasion. This homemade treat strikes the perfect balance between tangy cream cheese, sweet sugar, and chunks of moist red velvet cake. Whether it’s for a festive holiday, a romantic night in, or just because you deserve something extra special, this is the dessert you didn’t know you needed in your life.
Why You’ll Love This Recipe
- Luxurious and Creamy: Every spoonful is velvety smooth, with that indulgent creaminess you crave in a good ice cream.
- Special yet Simple: This feels like a fancy dessert but is surprisingly easy to make—no complicated steps or exotic ingredients required.
- Perfect for Cake Lovers: It combines the magic of red velvet cake with the richness of ice cream, making it the ultimate marriage of desserts.
- Endlessly Customize-able: Add your own twist to the recipe with fun variations and mix-ins—hello, chocolate chips or a swirl of cream cheese frosting!

Ingredients
Let’s take a look at the simple ingredients that make this show-stopping dessert!
- Cream Cheese: The heart of the ice cream, lending it that tangy richness reminiscent of red velvet cake frosting. Soften it for easy blending.
- Sour Cream: Adds a tangy kick and creamy texture. You can swap it with Greek yogurt if needed.
- Half-and-Half: A mix of milk and cream to keep the base luscious but not overly heavy. Regular milk works in a pinch, but you’ll trade off some richness.
- Granulated Sugar: Just the right amount of sweetness to complement the savory tang of the cream cheese.
- Salt: Don’t skip it! A pinch enhances the flavors and balances the sweetness.
- Vanilla Extract: A must for that classic, warm undertone. Use high-quality vanilla for a noticeable difference in flavor.
- Red Velvet Cake Crumbs: The star of the show! You can use plain cake crumbs or even crumbs from a frosted red velvet cake. Leftovers work beautifully here.
Tip: If you don’t have red velvet cake on hand, bake a simple boxed mix and let it cool before crumbling—or buy a pre-made cake at your local bakery!
Variations
This recipe is wonderful as is, but here are a few ways to make it your own:
- Chocolate Lovers: Add mini chocolate chips or a drizzle of chocolate sauce for an extra indulgent twist.
- Cheesecake Vibes: Swirl in some softened cream cheese frosting.
- Nuts & Crunch: Toss in crushed pecans, walnuts, or even crunchy biscuit bits for texture.
- Fruit Boost: Fold in raspberries or strawberries to complement the red velvet flavors beautifully.
How to Make Red Velvet Ice Cream
Here’s how to whip up your dream ice cream in just a few (efficient!) steps:
Step 1: Blend the Ice Cream Base
Start by cutting the cream cheese into smaller pieces and toss them into a food processor. Add the sour cream, half-and-half, sugar, salt, and vanilla extract. Blend everything together until you get a silky smooth purée. Pro Tip: Taste the mixture here—adjust the sweetness to your preference!
Step 2: Chill the Mixture
Transfer the ice cream base to a covered container and chill it for at least 8 hours, or until it’s super cold (aim for around 40°F). This is key for achieving that ultra-creamy texture when churning.
Step 3: Prep Your Cake Crumbs
While waiting for the base to chill, crumble your red velvet cake into bite-sized pieces. Spread them evenly in the container you’ll use to store the finished ice cream.
Step 4: Churn the Ice Cream
Once your base is chilled, pour it into your ice cream maker and let the magic happen! Follow your ice cream maker’s instructions for churning.
Step 5: Fold in the Cake Crumbs
When the ice cream is ready (it should be thick and soft-serve-like), immediately transfer it to the container with the red velvet crumbs. Gently fold them in to distribute the cake evenly without crushing too much.
Step 6: Freeze and Set
Pop the mixture into the freezer for at least 3 hours to firm up. Then, grab a spoon and dive into creamy, cake-studded perfection!
Pro Tips for Making the Recipe
- Cold is Key: Always ensure the base is well-chilled before churning to get the smoothest, creamiest texture.
- Invest in Good Vanilla: A high-quality vanilla extract takes this dessert from great to unforgettable.
- Don’t Overmix the Cake Crumbs: Be gentle when folding in the crumbs to keep their texture intact for those delightful bites of cake.
- Freeze in Small Batches: Consider dividing the mixture into smaller containers for faster freezing and easier portioning.
How to Serve
This Red Velvet Ice Cream is stellar on its own, but here are some fun serving ideas:
- Classic Scoop: Serve it in a bowl or a cone, topped with whipped cream and maybe a cherry for extra flair!
- Extra Red Velvet Love: Pair it with an actual slice of red velvet cake for a dessert that’s over-the-top in the best way.
- Sundae Style: Add a drizzle of chocolate or caramel syrup, some sprinkles, and a dollop of frosting for a sundae worthy of applause.
- Party Ready: Use it to fill ice cream sandwiches with soft sugar cookies or red velvet cookies. Game-changer!
Make Ahead and Storage
Storing Leftovers
Store the ice cream in an airtight container in the freezer for up to 2 weeks. Press a layer of parchment paper against the surface to prevent ice crystals from forming.
Freezing
If you plan to enjoy it later, portion the freshly churned (and folded) ice cream into freezer-safe containers immediately after making. This locks in freshness from the get-go.
Reheating
Okay, you won’t “reheat” ice cream, but if the ice cream gets too hard, let it sit at room temperature for a few minutes until it’s scoopable.
FAQs
1. Can I make this without an ice cream maker?
Yes! After blending the base, pour it into a shallow dish and freeze. Every 30 minutes, stir it vigorously with a fork until it firms up. It won’t be as creamy, but still delicious!
2. Can I use boxed red velvet cake mix?
Absolutely! Bake as directed, allow it to cool completely, and crumble. It’s a quick and easy option!
3. What if I don’t have cream cheese?
No worries! You can substitute mascarpone cheese for a similar creamy texture and flavor, though the signature tang will be milder.
4. How long does it take to churn the ice cream?
It depends on your ice cream maker, but it should take around 20-25 minutes. Check the manufacturer’s instructions for specifics.
Final Thoughts
Creamy, dreamy, and studded with heavenly cake bits, this Red Velvet Ice Cream is a dessert worth savoring. It’s everything wonderful about red velvet cake—transformed into a rich, chilled indulgence perfect for any occasion. Give this recipe a try, and don’t be surprised if this becomes the most-requested dessert in your repertoire! Grab your spoon and treat yourself—you deserve it.
Print
Red Velvet Ice Cream Recipe
- Prep Time: 11 hours
- Cook Time: 15 minutes
- Total Time: 11 hours 15 minutes
- Yield: Serves 6-8
- Category: Desserts
- Method: No-cook
- Cuisine: American
- Diet: Vegetarian
Description
This Red Velvet Ice Cream recipe combines the tanginess of cream cheese and sour cream with the sweetness of red velvet cake crumbs, creating a decadent frozen dessert perfect for any occasion.
Ingredients
Base Ingredients
-
- 8 ounces cream cheese
- 1 cup sour cream
- 1/2 cup half-and-half
- 2/3 cup granulated sugar
- Pinch of salt
- 1 teaspoon vanilla extract
Mix-ins
- 2 cups plain or already iced red velvet cake crumbs
Instructions
- Prepare the ice cream mixture: Cut the cream cheese into small pieces and place them in a food processor fitted with the metal blade. Add the sour cream, half-and-half, sugar, salt, and vanilla extract. Purée the mixture until it is smooth. Chill the mixture for at least 8 hours or until it reaches a cold temperature of about 40 degrees Fahrenheit.
- Churn the ice cream: When you’re ready to make the ice cream, churn the cold mixture in your ice cream maker following the manufacturer’s instructions.
- Add the red velvet cake crumbs: While the ice cream is churning, place the red velvet cake crumbs in the container you plan to use for storing the ice cream. Once the ice cream is finished churning, add it to the container with the cake crumbs. Quickly and gently fold the cake crumbs into the ice cream until evenly distributed.
- Freeze the ice cream: Store the folded mixture in the freezer until it is firm, which should take at least 3 hours. Serve once fully set and enjoy!
Notes
- Source: Adapted from Brown Eyed Baker, originally adapted from The Perfect Scoop
Nutrition
- Serving Size: 1/2 cup
- Calories: 250
- Sugar: 20g
- Sodium: 120mg
- Fat: 12g
- Saturated Fat: 7g
- Unsaturated Fat: 4g
- Trans Fat: 0g
- Carbohydrates: 28g
- Fiber: 0g
- Protein: 3g
- Cholesterol: 40mg

Your email address will not be published. Required fields are marked *