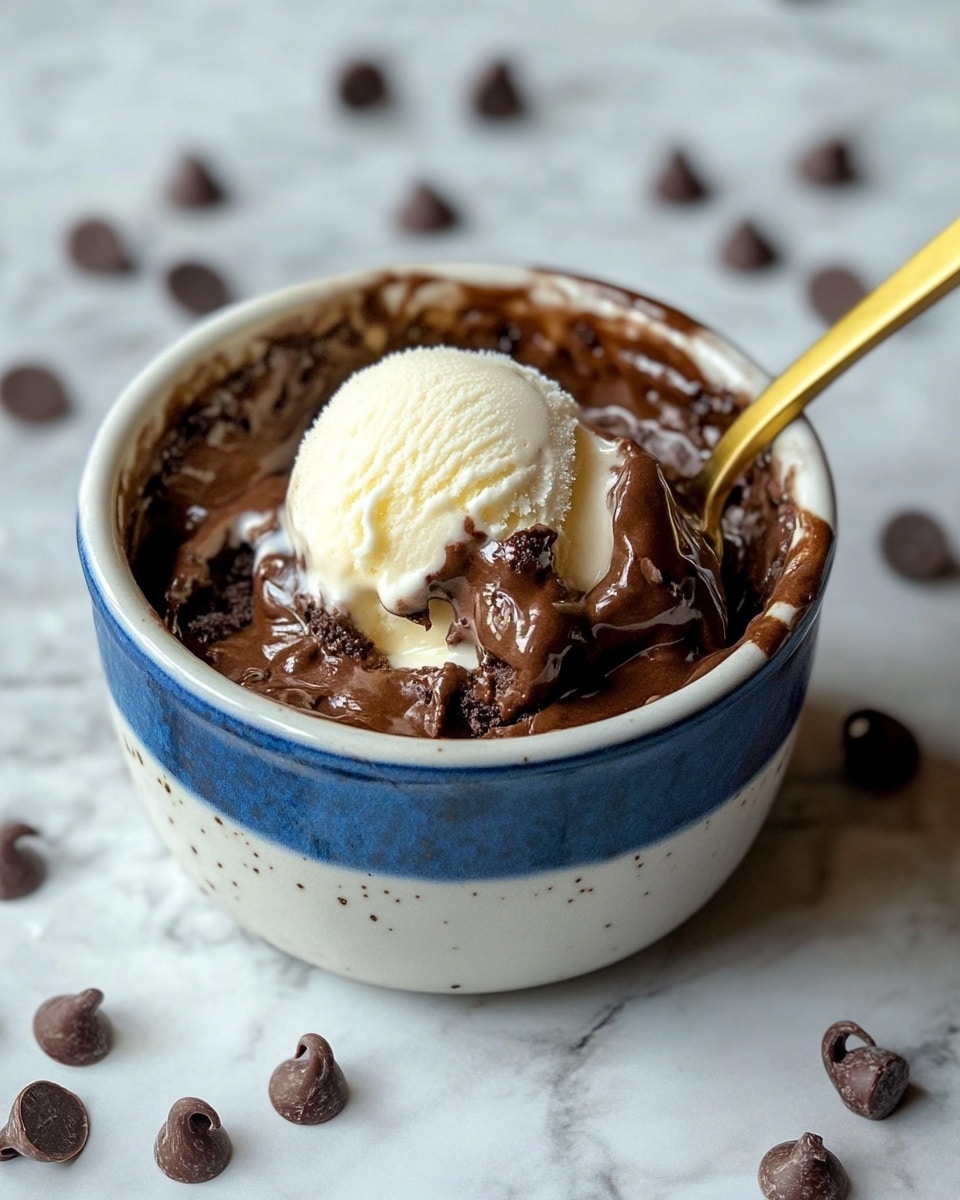
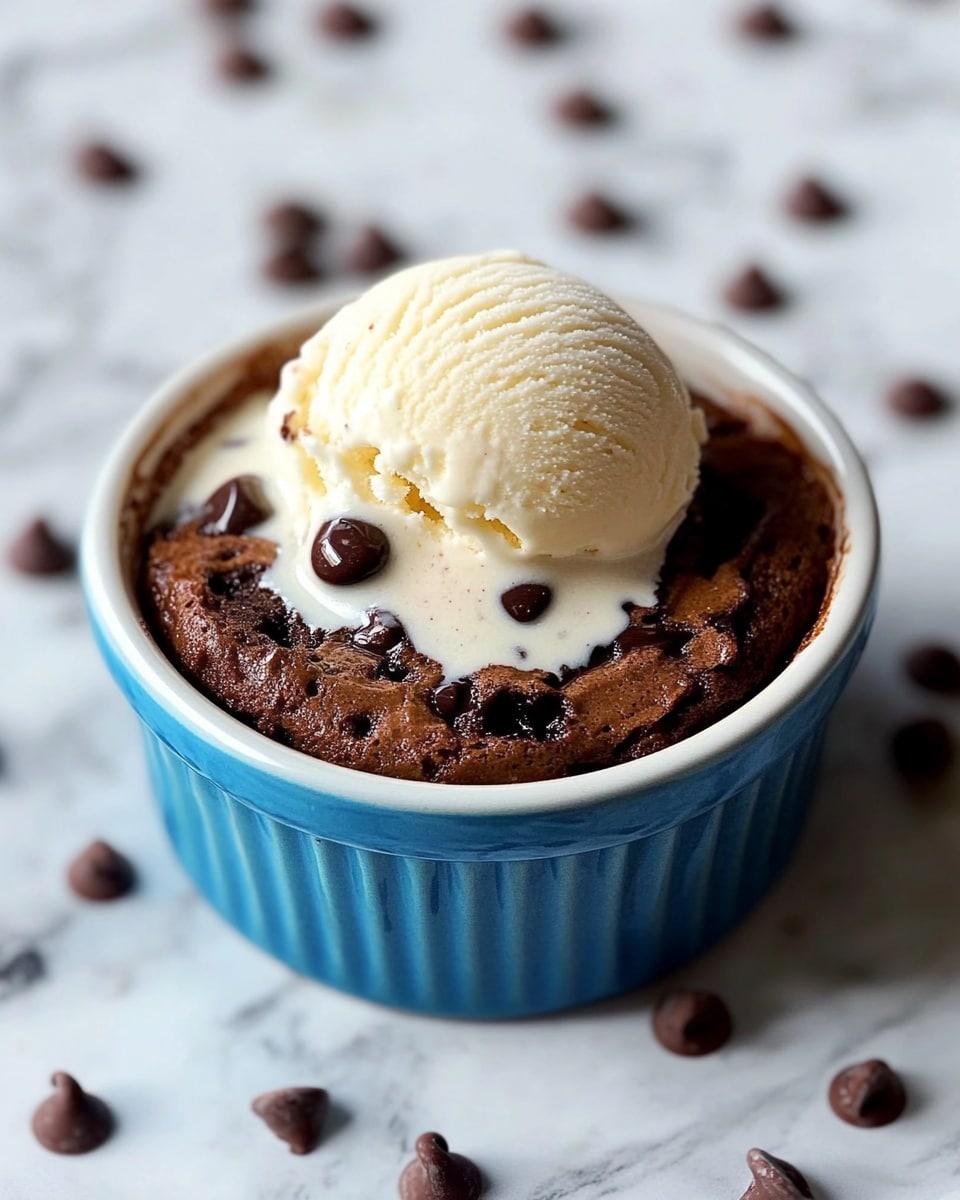
I absolutely love the magic of a Single Serving Molten Lava Cake Recipe—it’s that perfect little indulgence when you want something rich and chocolatey without the fuss of baking a whole cake. This recipe comes together quickly with everyday ingredients, and you get that dreamy molten center that just melts in your mouth. Whether it’s a special treat after dinner or a cozy weekend dessert for one, you’ll find this recipe hits the spot every time.
When I first tried making a molten lava cake, the thought of nailing the gooey center intimidated me, but this Single Serving Molten Lava Cake Recipe makes it so easy to succeed. Plus, it’s perfect for those moments when you crave chocolate but don’t want leftover cake hanging around. I love how fast it comes together and how the warm chocolate pairs beautifully with just a scoop of vanilla ice cream. Give it a try—you’ll see why this recipe quickly became my go-to dessert for solo nights in.
Why You’ll Love This Recipe
- Quick and Simple: You’ll whip up this decadent dessert in under 30 minutes, even with minimal baking experience.
- Perfect Portion: Designed for one, so no leftovers to worry about or waste.
- Impressively Gooey Center: Achieving that molten lava texture is easier than you think, thanks to the exact baking time and ingredient balance.
- Everyday Ingredients: Uses pantry staples — no special trips to the store required.
Ingredients You’ll Need
The ingredients for this Single Serving Molten Lava Cake Recipe are straightforward but work beautifully together to create a deep, chocolatey richness with just the right structure. To get the best results, make sure your chocolate is good quality and your eggs are fresh.
- Semi-sweet chocolate chips: Choose good-quality chocolate for smooth melting and rich flavor.
- Unsalted butter: Helps control the saltiness so you can balance sweetness yourself.
- Large egg: Provides moisture and structure; freshness really matters here for texture.
- Large egg yolk: Adds richness and helps create that gooey center.
- Granulated sugar: Sweetens and slightly caramelizes the edges while baking.
- Pure vanilla extract: Enhances the chocolate flavor and adds aroma.
- Fine sea salt: Just a pinch to lift all the flavors.
- All-purpose flour: The bare minimum to give the cake just enough hold while keeping it tender.
Variations
I’ve played around with this Single Serving Molten Lava Cake Recipe a bunch, and it’s so easy to tailor to your taste or dietary needs. Whether you want to add a fruity twist or make a dairy-free version, this recipe is a fantastic base to get creative with.
- Dark Chocolate Version: I swapped semi-sweet chips for 70% cocoa dark chocolate once, and the intense flavor was a hit with my chocolate-loving friends.
- Peanut Butter Swirl: Swirling a teaspoon of peanut butter into the batter before baking gave a lovely nutty surprise I didn’t expect but enjoyed immensely.
- Gluten-Free Option: Substituting the all-purpose flour with almond flour worked well, although I reduced baking time slightly to keep it gooey.
- Vegan Adaptation: Using coconut oil instead of butter and flax eggs can work, but it takes a bit of trial to get the perfect timing.
How to Make Single Serving Molten Lava Cake Recipe
Step 1: Melt Your Chocolate and Butter
Start by gently melting the semi-sweet chocolate chips and unsalted butter together, either in a small saucepan over low heat or in the microwave in short bursts. Stir constantly until smooth and silky—this step is crucial for that luscious molten texture you’re aiming for. I like to keep the heat low to avoid burning the chocolate, and using a whisk helps keep it completely smooth.
Step 2: Whisk the Wet Ingredients
In a separate bowl, whisk the egg, egg yolk, granulated sugar, vanilla extract, and a pinch of sea salt until the mixture is pale and smooth. This aerates the batter slightly, which helps give your lava cake a tender crumb while still keeping that molten center. Don’t skip this step—it really makes a difference in texture.
Step 3: Combine and Fold in the Flour and Chocolate
Add the flour into the wet mixture and whisk until you see no clumps. Then gently fold in the melted chocolate and butter mixture with a spatula until everything is just combined. Be careful not to over-mix here—you want a tender cake, not something dense. Use gentle folds and trust me, it will turn out perfectly.
Step 4: Bake Until Just Set
Grease a 4 ½-inch-wide ramekin and pour the batter in. Pop it in your preheated 350°F (175°C) oven for about 14-20 minutes. Keep a close eye on it past 14 minutes—the top should be firm but the center still jiggly, like a slightly undercooked brownie. That’s your molten lava moment! Overbaking is the #1 mistake I’ve made before, so set a timer and check early to get it just right.
Step 5: Serve Warm with Ice Cream
Once out of the oven, let the cake rest a minute, then serve immediately with a scoop of vanilla ice cream. The cold cream melts a little into the warm chocolate, creating a dreamy flavor combo that my family goes crazy for. Trust me, you’ll want to dig in right away!
Pro Tips for Making Single Serving Molten Lava Cake Recipe
- Watch Your Bake Time: I learned the hard way that even a minute or two can turn your gooey center into a firm cake—setting a timer is vital!
- Use Fresh Eggs: Fresh eggs make the batter more stable, so your cake rises nicely and has the best texture.
- Grease Ramekins Well: I always butter and dust mine lightly with cocoa powder to make sure the cake slips out easily if you want to unmold it.
- Don’t Skip Resting: Let the cake cool just a minute after baking, as it continues to set a bit and is easier to handle.
How to Serve Single Serving Molten Lava Cake Recipe

Garnishes
I usually keep it simple with just a scoop of vanilla ice cream because I love that hot-and-cold contrast, but fresh raspberries or a dusting of powdered sugar add a lovely touch. Sometimes a few mint leaves on top brighten the plate and the palate. You’ll enjoy playing with garnishes depending on your mood or what you have on hand.
Side Dishes
Since this Single Serving Molten Lava Cake Recipe is pretty rich, I like to pair it with light sides like a fresh berry salad or a simple whipped cream. If it’s a special occasion, a cup of strong espresso or lightly brewed tea complements the dessert beautifully.
Creative Ways to Present
For birthdays or romantic dinners, I’ve served the molten lava cake in mini clear glass bowls with edible gold leaf sprinkles or alongside a drizzle of raspberry coulis for an elegant wow-factor. Using a heart-shaped ramekin added a fun twist for Valentine’s Day—I bet you’ll find your own fun presentation ideas to impress!
Make Ahead and Storage
Storing Leftovers
I usually recommend eating this cake fresh since that molten center is the star, but if you do have leftovers, cover tightly with plastic wrap and keep refrigerated for up to 2 days. The texture changes a bit—the cake firms up and loses some of its gooeyness, but it’s still delicious warmed up.
Freezing
Freezing molten lava cake is tricky because of its delicate texture, so I don’t often do it. However, if you freeze it unbaked in the ramekin, you can bake it fresh later—you might have to add a few extra minutes to the bake time. This is a good way to prep in advance for a surprise dessert.
Reheating
To reheat leftover lava cake, pop it in the microwave for 20-30 seconds until warm but not cooked further. Alternatively, a quick warm-up in a low oven (around 300°F) for 5 minutes brings back some of that molten magic. I avoid overdoing the heat to preserve the soft, gooey center.
FAQs
-
Can I make this Single Serving Molten Lava Cake Recipe without a ramekin?
Yes! If you don’t have a ramekin, you can use any small, oven-safe dish like a custard cup or small bowl. Just make sure to grease it well and adjust the baking time slightly if it’s a different size—smaller containers might need less time, while larger ones could need more.
-
How do I know when the molten lava cake is perfectly baked?
The edges should be set and slightly pulling away from the sides, but the center should still appear slightly jiggly when you gently shake the ramekin. It’s better to err on the side of slightly underbaked than overbaked to preserve that gooey center.
-
Can I prepare the batter ahead of time?
While you can mix the batter ahead, I recommend baking immediately after preparing for best results. If you need to store the batter, cover it tightly and refrigerate for up to 6 hours, but note that it might affect the texture slightly and could require a longer bake time.
-
What can I substitute for the all-purpose flour?
Almond flour or gluten-free all-purpose blends work well as substitutes for regular flour. Just keep an eye on the bake time, as these flours can change how quickly the cake sets.
-
Is there a dairy-free version of this recipe?
You can swap the butter for coconut oil or a dairy-free margarine and use dairy-free chocolate chips. Also, a flaxseed egg mix can replace eggs, though it takes a bit of experimentation to get the texture just right.
Final Thoughts
This Single Serving Molten Lava Cake Recipe holds a soft spot in my kitchen repertoire because it’s just so comforting and effortlessly impressive. Whenever I crave chocolate but want to keep things simple, this little cake comes to the rescue with its rich flavor and stunning molten center. Give it a try—you might find it’s your new favorite quick dessert, perfect for sharing or savoring all on your own.
Print
Single Serving Molten Lava Cake Recipe
- Prep Time: 10 minutes
- Cook Time: 15 minutes
- Total Time: 25 minutes
- Yield: 1 serving
- Category: Dessert
- Method: Baking
- Cuisine: American
Description
This Single Serving Molten Lava Cake recipe is a decadent and quick dessert perfect for chocolate lovers craving a gooey, warm treat. Rich semi-sweet chocolate combines with butter, eggs, and sugar to create a luscious cake with a molten center, baked to perfection in under 20 minutes. Topped with vanilla ice cream, it’s an indulgent and elegant dessert that comes together effortlessly for one serving.
Ingredients
Chocolate Mixture
- 3 ounces semi-sweet chocolate chips
- 3 tablespoons unsalted butter
Wet Ingredients
- 1 large egg
- 1 large egg yolk
- 3 tablespoons granulated sugar
- 1/4 teaspoon pure vanilla extract
- Pinch of fine sea salt
Dry Ingredients
- 3 tablespoons all-purpose flour
Topping
- Vanilla ice cream for topping
Instructions
- Preheat Oven: Preheat your oven to 350°F (175°C) to get it ready for baking the molten lava cake perfect.
- Melt Chocolate and Butter: In a saucier pan or using the microwave in small increments, melt together the semi-sweet chocolate chips and unsalted butter, stirring constantly until the mixture is smooth and well combined.
- Prepare Wet Ingredients: In a small bowl, whisk together the large egg, egg yolk, granulated sugar, pure vanilla extract, and a pinch of fine sea salt until the mixture is smooth and fully combined.
- Combine Ingredients: Add the all-purpose flour to the wet mixture and whisk gently to minimize lumps. Then fold in the melted chocolate and butter mixture carefully until fully incorporated into a smooth batter.
- Pour Batter: Grease a 4 ½-inch-wide oven-safe ramekin or similar dish, then pour the cake batter into it. You may also divide the batter between two smaller dishes, noting that the baking time will need to be reduced accordingly.
- Bake: Place the ramekin in the preheated oven and bake for 14 to 20 minutes, or until the top is just set but the center remains gooey. Watch closely to avoid overbaking.
- Serve: Remove the molten lava cake from the oven and top it with a scoop of vanilla ice cream. Serve warm immediately and enjoy the rich, molten center.
Notes
- Keep a careful eye on the cake as it bakes to ensure the center remains molten and gooey rather than fully set.
- Using a microwave or stovetop for melting chocolate and butter works equally well—choose based on your convenience.
- Greasing the ramekin well prevents sticking and makes it easier to serve the cake.
- For a slightly different flavor, consider adding a teaspoon of espresso powder to the chocolate mixture to intensify the chocolate taste.
- The recipe can be doubled for two servings but adjust baking time accordingly.


Your email address will not be published. Required fields are marked *