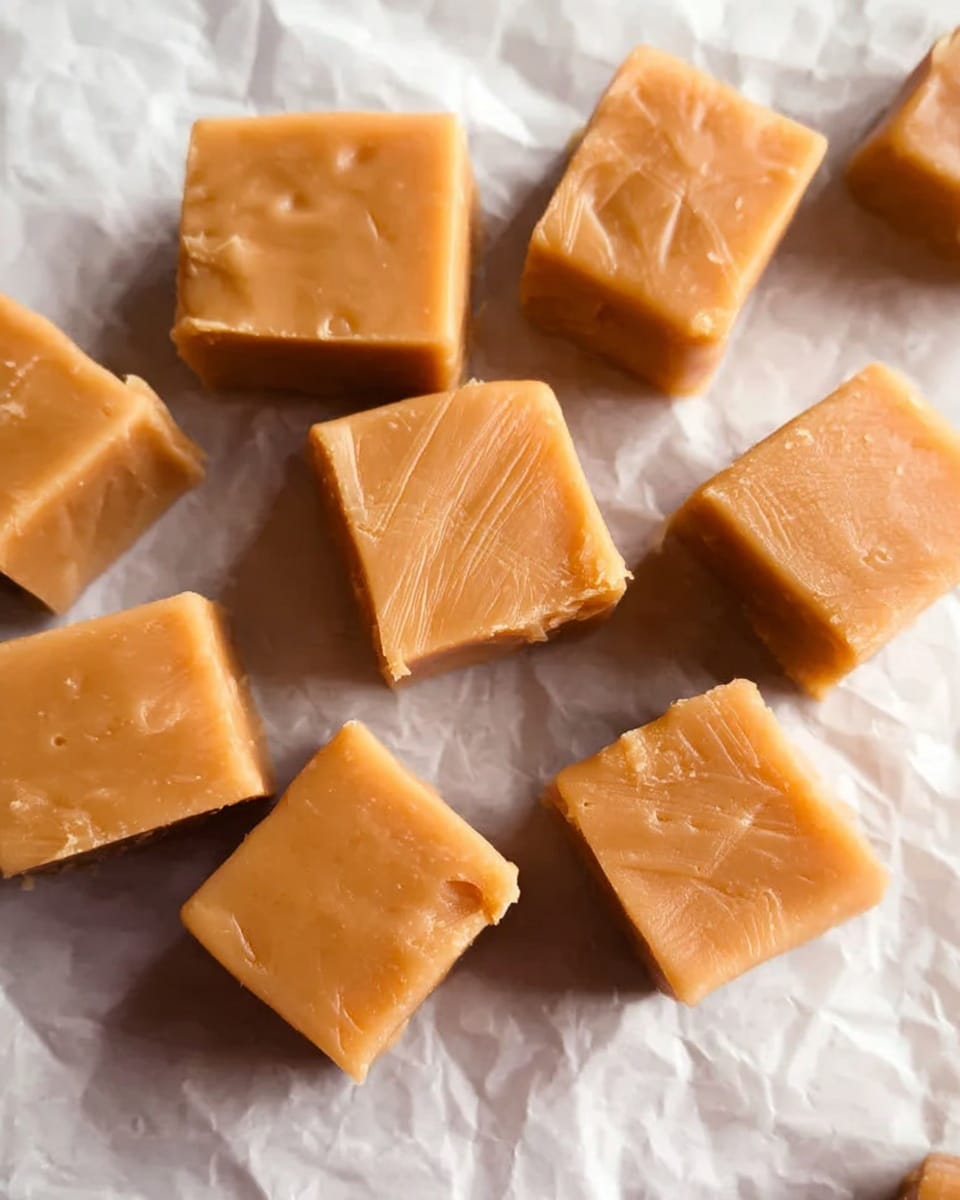
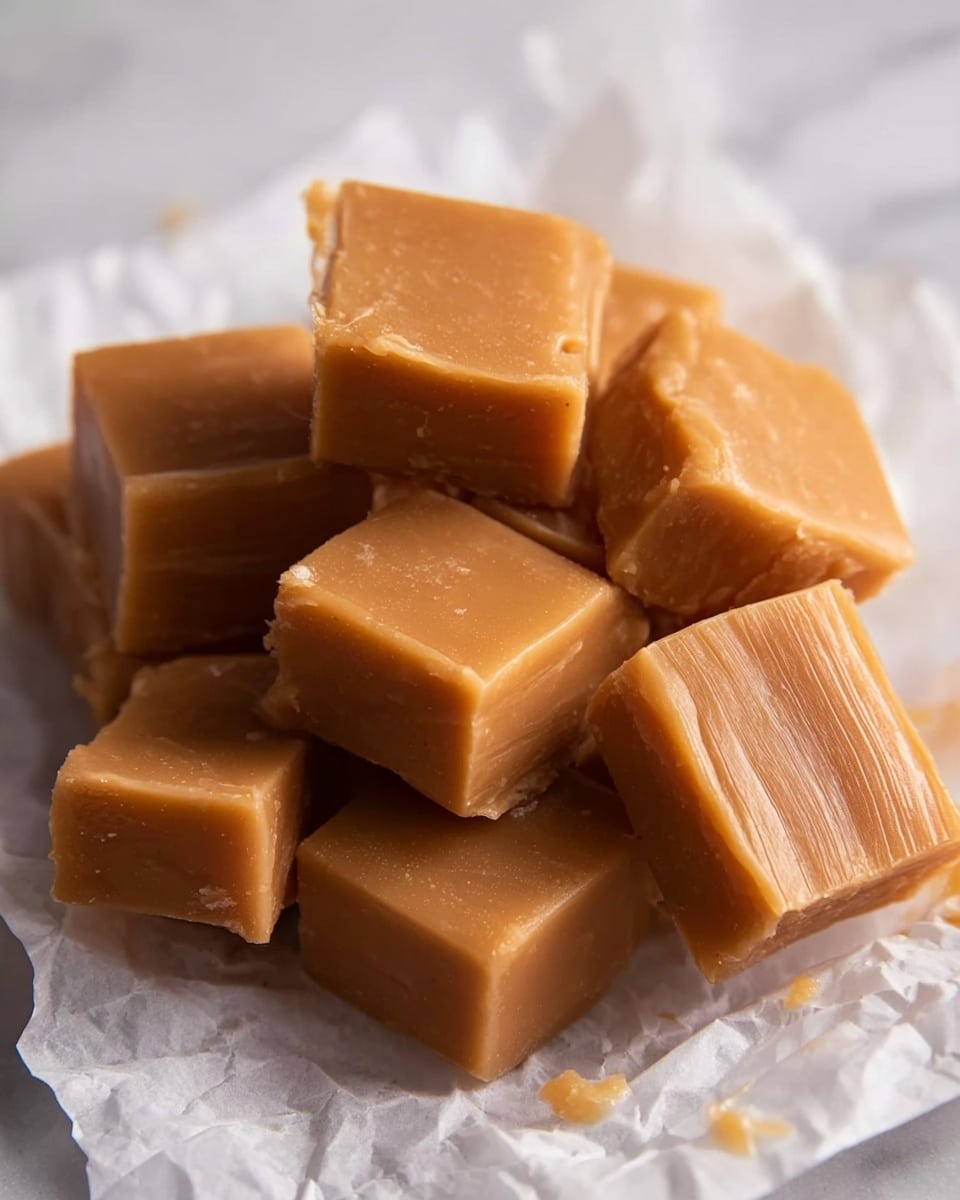
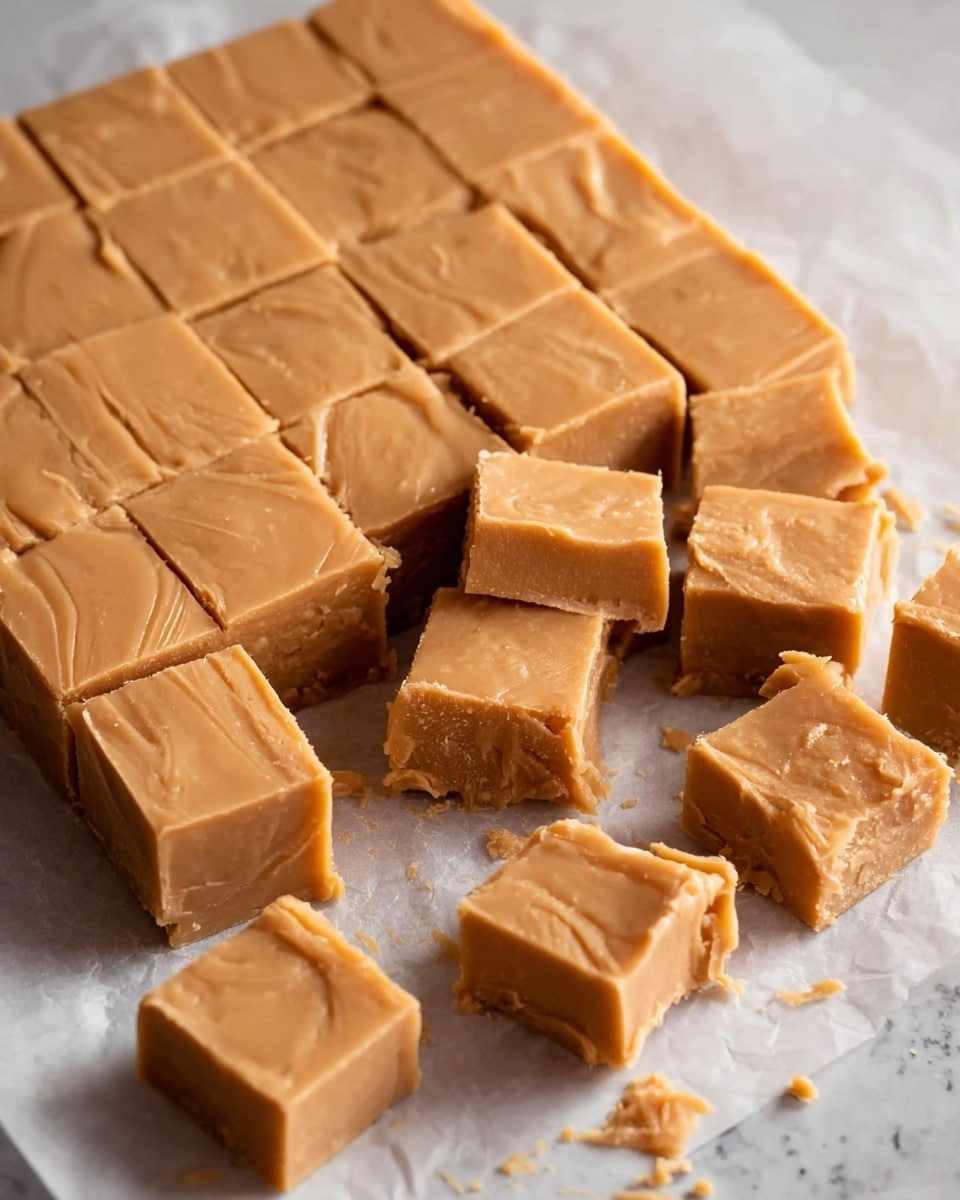
If you’ve been on the hunt for a melt-in-your-mouth sweet treat, I’ve got just the thing for you: this Traditional Vanilla Fudge Recipe is absolute perfection. It’s rich, creamy, and the kind of nostalgic dessert that instantly transports you to cozy afternoons in grandma’s kitchen. Whether you’re a fudge newbie or a seasoned sweet maker, stick around because this recipe is fan-freaking-tastic, and I’m sharing all my tips to make sure your batch turns out flawlessly every time.
Why You’ll Love This Recipe
- Classic Flavor: The timeless vanilla taste shines through, making this fudge irresistibly comforting.
- Creamy Texture: Achieving that perfect melt-in-your-mouth consistency is easier than you think with this method.
- Simple Ingredients: You likely already have everything at home—no fancy candy thermometers needed if you follow the tips.
- Great for Gifting: Homemade fudge is a sweet touch for holidays, birthdays, or just because.
Ingredients You’ll Need
This Traditional Vanilla Fudge Recipe calls for ingredients that blend beautifully to create that luscious, creamy fudge texture we all crave. I always recommend using good-quality butter and fresh vanilla extract—it makes a noticeable difference in flavor.
- Double cream (heavy cream): Full-fat cream gives the fudge its rich, velvety texture.
- Milk: Just a splash to balance the creaminess and help dissolve the sugar evenly.
- Butter: Essential for flavor and smoothness; I prefer unsalted so I can control the saltiness.
- Caster sugar: Fine sugar dissolves quickly, ensuring a smooth fudge without graininess.
- Light muscovado sugar: Adds a subtle molasses note that deepens the fudge’s flavor.
- Vanilla extract: The star flavor—make sure it’s pure vanilla for the best aroma and taste.
Variations
I love that this vanilla fudge can be a blank canvas for your imagination. Whether you want to add a twist or adjust it for your dietary preferences, there’s plenty of room to make it yours.
- Chocolate swirl: I once stirred in some melted dark chocolate just after adding the vanilla, and the marbled effect wowed my family.
- Nutty addition: Try folding in toasted pecans or walnuts for a delightful crunch.
- Spiced fudge: A pinch of cinnamon or nutmeg adds a warm, cozy vibe perfect for fall.
- Dairy-free: Substitute coconut cream for the double cream and vegan butter to make it dairy-free—just expect a slightly different texture.
How to Make Traditional Vanilla Fudge Recipe
Step 1: Prepare Your Pan with Love
This is where the fudge takes shape, so I always lightly grease a 20cm (8in) square cake tin and line it fully with baking parchment. This lining tip is a game-changer—I can lift the entire fudge block out easily once it’s set, no sticky fingers required!
Step 2: Combine Cream, Milk, Butter, and Sugars
Place the double cream, milk, butter, caster sugar, and light muscovado sugar into a large, heavy-based pan. I’ve found a heavy pan is crucial here; it distributes heat evenly and prevents burning. Turn the heat to low and stir constantly until the butter melts and sugars dissolve—patience is key during this part.
Step 3: Bring the Mixture to Boil and Reach Soft Ball Stage
Turn up the heat slightly to let the mixture come to a gentle boil. Keep stirring all the time. This stage took me a few tries to perfect because the temperature likes to hang around 104°C (220°F) for a bit—it’s totally normal! Eventually, it will move up to 116°C (241°F), the soft ball stage. If you don’t have a candy thermometer, you can test it by dropping a bit into cold water; it should form a soft ball that flattens when pressed.
Step 4: Cool and Beat Until Thickened
Once at the right temperature, take the pan off the heat and let the mixture cool undisturbed to about 110°C (230°F). This usually takes just a couple of minutes. Then add the vanilla extract and get ready to move fast—beat the mixture vigorously with a wooden spoon until it thickens and loses its shine. This arm workout is worth it for the fudge bliss that follows!
Step 5: Pour, Set, and Slice
Pour your thickened fudge into the prepared tin and smooth it into all the corners. Resist the urge to refrigerate it immediately—letting it set at room temperature for 2-3 hours gives the best, creamy texture. Once it’s firm, slice it with a sharp knife into bite-sized pieces and get ready to indulge!
Pro Tips for Making Traditional Vanilla Fudge Recipe
- Use a Heavy-Bottomed Pan: It prevents scorching during long heating and helps your fudge cook evenly.
- Temperature Patience: Trust the temperature—it may seem stuck below boiling, but it’ll jump once the sugars caramelize properly.
- Beat Vigorously: This helps the fudge crystallize to the perfect texture; don’t skip this step or it’ll stay too soft.
- Avoid the Fridge Setting Trap: Cooling at room temp gives the best creamy texture—fridge setting can make fudge hard and crumbly.
How to Serve Traditional Vanilla Fudge Recipe

Garnishes
While the fudge is delicious on its own, I like to sprinkle a tiny pinch of flaky sea salt on top right before serving. It perfectly balances the sweetness and adds a little crunch that makes each bite pop. For festive occasions, a light dusting of cocoa powder or crushed toasted nuts adds both flavor and elegance.
Side Dishes
Pair your fudge with a strong black coffee or a creamy latte—those bitter notes cut through the sweetness just right. If you’re serving at a party, a cheese board with aged cheddar or blue cheese surprisingly complements vanilla fudge, creating an unexpected but delightful contrast.
Creative Ways to Present
For special occasions, I’ve arranged vanilla fudge squares in a layered glass jar tied with a ribbon as a gift. Another fun idea is to create bite-sized dessert platters: alternating fudge pieces with fresh berries and mint leaves makes for a stunning platter that guests always rave about.
Make Ahead and Storage
Storing Leftovers
I store leftover fudge in an airtight container at room temperature, and it stays perfectly soft and dreamy for up to two weeks. If our kitchen gets warm, I pop it in the fridge to prevent melting, but I recommend letting it come back to room temp before enjoying to revive that creamy feel.
Freezing
Freezing fudge works surprisingly well! I wrap each piece in parchment paper then seal them in a freezer-safe bag. When ready to eat, thaw them in the fridge overnight. The texture remains just as good, which is perfect for making batches ahead of holidays.
Reheating
Reheating fudge? Gently warm it in your hands or let it sit out at room temperature for a while—it softens up quickly. Avoid microwaving because it can change the texture and make it grainy. Trust me, patience is your fudge’s best friend here!
FAQs
-
What if I don’t have a candy thermometer? How do I know when the fudge is done?
If you don’t have a thermometer, you can use the cold water test. Drop a small amount of the hot fudge syrup into a cup of cold water. If it forms a soft ball that flattens when you press it between your fingers, it’s reached the soft ball stage, which means it’s ready to be removed from heat.
-
Why does my fudge turn out grainy?
Grainy fudge usually happens if the sugar crystals don’t dissolve completely before boiling or if the mixture isn’t beaten enough after cooking. Make sure to stir until sugar dissolves fully, and then beat the fudge vigorously after removing it from heat to get that smooth texture.
-
Can I make this fudge without muscovado sugar?
Yes, you can substitute muscovado sugar with brown sugar, but muscovado adds a deeper, richer flavor thanks to its molasses content. Using regular brown sugar will give a milder taste but the fudge will still be delicious.
-
How long does homemade vanilla fudge last?
Stored in an airtight container, your fudge will last 1-2 weeks at room temperature and up to 3 weeks when refrigerated. Beyond that, it might lose some softness and start drying out.
Final Thoughts
I absolutely love how this Traditional Vanilla Fudge Recipe brings a little bit of joy and nostalgia with every bite. When I first tried making fudge, I struggled to get the timing and texture right, but once I nailed it, it became a favorite in our family gatherings. You’ll find it’s such a rewarding recipe—sometimes simple is best, and this one definitely proves that. So go on, give it a try, and share the sweet love with your friends and family. Trust me, once you taste this, you’ll be hooked!
Print
Traditional Vanilla Fudge Recipe
- Prep Time: 5 minutes
- Cook Time: 25 minutes
- Total Time: 30 minutes
- Yield: 64 pieces
- Category: Dessert
- Method: Stovetop
- Cuisine: British
Description
This Traditional Vanilla Fudge recipe delivers a rich, creamy, and irresistibly sweet treat made with double cream, butter, and two types of sugar. Perfectly cooked to the soft ball stage, this homemade fudge is infused with classic vanilla flavor and set to a smooth, firm texture that can be sliced into bite-sized pieces. Ideal for gifting, snacking, or dessert, this delightful fudge combines simple ingredients with precise technique for an indulgent confection.
Ingredients
Fudge Ingredients
- 300 ml double cream (heavy cream) (½ pt)
- 100 ml milk (3½ fl oz)
- 100 g butter (3½ oz)
- 300 g caster sugar (10½ oz)
- 150 g light muscovado sugar (5 oz)
- 1 teaspoon vanilla extract
Instructions
- Prepare the Tin: Lightly grease and fully line a 20 cm (8 in) square cake tin with baking parchment to ensure the fudge can be removed easily after setting.
- Combine Ingredients: In a large heavy-based pan, add 300 ml double cream, 100 ml milk, 100 g butter, 300 g caster sugar, and 150 g light muscovado sugar. Place the pan over low heat and stir constantly until the butter melts and sugars dissolve completely.
- Boil the Mixture: Increase the heat slightly so the mixture comes to a gentle boil. Keep stirring continuously to prevent sticking or burning. Simmer the mixture while stirring until it reaches 116°C (241°F), the soft ball stage on a candy thermometer.
- Cool Slightly: Remove the pan from heat and let the mixture cool undisturbed to 110°C (230°F). This cooling only takes a couple of minutes and is crucial for proper fudge texture.
- Beat in Vanilla and Cool: Stir in 1 teaspoon vanilla extract, then vigorously beat the mixture with a wooden spoon until it thickens and loses its glossy shine, indicating that the fudge is starting to set.
- Set the Fudge: Pour the thickened mixture into the prepared tin, smoothing it evenly into the corners. Leave it to cool and set at room temperature for 2 to 3 hours until firm.
- Slice and Serve: Once fully cooled and set, remove the fudge from the tin using the parchment. Use a sharp knife to cut into bite-sized pieces for serving or storing.
Notes
- Storage: Store fudge in an airtight container. It will keep for 1-2 weeks at room temperature or up to 3 weeks refrigerated.
- Safety Tip: The mixture is extremely hot while boiling; stir carefully to avoid splashes and consider wearing oven gloves during this stage.
- Temperature Patience: The temperature may plateau around 104°C (220°F) for several minutes during boiling—be patient as it will then rise quickly to the soft ball stage.
- Setting Tip: Allow fudge to firm at room temperature rather than refrigerating it to maintain the best texture.
- Equipment Size: Use a pan that holds at least 3 liters (5 pints) to accommodate the mixture, which rises during boiling.
Nutrition
- Serving Size: 1 piece (approximately 15 g)
- Calories: 80 kcal
- Sugar: 9 g
- Sodium: 15 mg
- Fat: 4.5 g
- Saturated Fat: 3 g
- Unsaturated Fat: 1.2 g
- Trans Fat: 0 g
- Carbohydrates: 10 g
- Fiber: 0 g
- Protein: 0.5 g
- Cholesterol: 15 mg


