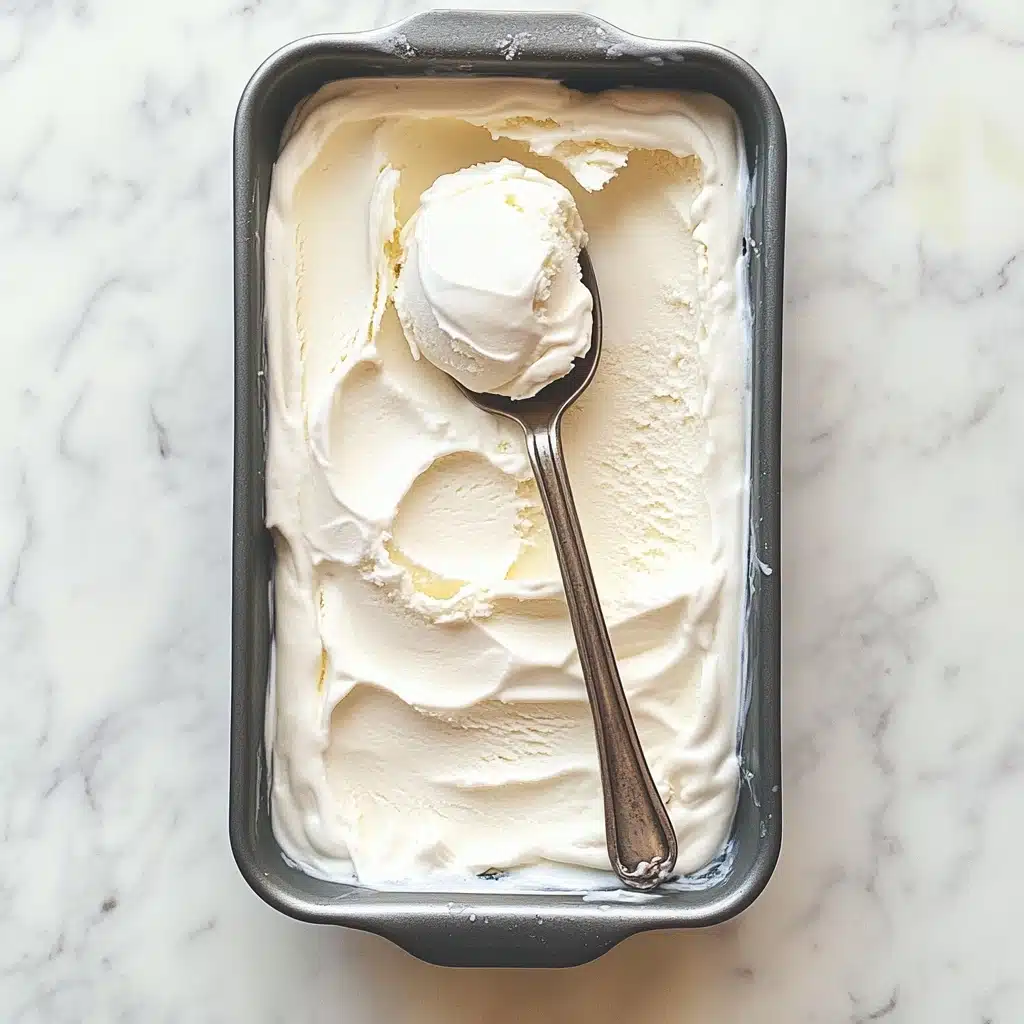
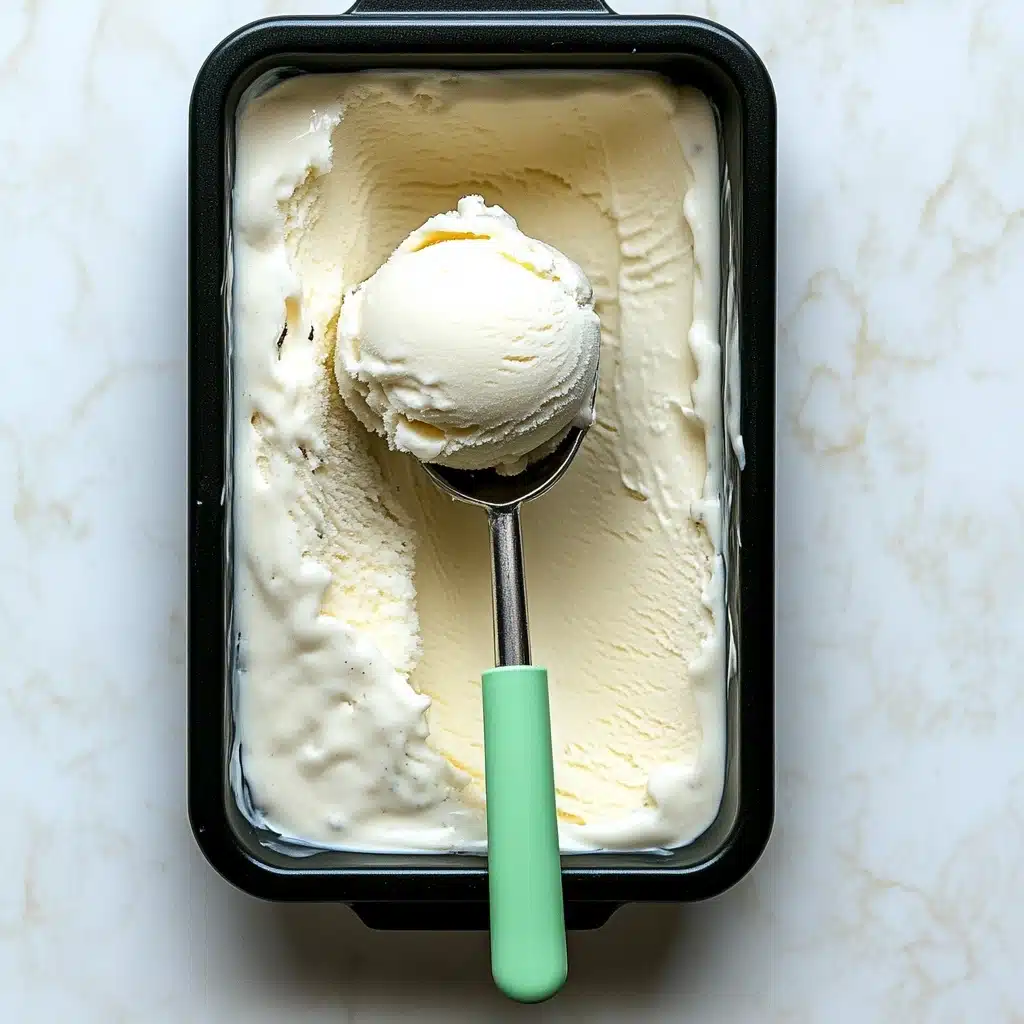
Creamy, dreamy, and bursting with pure vanilla flavor, this Vanilla Bean Coconut Ice Cream is the ultimate homemade frozen treat you’ll crave all summer long (and let’s be honest, right through the holidays too!). Thanks to lush coconut cream and the speckled beauty of real vanilla beans, every bite tastes like a warm-weather escape—no dairy required.
Why You’ll Love This Recipe
- Ultra-Creamy—No Dairy Needed: The combination of coconut cream and coconut milk yields an unbelievably rich, smooth texture that’s completely plant-based.
- Real Vanilla Luxury: You’ll see and taste the luscious specks of real vanilla bean in every scoop, elevating this ice cream way above anything store-bought.
- Easy & Adaptable: With just a handful of pantry staples and a blender, you can whip this up for any occasion—plus there are simple ways to make it no-churn!
- Perfect Pairing Potential: It’s the dream companion for fruit pies, warm brownies, or simply enjoyed as-is, right out of the freezer.
Ingredients You’ll Need
One of the magical things about Vanilla Bean Coconut Ice Cream is how surprisingly simple the ingredients are. Each one brings something special—pure coconut cream for that luscious mouthfeel, real vanilla for an aromatic boost, and just the right amount of sweetness to make everything sing.
- Coconut Cream or Full-Fat Coconut Milk: Opt for Savoy or Aroy-D brands for the silkiest, creamiest results—coconut cream is higher in fat and makes the ice cream extra decadent.
- Organic Cane Sugar: Adds that classic ice cream sweetness; you can substitute up to half with agave nectar or maple syrup to suit your preferences.
- Sea Salt: Just a pinch balances the flavors and brings out the natural sweetness.
- Real Vanilla Bean Pod: Splitting and scraping a vanilla bean gives you those gorgeous black flecks and a truly aromatic, layered vanilla flavor—vanilla powder can stand in if needed.
- Pure Vanilla Extract: Deepens the vanilla experience and ties the entire ice cream together with a warm, nostalgic note.
Variations
The beauty of Vanilla Bean Coconut Ice Cream is how easy it is to tweak for your taste buds, any occasion, or even dietary needs. Don’t be shy—give this classic your own delicious twist!
- Chocolate Swirl: Ripple in vegan chocolate sauce during the final freezing stage for extra decadence and a stunning marbled effect.
- Tropical Fruit Burst: Add a swirl of mango, passion fruit, or pineapple puree right before freezing for a tropical flair.
- Nutty Crunch: Fold in toasted coconut flakes, crushed pistachios, or candied pecans for texture and crunch.
- Maple & Spice: Swap the cane sugar for pure maple syrup and add a sprinkle of cinnamon or ginger for a cozy flavor twist.
How to Make Vanilla Bean Coconut Ice Cream
Step 1: Chill Your Ice Cream Maker
To form the creamiest Vanilla Bean Coconut Ice Cream, start by freezing your ice cream maker’s bowl overnight or at least several hours in advance. This ensures your mixture will churn up soft and beautifully smooth instead of icy.
Step 2: Blend the Base
The next day, combine your coconut cream (or coconut milk), sugar, sea salt, scraped vanilla bean seeds (plus the pod!), and vanilla extract in a high-speed blender. Blend for a full 1–2 minutes until silky and the sugar has completely dissolved. Taste and tweak for sweetness or extra vanilla if you like.
Step 3: Churn the Ice Cream
Pour the blended base into your chilled ice cream maker and let it churn according to the manufacturer’s instructions (usually about 45 minutes). You’re aiming for the texture of soft-serve—plush, creamy, and full of flecky vanilla bean goodness.
Step 4: Freeze Until Firm
Spoon the churned ice cream into a freezer-safe container and smooth the top. Cover securely and freeze for at least 4–6 hours. Let it soften on the counter for 5–10 minutes before scooping, and heat your ice cream scoop under hot water for easy, picture-perfect servings.
Step 5: No-Churn Option
If you don’t own an ice cream maker, pour the blended mixture into a freezer-safe dish. Every hour, stir or whisk vigorously to add air—do this for 6–8 hours until mostly firm, then let it freeze solid. The result is still utterly tasty, just a bit less creamy than the churned version.
Pro Tips for Making Vanilla Bean Coconut Ice Cream
- Choose the Right Coconut: Savoy coconut cream or Aroy-D full-fat coconut milk produce a noticeably creamier texture—avoid brands prone to separation or oiliness.
- Sugar Matters: Dissolve the sugar completely by blending for the full two minutes; undissolved sugar can make the ice cream gritty.
- Vanilla Bean Pod Power: After scraping the seeds, toss the whole pod into the blender—just strain it out if you prefer a smoother finish!
- Perfect Softening: For the creamiest scoops, let the ice cream warm at room temperature for 5–10 minutes before serving or use a scoop dipped in hot water.
How to Serve Vanilla Bean Coconut Ice Cream

Garnishes
Dress up your coconut ice cream with a shower of toasted coconut flakes, a sprinkle of cacao nibs, or even a drizzle of quick-melt chocolate. Fresh summer berries or a wedge of juicy pineapple on top create a colorful, inviting dessert that’s pure joy in every spoonful.
Side Dishes
This Vanilla Bean Coconut Ice Cream loves company! Pair it with a warm fruit cobbler, slice of gluten-free cake, or crisp oatmeal cookies to elevate any sweet tooth moment. Honestly, swirling it over a pile of grilled peaches is an unforgettable summer move.
Creative Ways to Present
Try serving scoops in hollowed-out coconut shells for a fun, tropical party vibe, or build ice cream sandwiches with homemade cookies for a nostalgic twist. For special occasions, layer with fresh berries and granola in beautiful parfait glasses—you can’t go wrong!
Make Ahead and Storage
Storing Leftovers
Store any leftover Vanilla Bean Coconut Ice Cream in an airtight, freezer-safe container. Press a piece of parchment paper directly onto the surface before sealing to help prevent ice crystals from forming—it’ll stay fresh and scoopable for up to 10 days.
Freezing
The ice cream freezes best in a shallow loaf pan, which helps it set quickly and evenly. For long-term storage, avoid plastic wrap (it can trap odors)—instead, use a snug, lidded container and keep it towards the back of the freezer, where the temperature stays coldest.
Reheating
Since reheating isn’t needed, simply allow your Vanilla Bean Coconut Ice Cream to sit on the counter for 5–10 minutes to reach that dreamy, ready-to-scoop state. For an extra-smooth scoop, run your ice cream scoop under hot water before digging in.
FAQs
-
Can I make Vanilla Bean Coconut Ice Cream without an ice cream maker?
Absolutely! After blending, pour the mixture into a freezer-safe dish, then every hour, stir well to incorporate air. It won’t be quite as creamy as the churned version but is still wonderfully delicious and totally doable without specialty equipment.
-
What coconut milk or cream works best for this recipe?
For best results, use Savoy coconut cream or Aroy-D full-fat coconut milk. These brands stay silky and don’t separate when chilled, making your Vanilla Bean Coconut Ice Cream extra smooth. Avoid brands that are prone to separating or taste oily.
-
Can I use vanilla extract instead of a whole vanilla bean?
You can! While the vanilla bean gives you those beautiful flecks and a deeper, more aromatic flavor, high-quality vanilla extract (and/or vanilla powder) is a fine alternative—just boost the amount a touch for maximum vanilla punch.
-
How can I prevent my ice cream from becoming too icy?
To keep your Vanilla Bean Coconut Ice Cream scoopable and silky, blend thoroughly (so all sugar is dissolved) and always store with parchment paper pressed on top to minimize ice crystal formation. Letting the ice cream sit on the counter before serving also helps regain that perfect creamy texture.
Final Thoughts
There’s nothing quite like a homemade batch of Vanilla Bean Coconut Ice Cream—it’s simple, satisfying, and totally customizable. I hope you’ll treat yourself (and anyone lucky enough to share!) to this creamy, naturally dairy-free delight. You deserve the sweetest scoops, every single time. Enjoy!
Print
Vanilla Bean Coconut Ice Cream Recipe
- Prep Time: 7 hours 5 minutes
- Total Time: 7 hours 5 minutes
- Yield: 8 (1/2-cup servings)
- Category: Dessert
- Method: Churning, Freezing
- Cuisine: American
- Diet: Vegan
Description
Indulge in the luxurious creaminess of homemade Vanilla Bean Coconut Ice Cream. This dairy-free delight is made with coconut cream, real vanilla bean, and a touch of organic cane sugar for a refreshing treat perfect for any occasion.
Ingredients
Ice Cream:
- 2 14–ounce cans coconut cream* or full-fat coconut milk
- 1/2 cup organic cane sugar (sub up to half with agave nectar or maple syrup)
- 1 pinch sea salt
- 1 vanilla bean pod (split and scraped // or 1/4 – 1/2 tsp vanilla powder per 1 pod)
- 2 tsp pure vanilla extract
Instructions
- The day or night before: Place your ice cream churning bowl in the freezer to properly chill (see notes if you don’t have an ice cream maker).
- The following day: Add coconut milk, organic cane sugar, sea salt, scraped vanilla bean, and vanilla extract to a high-speed blender. Blend until creamy and smooth.
- Churning: Add mixture to chilled ice cream maker and churn for about 45 minutes until it resembles soft serve.
- Freezing: Transfer churned ice cream to a freezer-safe container, smooth the top, cover, and freeze for 4-6 hours until firm.
- Serving: Allow to soften for 5-10 minutes before scooping and serving.
Notes
- Our favorite coconut cream is Savoy, and our favorite full-fat coconut milk is Aroy-D.
- Coconut cream yields creamier results due to the higher fat content.
- Avoid using Trader Joe’s coconut milk or cream as the formulation may lead to separation.
- If you don’t own an ice cream maker, freeze the mixture in a container and stir every hour until firm.
Nutrition
- Serving Size: 1/2 cup
- Calories: 220
- Sugar: 9g
- Sodium: 80mg
- Fat: 20g
- Saturated Fat: 18g
- Unsaturated Fat: 1g
- Trans Fat: 0g
- Carbohydrates: 10g
- Fiber: 1g
- Protein: 2g
- Cholesterol: 0mg


Your email address will not be published. Required fields are marked *